VMware Workstation is a virtualization software suite for x86 and x86-64 computers, from VMware. It allows users to run multiple x86 and x86-64 virtual machines (VMs) simultaneously in a single machine.
Each virtual machine instance can execute its guest operating system, including Windows, Linux, BSD variants, and others. In simple terms, VMware Workstation allows one physical machine to run multiple guest operating systems simultaneously.
Here, we will install VMware Workstation Pro 14 on Ubuntu 18.04, Ubuntu 17.10 and Ubuntu 16.04.
Step 1: Download VMware Workstation Pro
Download the latest version of VMware Workstation Pro (v14) using the web browser.
Download VMware Workstation 14.1.2
Step 2: Install VMware Workstation Pro
Open a terminal (Alt+T).
Update the repository index.
sudo apt update
Install the libraries and compilers for VMware installation.
sudo apt install -y gcc build-essential libaio1
Go to the Downloads directory and make the file as executable.
cd ~/Downloads
sudo chmod 755 VMware-Workstation-Full-*.bundle
Execute VMware Workstation Pro installer using the below command.
sudo ./VMware-Workstation-Full-*.bundle
The installer will start extracting files for the installation, and it might take some time.
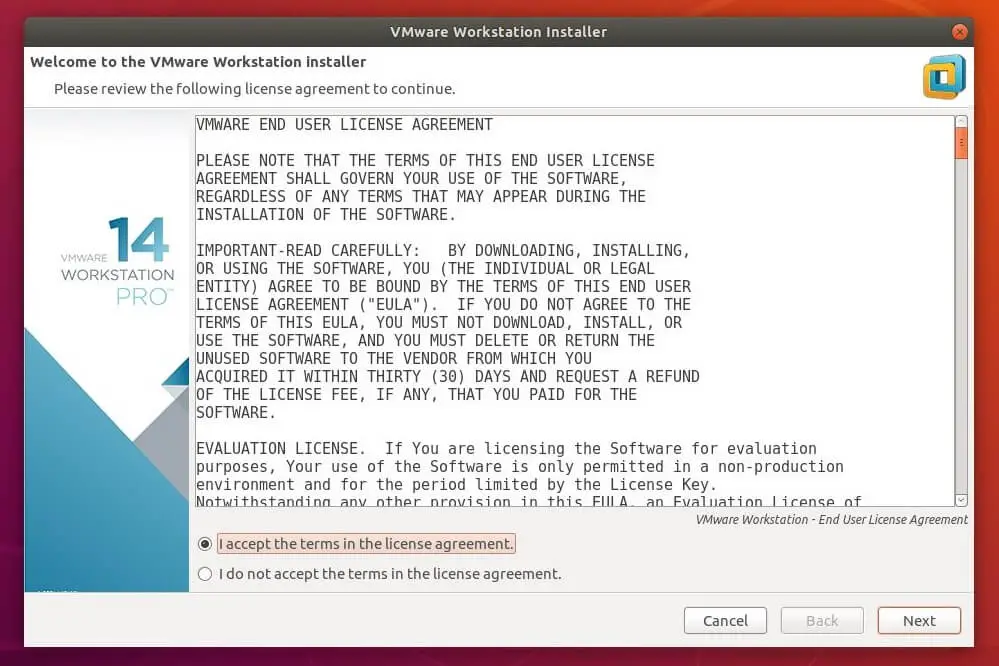
You must select I accept the terms in the license agreement and click Next on VMware Workstation – End User License Agreement.
You must select I accept the terms in the license agreement and click Next on VMware OVF Tool component for Linux – End User License Agreement.

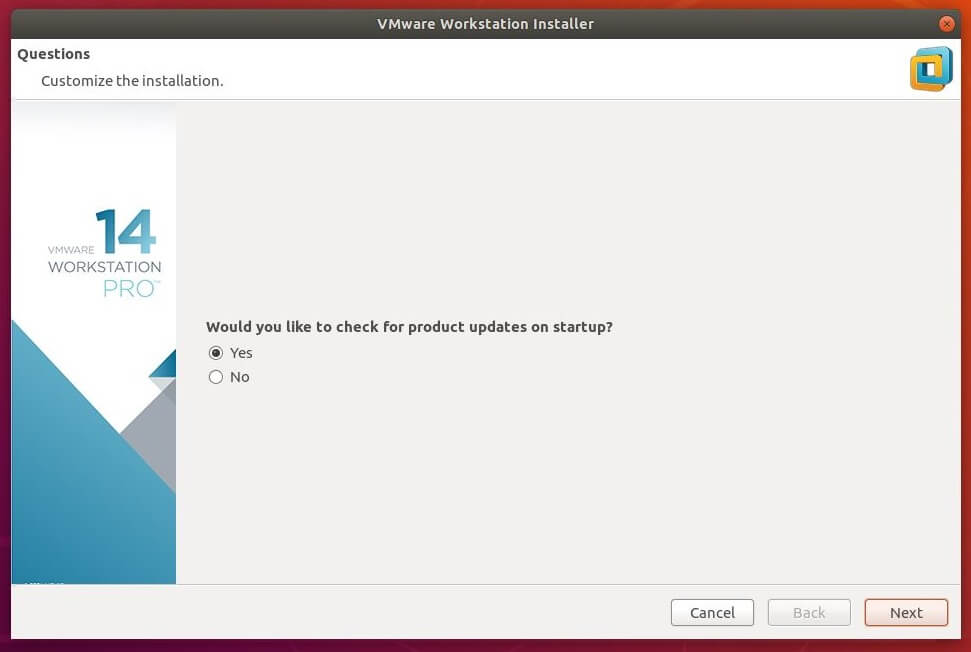
Choose whether VMware can check for product updates on startup and click Next.
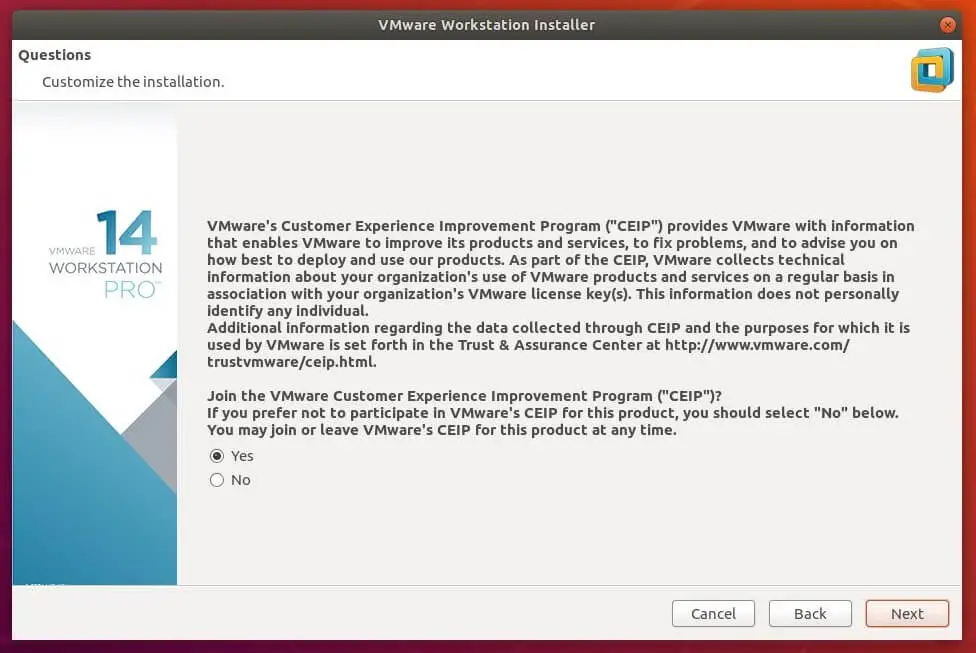
Decide whether to Join the VMware Customer Experience Improvement Program (CEIP) or not and click Next.
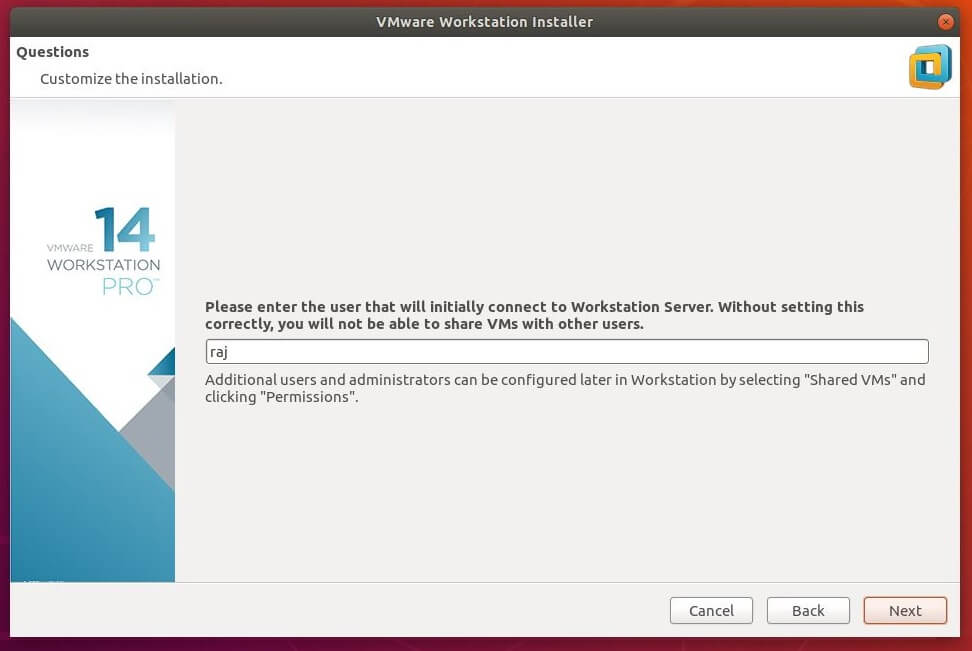
Enter the user that will initially connect to workstation server (Leave the default user) and click Next.
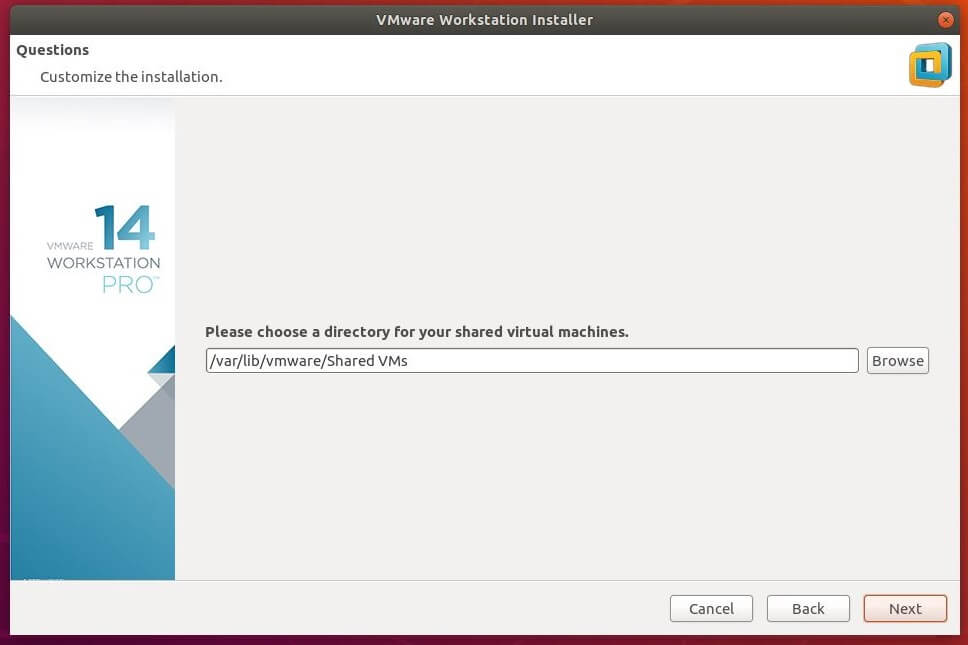
Choose a directory for your shared virtual machine (Leave the default) and click Next.
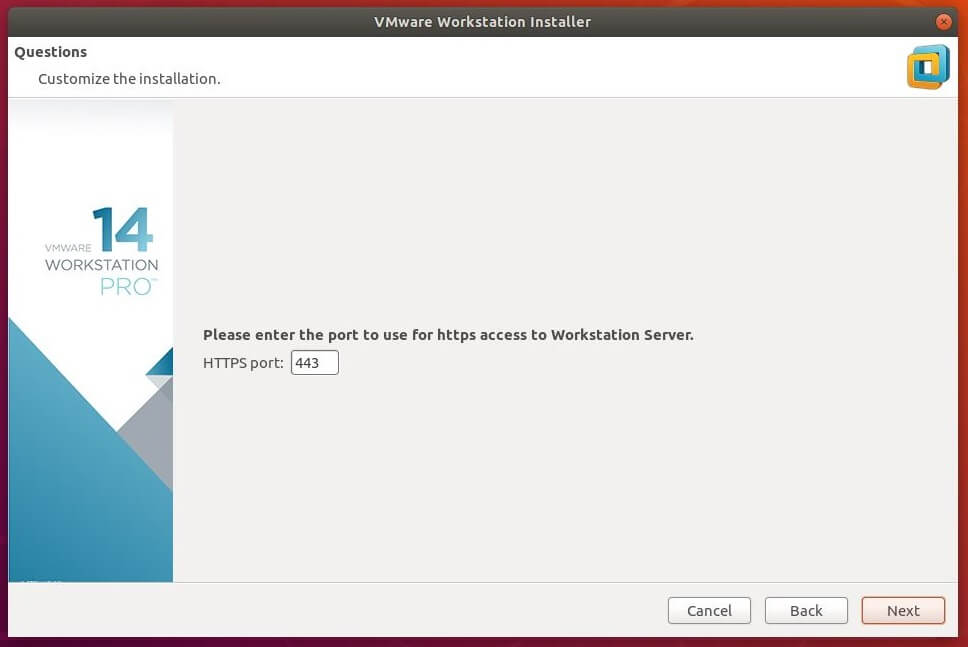
Now, Enter the port number to use for https access to workstation server (Leave the default) and click Next.
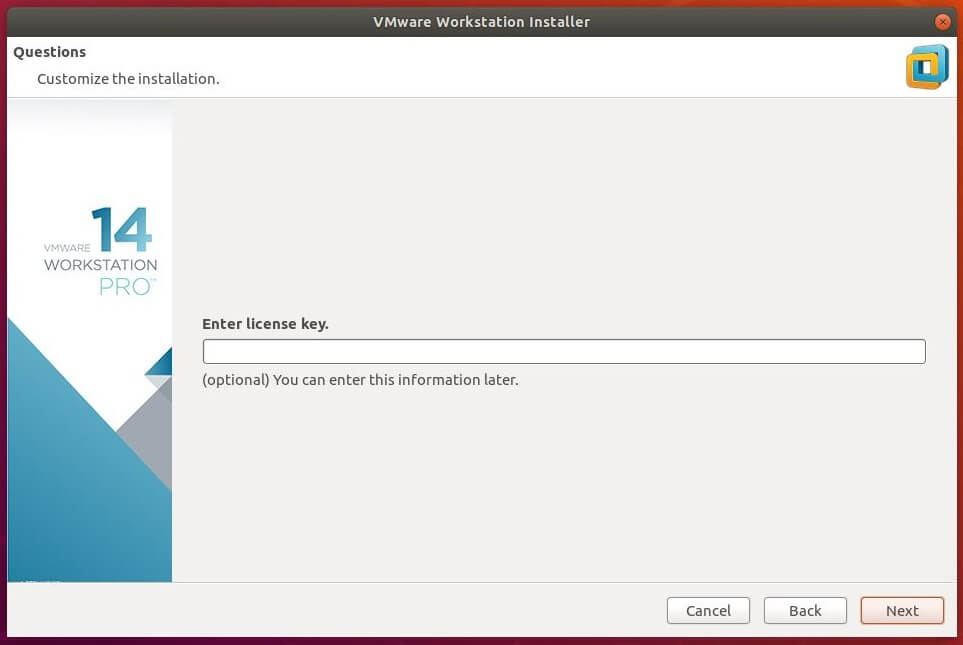
Enter license key (optional) and click Next.
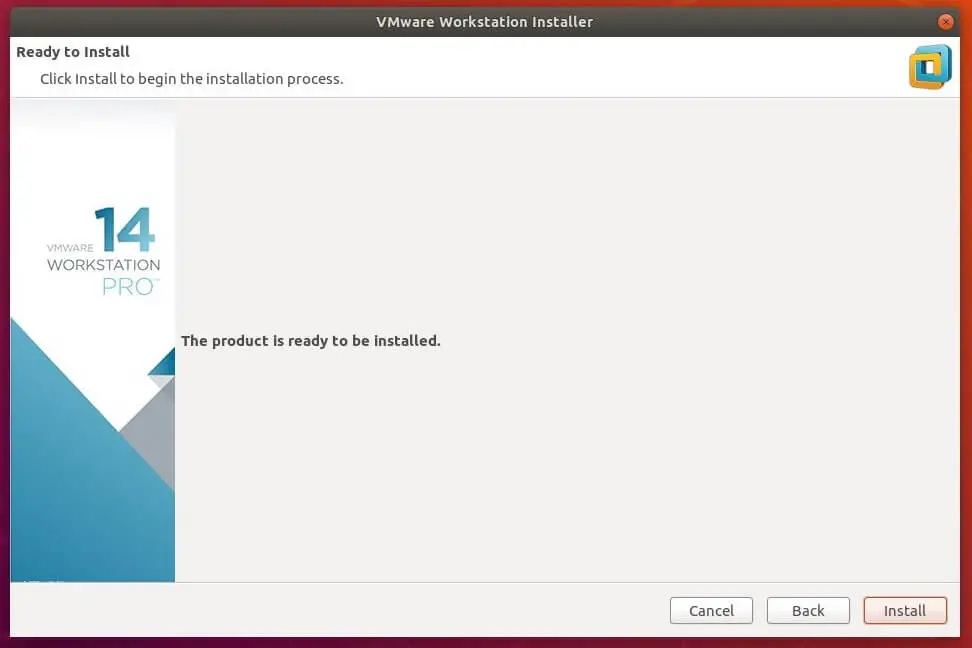
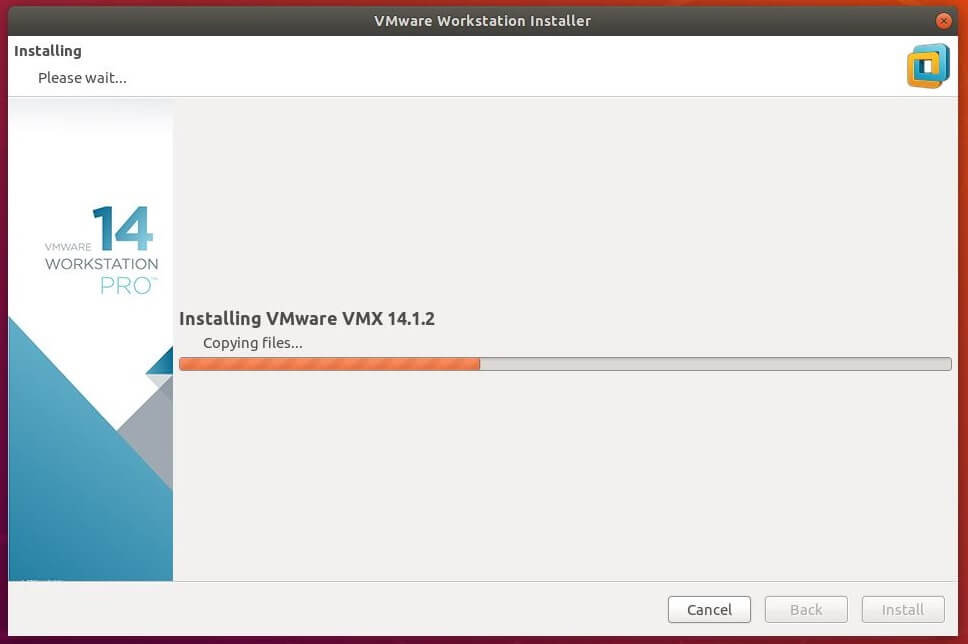
Click Install to begin the installation.
Sit back and relax. VMware Workstation Pro installation may take 5 to 10 minutes to complete.
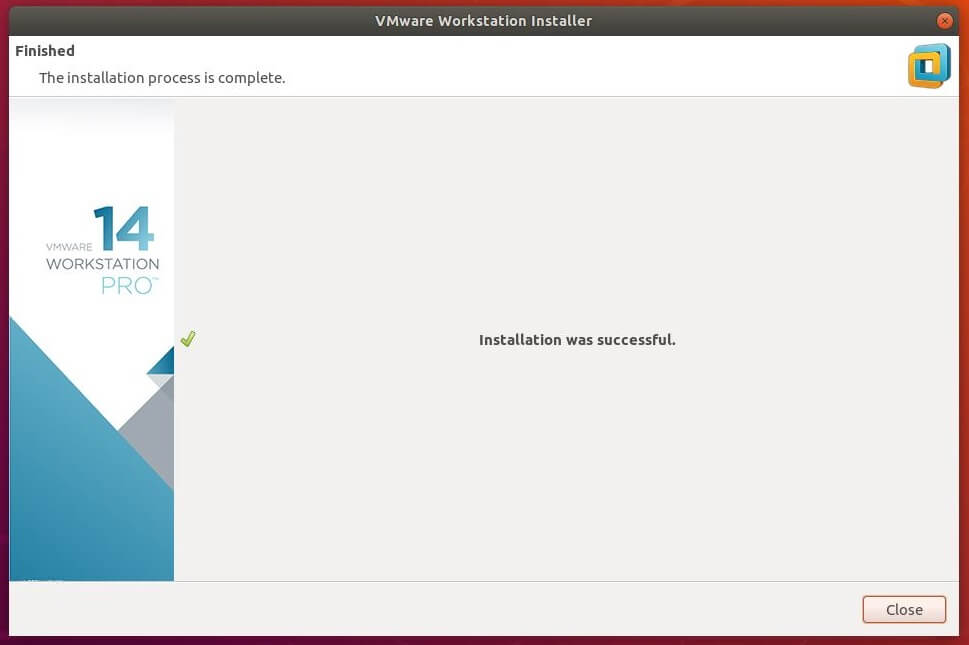
Click Close button to finish the installation.
Step 3: Access VMware Workstation Pro
Start the VMware Workstation.
Ubuntu 18.04 / 17.10: Activities >> Search for VMware Workstation.

Ubuntu 16.04: Dash >> Search for VMware Workstation.

OR
vmware
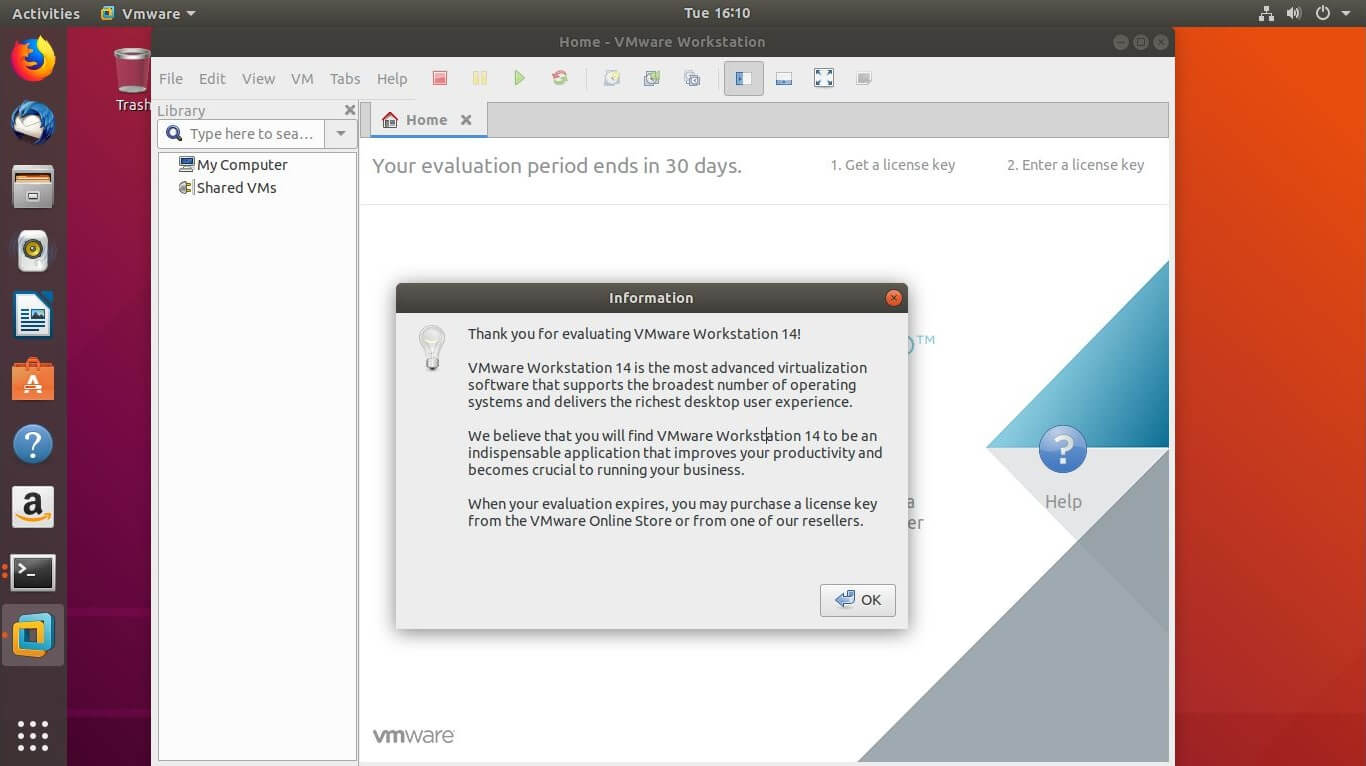
Since I don’t have a license key for VMware workstation, I chose to try VMware Workstation 14 for 30 days. Click OK to proceed.

You would need to input your password to proceed upon clicking OK.
You should see the home screen of the VMware Workstation. Here you can manage the Virtual Machines.
Step 4: Post Tasks
You may get the below error when you power on a virtual machine on the system that boots from UEFI with secure boot enabled.
The system with secure boot enabled will not allow loading of any unsigned drivers. Due to this vmmon module is not loaded in the system and thus getting above error.
To resolve the issue,
First, sign the kernel module shown like in the below link (run all commands with sudo).
READ: How to sign vmmon kernel module for UEFI system with Secure boot enabled
Second, complete the enrollment from the UEFI console shown like in the below link (follow screenshots only).
READ: How to Enroll the key in UEFI console
Screenshot of CentOS 7 running on VMware Workstation Pro 14 in Ubuntu 18.04:
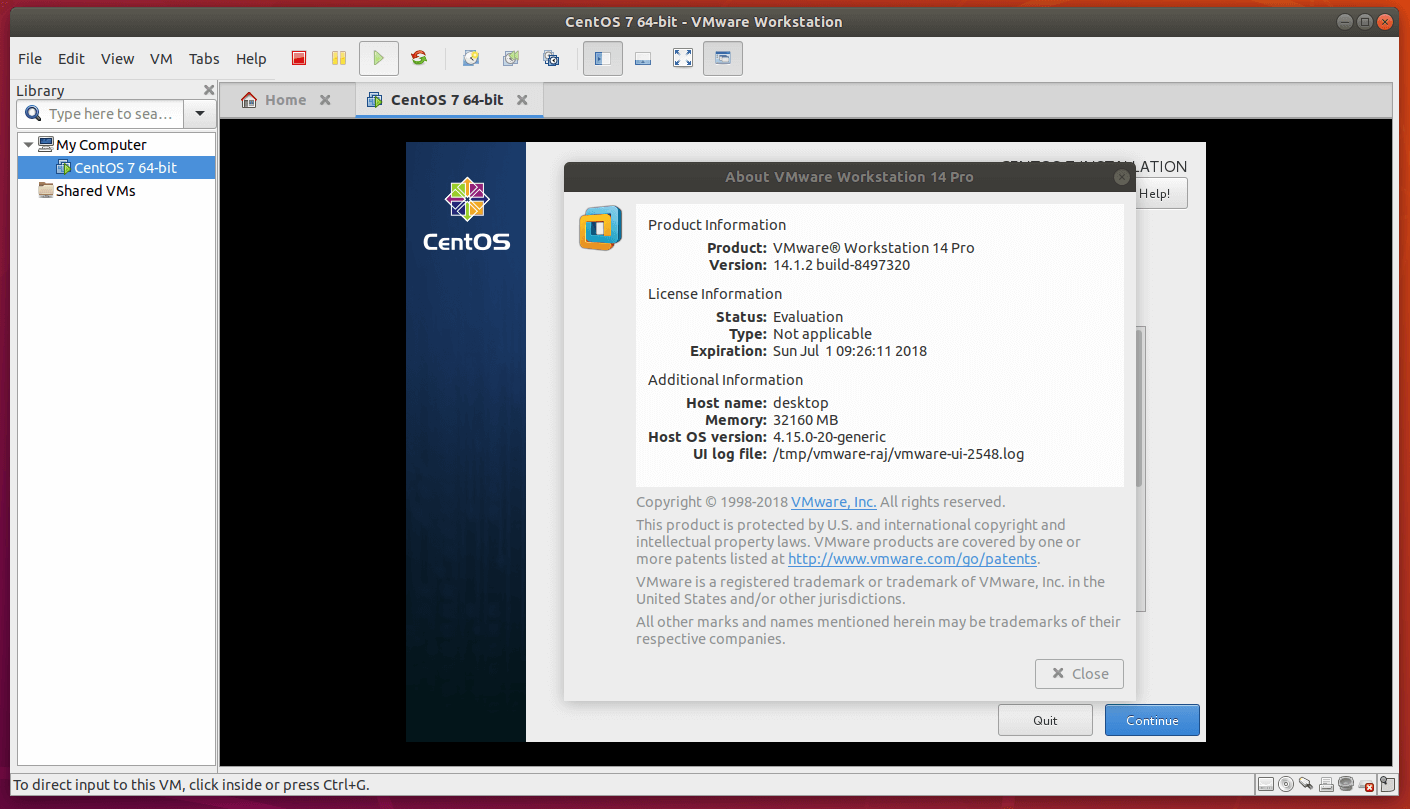
That’s All. You have successfully installed VMware Workstation on Ubuntu 18.04.