WordPress is a content management system (CMS) that is widely used to create blogs, websites, eCommerce portals, and much more. It is written in PHP language and uses MariaDB or MySQL as a database.
WordPress powers more than 60 million websites, including 33% of the top 10 million websites.
Here is the tutorial on how to install WordPress with Nginx on CentOS 8 / RHEL 8.
Install LEMP Stack
Before proceeding, setup the LEMP stack using the below link.
Install LEMP Stack (Nginx, MariaDB, and PHP) on CentOS 8 / RHEL 8
Install PHP Extensions
The following extensions are required to install WordPress on CentOS 8 / RHEL 8.
yum install -y php-mysqlnd php-dom php-simplexml php-xml php-xmlreader php-curl php-exif php-ftp php-gd php-iconv php-json php-mbstring php-posix php-sockets php-tokenizer
Configure Nginx Server block for WordPress
Let’s create a server block for WordPress installation. Virtual host configuration files can be found under /etc/nginx/conf.d directory.
I am creating a server block for the following,
Domain Name: www.itzgeek.net
Port No: 80
Document Root: /sites/www.itzgeek.net/public_html
Logs: /sites/www.itzgeek.net/logs
First, create a virtual host file.
vi /etc/nginx/conf.d/www.itzgeek.net.conf
Place the following content.
server {
	listen 80;
	server_name www.itzgeek.net;

	root /sites/www.itzgeek.net/public_html/;

	index index.html index.php;

	access_log /sites/www.itzgeek.net/logs/access.log;
	error_log /sites/www.itzgeek.net/logs/error.log;

	# Don't allow pages to be rendered in an iframe on external domains.
	add_header X-Frame-Options "SAMEORIGIN";

	# MIME sniffing prevention
	add_header X-Content-Type-Options "nosniff";

	# Enable cross-site scripting filter in supported browsers.
	add_header X-Xss-Protection "1; mode=block";

	# Prevent access to hidden files
	location ~* /\.(?!well-known\/) {
		deny all;
	}

	# Prevent access to certain file extensions
	location ~\.(ini|log|conf)$ {
		deny all;
	}

        # Enable WordPress Permananent Links
	location / {
		try_files $uri $uri/ /index.php?$args;
	}

	location ~ \.php$ {
        include /etc/nginx/fastcgi_params;
        fastcgi_pass 127.0.0.1:9000;
        fastcgi_index index.php;
        fastcgi_param SCRIPT_FILENAME $document_root$fastcgi_script_name;
	}

}
Create document root and logs directory.
sudo mkdir -p /sites/www.itzgeek.net/public_html/

sudo mkdir -p /sites/www.itzgeek.net/logs/
Verify the configuration files.
nginx -t
The below output confirms that there is no syntax error in the server block.
nginx: the configuration file /etc/nginx/nginx.conf syntax is ok
nginx: configuration file /etc/nginx/nginx.conf test is successful
Restart the services.
systemctl restart nginx

systemctl restart php-fpm
If you get any error while restarting the Nginx service, then disable SELinux on your machine.
setenforce 0
Install Let’s Encrypt SSL for WordPress (Optional)
Nowadays, almost all websites use HTTPS (SSL certificate) for authenticity, security, and to keep user communications private. Google asked owners last year to switch to HTTPS for security and improve rankings.
Install Certbot
You need to install a Certbot ACME client on your system for certificate issuance and installation of a certificate with no downtime.
The Certbot client is not available in Red Hat repositories. So, we need to download a Certbot client from its official site.
curl -O https://dl.eff.org/certbot-auto

mv certbot-auto /usr/local/bin/certbot-auto

chmod 0755 /usr/local/bin/certbot-auto
Update / Change DNS Record
Go to your domain registrar and create/update the A/CNAME record for your domain.

Wait for some time to let the DNS record propagate and then proceed for installing Let’s Encrypt SSL.
Install Let’s Encrypt SSL Certificate
Use the certbot command to create and install a Let’s Encrypt certificate.
/usr/local/bin/certbot-auto --nginx
On the first run, the certbot client will install required rpm packages for setting up a Python virtual environment to generate certificates.
Output:
Saving debug log to /var/log/letsencrypt/letsencrypt.log
Plugins selected: Authenticator nginx, Installer nginx
Enter email address (used for urgent renewal and security notices) (Enter 'c' to
cancel): [email protected]  << Enter email id to receive notification

- - - - - - - - - - - - - - - - - - - - - - - - - - - - - - - - - - - - - - - -
Please read the Terms of Service at
https://letsencrypt.org/documents/LE-SA-v1.2-November-15-2017.pdf. You must
agree in order to register with the ACME server at
https://acme-v02.api.letsencrypt.org/directory
- - - - - - - - - - - - - - - - - - - - - - - - - - - - - - - - - - - - - - - -
(A)gree/(C)ancel: A  << Accept Terms of Service

- - - - - - - - - - - - - - - - - - - - - - - - - - - - - - - - - - - - - - - -
Would you be willing to share your email address with the Electronic Frontier
Foundation, a founding partner of the Let's Encrypt project and the non-profit
organization that develops Certbot? We'd like to send you email about our work
encrypting the web, EFF news, campaigns, and ways to support digital freedom.
- - - - - - - - - - - - - - - - - - - - - - - - - - - - - - - - - - - - - - - -
(Y)es/(N)o: Y  << Subscribe to newsletter

Which names would you like to activate HTTPS for?
- - - - - - - - - - - - - - - - - - - - - - - - - - - - - - - - - - - - - - - -
1: www.itzgeek.net
- - - - - - - - - - - - - - - - - - - - - - - - - - - - - - - - - - - - - - - -
Select the appropriate numbers separated by commas and/or spaces, or leave input
blank to select all options shown (Enter 'c' to cancel): 1  << Install SSL certificate for www.itzgeek.net
Obtaining a new certificate
Performing the following challenges:
http-01 challenge for www.itzgeek.net
Waiting for verification...
Cleaning up challenges
Deploying Certificate to VirtualHost /etc/nginx/conf.d/wordpress.conf

Please choose whether or not to redirect HTTP traffic to HTTPS, removing HTTP access.
- - - - - - - - - - - - - - - - - - - - - - - - - - - - - - - - - - - - - - - -
1: No redirect - Make no further changes to the webserver configuration.
2: Redirect - Make all requests redirect to secure HTTPS access. Choose this for
new sites, or if you're confident your site works on HTTPS. You can undo this
change by editing your web server's configuration.
- - - - - - - - - - - - - - - - - - - - - - - - - - - - - - - - - - - - - - - -
Select the appropriate number [1-2] then [enter] (press 'c' to cancel): 2  << Redirect HTTP traffic to HTTPS site
Redirecting all traffic on port 80 to ssl in /etc/nginx/conf.d/wordpress.conf

- - - - - - - - - - - - - - - - - - - - - - - - - - - - - - - - - - - - - - - -
Congratulations! You have successfully enabled https://www.itzgeek.net

You should test your configuration at:
https://www.ssllabs.com/ssltest/analyze.html?d=www.itzgeek.net
- - - - - - - - - - - - - - - - - - - - - - - - - - - - - - - - - - - - - - - -

IMPORTANT NOTES:
 - Congratulations! Your certificate and chain have been saved at:
   /etc/letsencrypt/live/www.itzgeek.net/fullchain.pem
   Your key file has been saved at:
   /etc/letsencrypt/live/www.itzgeek.net/privkey.pem
   Your cert will expire on 2019-12-17. To obtain a new or tweaked
   version of this certificate in the future, simply run certbot-auto
   again with the "certonly" option. To non-interactively renew *all*
   of your certificates, run "certbot-auto renew"
 - Your account credentials have been saved in your Certbot
   configuration directory at /etc/letsencrypt. You should make a
   secure backup of this folder now. This configuration directory will
   also contain certificates and private keys obtained by Certbot so
   making regular backups of this folder is ideal.
 - If you like Certbot, please consider supporting our work by:

   Donating to ISRG / Let's Encrypt:   https://letsencrypt.org/donate
   Donating to EFF:                    https://eff.org/donate-le
Redirect non-www HTTP requests to www HTTPS with Nginx
We need to redirect the traffic coming for a non-www HTTP site to the www HTTPS site. For my site, it is https://itzgeek.net >> https://www.itzgeek.net.
vi /etc/nginx/conf.d/www.itzgeek.net.conf
Add the redirect below block at the end of the file.
# Redirect NON-WWW HTTP to WWW HTTPS
server {
    if ($host = itzgeek.net) {
        return 301 https://www.itzgeek.net$request_uri;
    }


   server_name itzgeek.net;
    listen 80;
    return 404;

}
Restart the Nginx service.
systemctl restart nginx
Create Database for WordPress
Login into MariaDB.
mysql -u root -p
Create the desired database for the WordPress installation.
CREATE DATABASE wordpress;
Create a user.
CREATE USER 'wpuser'@'localhost' IDENTIFIED BY 'wppassword';
Grant full permission to the created user to access the newly created WordPress database.
GRANT ALL PRIVILEGES ON wordpress.* TO 'wpuser'@'localhost';
Exit from MariaDB shell.
exit
Download WordPress
Download the latest WordPress.
curl -O https://wordpress.org/latest.tar.gz
Extract it.
tar -zxvf latest.tar.gz
Move it to our document root.
mv wordpress/* /sites/www.itzgeek.net/public_html/
Copy the wp-sample-config.php file and make it as the wp-config.php file.
cp /sites/www.itzgeek.net/public_html/wp-config-sample.php /sites/www.itzgeek.net/public_html/wp-config.php
Edit the config file and update the database information.
vi /sites/www.itzgeek.net/public_html/wp-config.php
Modify entries according to the created database, user, and password.
// ** MySQL settings - You can get this info from your web host ** //
/** The name of the database for WordPress */
define( 'DB_NAME', 'wordpress' );

/** MySQL database username */
define( 'DB_USER', 'wpuser' );

/** MySQL database password */
define( 'DB_PASSWORD', 'wppassword' );

/** MySQL hostname */
define( 'DB_HOST', 'localhost' );
Make Nginx user as the owner of the WordPress directory.
chown -R apache:apache /sites/www.itzgeek.net/public_html/
Install WordPress
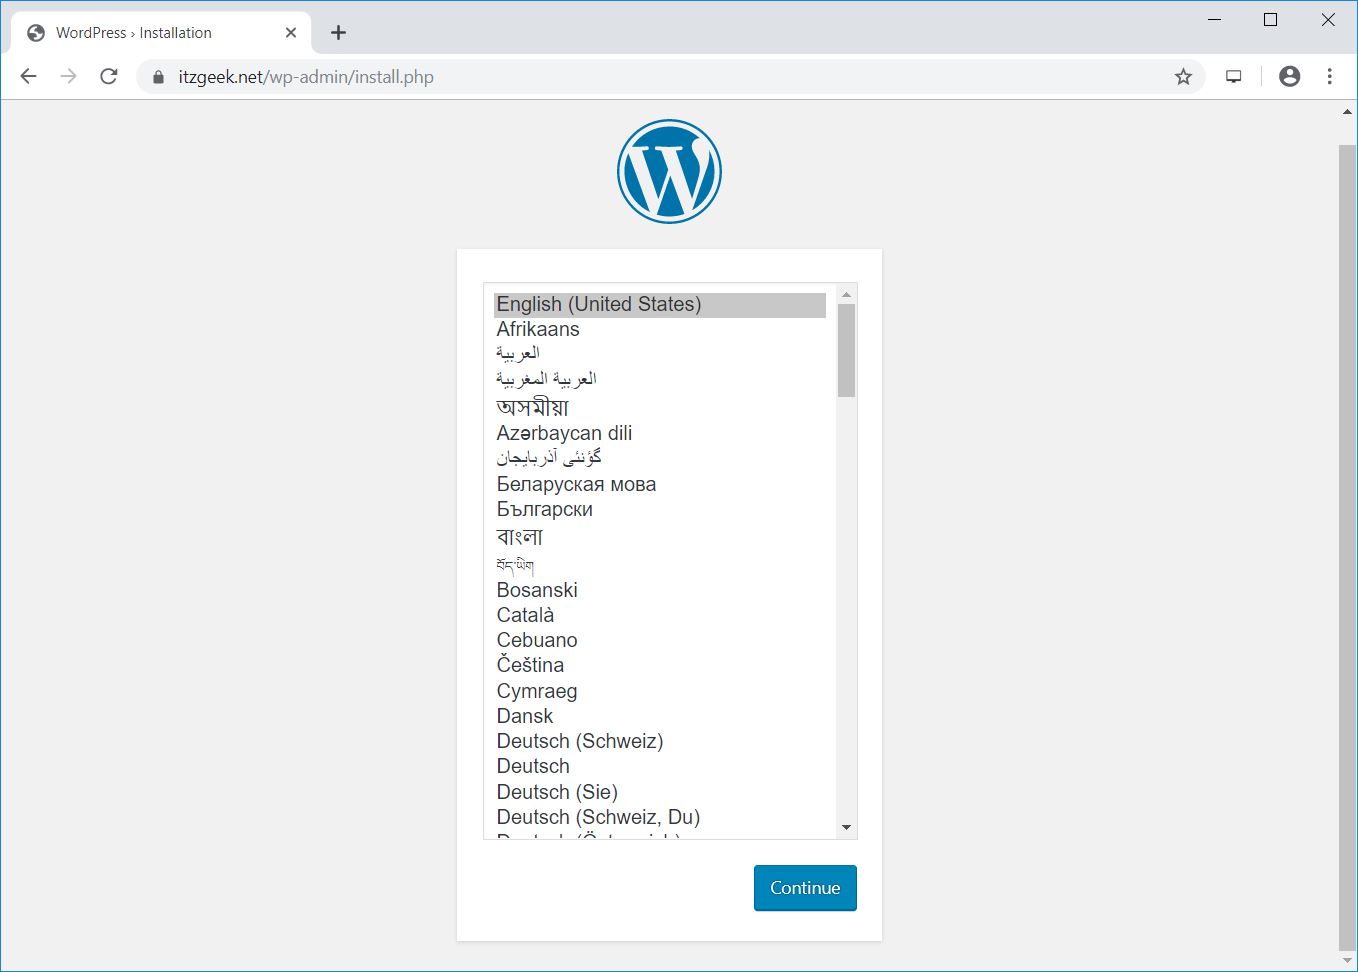
Open your browser and visit
Choose a language for your WordPress installation.
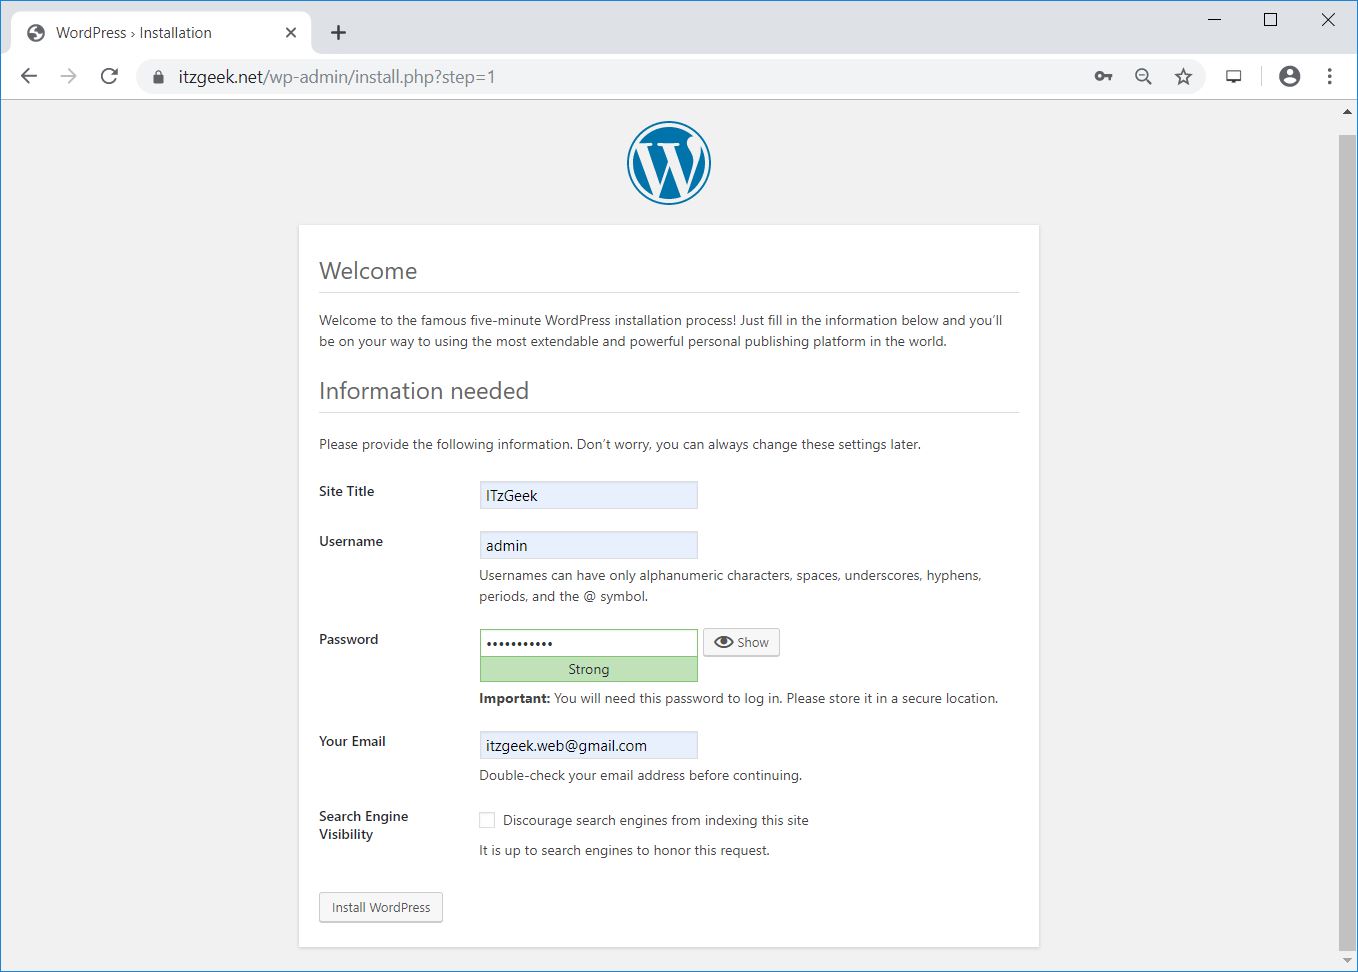
Enter your site information and click on Install WordPress.
You will see the next page, like below.
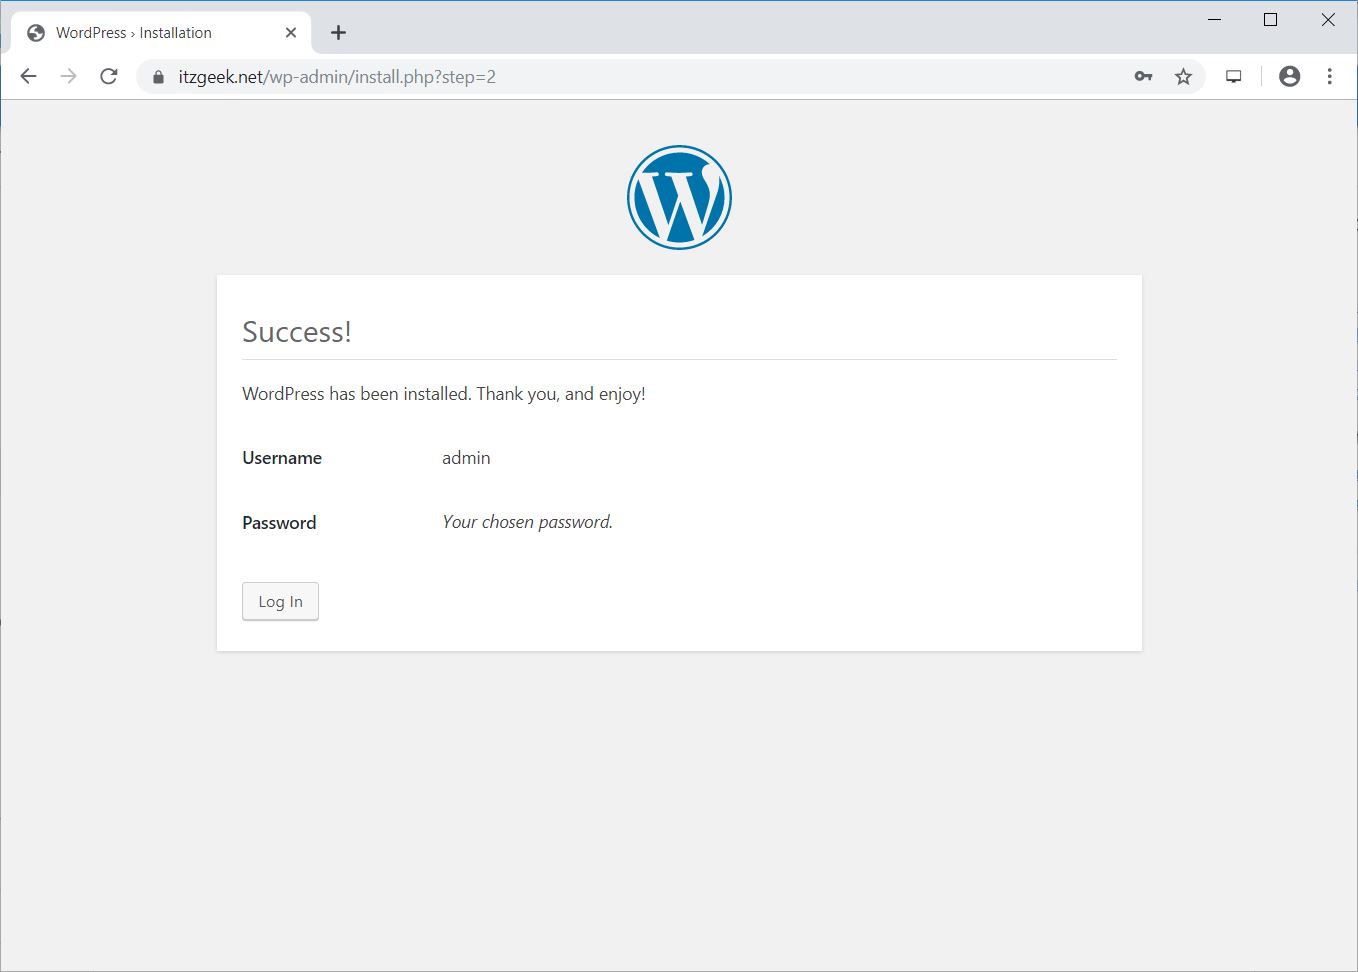
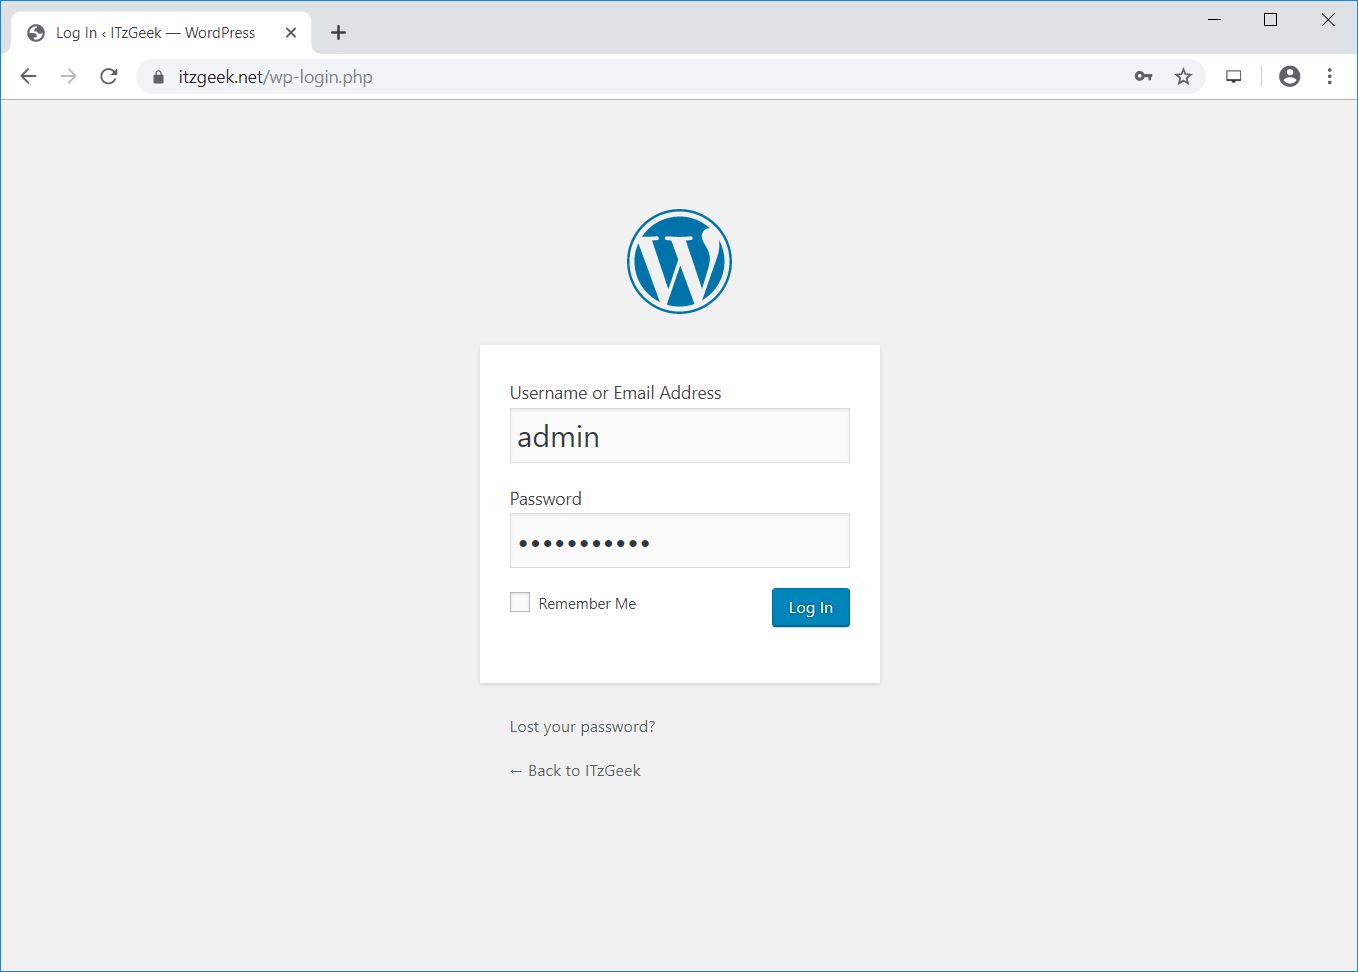
If you click Login, you will be asked to enter the password to access the WordPress Admin.
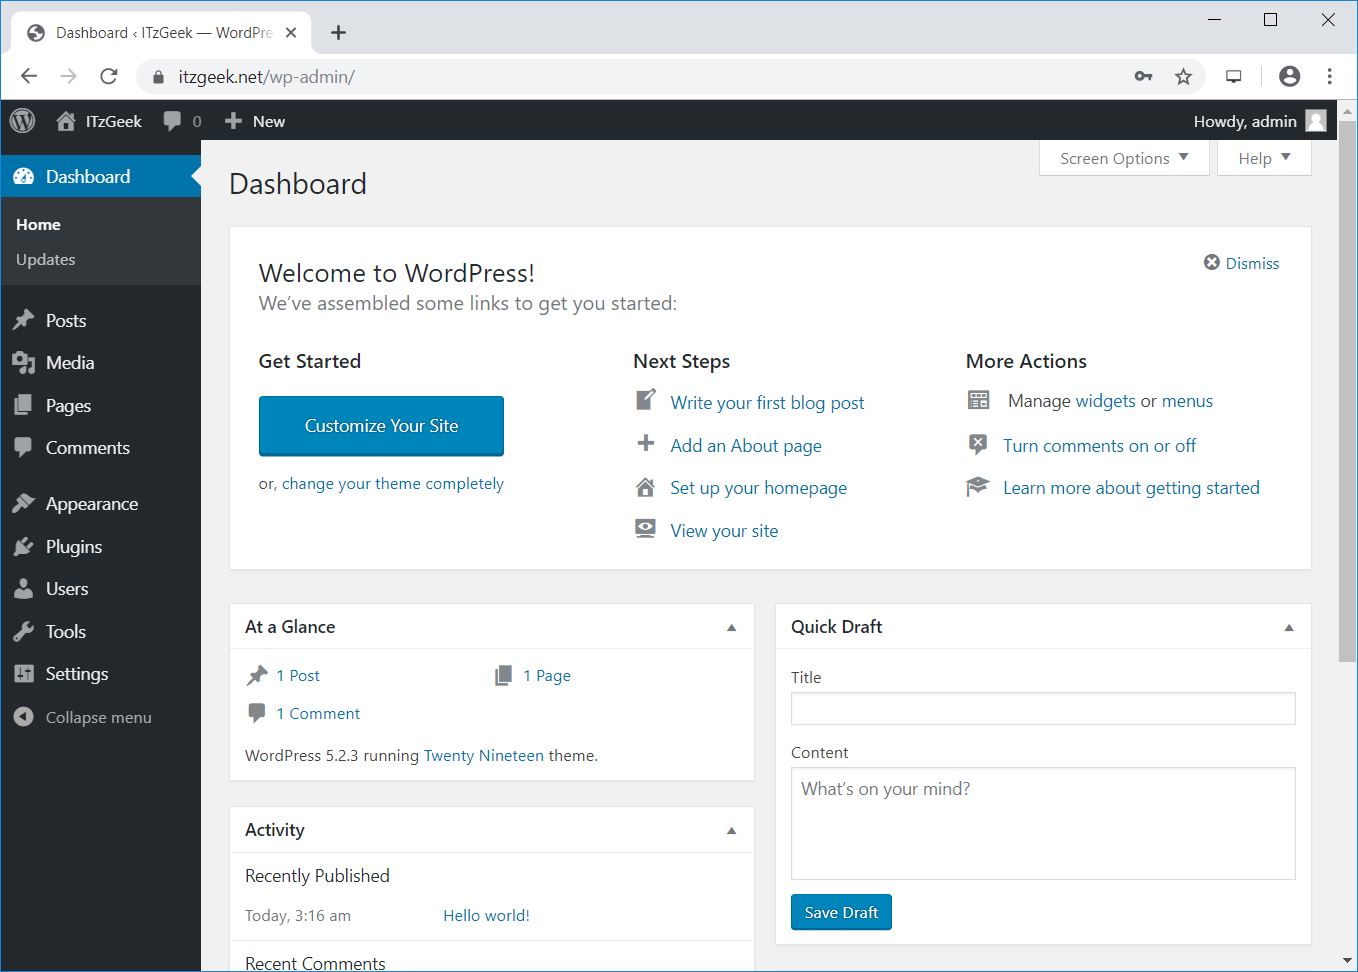
WordPress Admin Dashboard:
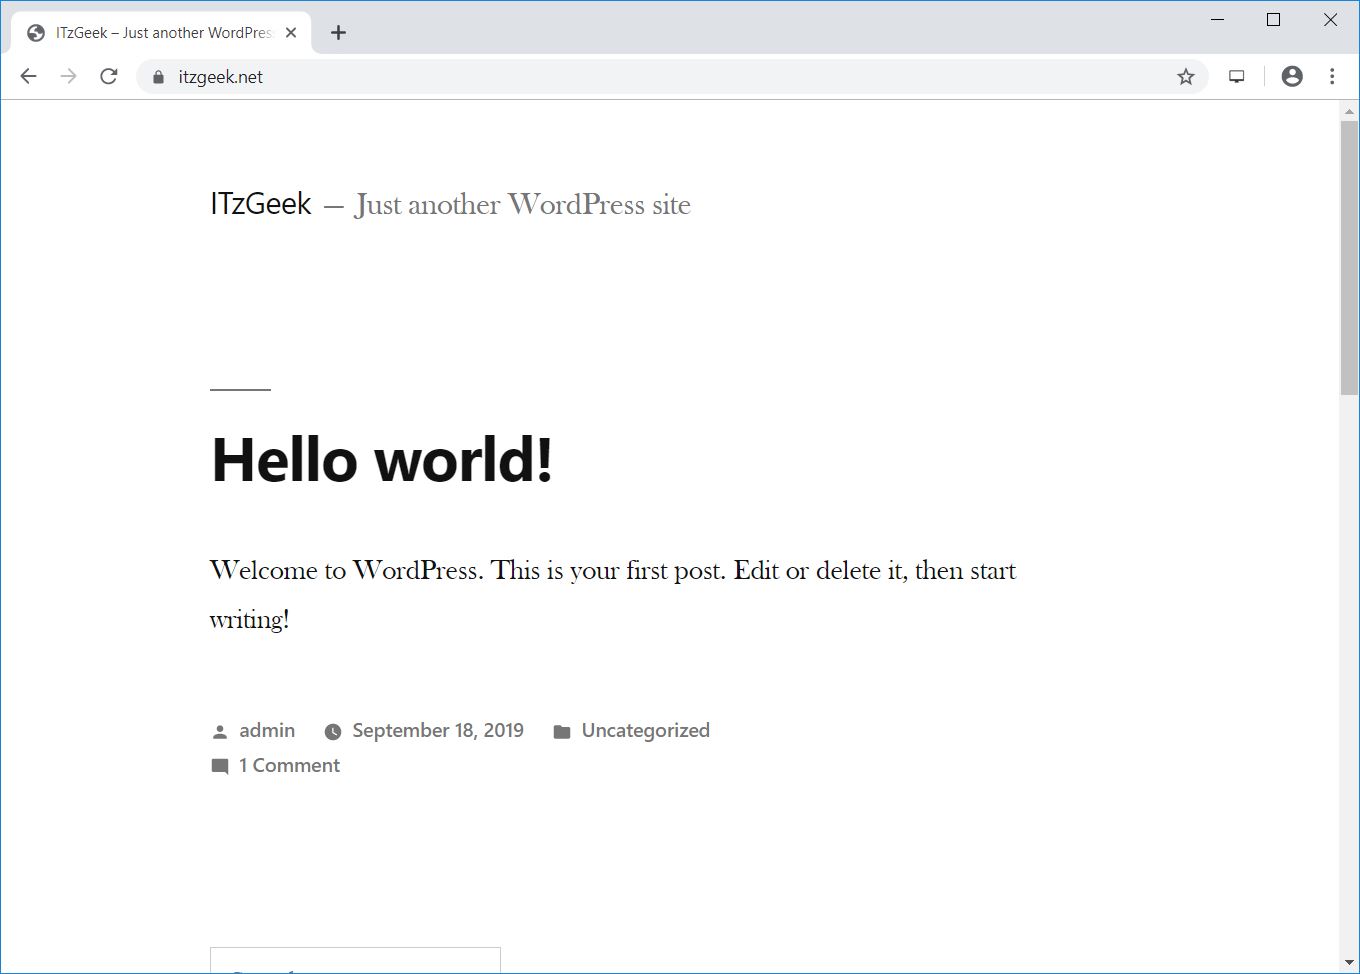
WordPress Frontend:
Few Extra Configurations
Configure Maximum File Size Upload for WordPress
By default, PHP doesn’t allow file uploads above 2MB. To allow larger file uploads, configure the upload_max_filesize setting in php.ini.
vi /etc/php.ini
Change the file upload size as per your requirement
; Maximum allowed size for uploaded files.
; https://php.net/upload-max-filesize
upload_max_filesize = 256M
Restart the php-fpm service.
systemctl restart php-fpm
Set client_max_body_size on Nginx for WordPress
You may receive below error even if you have changed maximum upload filesize in the previous step.
2019/09/18 03:37:17 [error] 11773#11773: *121 client intended to send too large body: 9872781 bytes, client: 49.207.143.143, server: www.itzgeek.net, request: "POST /wp-admin/update.php?action=upload-theme HTTP/1.1", host: "www.itzgeek.net", referrer: "https://www.itzgeek.net/wp-admin/theme-install.php?browse=featured"
Add client_max_body_size core module in Nginx configuration file.
vi /etc/nginx/nginx.conf
The directive can be added to the http block (for all sites), a particular server block, or in location context.
Here, I am adding the directive to the http block which sets the value for all sites running on this server.
http {
....

    client_max_body_size 256M;

....
}
Also, we have to change the value of post_max_size in the php.ini file.
vi /etc/php.ini
Change the upload size as per your requirement.
post_max_size = 256M
Restart the services.
systemctl restart php-fpm

systemctl restart nginx
Conclusion
That’s All. I hope you are now able to run your WordPress with Nginx on CentOS 8 / RHEL 8. Please share your feedback in the comments section.