Remote Login with GDM and VNC on CentOS 7 / RHEL 7 | Configure VNC on XINETD with XDMCP CentOS 7 / RHEL 7

The following simple guide help you to setup the VNC server using xinetd on RHEL 7/CentOS 7 machines, VNC help to share the desktop with the other machines which has a client installed. VNC server and client are not installed by default, you need to setup the vnc server manually.
Before installing the VNC server, install Gnome desktop.
Install the tigervnc server, X11 fonts and xinetd.
yum install tigervnc-server xorg-x11-fonts-Type1 xinetd
Enable the XDMCP.
vi /etc/gdm/custom.conf
Add the following content.
[security]
AllowRemoteRoot=true
DisallowTCP=false

[xdmcp]
Enable=true
MaxSessions=30
Create Xinetd service.
vi /etc/xinetd.d/vncserver
Place the following content on the above file.
service vncserver
{
disable = no
socket_type = stream
protocol = tcp
group = tty
wait = no
user = nobody
server = /usr/bin/Xvnc
server_args = -inetd -query localhost -geometry 1024×768 -depth 16 -once -fp /usr/share/X11/fonts/misc -securitytypes=none
}
Create VNC service.
vi /etc/services
Add the following line at the end of file.
vncserver 5900/tcp # VNC and GDM
Restart xinetd service
systemctl restart xinetd.service
Add firewall rules to allow the VNC connection, the following rule is set as per the port-offset mentioned in the previous step.
firewall-cmd --permanent --zone=public --add-port=5900/tcp
firewall-cmd --reload
Reboot the machine, if required.
reboot
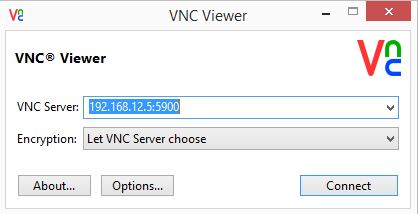
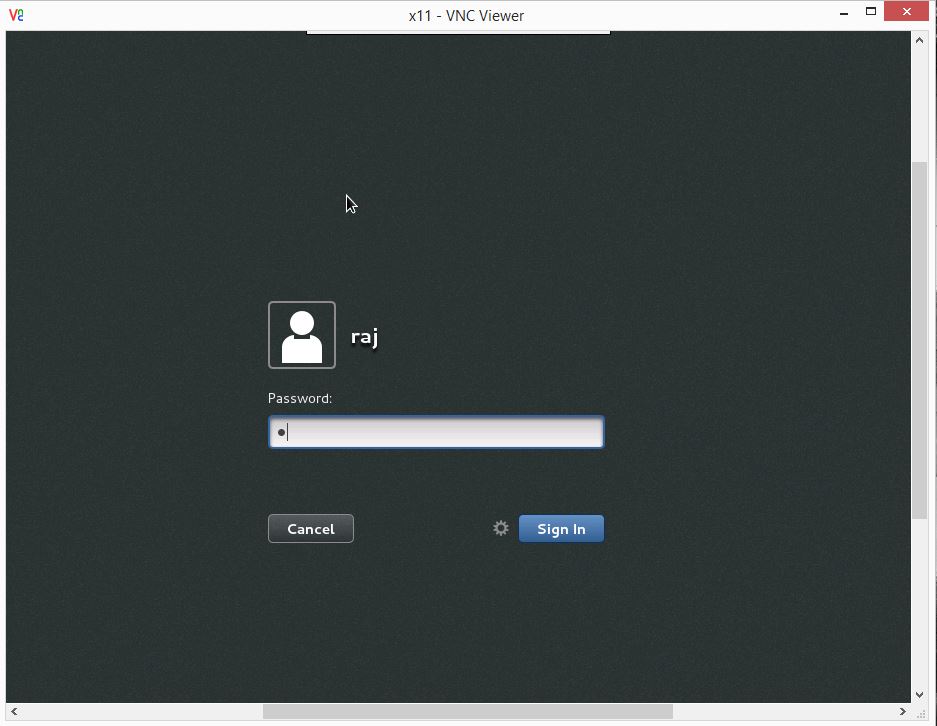
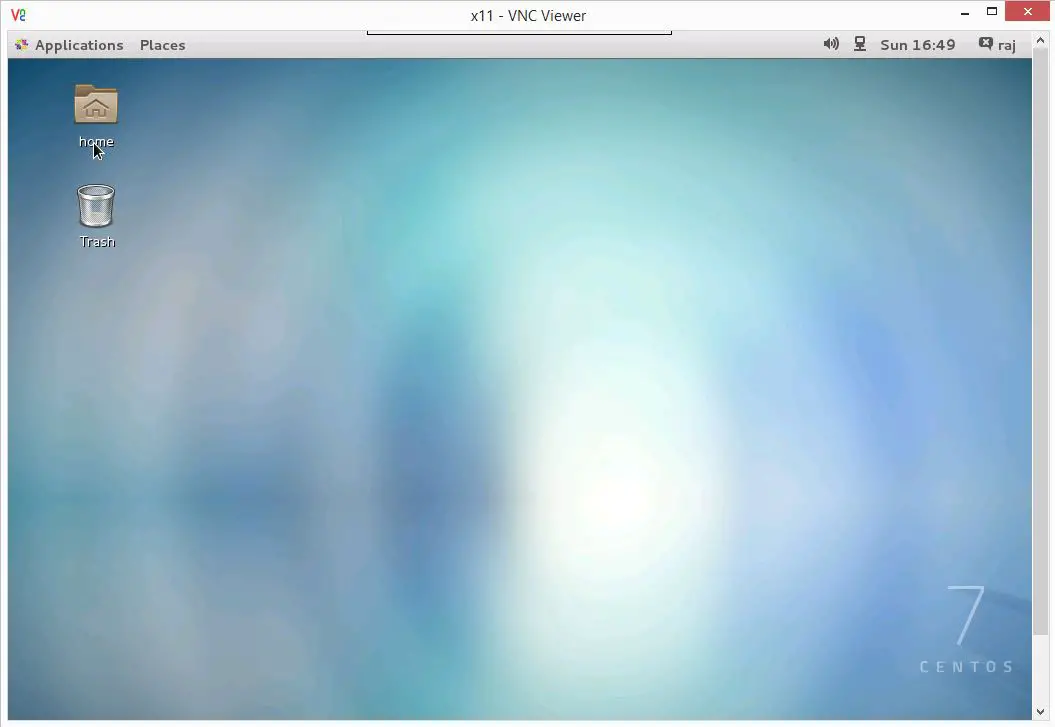
Use VNC viewer to connect.
ipaddress:5900