OpenLDAP is an open-source software implementation of Lightweight Directory Access Protocol, created by OpenLDAP project. It is released under OpenLDAP public license; it is available for all major Linux operating systems, AIX, Android, HP-UX, OS X, Solaris,z/OS, and Windows.
It works like a relational database in certain ways and can be used to store any information. It is not limited to store the information; it can also be used as a backend database for “single sign-on”.
In this guide, we will setup OpenLDAP server for centralized login where the users use the single account to log in to multiple servers.
Environment:
| Host Name | IP Address | OS | Purpose |
|---|---|---|---|
| server.itzgeek.local | 192.168.12.10 | Ubuntu 16.04 / Debian 8 | LDAP Server |
| client.itzgeek.local | 192.168.12.20 | Ubuntu 16.04 / Debian 8 | LDAP Client |
Prerequisites:
1. Make an entry for each machine in /etc/hosts for name resolution.
$ sudo vi /etc/hosts

192.168.12.10 server.itzgeek.local server
192.168.12.20 client.itzgeek.local client
or
If you plan to use server name instead of IP address, configure DNS server.
READ: How to Configure DNS Server on CentOS 7 / RHEL7
Here I will use IP address for all the configuration.
Install LDAP:
Let’s start the installation of LDAP server package using “apt-get” command on server.itzgeek.local.
$ sudo apt-get update
$ sudo apt-get -y install slapd ldap-utils
During the installation, the installer will prompt you to set a password for LDAP administrator. Just enter a password of your wish.
Reconfigure OpenLDAP Server:
The installer will automatically create an LDAP directory based on the hostname of your server which is not we want, so we are now going to reconfigure the LDAP. To do that, execute the following command.
$ sudo dpkg-reconfigure slapd
You would need to answer for series of questions prompted by reconfiguration tool.
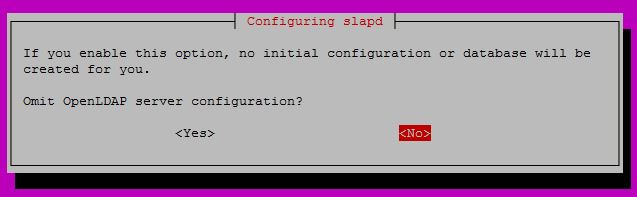
Omit OpenLDAP server configuration? No (If you select yes, it will just cancel the configuration)
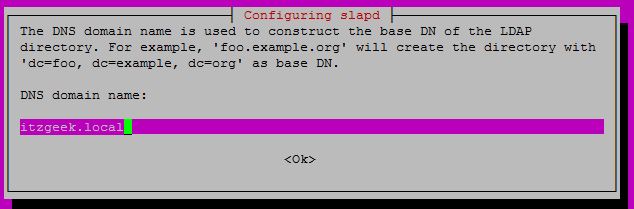
DNS Domain name: This is to construct the base DN of the LDAP directory. You can just enter the domain name of your choice.
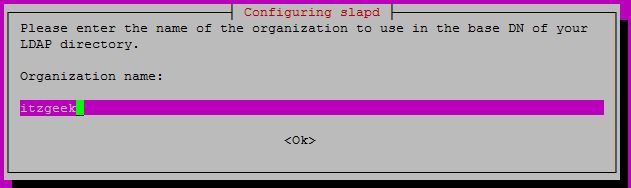
Organization name: You can just name your organization.
Enter the administrator password for LDAP admin account, by default; admin is the name of the administrator user.
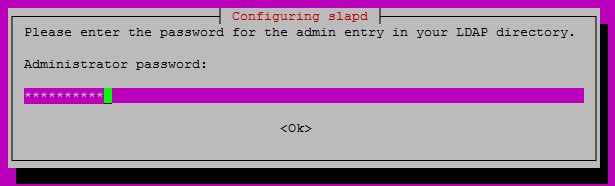
Confirm the administrator password.

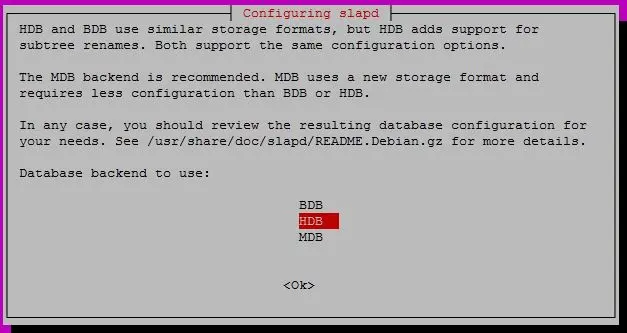
Choose the backend format for LDAP: HDB
Choose whether you want the database to be removed when slapd is purged. Select No.

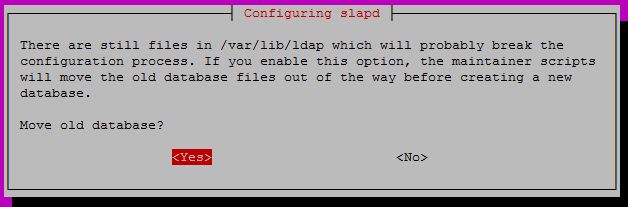
If you have any old data in the LDAP, you could consider moving the database out of the way before creating a database.
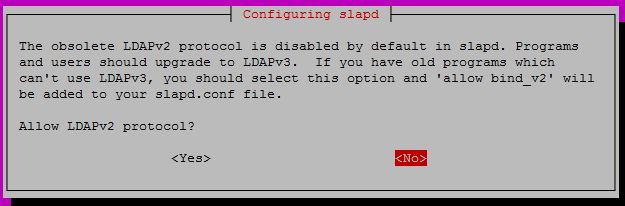
You have the option to allow or disable LDAPv2 protocol.
Once the reconfiguration is complete, you would get an output like below.
  Moving old database directory to /var/backups:
  - directory unknown... done.
  Creating initial configuration... done.
  Creating LDAP directory... done.
Verify the LDAP.
$ sudo netstat -antup | grep -i 389

tcp        0      0 0.0.0.0:389             0.0.0.0:*               LISTEN      2233/slapd
tcp6       0      0 :::389                  :::*                    LISTEN      2233/slapd