
Fedora 23 has been released on 03-11-2015, you may now looking upgrade option for Fedora 22. This guide will help you to upgrade Fedora 22 Server/Workstation/Cloud to Fedora 23 Server/Workstation/Cloud.
Note: Before going ahead, it is recommended to take a backup of important files and configuration; this will help us restoring the system back to its previous state.
Switch to root user
$ su
Install the DNF system upgrade plungin package.
# dnf install dnf-plugin-system-upgrade
Update your system.
# dnf update
Some third-party repos may not be available on Fedora 23. Check the status of your configured repositories.
# dnf repolist --releasever 23
Troubleshooting:
If problems are reported with a repository, you may wish to disable it. If there is no error, you can skip to next step.
# dnf config-manager --set-disabled repo-name
Prepare the upgrade environment.
# dnf system-upgrade download --releasever 23
Reboot to perform the upgrade.
# dnf system-upgrade reboot
Now you could see the grub boot menu, system will automatically boot into default selection (Do not do anything).

Following screen shows the upgradation is in progress.
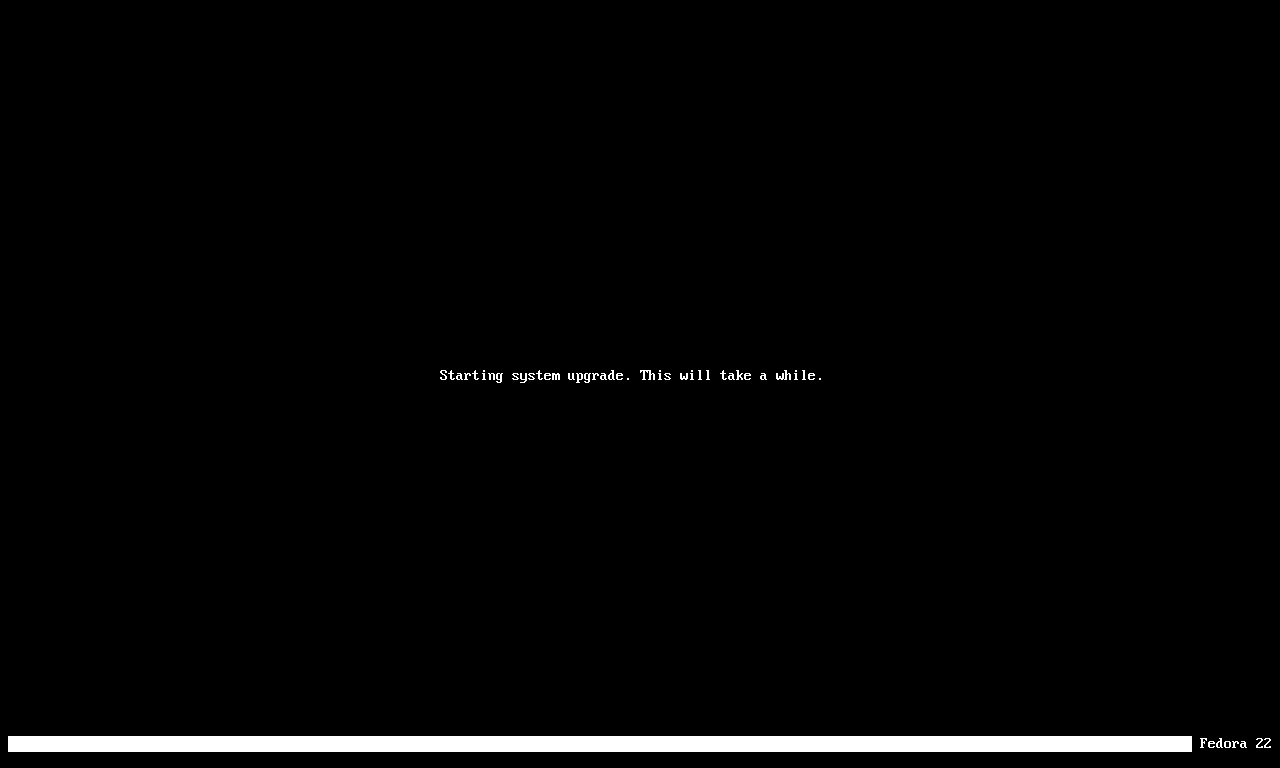
Now, system is upgrading the packages.

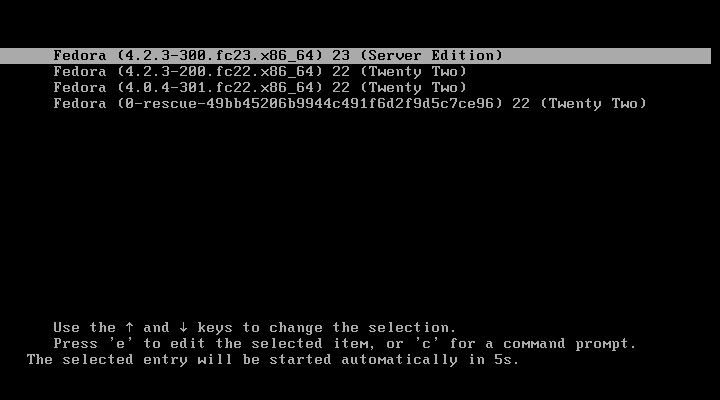
Once the system is upgraded, you would see Fedora 23 in grub menu.
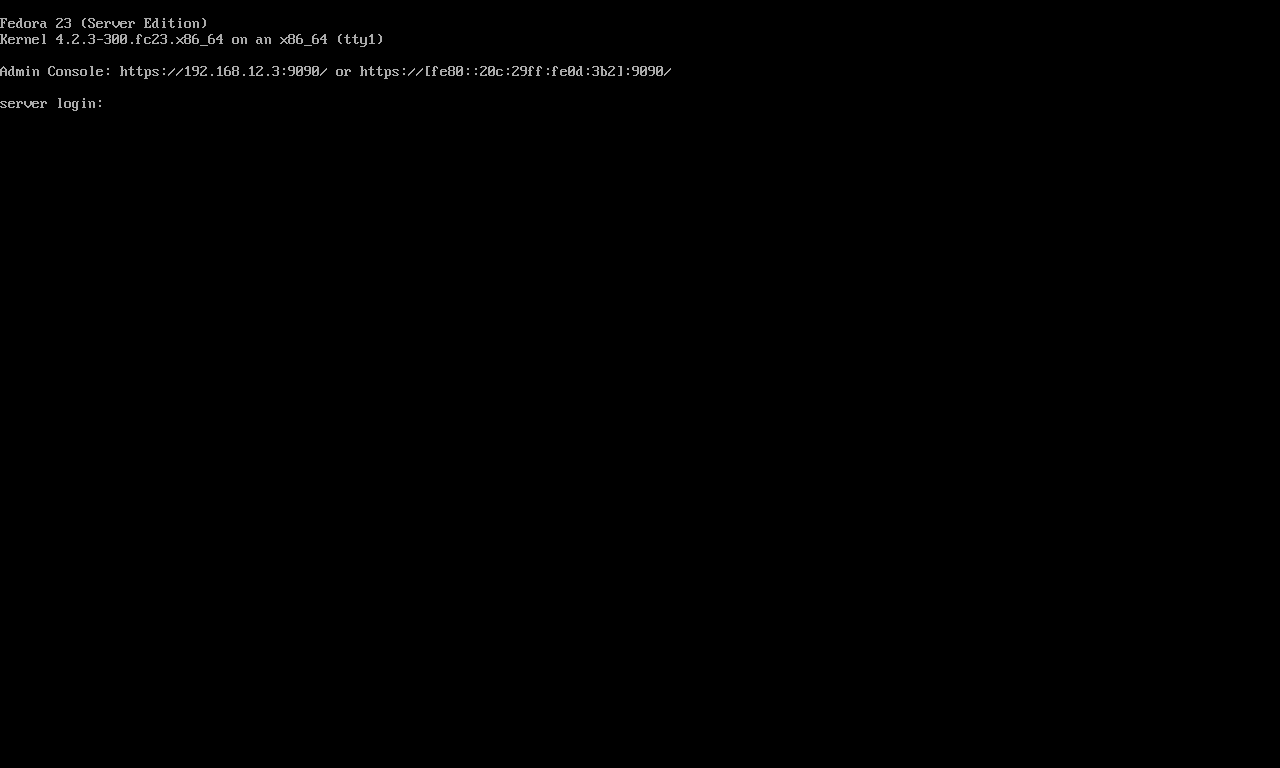
The following screen shows the login page of Fedora Server 23.
You can remove cached packages by executing below command.
# dnf clean packages
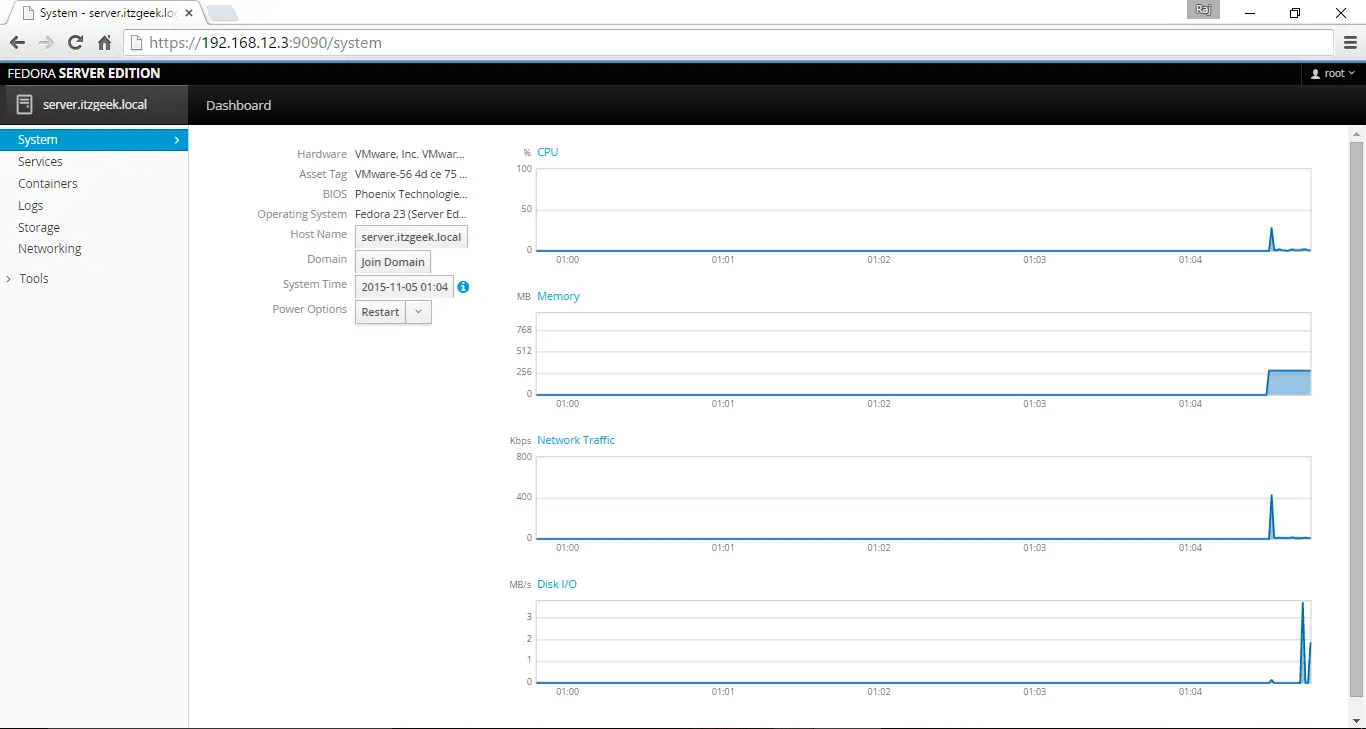
By default Cockpit ( Web-based server management ) is installed during Fedora 23 setup. You can access the Cockpit by going to https://ip-add-ress:9090/. Login with the credential of root account.
Troubleshooting:
If an upgrade fails, clean up the download, resolve any issues, and try again.
# dnf system-upgrade clean
That’s All!!!.