Install Observium on CentOS 7 / Debian 9 / Ubuntu 16.04 – A Network Management and Monitoring System
Observium is an open source, low-maintenance, auto-discovering network monitoring tool for operating systems and network hardware. It supports Linux and Windows operating systems and network hardware like Cisco, Juniper, Brocade, Foundry, HP.
Observium is based on AMP (Apache, MySQL, and PHP) stack and it collects the monitoring metrics via SNMP protocol. It uses RRDtool to make a graph of metrics collected from SNMP. Observium can also collect data using CDP, FDP, LLDP, OSPF, BGP, and ARP protocols.
Observium comes with a simple yet powerful interface to monitor devices, and it’s alerting system can be highly customized to receive alerts over an email, IRC, slack and more.
This tutorial covers the installation of Observium on CentOS 7 / Ubuntu 16.04 / Debian 9 and collecting usage metrics from Linux machines via SNMP protocol.
Prerequisites
Log-in as the root user or switch to root user as commands we run during the installation process requires root privilege.
su -
OR
sudo su -
We first install Webtatic, OpenNMS, and EPEL repositories on CentOS 7 / RHEL 7.
rpm -ivh https://dl.fedoraproject.org/pub/epel/epel-release-latest-7.noarch.rpm
rpm -ivh https://mirror.webtatic.com/yum/el7/webtatic-release.rpm
rpm -ivh https://yum.opennms.org/repofiles/opennms-repo-stable-rhel7.noarch.rpm
Install and Configure MySQL / MariaDB
As I said, Observium needs AMP stack, so install MariaDB as a database server, a fork of MySQL.
### CentOS 7 / RHEL 7 ###

yum -y install mariadb-server mariadb

### Ubuntu 16.04 ###

apt-get update
apt-get -y install mysql-server mysql-client

### Debian 9 ###

apt-get update
apt-get -y install mariadb-server mariadb-client
To start MariaDB, run:
### CentOS 7 / RHEL 7 ###

systemctl start mariadb

### Debian 9 / Ubuntu 16.04 ###

systemctl start mysql
In Ubuntu 16.04, the installer will prompt you for setting the MySQL root password.
To stop MariaDB, run:
### CentOS 7 / RHEL 7 ###

systemctl stop mariadb

### Debian 9 / Ubuntu 16.04 ###

systemctl stop mysql
To restart MariaDB, run:
### CentOS 7 / RHEL 7 ###

systemctl restart mariadb

### Debian 9 / Ubuntu 16.04 ###

systemctl restart mysql
To check the status of MariaDB, run:
### CentOS 7 / RHEL 7 ###

systemctl status mariadb

### Debian 9 / Ubuntu 16.04 ###

systemctl status mysql
To autostart at system startup, run:
### CentOS 7 / RHEL 7 / Debian 9 ###

systemctl enable mariadb

### Ubuntu 16.04 ###

systemctl enable mysql
Once the MySQL / MariaDB installation is complete, run mysql_secure_installation command to secure the database server.
Create Database for Observium
login to MySQL
mysql -u root -p
Now, create the database for Observium installation with the following information.
DB Name: observiumdb
User Name: observiumuser
DB Password: observiumpassword
CREATE DATABASE observiumdb;
CREATE USER 'observiumuser'@'localhost' IDENTIFIED BY 'observiumpassword';
GRANT ALL PRIVILEGES ON observiumdb.* TO 'observiumuser'@'localhost';
exit
Install and Configure Apache
Install Apache server and PHP packages using the following command.
### CentOS 7 / RHEL 7 ###

yum -y install wget httpd php70w php70w-opcache php70w-mysql php70w-gd php70w-posix php70w-mcrypt net-snmp net-snmp-utils fping MySQL-python rrdtool subversion jwhois ipmitool graphviz ImageMagick php70w-pear

pear install Net_IPv4-1.3.4

pear install Net_IPv6-1.2.2b2

### Debian 9 / Ubuntu 16.04 ###

apt-get install -y libapache2-mod-php7.0 php7.0-cli php7.0-mysql php7.0-mysqli php7.0-gd php7.0-mcrypt php7.0-json php-pear snmp fping python-mysqldb rrdtool subversion whois mtr-tiny ipmitool graphviz imagemagick apache2
Set time zone in php.ini file.
For CentOS / RHEL: /etc/php.ini
For Ubuntu 16.04 / Debian: /etc/php/7.0/apache2/php.ini and
/etc/php/7.0/cli/php.ini
date.timezone = America/Chicago
Install and Configure Observium
Download the latest community version of Observium to /opt directory.
cd /opt
wget https://www.observium.org/observium-community-latest.tar.gz
Extract the downloaded archive file using the tar command.
tar -zxvf observium-community-latest.tar.gz
Copy the default configuration.
cd /opt/observium
cp config.php.default config.php
Edit the config file.
vi config.php
Update the database information.
$config['db_host'] = 'localhost';
$config['db_user'] = 'observiumuser';
$config['db_pass'] = 'observiumpassword';
$config['db_name'] = 'observiumdb';
Create rrd and logs directory.
cd /opt/observium
mkdir rrd logs
chmod 775 rrd logs
Set ownership.
### CentOS 7 / RHEL 7 ###

chown -R apache:apache /opt/observium/{logs,rrd}

### Debian 9 / Ubuntu 16.04 ###

chown -R www-data:www-data /opt/observium/{logs,rrd}
Create Apache configure file for Observium Web Interface.
### CentOS 7 / RHEL 7 ###

vi /etc/httpd/conf.d/observium.conf

### Ubuntu 16.04 ###

nano /etc/apache2/sites-available/observium.conf
Add the following configuration details to the above file. Change the server name (observium.itzgeek.local) as per your requirement.
<VirtualHost *:80>
     DocumentRoot /opt/observium/html/
     ServerName observium.itzgeek.local
     CustomLog /opt/observium/logs/access_log combined
     ErrorLog /opt/observium/logs/error_log
     AllowEncodedSlashes NoDecode
    <Directory "/opt/observium/html/">
         Require all granted
         AllowOverride All
         Options FollowSymLinks MultiViews
    </Directory>
</VirtualHost>
Optional: Disable the default site in case your server going to host only this site.
### CentOS 7 / RHEL 7 ###

rm -f /etc/httpd/conf.d/welcome.conf

### Debian 9 / Ubuntu 16.04 ###

a2dissite 000-default
SELinux (CentOS/RHEL)
We recommend you to disable SELinux for Observium to work correctly.
setenforce 0

sed -i 's/SELINUX=enforcing/SELINUX=disabled/g' /etc/selinux/config
Restart Apache services.
### CentOS 7 / RHEL 7 ###

systemctl restart httpd

### Ubuntu 16.04 / Debian 9 ###

a2ensite observium.conf
a2enmod php7.0
a2enmod rewrite
a2dismod mpm_event
a2enmod mpm_prefork
phpenmod mcrypt
a2enmod rewrite
systemctl restart apache2
Enable Apache service on system boot.
### CentOS 7 / RHEL 7 ###

systemctl enable httpd

### Ubuntu 16.04 / Debian 9 ###

systemctl enable apache2
Run the below command to insert the initial MySQL scheme.
cd /opt/observium
./discovery.php -u
Output:
  ___   _                              _
 / _ \ | |__   ___   ___  _ __ __   __(_) _   _  _ __ ___
| | | || '_ \ / __| / _ \| '__|\ \ / /| || | | || '_ ` _ \
| |_| || |_) |\__ \|  __/| |    \ V / | || |_| || | | | | |
 \___/ |_.__/ |___/ \___||_|     \_/  |_| \__,_||_| |_| |_|
                         Observium Community Edition 17.9.0
                                   https://www.observium.org

Install initial database schema ... done.
-- Updating database/file schema
310 -> 311 # (db) . Done (0s).
311 -> 312 # (db) .... Done (0s).
312 -> 313 # (db)  Done (0s).
313 -> 314 # (db)  Done (0s).
314 -> 315 # (php) . Done (0s).
315 -> 316 # (db) . Done (0s).
316 -> 317 # (db) .. Done (0s).
317 -> 318 # (db) . Done (0s).
318 -> 319 # (db) ....... Done (1s).
319 -> 320 # (db) . Done (0s).
320 -> 321 # (db) . Done (0s).
321 -> 322 # (db) . Done (0s).
322 -> 323 # (db) ... Done (0s).
323 -> 324 # (db) ... Done (0s).
324 -> 325 # (db) .... Done (0s).
325 -> 326 # (db) . Done (0s).
326 -> 327 # (db) . Done (0s).
327 -> 328 # (db) . Done (0s).
328 -> 329 # (db) . Done (0s).
329 -> 330 # (db) . Done (0s).
330 -> 331 # (db) . Done (0s).
331 -> 332 # (db) ... Done (0s).
332 -> 333 # (php)  Done (0s).
333 -> 334 # (db) . Done (0s).
334 -> 335 # (php)  Done (0s).
335 -> 336 # (db) . Done (0s).
336 -> 337 # (db) . Done (0s).
337 -> 338 # (db) . Done (0s).
338 -> 339 # (db) ... Done (0s).
339 -> 340 # (db) ... Done (0s).
340 -> 341 # (db) ........ Done (0s).
341 -> 342 # (db) ............... Done (0s).
342 -> 343 # (db) ... Done (0s).
343 -> 344 # (db) .... Done (0s).
344 -> 345 # (db) .. Done (0s).
345 -> 346 # (db) . Done (0s).
346 -> 347 # (db) . Done (1s).
347 -> 348 # (db) F Done (0s, 1 errors).
348 -> 349 # (db) .. Done (0s).
349 -> 350 # (php)  Done (0s).
350 -> 351 # (db) ..... Done (0s).
351 -> 352 # (db) .. Done (0s).
-- Done.
Having some errors during this operation is OK.
Add a user for accessing the Observium portal.
cd /opt/observium
./adduser.php admin pass 10
Output:
Observium CE 17.9.0
Add User

User admin added successfully.
Where,
admin: Username
pass: Password
10: Level of Access. 10 being the highest (Full privileges)
Firewall
Allow Apache web server through the firewall so that user can able to access Observium portal from external machines.
FirewallD:
firewall-cmd --permanent --add-port=80/tcp
firewall-cmd --reload
UFW:
ufw allow 80/tcp
ufw reload
Access Observium
Open a browser and navigate it to the below URL.
OR
OR
Log in using the user we created few steps back. In my case, the username is admin, and the password is pass.
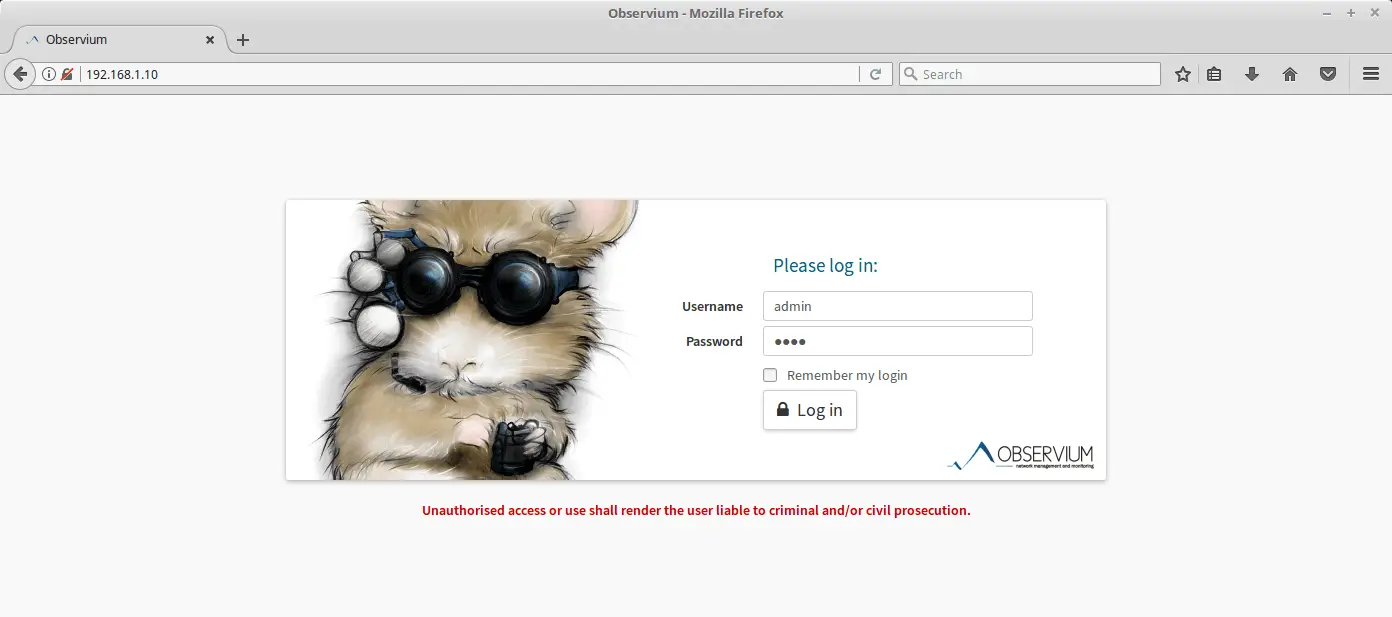
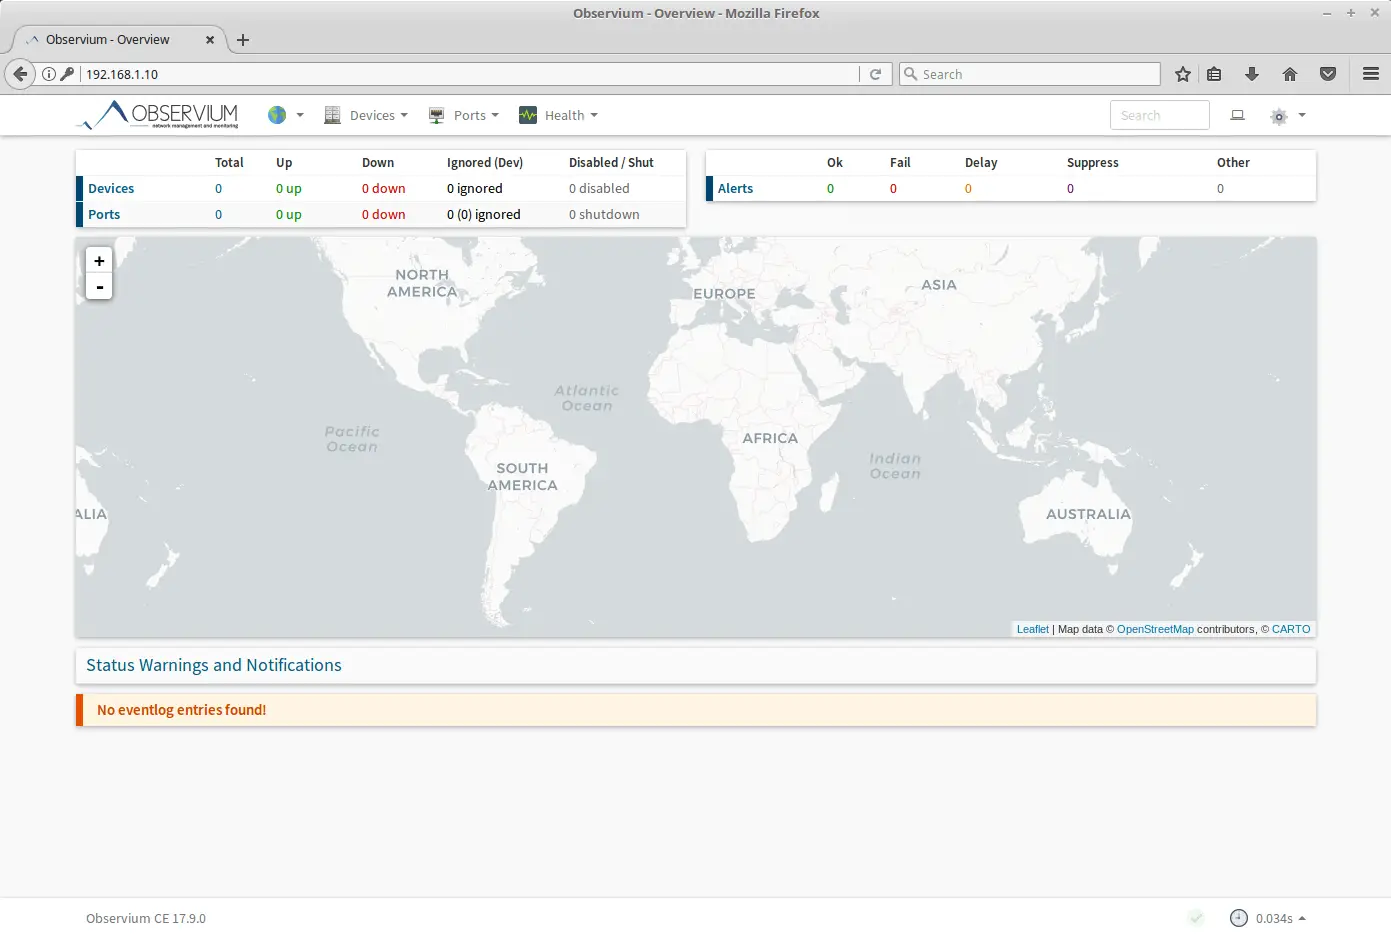
After successful login, you would get the Observium dashboard.
Initial stage:
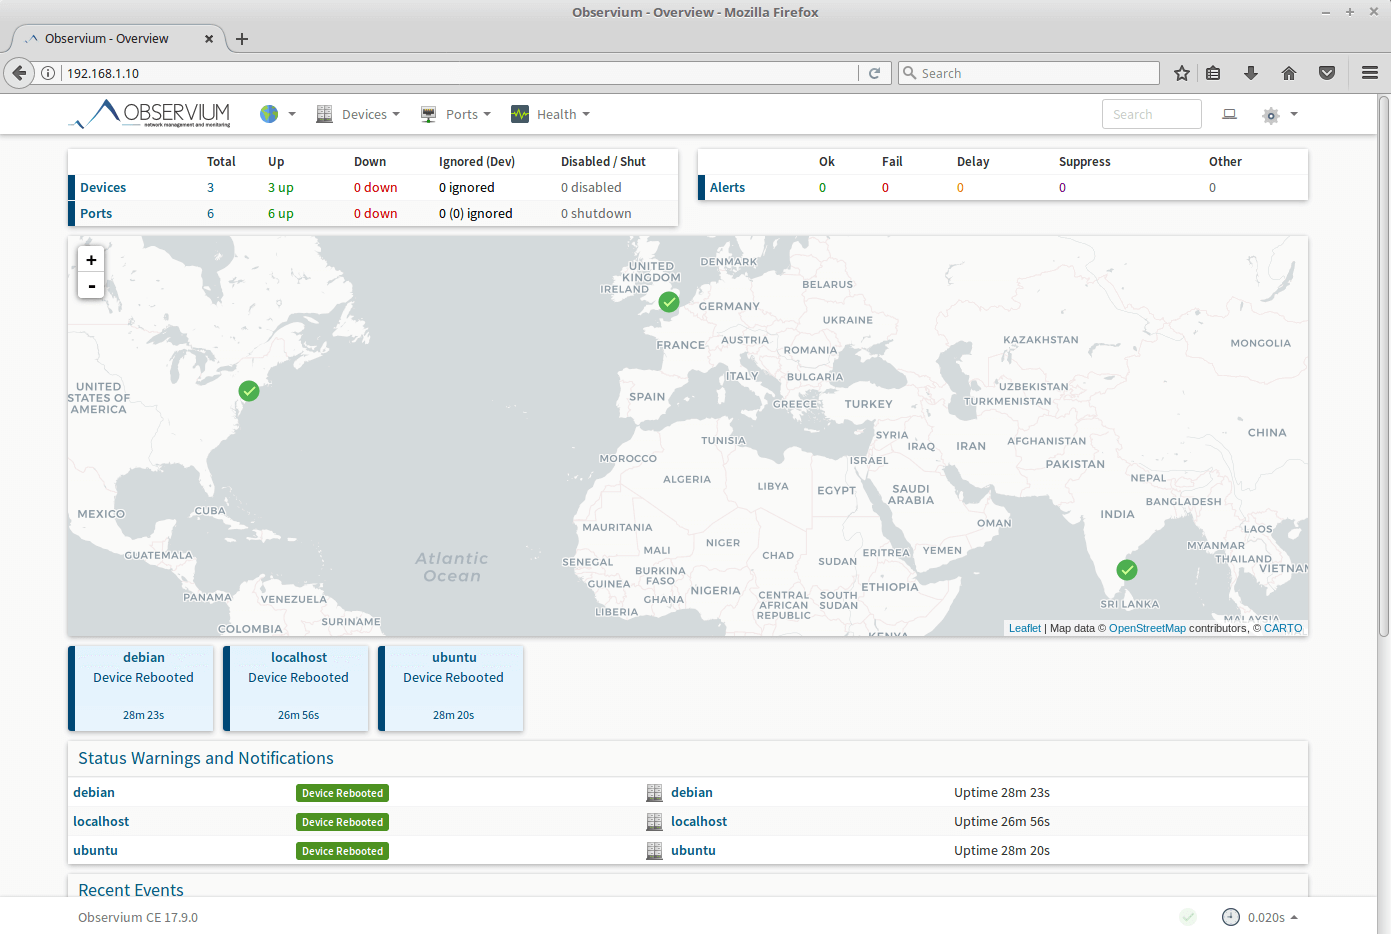
After adding Linux machines:
Post Setup
Once the Observium setup is complete, perform the below steps.
vi /opt/observium/config.php
Add the below information to the config.php file.
### CentOS 7 / RHE L 7 ###

$config['fping'] = "/sbin/fping";

### Debian / Ubuntu ###

$config['fping'] = "/usr/bin/fping";
Create the cronjob information so that automatic discovery and polling for newly added devices can happen automatically.
vi /etc/cron.d/observium
Content:
# Run a complete discovery of all devices once every 6 hours
33 */6 * * * root /opt/observium/discovery.php -h all >> /dev/null 2>&1

# Run automated discovery of newly added devices every 5 minutes
*/5 * * * * root /opt/observium/discovery.php -h new >> /dev/null 2>&1

# Run multithreaded poller wrapper every 5 minutes
*/5 * * * * root /opt/observium/poller-wrapper.py 4 >> /dev/null 2>&1

# Run housekeeping script daily for syslog, eventlog and alert log
13 5 * * * root /opt/observium/housekeeping.php -ysel >> /dev/null 2>&1

# Run housekeeping script daily for rrds, ports, orphaned entries in the database and performance data
47 4 * * * root /opt/observium/housekeeping.php -yrptb >> /dev/null 2>&1
We suggest you add localhost (Observium server) as your first device using Observium web interface.
To add your localhost or any devices in Observium monitoring tool, you need to install and configure SNMP service on the machine, not applicable to Network devices.
Follow the guide to add localhost as well as other machines in Observium.
READ: How to Add Devices to Observium Monitoring Tool
That’s All.