LAMP Stands for Linux, Apache, MariaDB, and PHP. Most of the websites work with the above combination. If you think the above combination will be only on servers where the hosting is made, that is wrong you can make on your PC which has Linux.
The installation of the LAMP on Linux Mint is simple quite when compared to other Linux environment.
In other Linux environment, we need to install all the above separately by separate commands. But in Linux Mint you can install the LAMP in a single command.
Install AMP(Apache, MySQL & PHP)
Open a terminal and run the following command.
sudo apt-get install lamp-server^
Once you run the command, it will ask you to enter the password for the user.

Then it will search the required package for LAMP server. In the end, it will prompt you to confirm the downloading and installation of packages.
Type Y and then press enter.
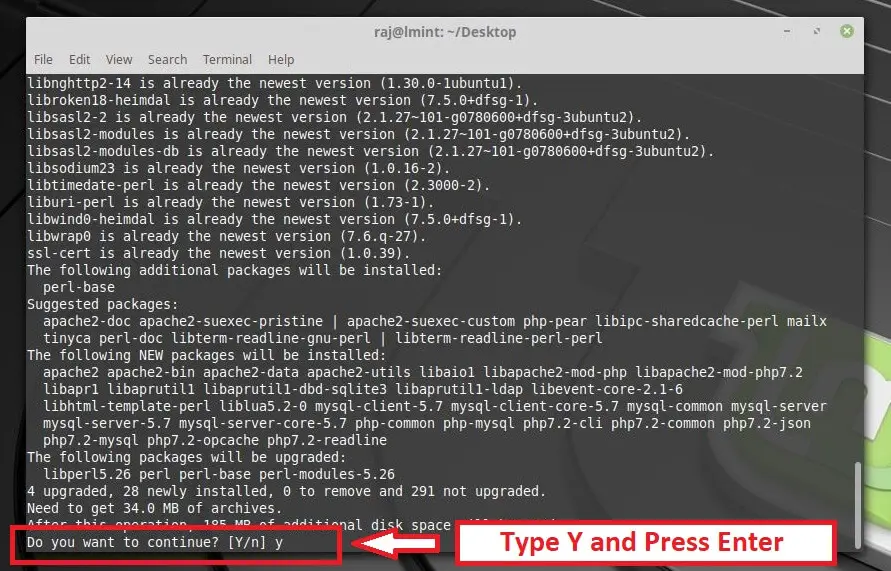
Wait for the installation to complete.
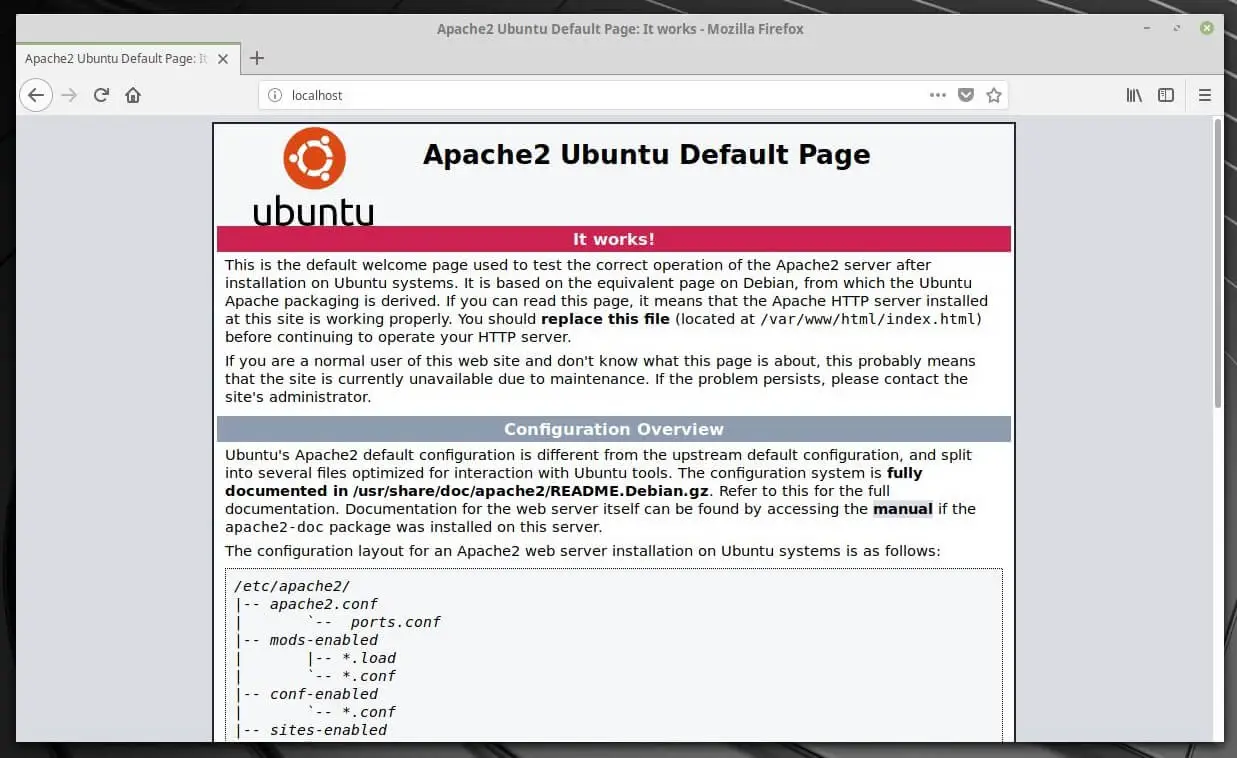
Test Apache
Before testing Apache, restart the Apache server.
sudo systemctl restart apache2
Open up any web browser and then enter the following into the web address:
OR
You will get the Apache2 Ubuntu Default Page. This page confirms that the Apache is working fine.
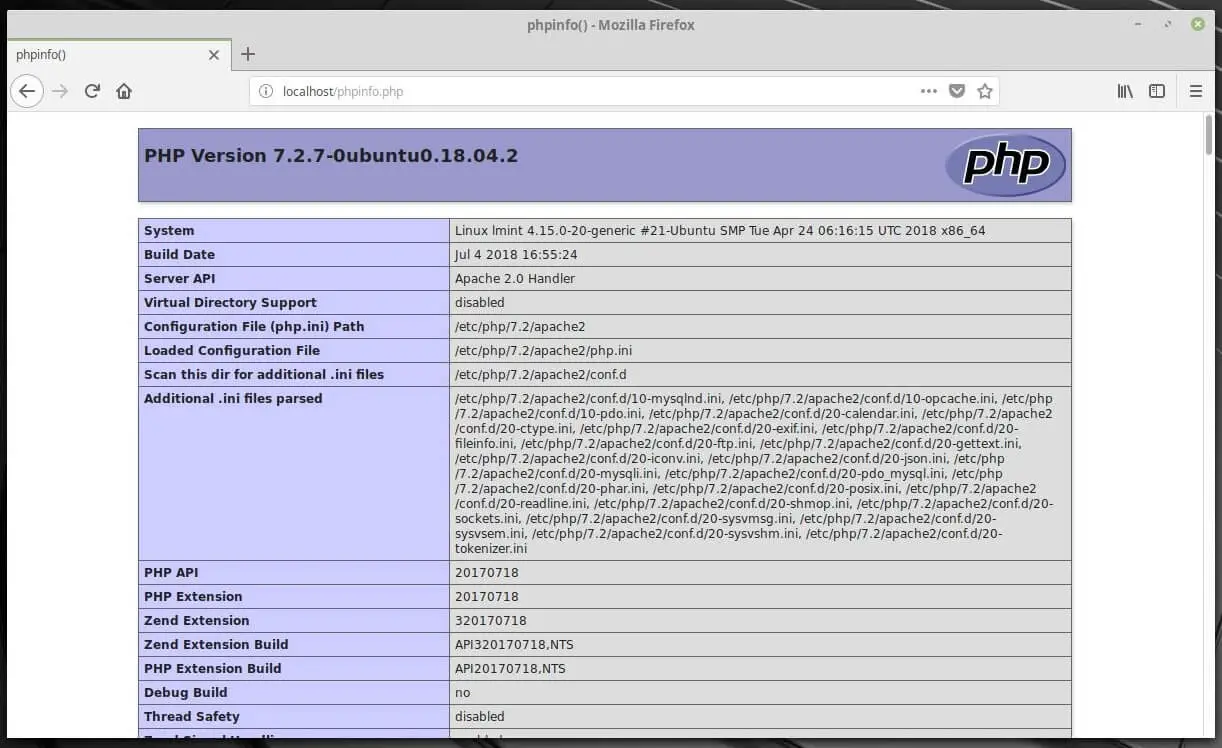
Test PHP
For testing the PHP, place a .php file on to the default document root of the Apache web server.
sudo nano /var/www/html/phpinfo.php
Copy/Paste this line into the phpinfo file:
<?php phpinfo(); ?>
Now open your web browser and type the following into the web address:
OR
The page will look like below:
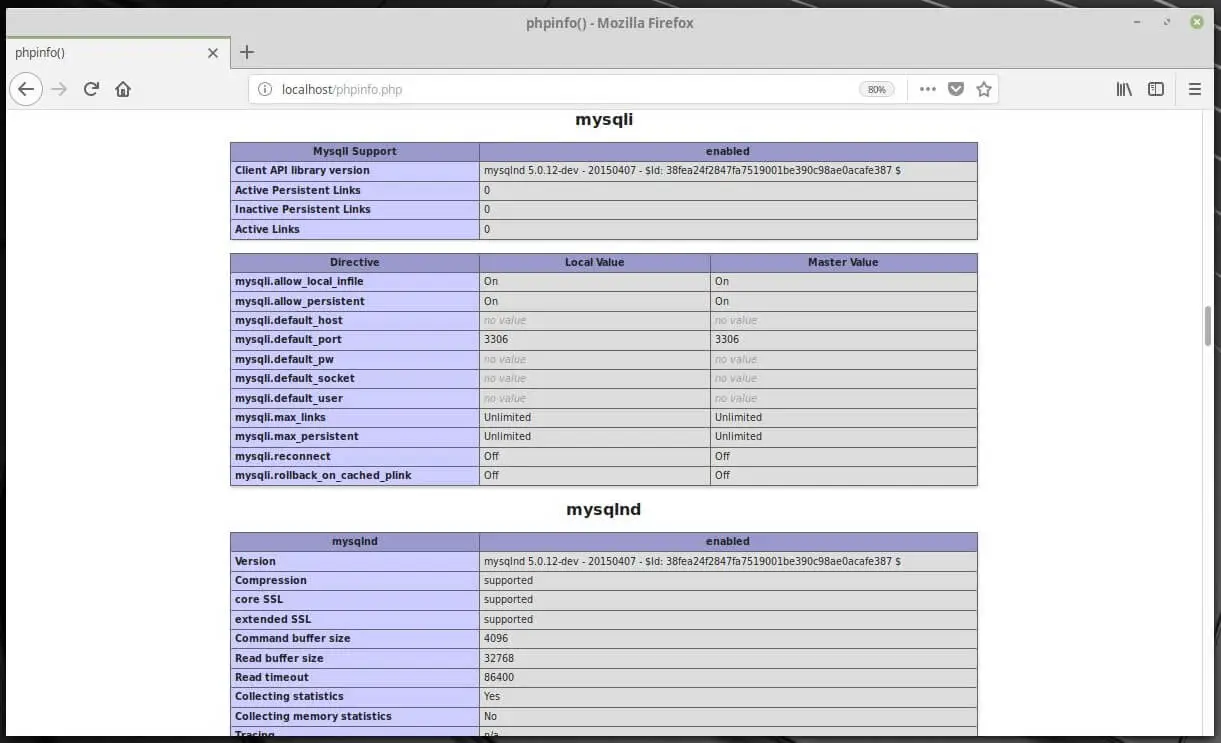
MySQL Support Information:
Install phpMyAdmin on Linux Mint 19
Next is to install phpMyAdmin, a graphical web interface to manage databases very easily.
sudo apt-get install phpmyadmin
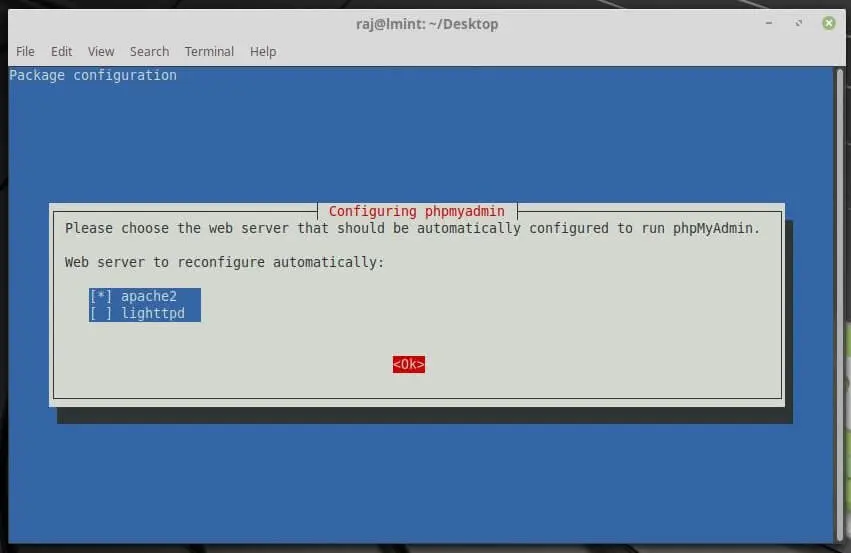
The installation will prompt you to select the web server for automatic configuration. Use space to select the web server type and then press Enter.
 Next screen will prompt you for configuring database called db-common for phpMyAdmin.
Use the tab key to select yes and Press Enter.

It will prompt you to type the password for MySQL application password for phpMyAdmin.
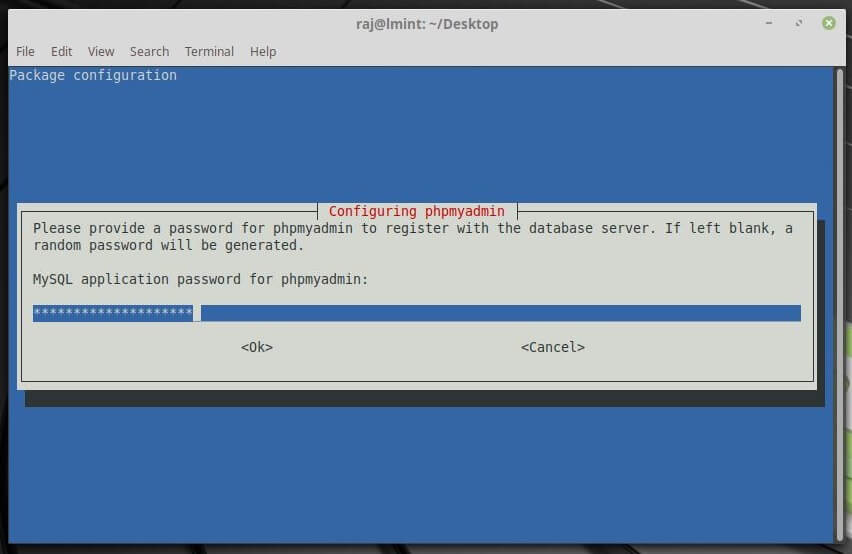
if you left it blank, a random password will be generated. Type the password of your wish and press Enter.
Confirm your password in the next screen.

Test phpMyAdmin
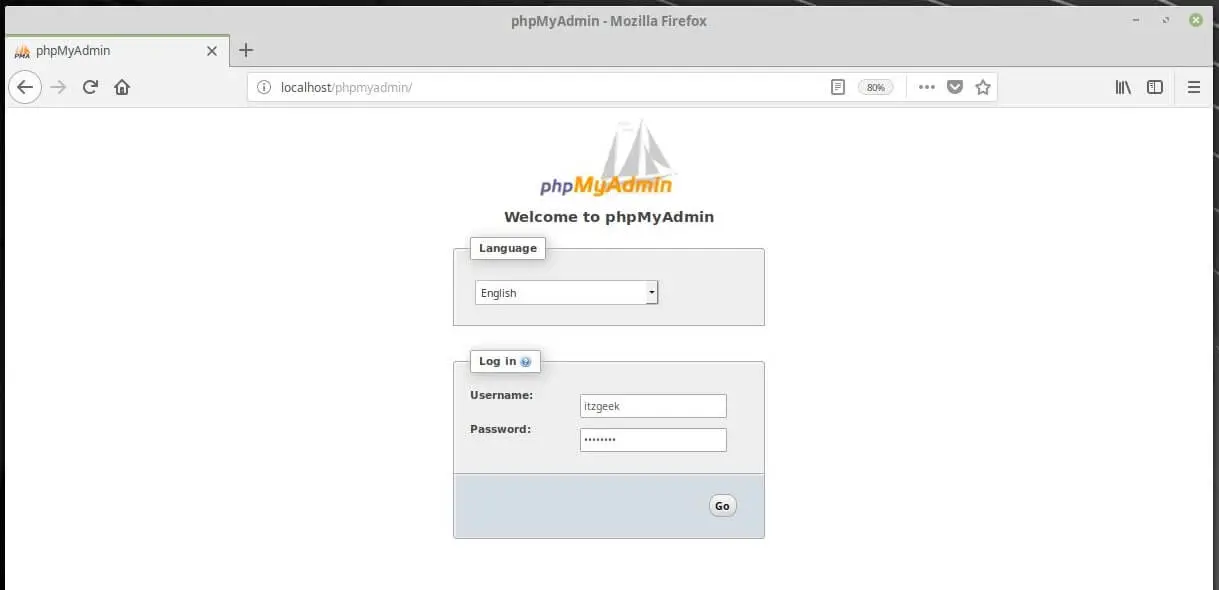
If would like to manage the MySQL through phpMyAdmin, then open the Mozilla Firefox and type the following web address.
OR
You will get a MySQL login page. Type the username and password.
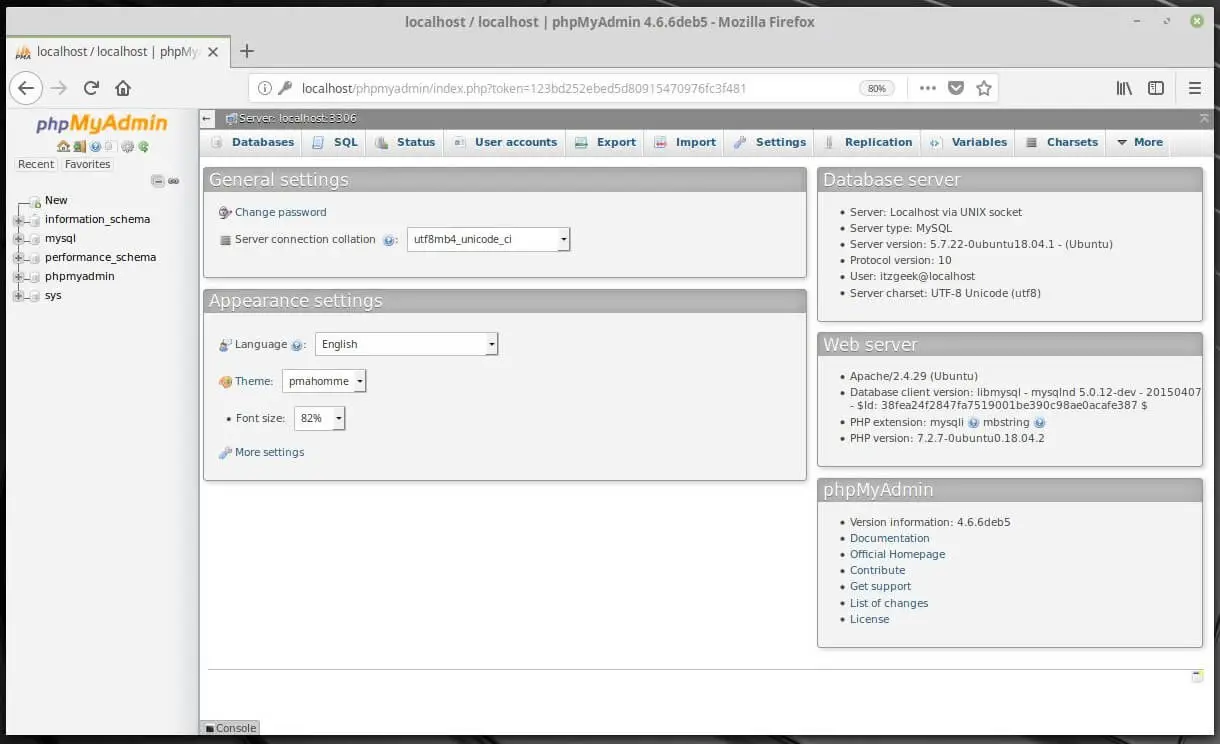
After the Login, you will get the Main Page of the phpMyAdmin. Here you can manage your databases very easily.
 That’s All.