Apache Maven is a free software project management and comprehension tool. Apache Maven is based on the Project Object Model. With Maven, you can easily manage a project’s build (used primarily for Java projects), reporting, and documentation from a central piece of information.
This post will help you to install Apache Maven on Ubuntu 18.04 / Ubuntu 16.04 & Debian 9.
Install Java
Apache Maven requires JDK 1.7 or above to be installed. Follow any one of the links to install Oracle JDK on your system.
READ: How To Install Oracle Java JDK 11 / 8 on Ubuntu 18.04
READ: How To Install Oracle Java JDK 11 / 8 on Ubuntu 16.04
READ: How To Install Oracle Java JDK 11 / 8 on Debian 9 / 8
If you wish to use OpenJDK for Maven, you can just use the apt package manager to install the latest OpenJDK package.
sudo apt-get update
sudo apt-get -y install default-jdk
Verify the Java installation.
java -version
Output:
openjdk version "10.0.2" 2018-07-17
OpenJDK Runtime Environment (build 10.0.2+13-Ubuntu-1ubuntu0.18.04.3)
OpenJDK 64-Bit Server VM (build 10.0.2+13-Ubuntu-1ubuntu0.18.04.3, mixed mode)
Install Apache Maven on Ubuntu 18.04 / Ubuntu 16.04 & Debian 9
Apache Maven can be installed in two ways,
1. Install Apache Maven on Ubuntu from the official source
You can visit Apache Maven’s official website to download the latest stable version of Maven or use the below command to download the Apache Maven v3.6.0 using the terminal
wget https://www-us.apache.org/dist/maven/maven-3/3.6.0/binaries/apache-maven-3.6.0-bin.tar.gz
Extract the Maven archive using the TAR command.
sudo tar -zxvf apache-maven-3.6.0-bin.tar.gz
sudo mv apache-maven-3.6.0 /opt/maven
Setup Environment Variables
After you have moved Apache Maven binaries on your system to /opt, you will need set the environments variables by creating a maven.sh file under /etc/profile.d/ directory.
sudo nano /etc/profile.d/maven.sh
Add the following content.
export JAVA_HOME=/usr/lib/jvm/java-1.11.0-openjdk-amd64
export M2_HOME=/opt/maven
export PATH=${M2_HOME}/bin:${PATH}
JAVA_HOME information from the update-java-alternatives -l commandLoad the above environment variables in the current shell session using the below command.
source /etc/profile.d/maven.sh
2. Install Apache Maven on Ubuntu with Apt
The official Ubuntu / Debian repositories contain Maven package that can be installed with the apt command. This is the straightforward way to install Maven on Ubuntu / Debian. However, the version included in the repositories may be bit older [Ubuntu (v3.5.2) / Debian (v3.3.9)] than what is available in official Maven website.
Begin with updating the package index.
sudo apt-get update
Install Apache Maven by typing the following command.
sudo apt-get -y install maven
Verify Apache Maven Installation
Check whether the Apache Maven has been successfully configured on your system using the below command.
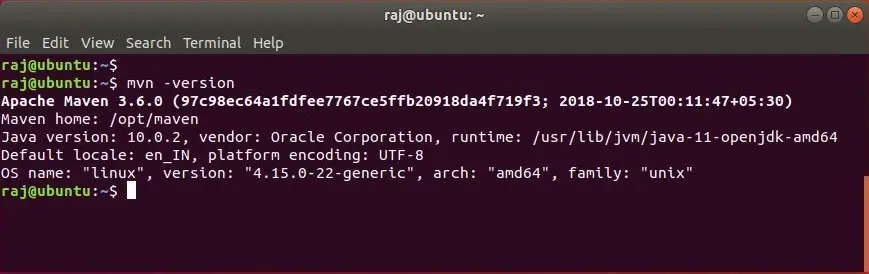
mvn -version
Output:
Apache Maven 3.6.0 (97c98ec64a1fdfee7767ce5ffb20918da4f719f3; 2018-10-25T00:11:47+05:30)
Maven home: /opt/maven
Java version: 10.0.2, vendor: Oracle Corporation, runtime: /usr/lib/jvm/java-11-openjdk-amd64
Default locale: en_IN, platform encoding: UTF-8
OS name: "linux", version: "4.15.0-22-generic", arch: "amd64", family: "unix"
That’s All.