Install Monitorix on CentOS 7 / Ubuntu 16.04 / Fedora 27 / Debian 9 – OpenSource Lightweight System Monitoring Tool
Monitorix is an open source, lightweight system/service monitoring tool for Linux operating systems. Monitorix has been created to be used under production environment and can be used on embedded devices as well.
Monitorix comprised of two programs: “monitorix“, a collector, which is a Perl daemon working as a startup service, and a CGI script called “monitorix.cgi“. Monitorix includes its own HTTP server built in, so we don’t have to rely on the external web server.
At the earlier stage, Monitorix was developed for Redhat, Fedora, and CentOS Linux systems, then later development begun for supporting Unix systems like FreeBSD, OpenBSD, and NetBSD.
Features
Monitorix includes the following graphs:
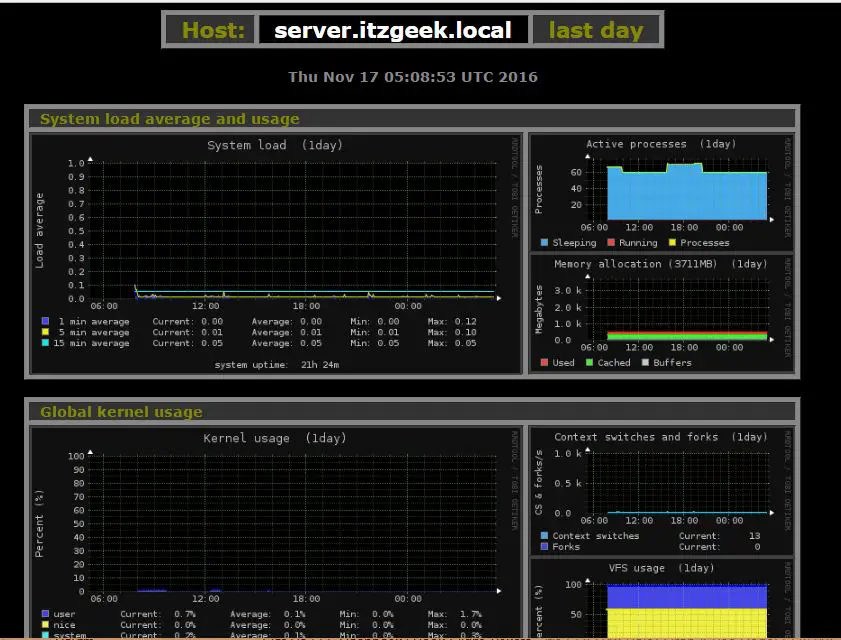
- System load average and usage.
- Global kernel/Per-processor kernel usage.
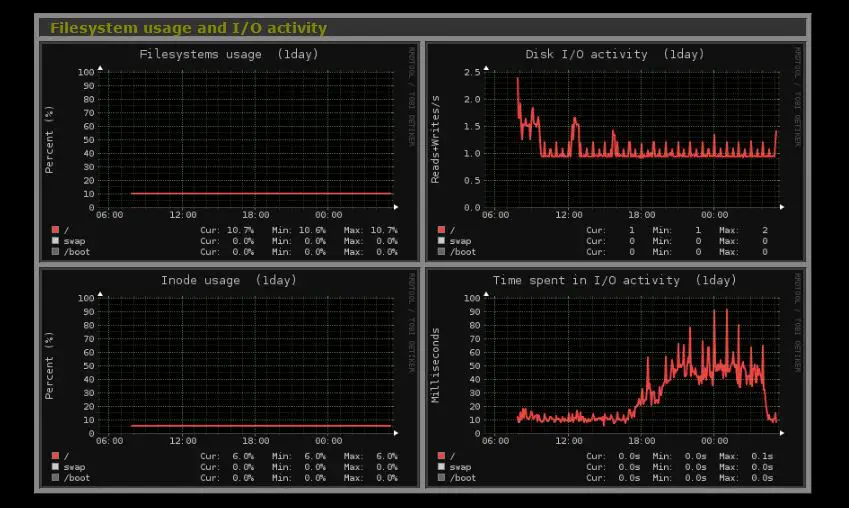
- Filesystem usage and I/O activity.
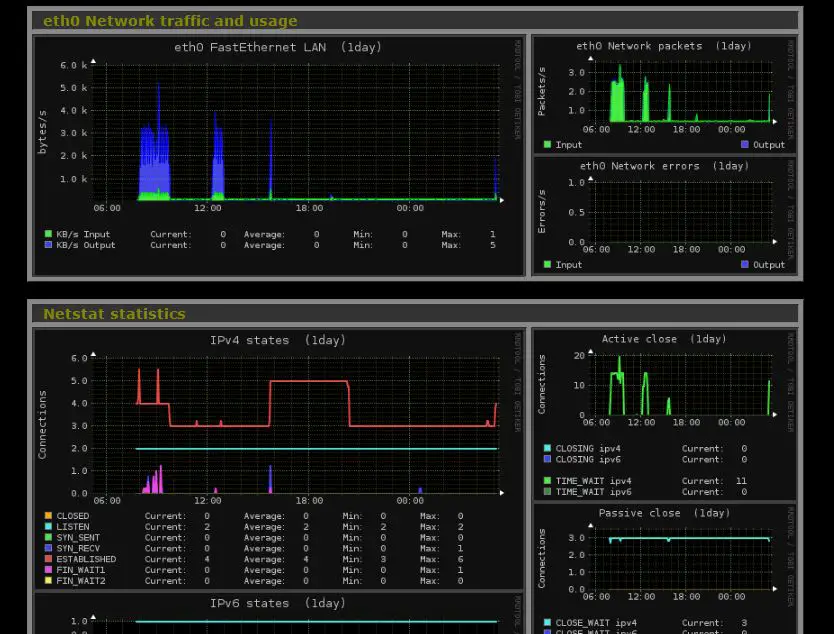
- Network traffic and usage.
- Netstat statistics.
- Process statistics.
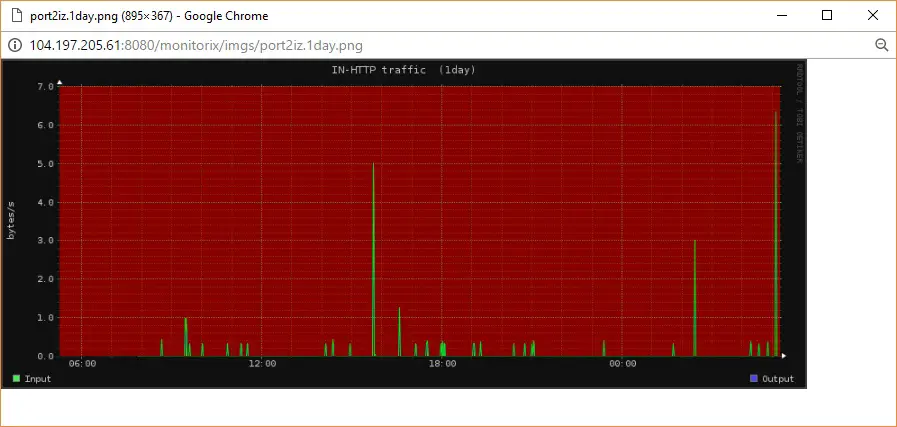
- Network port traffic.
- Services statistics (NFS, SAMBA, Squid, MySQL, NTP and BIND)
- Web server statistics (Apache, Nginx, and Lighttpd)
- Hardware devices check.
This guide helps you get Monitorix installed on CentOS 7, Ubuntu 16.04 and Fedora 27. This guide should also work on previous versions of the mentioned operating systems such as CentOS 6, Ubuntu 15.10, Ubuntu 14.04, and Fedora 26.
Setup Repository
On CentOS / RHEL / Fedora
Before installing Monitorix, set up EPEL repository on CentOS 7 / RHEL 7.
### For RHEL 7 ###

rpm -ivh https://dl.fedoraproject.org/pub/epel/epel-release-latest-7.noarch.rpm

### For RHEL 6 ###

rpm -ivh https://dl.fedoraproject.org/pub/epel/epel-release-latest-6.noarch.rpm

### For CentOS 7 / 6 ###

yum -y install epel-release
On Ubuntu 16.04 / 14.04 / Debian 8
echo "deb https://apt.izzysoft.de/ubuntu generic universe" | sudo tee -a /etc/apt/sources.list
wget https://apt.izzysoft.de/izzysoft.asc
sudo apt-key add izzysoft.asc
Install Monitorix on CentOS 7 / Ubuntu 16.04 / Fedora 27 / Debian 9
Install Monitorix using the following command.
### CentOS / RHEL / Fedora ###

yum -y install monitorix

### Ubuntu / Debian ###

sudo apt-get update
sudo apt-get -y install monitorix
Start the Monitorix service.
service monitorix start
Firewall (CentOS / RHEL)
Configure the firewall to allow 8080 port so that we can access the Monitorix dashboard from external machines.
### FirewallD ###

firewall-cmd --permanent --zone=public --add-port=8080/tcp
firewall-cmd --reload

### IPTables ###

iptables -A INPUT -m tcp -p tcp --dport 8080 -j ACCEPT
service iptables save
service iptables restart
Access Monitorix
Once the Monitorix service is started, you can access the dashboard by visiting the following URL.
To get a graph in a new window, click on any graph.
Customization
When the Monitorix is started, it reads the configuration file “/etc/monitorix/monitorix.conf” to set the options according to your system and enable or disable graphs.
To set a heading for a home page, set the following variable.
title =
To change hostname in the graph.
hostname =
You can also have a look at the official document on configuring Monitorix for more customization options.