Zabbix is an open-source monitoring tool for servers, applications, and network devices. It uses an agent installed on the remote system to collect the performance data.
Zabbix also supports monitoring via SNMP, TCP, and ICMP checks and over IPMI, JMX, SSH, and telnet.
Here, we will see how to install Zabbix monitoring tool on Debian 11.
Install Zabbix Monitoring Tool
Zabbix requires a minimum of 128MB of RAM and 256MB of HDD space. So, you can start with 2 vCPU and 2GB of RAM for monitoring up to 500 remote systems.
Add Zabbix repository
Zabbix server and agent packages are available from the dedicated Zabbix repository. So, to get packages, you will need to configure the Zabbix repository by installing the Zabbix repository configuration package.
wget wget https://repo.zabbix.com/zabbix/5.0/debian/pool/main/z/zabbix-release/zabbix-release_5.0-2+debian11_all.deb

sudo dpkg -i zabbix-release_5.0-2+debian11_all.deb
Install Zabbix Server
Use the apt command to install the Zabbix server along with the MariaDB database server.
sudo apt update

sudo apt install -y zabbix-server-mysql zabbix-frontend-php zabbix-apache-conf zabbix-agent mariadb-server mariadb-client
Edit the Zabbix configuration file to update the timezone based on the geographic location.
sudo nano /etc/zabbix/apache.conf
Uncomment and update your time zone in line present between <IfModule mod_php7.c> and </IfModule>. You can also find more time zones on the official PHP site.
php_value date.timezone America/New_York
Create Database for Zabbix
Login to the MariaDB server and create a database for Zabbix installation.
sudo mysql -u root -p
Create a database as per your requirement. For this post, I assume the following.
Database Name: zabbixdb
User: zabbixuser
Password: password
create database zabbixdb character set utf8 collate utf8_bin;

grant all privileges on zabbixdb.* to zabbixuser@localhost identified by 'password';

quit;
After creating a database, import the initial schema and data into it. When the below command prompts for the password, enter the Zabbix database user’s password.
zcat /usr/share/doc/zabbix-server-mysql/create.sql.gz | mysql -u zabbixuser -p zabbixdb
Edit the /etc/zabbix/zabbix_server.conf file to update the database information.
DBName=zabbixdb
DBUser=zabbixuser
DBPassword=password
sudo sed -i 's/DBName=.*/DBName=zabbixdb/' /etc/zabbix/zabbix_server.conf

sudo sed -i 's/DBUser=.*/DBUser=zabbixuser/' /etc/zabbix/zabbix_server.conf

sudo sed -i 's/\# DBPassword=.*/DBPassword=password/' /etc/zabbix/zabbix_server.conf
Restart all the services.
sudo systemctl restart zabbix-server zabbix-agent apache2
Enable the services to start automatically on system boot.
sudo systemctl enable zabbix-server zabbix-agent apache2
Setup Zabbix Monitoring Tool via Web Installer
Open a web browser and go to the following URL.
1. Click the Next step on the Welcome to Zabbix page.
2. Zabbix installer now checks for whether all pre-requisites are met for installation or any issues. If there are no errors, click Next step.
3. Enter the Zabbix database name, user, and password to Configure DB connection. Then, click Next step.
4. Enter the name of the Zabbix server on the Zabbix server details page and then click Next step.
5. Review the Pre-installation summary and then click Next step if everything is correct.
6. Zabbix server installation is now complete. Click Finish.
7. Once you click the Finish button, the installer will redirect you to the Zabbix Login Page.
Access Zabbix Monitoring Tool
Go to the below URL to access the Zabbix monitoring tool.
Log in to Zabbix Server with the default username and password.
Username: Admin
Password: zabbix
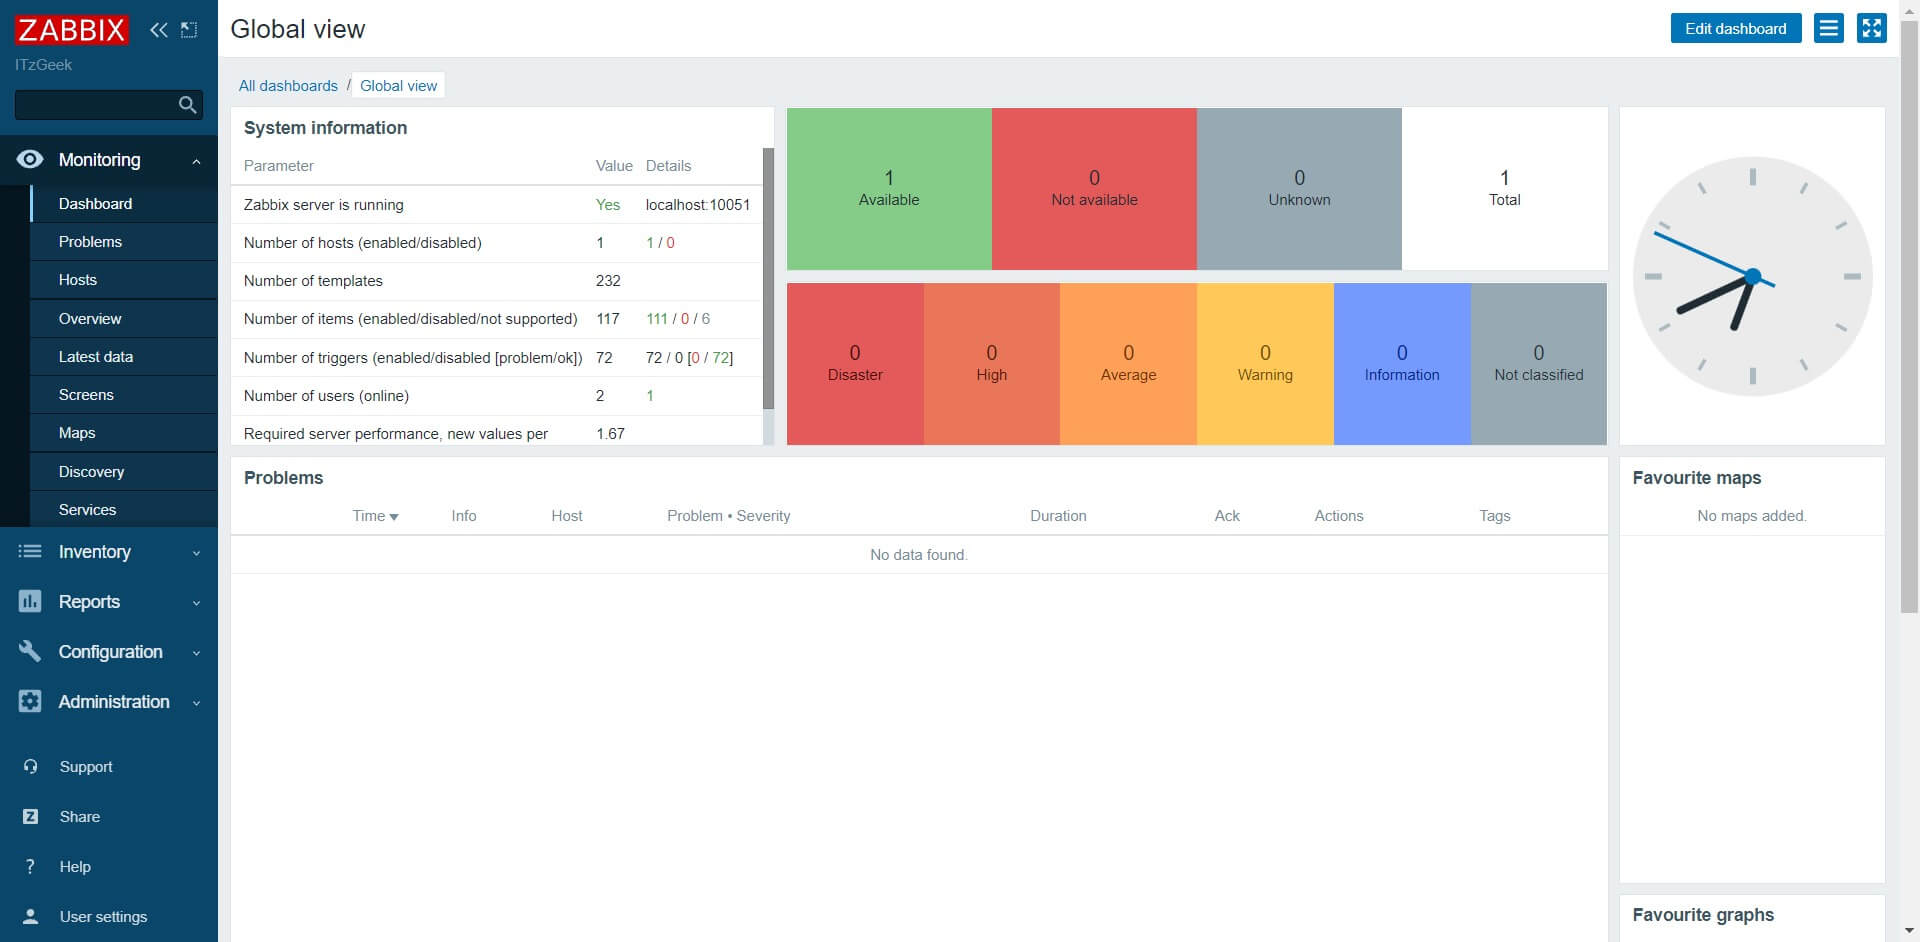
Zabbix Dashboard:
Conclusion
That’s All. I hope you have learned how to install Zabbix monitoring tool on Debian 11. You can now install Zabbix Agent on client machines and then add your client machines to the Zabbix server for monitoring.