![]()
2 days ago, Canonical has released Ubuntu 14.10 (Utopic Unicorn, it will be supported for 9 months for Ubuntu Desktop, Ubuntu Server, Ubuntu Core. This guide will help you to get Ubuntu installed on you machine, before going to installation; lets take a look at what is new on this release.
- Ubuntu 14.10 comes with 3.16 kernel.
- Oxide has been updated to use the latest Chromium Content API and includes numerous bug fixes and features to better support.
- AppArmor added support for fine-grained mediation of unix(7) abstract and anonymous sockets and also added various policy updates and bug fixes.
Download Ubuntu 14.10 from here, put the CD on the CD ROM drive, change the boot sequence accordingly, so that CD ROM can boot first.
OR
If you want to install Ubuntu from the USB flash Disk, change the boot sequence according to the USB mass storage to boot first.
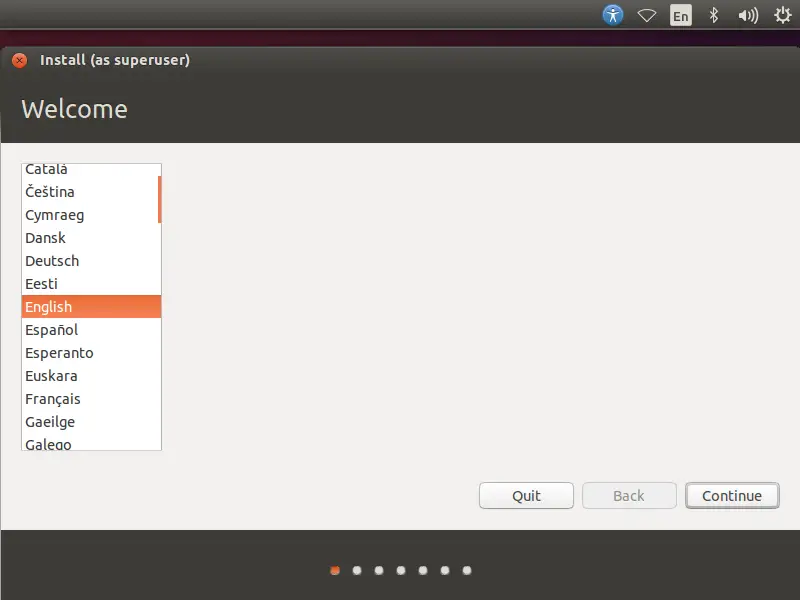
Select the Language and press Enter.

For installing the Ubuntu 14.10, Select Install Ubuntu.

This is starting screen, it will be disappeared in a minute.
Click forward on the Welcome screen.
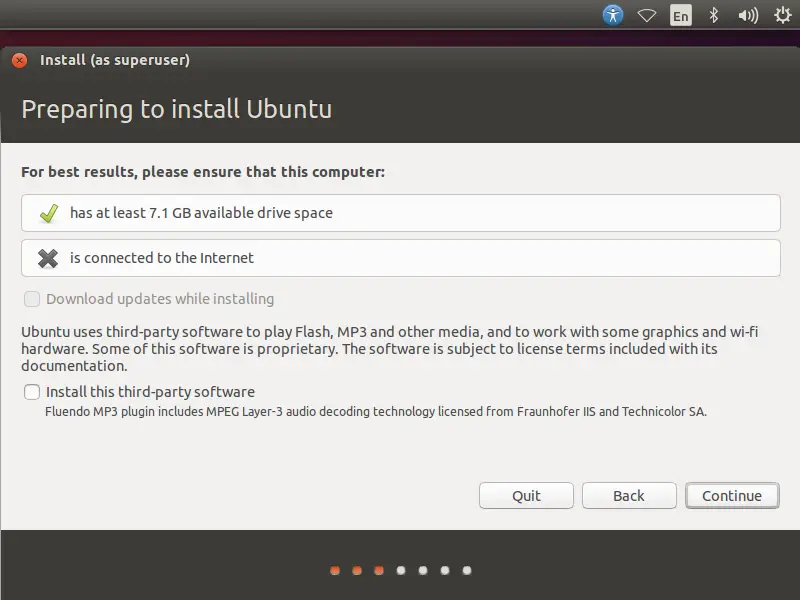
Click Forward on Preparing to install Ubuntu screen.
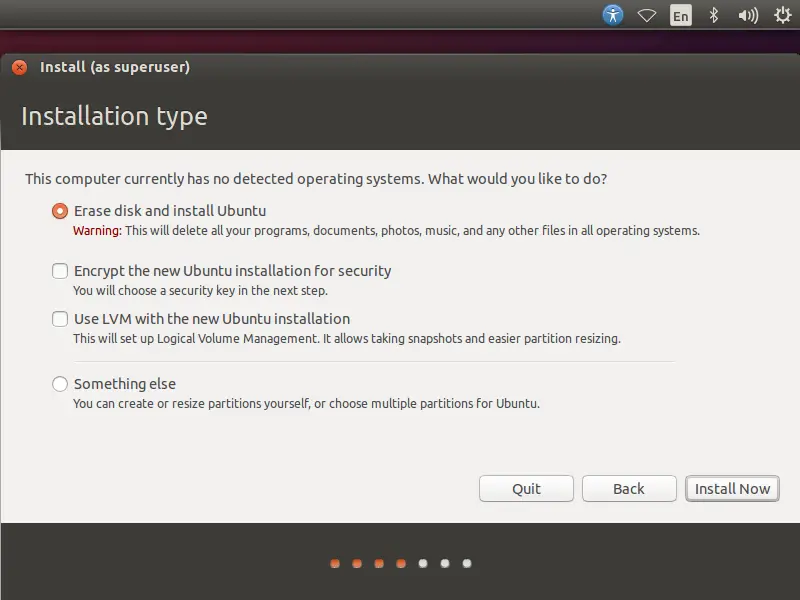
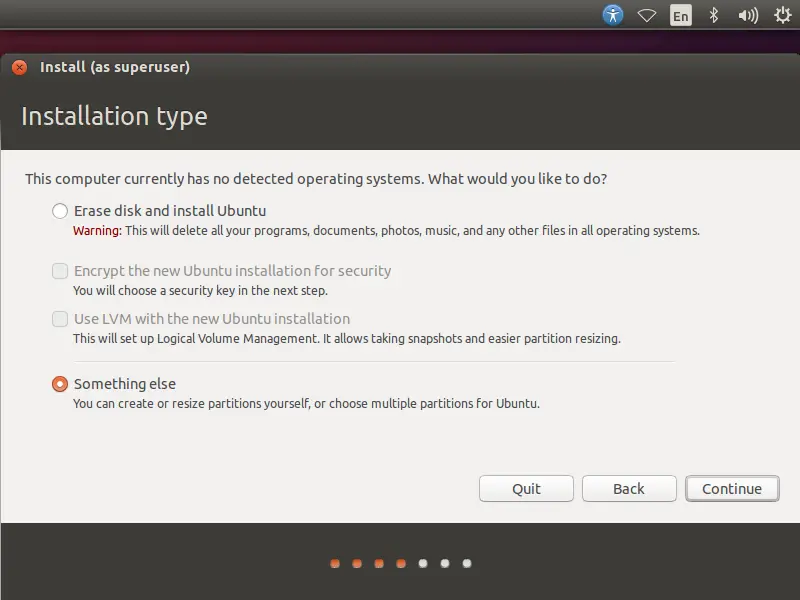
Next is the installation type, this installation on the fresh HDD so i got only two option in the installation type. Depend upon the other OS on your HDD you will get more options. Please chose any one method.
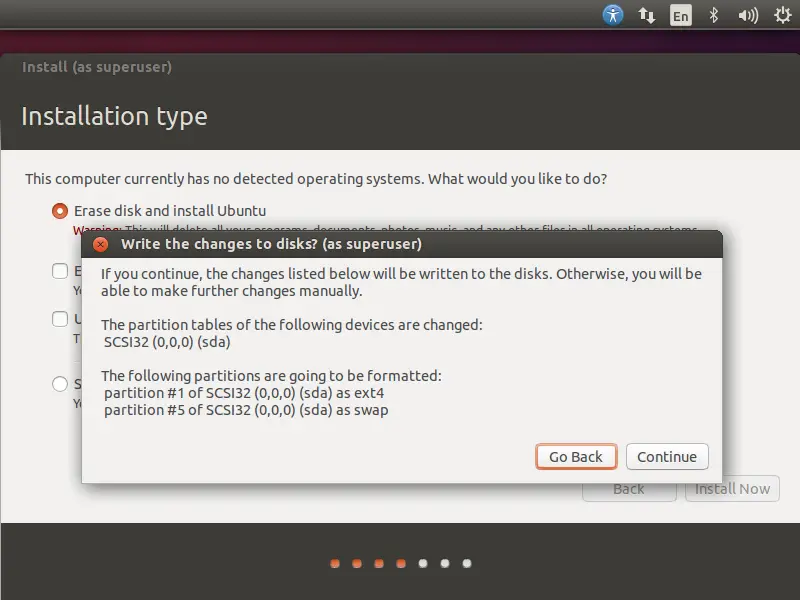
1. Erase disk and install Ubuntu (i.e. it will format the entire drive and install the OS). If you don’t have any idea about the partitioning scheme simply click continue.
Once you clicked on continue, you would be asked to confirm the auto partioning. Click on continue to proceed.
2. Something else (i.e. you can manually create the partition and install Ubuntu on your selected partition), use this advanced mode if you are comfortable in manually partitioning your drives. Click on continue.
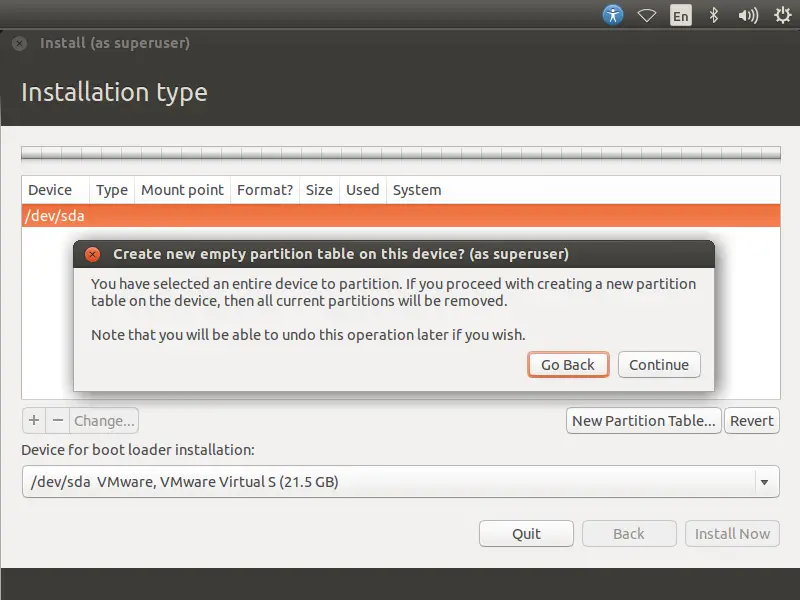
Once you clicked, you would get the following page where installer lists available hard disk. In my case i have one harddisk size of 20GB, to create a partition; click on New Partition Table to create empty partition since this is a new harddisk. Pop up will ask you to confirm, click on continue.
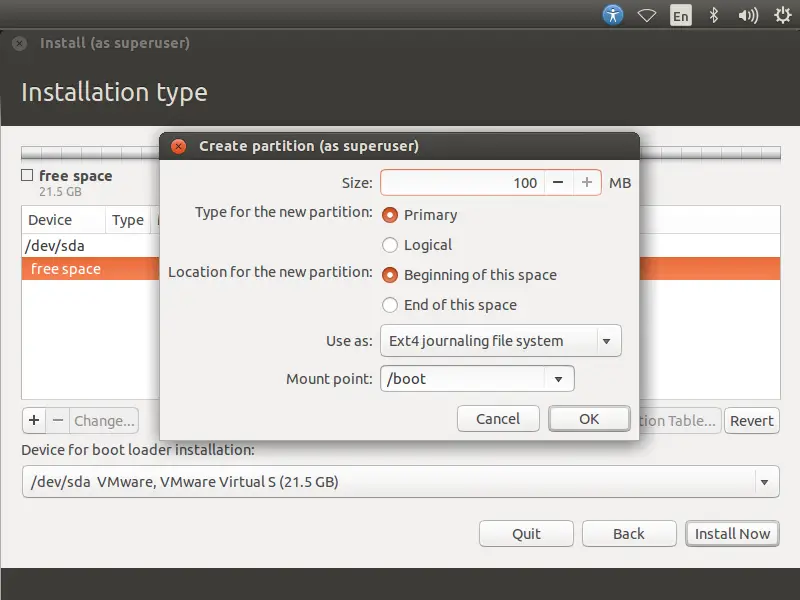
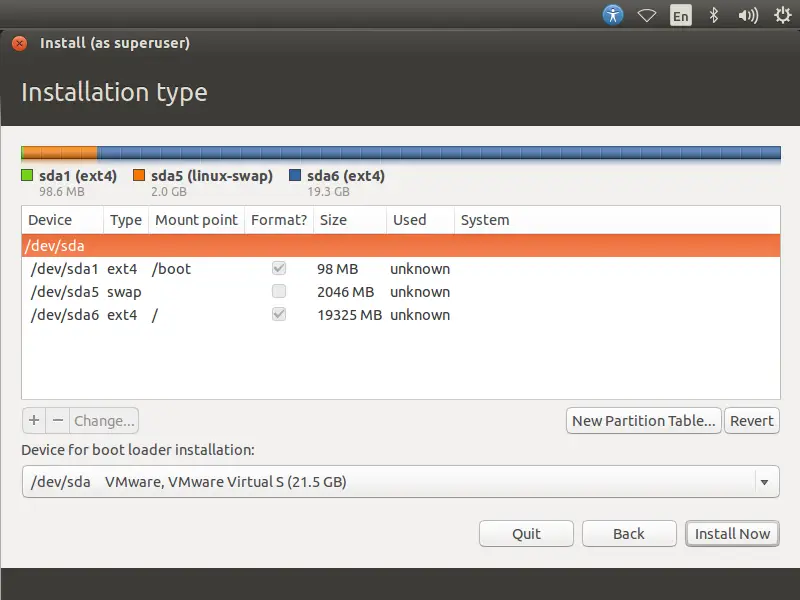
Partition scheme will be like below:
/boot – 100MB
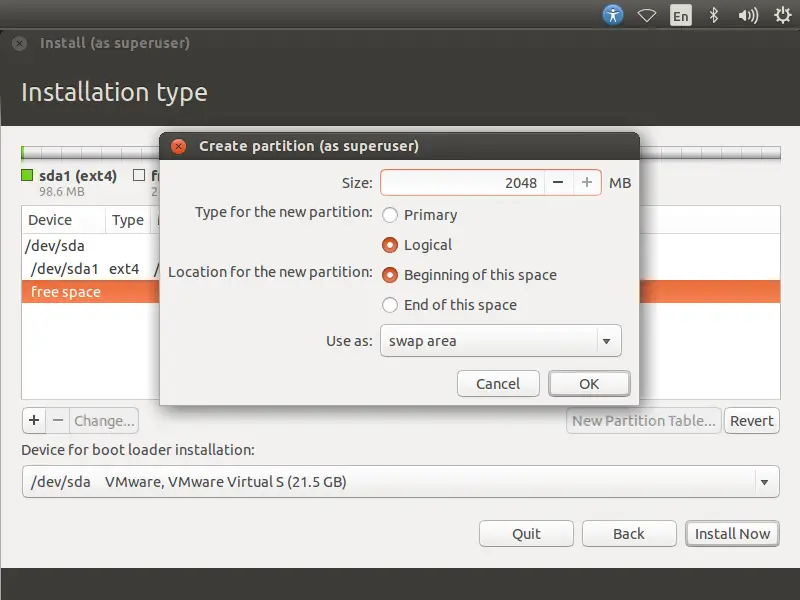
swap – 2048MB
/ – Remaning (19GB)
Select free space and click on + sign at the bottom to create partitions. Following shows for /boot partition.
Following for swap partition, make sure you selected use as swap area.
Following for / (root) partiton.

Review your partitions and click on install now.
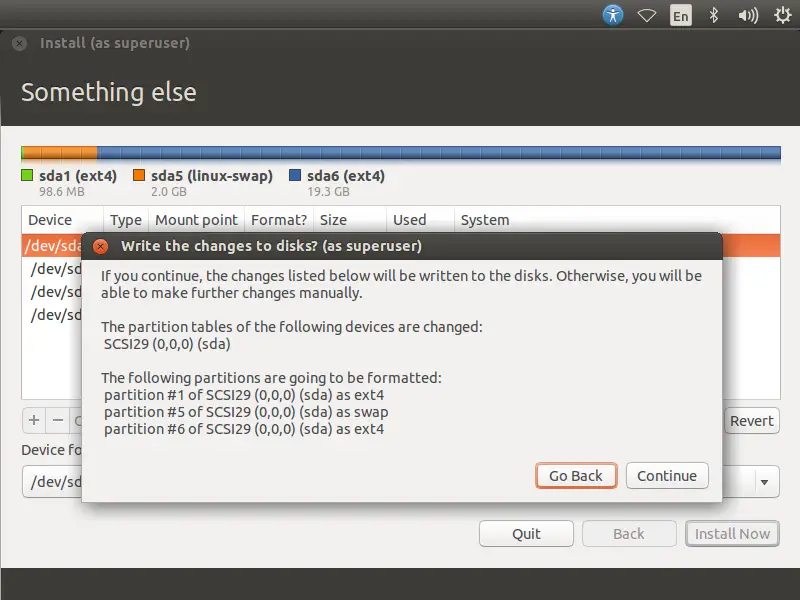
Confirm the partition scheme.
Select your location.

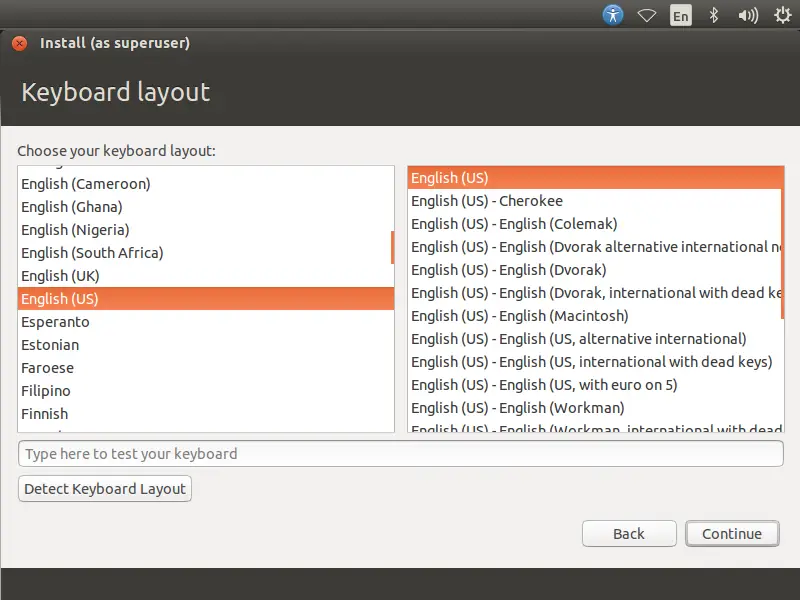
Select your keyboard layout. In case you are not sure, use the ‘Detect Keyboard Layout‘ option and you can also test your selection by typing in the test text box.
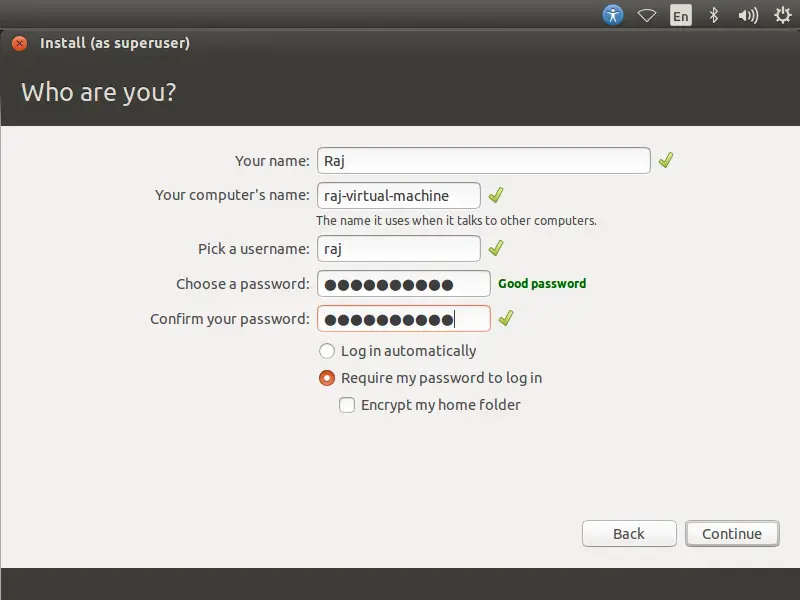
In the final screen you will be prompted to enter information about the first user that is going to be created on the system. Enter your information in this screen.
Here is one thing you should remember – if you select ‘Log in automatically‘, it will never ask you your password for authentication while you try to log in to your Ubuntu System. Its best if you give a very secure password for your installation. Ubuntu will inform you whether your password is secure or not.
If you select ‘Encrypt my home folder‘ it will make all the files and folders in your home folder more secure from unauthorized viewing if you have multiple users using your computer. When you log in to your computer your files are seamlessly decrypted for just your session. If you are not sure, leave this box unchecked.
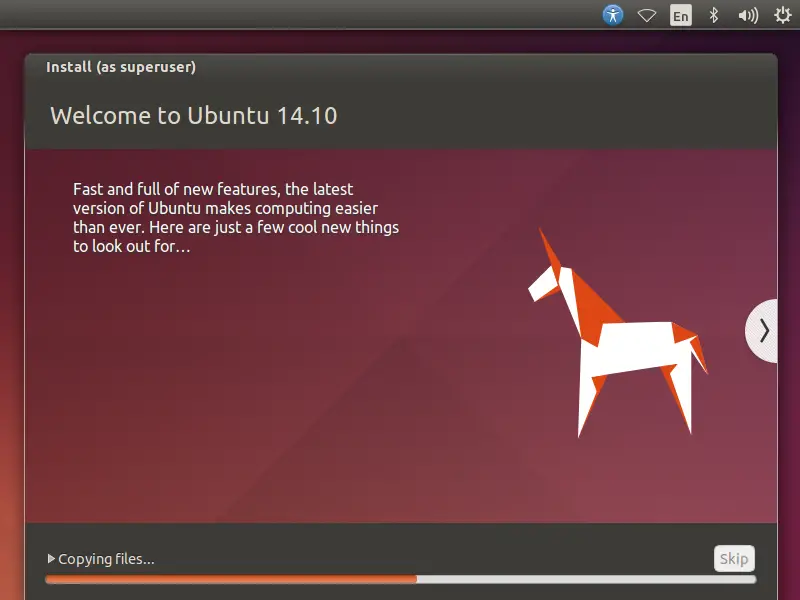
Once the above steps are done, click on continue. Below screen shot shows installing Ubuntu 14.10.
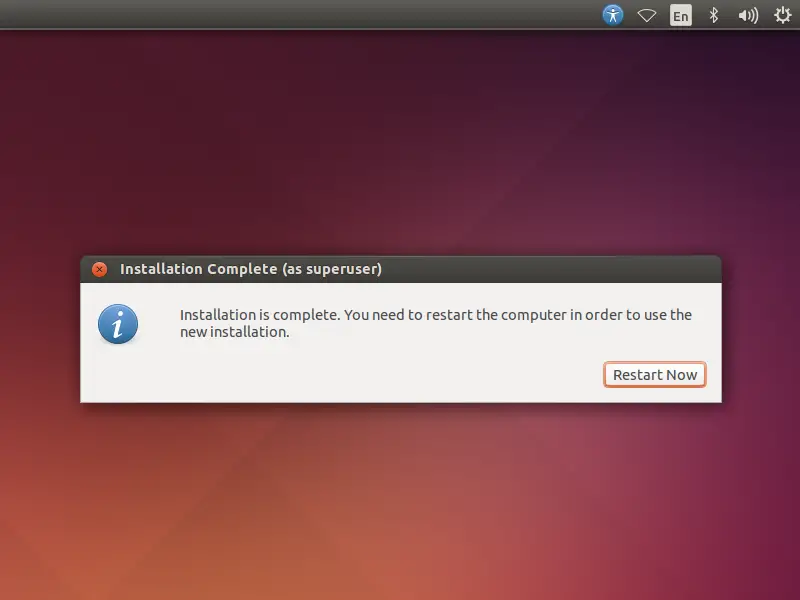
Once the installation is over, you should click on the restart now.
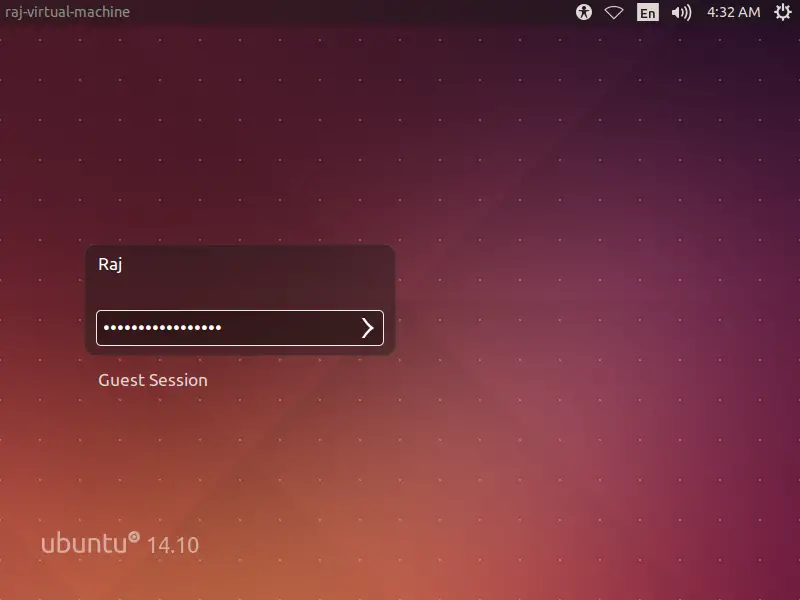
Once the Machine restarted, you will get login window. Type your password on the below of your user name and Press Enter.
The Desktop of the Ubuntu 14.10 will be like below.
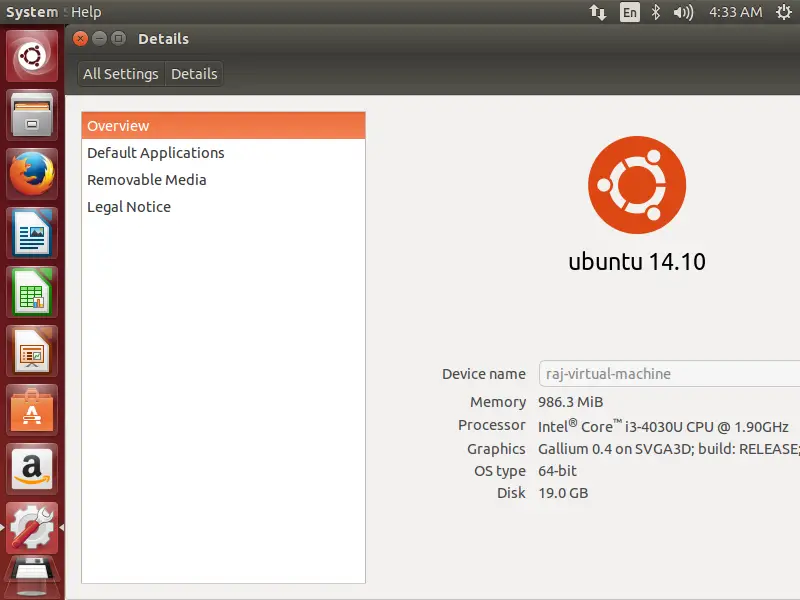
Your Ubuntu is now ready for you try it out!! Use, Share and Enjoy.