
Security, speed, compliance, and flexibility — all of these describe lighttpd (pron. lighty) which is rapidly redefining efficiency of a web server; as it is designed and optimized for high performance environments. With a small memory footprint compared to other web-servers, effective management of the cpu-load, and advanced feature set (FastCGI, SCGI, Auth, Output-Compression, URL-Rewriting and many more) lighttpd is the perfect solution for every server that is suffering load problems, and best of all it is Open Source licensed under the revised BSD license.
This tutorial shows you how to install lighttpd on an Ubuntu 14.10 with PHP and MySQL support.
Installing MySQL:
First we will install the MySQL by issuing the following command.
$ sudo apt-get install mysql-client mysql-server
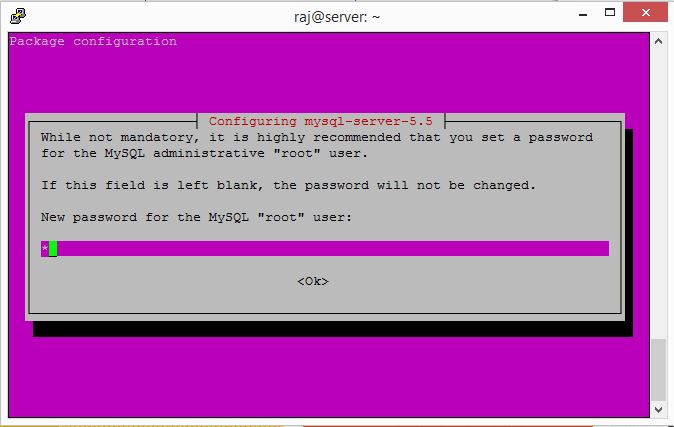
After the installation of the all packages, it will prompt you to configure the MySQL root password. Type new root password for MySQL in the Next Screen.
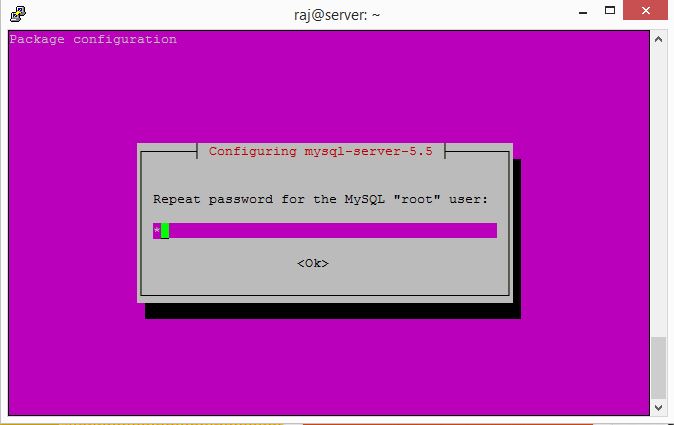
Repeat the root password.
Installing Lighttpd:
Install Lighttpd using the following command.
$ sudo apt-get install lighttpd
Open web browser and visit https://your-ip-address/index.lighttpd.html, you should see the following page; this will confirm you that the lighttpd is successfully installed on the server.
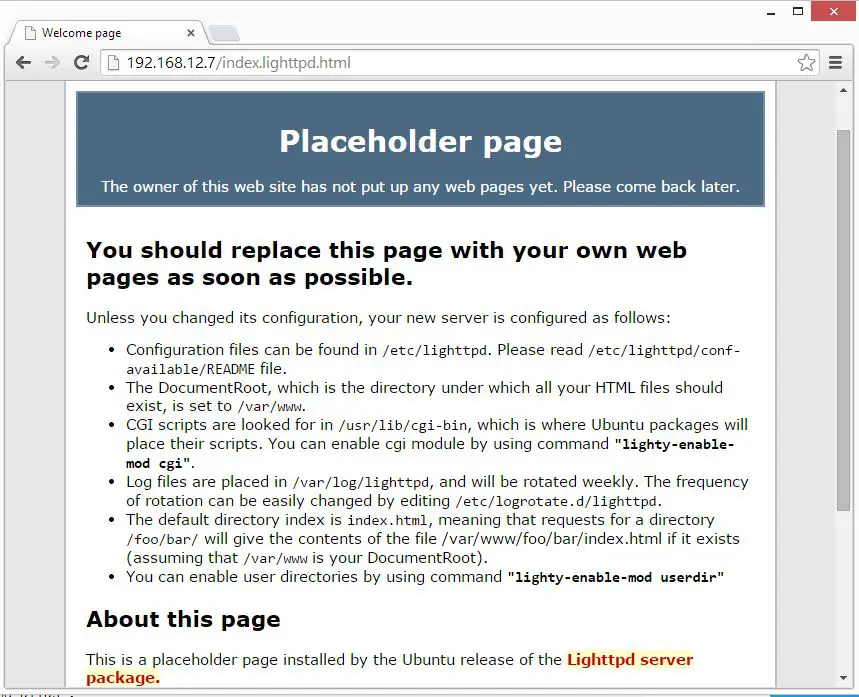
The default document root on Ubuntu 14.10 is /var/www/, configuration files are under /etc/lighttpd/ directory.
Installing PHP:
Next is to install PHP with Fast cgi, it has some additional features useful for sites of any size, especially busier sites. Install it by issuing the following command.
$ sudo apt-get install php5-cgi php5-mysql
Enable fast-cgi support.
$ sudo lighttpd-enable-mod fastcgi
$ sudo lighttpd-enable-mod fastcgi-php
Reload lighttpd service inorder to take an effect of fast-cgi.
$ sudo /etc/init.d/lighttpd force-reload
Testing PHP-cgi support:
For testing the PHP, Place one PHP file on to the document root.In the terminal copy/paste the following line:
$ sudo nano /var/www/info.php
This will open up a file called index.php, Copy/Paste this line into the index.php file:
<?php phpinfo(); ?>
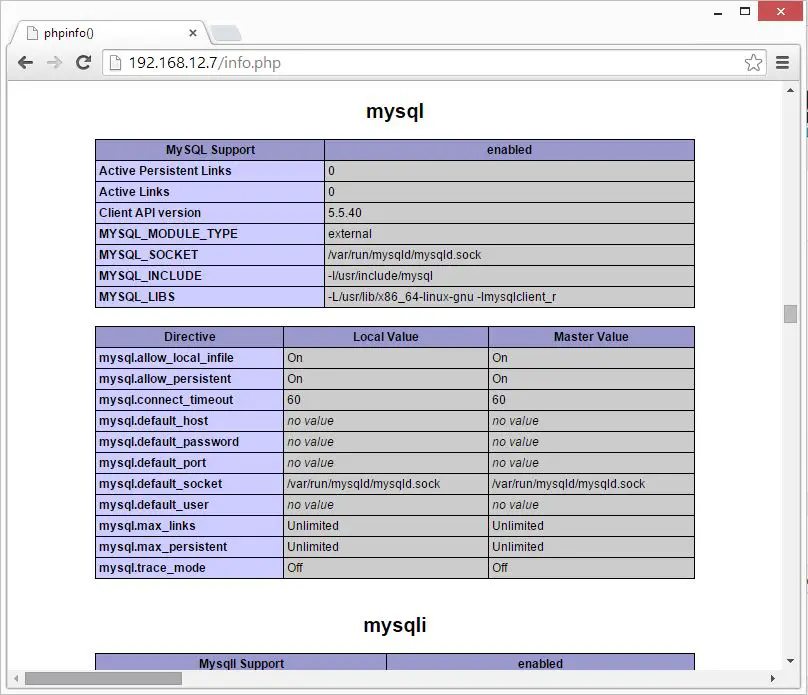
Now open up your web browser and type https://your-ip-address/info.php, the page will look like below:
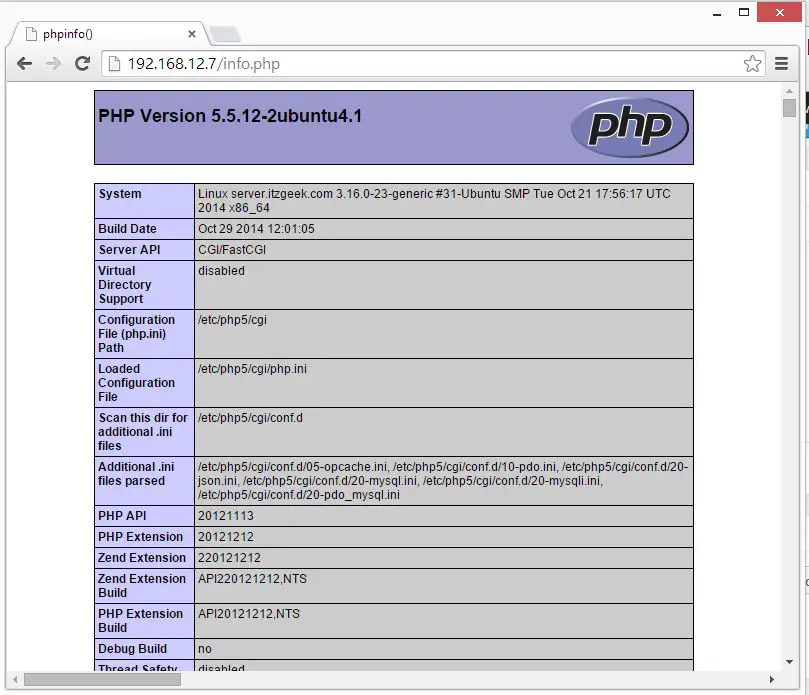
From the above screen shot , PHP is working, and it’s working through FastCGI, as shown in the Server API line. If you scroll further down, you will see all modules that are already enabled in PHP. Scroll down the browser and look for the MySQL support information.
That’s all!