WordPress is the most widely used open source web blogging and content management software written in php and MySQL. Even ITzGeek uses WordPress.
Here is the small tutorial on setting up WordPress installation on Ubuntu 16.04 / Ubuntu 14.04.
Prerequisites
WordPress requires Apache, PHP, and MySQL. You can look at how to install LAMP on Ubuntu 16.04 / Ubuntu 14.04.
Create Database
Log in to MariaDB.
mysql -u root -p
Create the desired database for WordPress.
CREATE DATABASE wordpress;
Create a user with password.
CREATE USER 'wpuser'@'localhost' IDENTIFIED BY 'wppassword';
Grant the permission to the created user to access the database.
GRANT ALL PRIVILEGES ON wordpress.* TO 'wpuser'@'localhost';
FLUSH PRIVILEGES;
Exit from MariaDB shell.
exit
Configure Apache
Enable the mod_rewrite module for handling the WordPress permanlink feature.
a2enmod rewrite
Enable the .htaccess overrides by editing the Apache configuration file.
sudo nano /etc/apache2/sites-enabled/000-default.conf
Add the green colored lines between the default virtual host context.
<VirtualHost *:80>

    ServerAdmin webmaster@localhost
    DocumentRoot /var/www/html


    ErrorLog ${APACHE_LOG_DIR}/error.log
    CustomLog ${APACHE_LOG_DIR}/access.log combined
    <Directory /var/www/html/>
       AllowOverride All
    </Directory>
</VirtualHost>
Restart the Apache service.
service apache2 restart
Configure WordPress
Download the latest WordPress.
wget https://wordpress.org/latest.tar.gz
Extract the downloaded archive using tar command.
sudo tar -zxvf latest.tar.gz
Move the extracted files to /var/www/html/ directory.
sudo mv wordpress/* /var/www/html
Copy the wp-sample-config.php file and make it as wp-config.php file.
sudo cp /var/www/html/wp-config-sample.php /var/www/html/wp-config.php
Edit the config file and mention the database information.
sudo nano /var/www/html/wp-config.php
The default configuration will look like below.
// ** MySQL settings - You can get this info from your web host ** //
/** The name of the database for WordPress */
define('DB_NAME', 'database_name_here');
/** MySQL database username */
define('DB_USER', 'username_here');
/** MySQL database password */
define('DB_PASSWORD', 'password_here');
/** MySQL hostname */
define('DB_HOST', 'localhost');
Modified entries according to the created database user and database will look like below.
// ** MySQL settings - You can get this info from your web host ** //
/** The name of the database for WordPress */
define('DB_NAME', 'wordpress');
/** MySQL database username */
define('DB_USER', 'wpuser');
/** MySQL database password */
define('DB_PASSWORD', 'wppassword');
/** MySQL hostname */
define('DB_HOST', 'localhost');
Make the apache user as the owner of WordPress directory.
sudo chown -R www-data:www-data /var/www/html/
Remove the default index.html from /var/www/html directory.
sudo rm -rf /var/www/html/index.html
Install WordPress
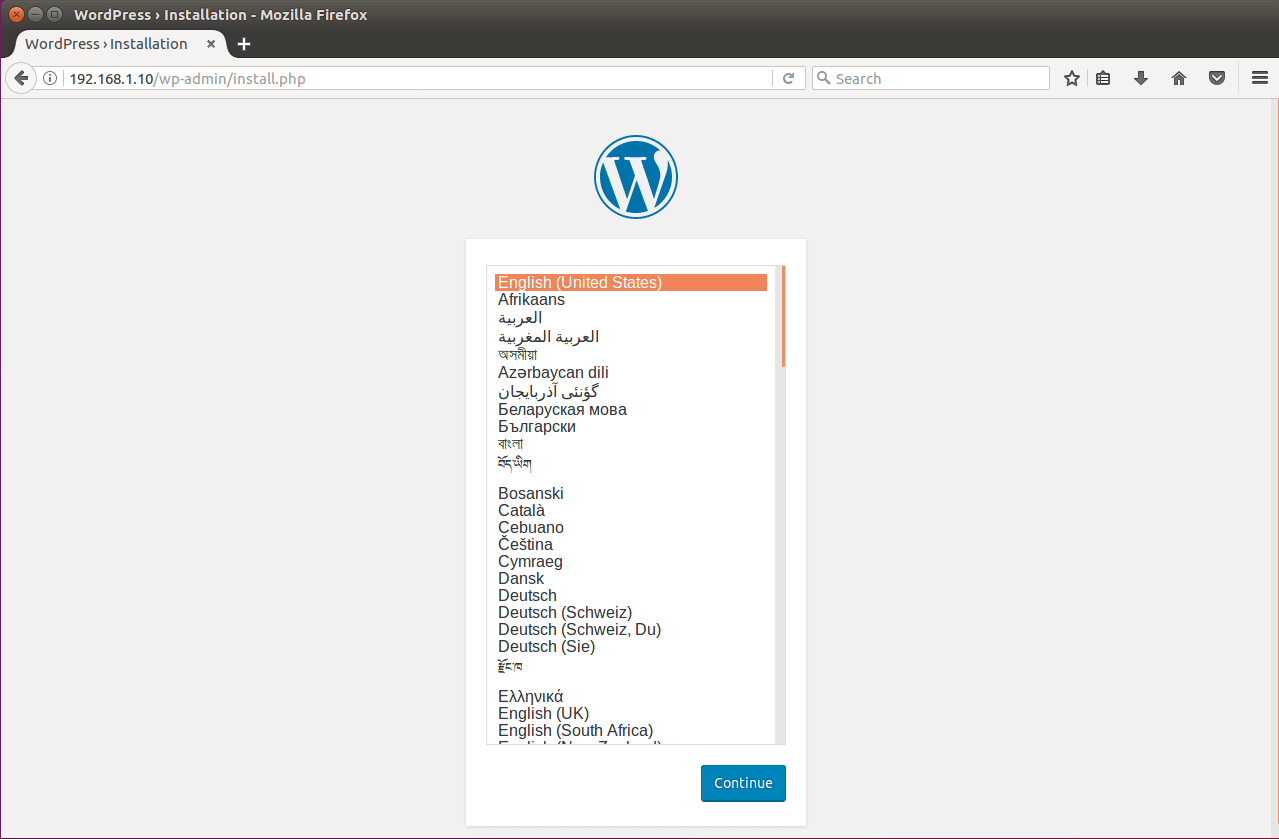
Open your web browser and visit
Select the language for WordPress installation.
Enter the site information and click on Install WordPress.

WordPress installation should have been completed by now. Click on continue.
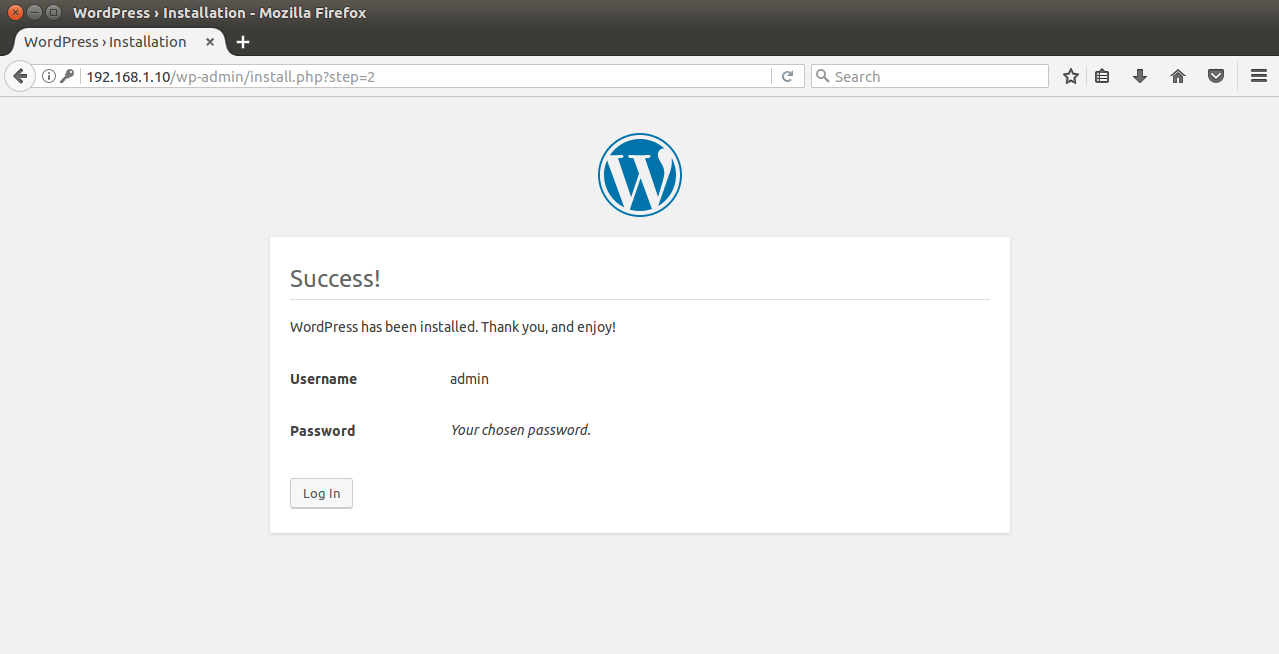
You will be asked to enter the password to access the WordPress admin section. Enter the username and password you created two steps earlier.
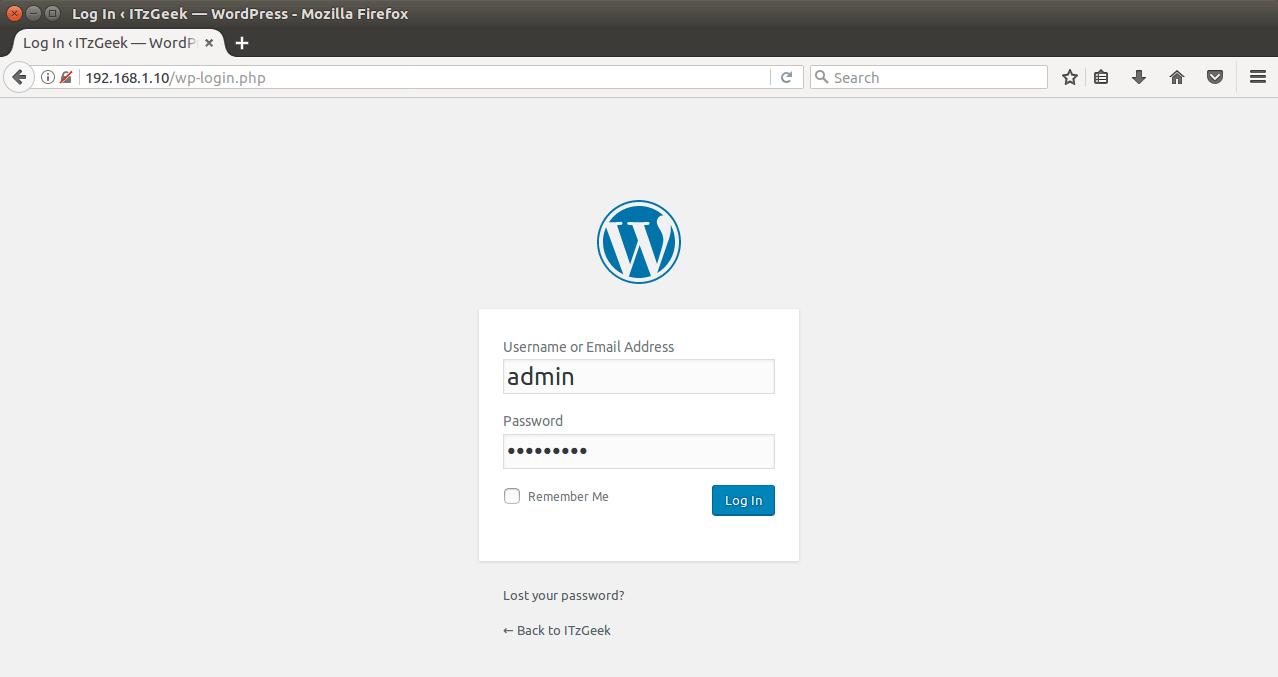
WordPress Admin:

That’s All.