How to Install vSphere Client 5 Step by Step
 Assuming you followed the previous article, on deploying ESXi 5.0, without any major problems you should now have your first ESXi 5 host server up and running. Now you have downloaded the vSphere client 5 and need to install for managing the ESXi5 host.
Follow the steps to install vSphere client 5.
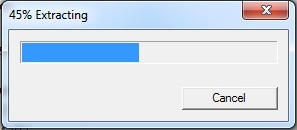
Step 1: Double click on the executable file. it will start to extracting the installable files.
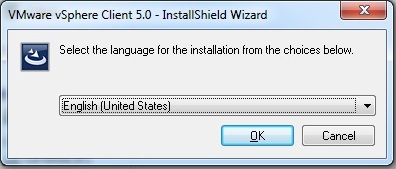
Step 2 : In the next screen select the language of installation.
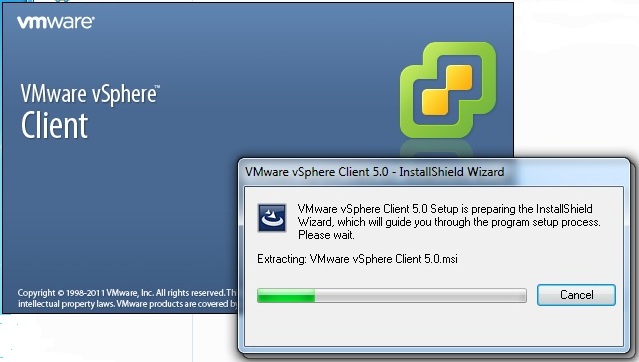
Again it will extract the installation files.
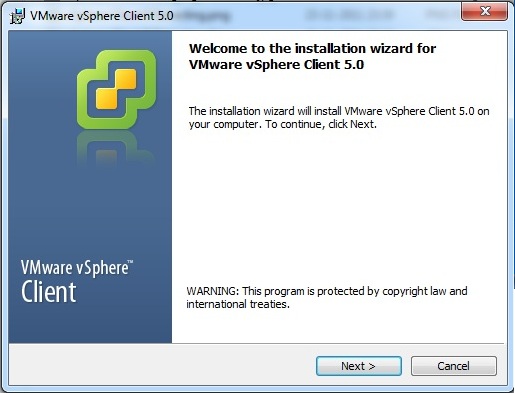
Step 3: Click Next on the Installation Wizard.
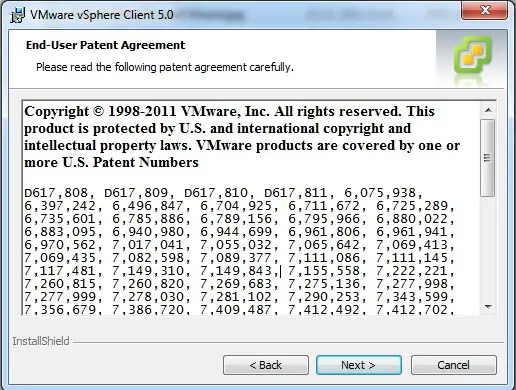
Step 4: Click Next on the End-User Patent Agreement.
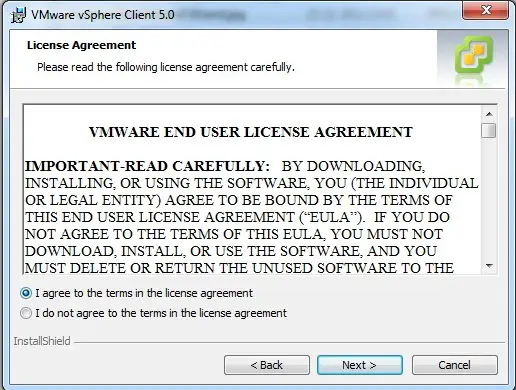
Step 5: Select I Agree to the Terms, then click Next to continue.
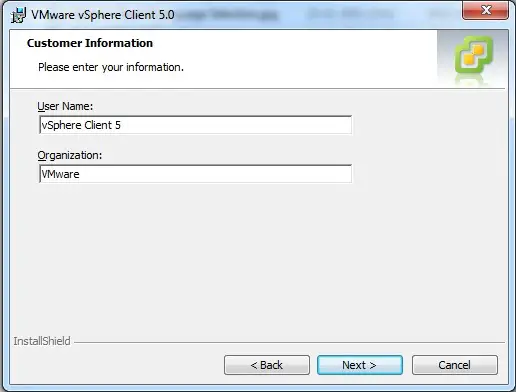
Step 6: Type the Name and Organization on the next window.
Step 7: Click Next on the Destination folder window.
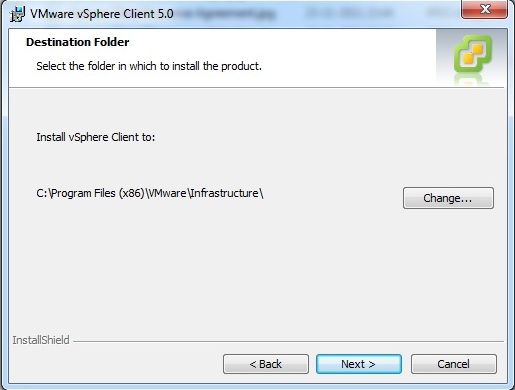
Step 8: Click Install button on the Ready to install window.
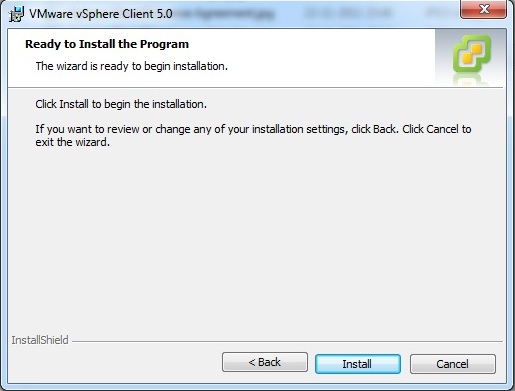
Installation of vSphere client 5 is in progress.
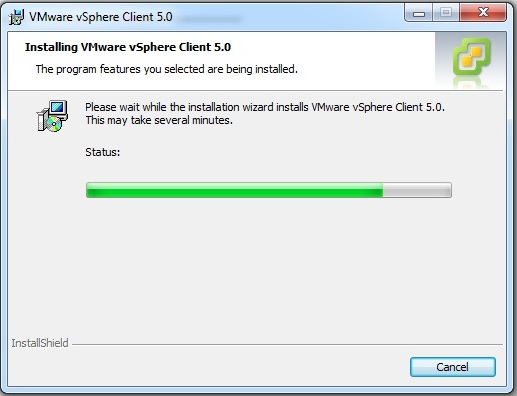
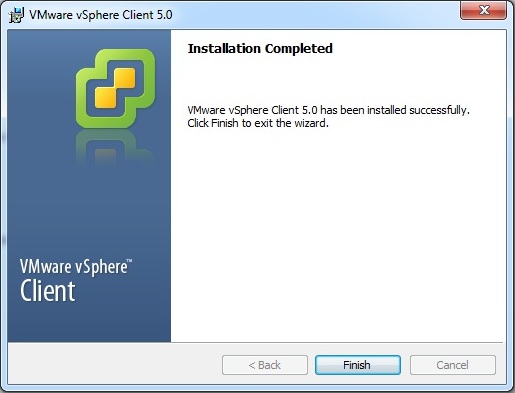
Step 9: Once installation of vSphere client is over, click Finish to close the window.
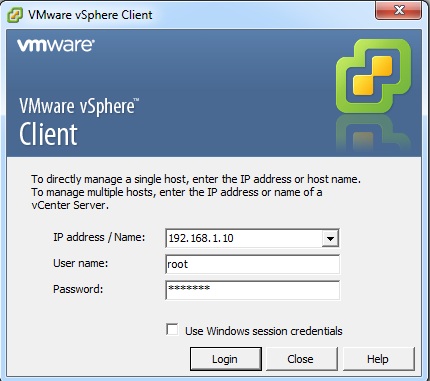
Step 10: Next you have to open the vSphere client application, Type the details of ESXi 5 host, then click Login.
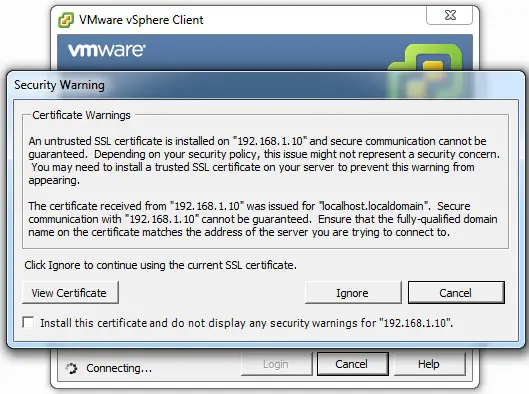
Step 11: Click on Ignore button on the Security warning window. This is of SSL certificate, SSL is not issued by authority because now only we are started to deploying VM’s.
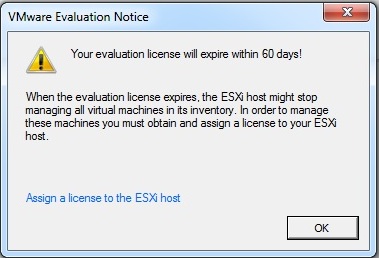
Step 12: Click Yes on the Evaluation window.
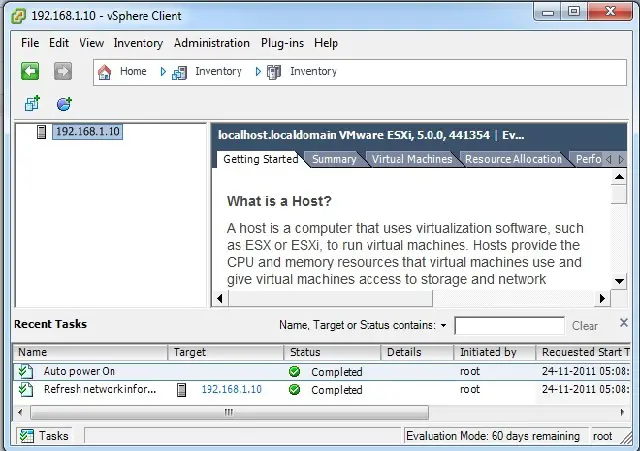
Step 13: This is the main window, where you can manage VM’s on the ESXi 5 host.
That’s it.
