How to install VMware ESXi 5 Step by Step
 Here in this we are going to install the VMware ESXi 5 on the server, it does not take more than 10 minutes. But before that you have to verify the hardware that you are using is compatible with the installation.
To confirm the compatibility click HERE.
If your hardware supports VMware ESXi installation. First you need to download the ISO image from their Official Website.
To Download Click HERE. ( It requires registration to Download this)
Once download, burn it in CD. boot it from the CD Rom. for that make the first boot devices as CD Rom Drive.
Step 1: You will get the following screen once server started. Press Enter to Continue to boot from the CD Drive.
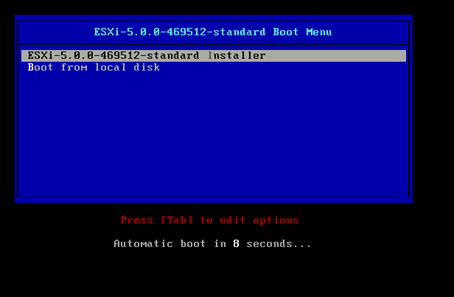
Next it will start to loading the ESXi installer.
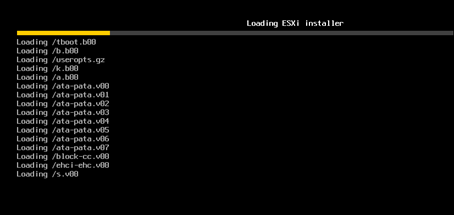
The following screen shows the initialization of ACPI.
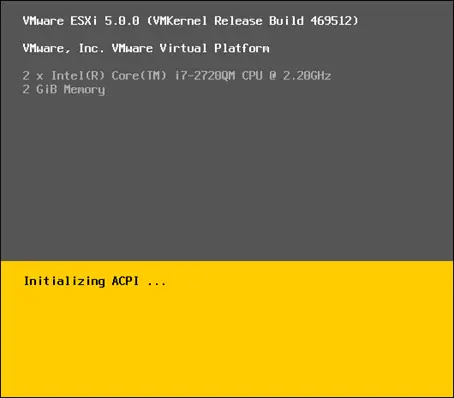
Step 2: Press Enter to Start the installation.
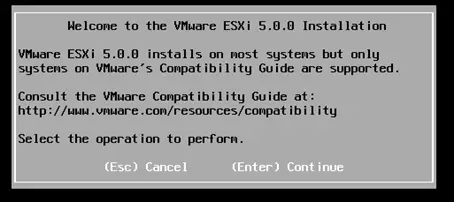
Step 3: Press F11 to accept the license and continue.
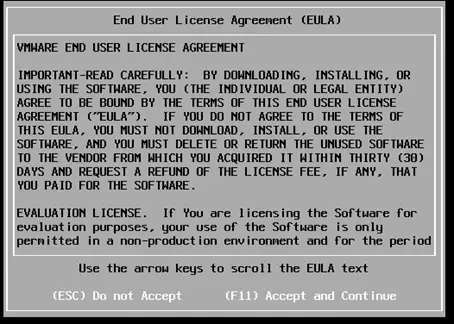
Step 4 : Select installation Drive and Enter to Continue.
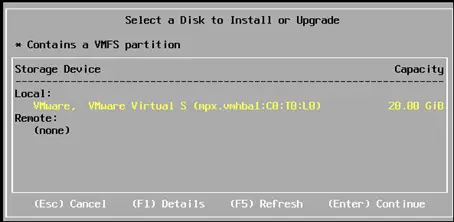
Step 5: Select the Keyboard Layout and Enter to Continue.
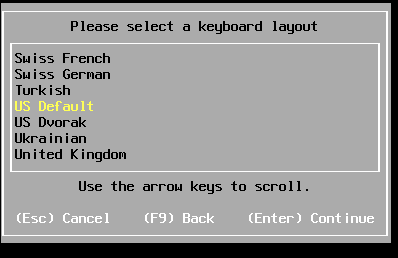
Step 6: Type the root password in the two fields, then press Enter to Continue.
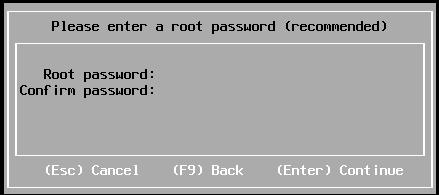
Step 7: Press F11 to start the installation.
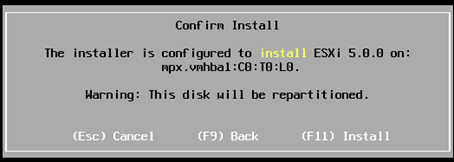
Now it is installing the VMware ESXi.

Step 8: Enter to reboot after the installation.
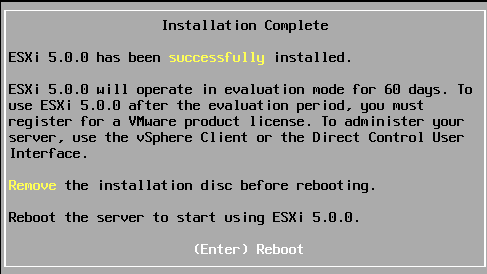
Step 9: Now the installation is over. You can find the following image displaying the ip address (IP address is DHCP) for managing this host.
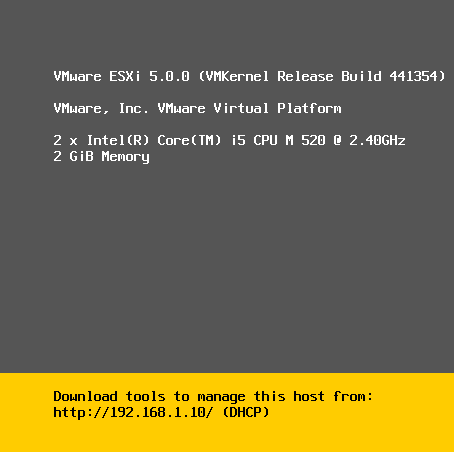
Go to your web browser and type the url according to the ip address, in this case https://192.168.1.10.
If you visit the address that is mentioned in you Esxi 5 server, you will get the following screen.
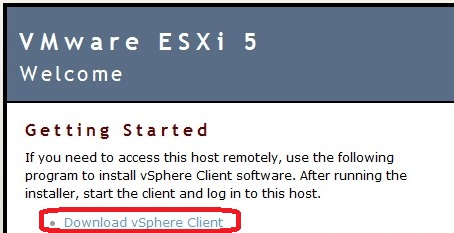
from the above you can find vSphere 5 client requires for managing the ESXi 5 host. You can download it from the VMware.com.
To install VMware vSphere Client 5
