WordPress is the most widely used open source web blogging and content management software written in PHP and MySQL; even ITzGeek uses WordPress.
Here is the small tutorial on setting up WordPress installation with Nginx on Fedora 27 / Fedora 26.
Prerequisites
Before proceeding, you might want to look at the following.
READ: Install EMP stack (Nginx, MariaDB, and PHP) on Fedora 27 / Fedora 26
READ: Install phpMyAdmin with Nginx on Fedora 27 / Fedora 26
Configuring Nginx
Let’s create a virtual host for WordPress installation. Virtual host configuration files can be found in /etc/nginx/conf.d directory. Normally virtual host files contain a domain name, port number, document root, log location, fast CGI, etc., We have to keep that in mind before creating the file.
Assume the following,
Domain name : wordpress.itzgeek.local
Port No : 80
Document root: /usr/share/nginx/wordpress.itzgeek.local
Logs : /usr/share/nginx/wordpress.itzgeek.local/logs
Create a virtual host.
vi /etc/nginx/conf.d/wordpress.conf
Place the following content.
server {
        listen 80;
        server_name wordpress.itzgeek.local;

        access_log /usr/share/nginx/wordpress.itzgeek.local/logs/access.log;
        error_log /usr/share/nginx/wordpress.itzgeek.local/logs/error.log;

location / {
        root /usr/share/nginx/wordpress.itzgeek.local;
        index index.php index.html index.htm;

if (-f $request_filename) {
        expires 30d;
        break;
}

if (!-e $request_filename) {
        rewrite ^(.+)$ /index.php?q=$1 last;
        }
}

location ~ .php$ {
        fastcgi_pass   127.0.0.1:9000;
        fastcgi_index  index.php;
        fastcgi_param  SCRIPT_FILENAME   /usr/share/nginx/wordpress.itzgeek.local$fastcgi_script_name;
        fastcgi_param PATH_INFO               $fastcgi_script_name;
        include /etc/nginx/fastcgi_params;
}
}
Create document root and logs directory.
mkdir /usr/share/nginx/wordpress.itzgeek.local/
mkdir /usr/share/nginx/wordpress.itzgeek.local/logs
In Fedora, SELinux is enabled by default. Configure SELinux policies according to your requirement, here is the excellent tutorial about SELinux.
For this guide, I chose to disable SELinux.
setenforce 0
Verify the configuration files.
nginx -t
If you get the following, it means that virtual host entries are correct.
nginx: the configuration file /etc/nginx/nginx.conf syntax is ok
nginx: configuration file /etc/nginx/nginx.conf test is successful
Restart the services.
systemctl restart nginx
systemctl restart php-fpm
Creating database
Login into MariaDB.
mysql -u root -p
Create the desired database for WordPress.
CREATE DATABASE wordpress;
Create a user.
CREATE USER 'wpuser'@'localhost' IDENTIFIED BY 'wppassword';
Grant the permission to the created user to access the database.
GRANT ALL PRIVILEGES ON wordpress.* TO 'wpuser'@'localhost';
Exit from MariaDB shell.
exit
Configuring WordPress
Download the latest WordPress.
wget https://wordpress.org/latest.tar.gz
Extract it.
tar -zxvf latest.tar.gz
Move it to our document root.
mv wordpress/* /usr/share/nginx/wordpress.itzgeek.local/
Copy the wp-sample-config.php file and make it as wp-config.php file.
cp /usr/share/nginx/wordpress.itzgeek.local/wp-config-sample.php /usr/share/nginx/wordpress.itzgeek.local/wp-config.php
Edit the config file and mention the database information.
vi /usr/share/nginx/wordpress.itzgeek.local/wp-config.php
The default settings will look like below.
// ** MySQL settings - You can get this info from your web host ** //
/** The name of the database for WordPress */
define('DB_NAME', 'database_name_here');
/** MySQL database username */
define('DB_USER', 'username_here');
/** MySQL database password */
define('DB_PASSWORD', 'password_here');
/** MySQL hostname */
define('DB_HOST', 'localhost');
Modified entries according to the created database user and database will look like this.
// ** MySQL settings - You can get this info from your web host ** //
/** The name of the database for WordPress */
define('DB_NAME', 'wordpress');
/** MySQL database username */
define('DB_USER', 'wpuser');
/** MySQL database password */
define('DB_PASSWORD', 'wppassword');
/** MySQL hostname */
define('DB_HOST', 'localhost');
Make the nginx as the owner of WordPress directory.
chown -R nginx:nginx /usr/share/nginx/wordpress.itzgeek.local/
Install WordPress
Open your browser and visit
OR
Enter the site information and click the Install WordPress.

The below page confirms that WordPress installation has been completed successfully. Click on continue.
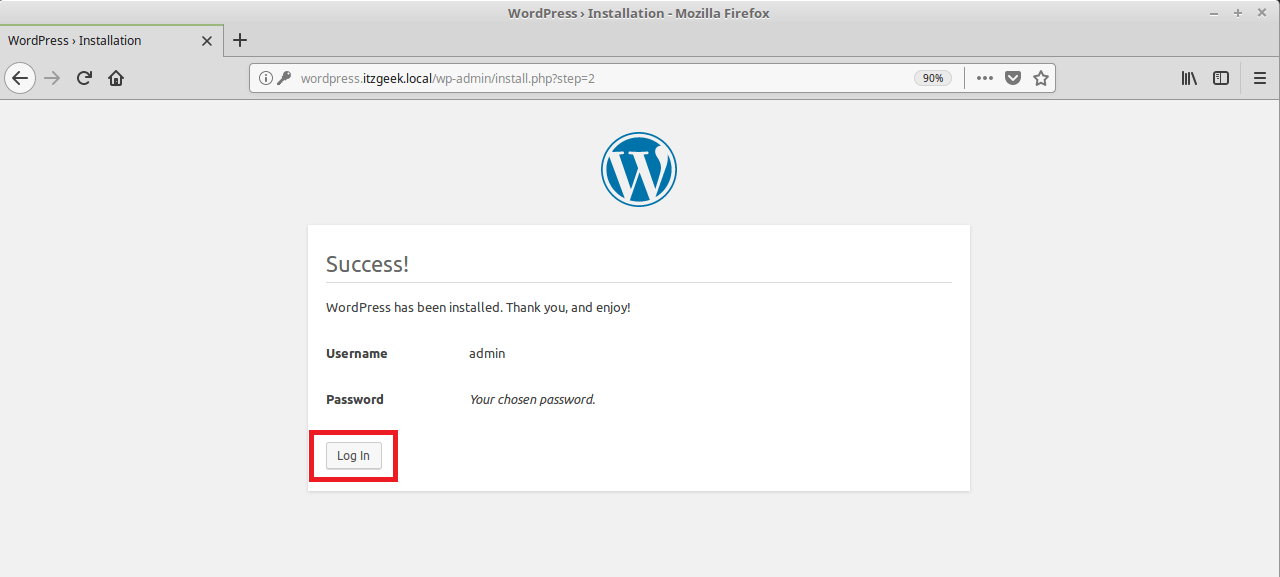
You will now be asked to enter the password to access the WordPress admin section.

WordPress Admin Dashboard:
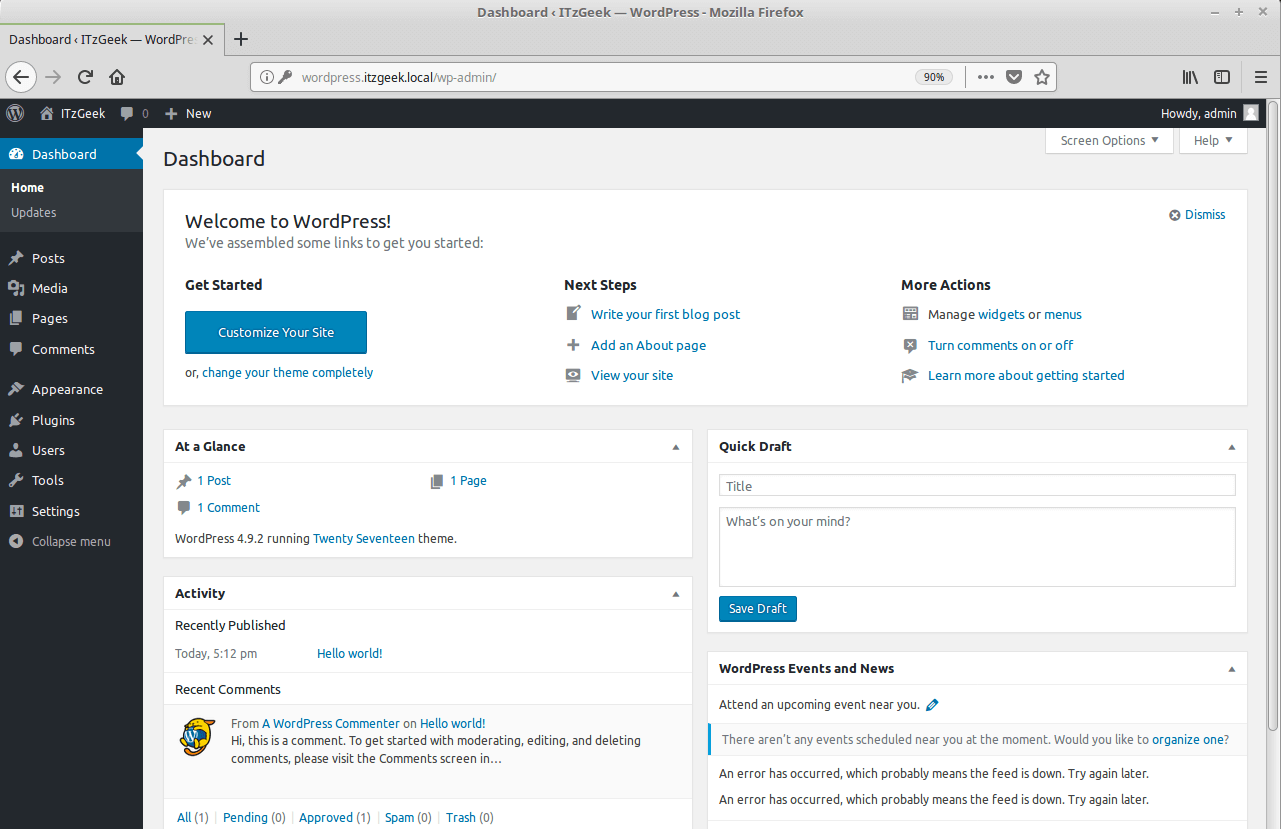
That’s All.