Ubuntu 17.04 (“Zesty Zapus“) is the latest and the current version of a famous desktop operating system from Canonical. Ubuntu 17.04 has been released on 13 April 2017; it will be supported for nine months until January 2018.
If you are looking for Long Term support; up to 5 years from the date of release; you are advised to use Ubuntu 16.04 LTS version.
READ: How to Install Ubuntu 16.04 LTS
READ: Upgrade to Ubuntu 16.04 LTS from Ubuntu 14.04 LTS
What’s new:
Let’s check, what is new in the Ubuntu 17.04.
- powerpc port is not included in the Ubuntu 17.04 release.
- DNS resolver now becomes systemd-resolved
- The new OS installation will use a swap file for swap memory instead of a swap partition.
More here.
This guide helps you to perform the fresh installation of Ubuntu 17.04 (Meaning that all your previous installation will be wiped out from hard disk)
You can also go for upgrading Ubuntu version to retain the data and configurations.
Download Ubuntu 17.04 from here, put the OS burned CD into the CD-ROM drive, change the boot sequence according for the system to boot from CD-ROM drive.
OR
Sometimes you may choose to install Ubuntu 17.04 from a Pendrive, change the boot sequence so that the USB disk can boot first.
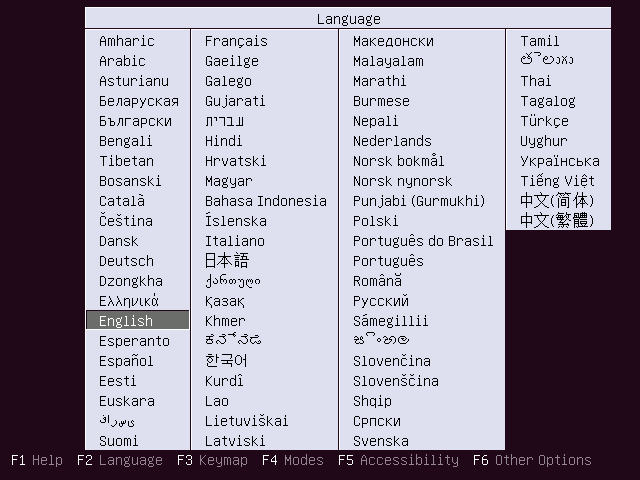
Press the Enter key to get a language screen and then choose the language for the OS installation.
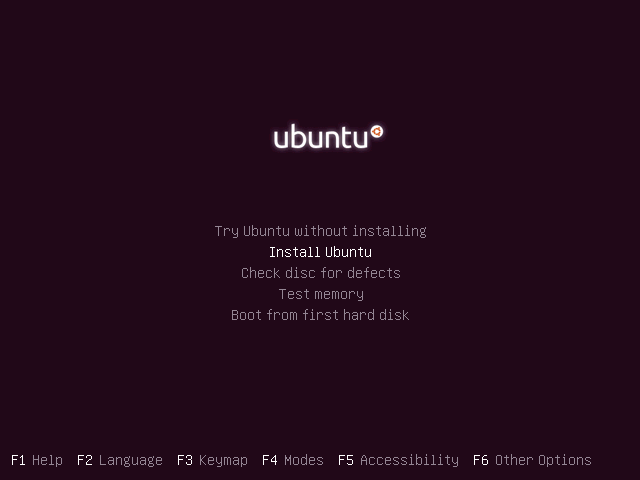
For installing the Ubuntu 17.04, Select Install Ubuntu.
This is the starting screen of Ubuntu, and it would disappear in a minute
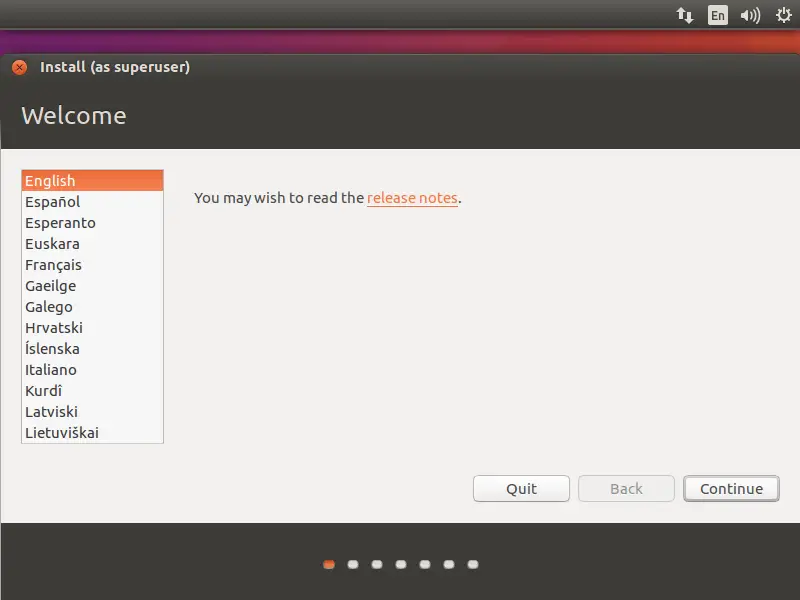
Click continue on the welcome screen. You can read the Ubuntu release notes on this screen.
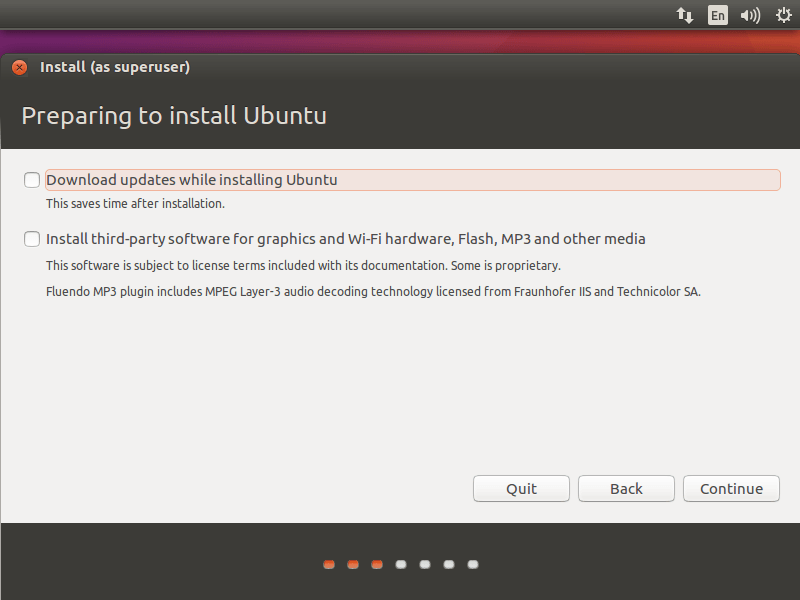
If you wish to install updates and other third-party software while installing Ubuntu 17.04, put a tick mark or leave as it is since it requires internet connectivity. Installation may take an hour-long depends on the downloadable contents.
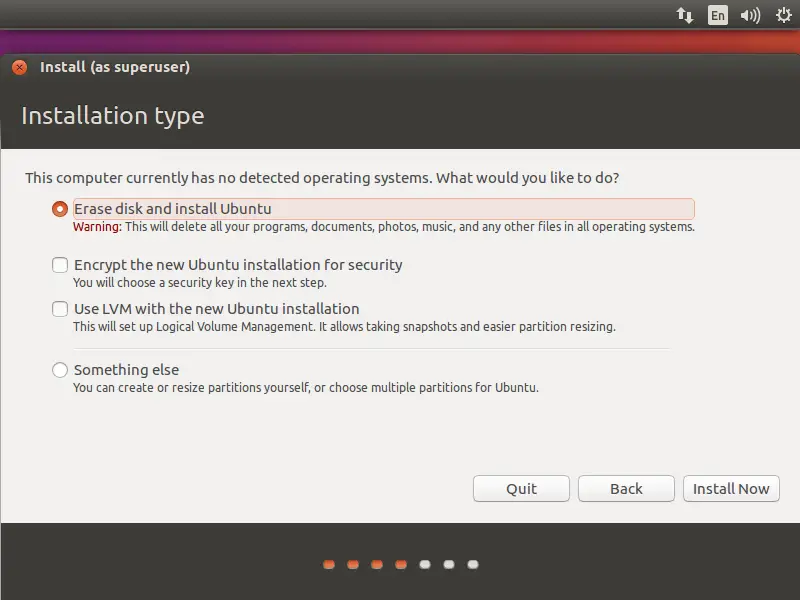
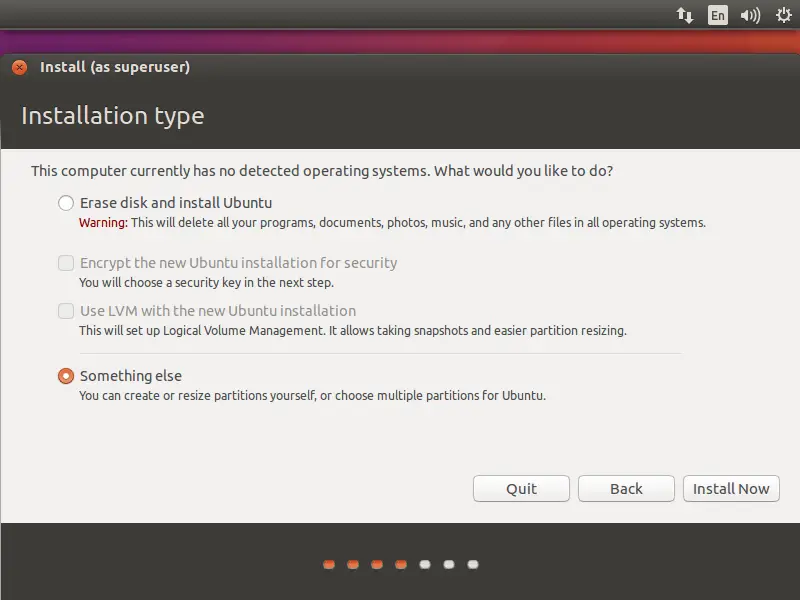
Installation type:
I’m installing the OS on the fresh HDD, so I have only two options in the installation type. Depending on existing OS’s on your HDD, you would get more options.
Please select any one of the methods.
1. Erase disk and install Ubuntu – It will format the entire hard drive and install the OS.
If you are unsure what to select, you better to go with this. You just click on Install Now.
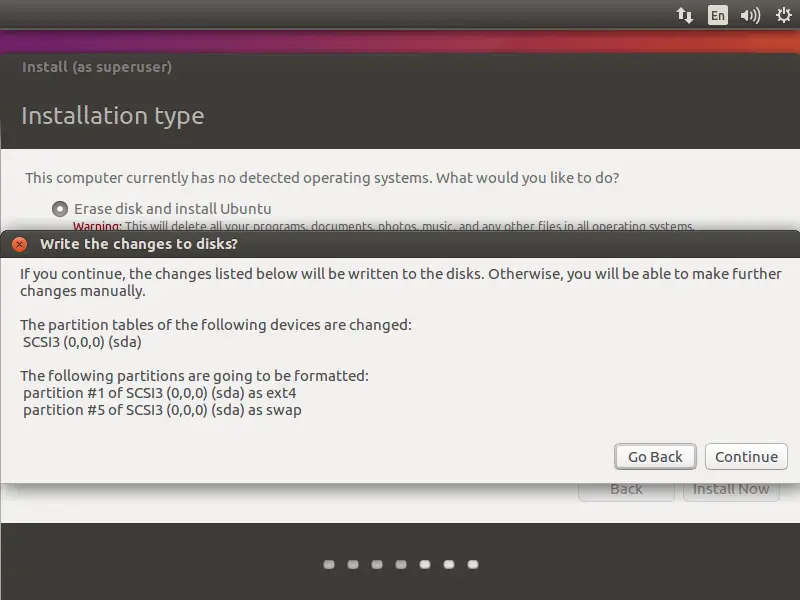
Now, OS installer will ask you to confirm the auto partitioning. Click on continue.
2. Something else – You can manually create the partition and install Ubuntu on selected partition.
Use this advanced mode only if you are comfortable in partitioning your drives manually. Click on continue.
Once you clicked, installer lists all of your hard disk available on your system. In my case, I have one hard disk with the size of 100GB.
Create an empty partition by clicking on New Partition Table.
As I said earlier, this is a new hard disk. So pop up window will ask you to confirm the creation, click on continue.
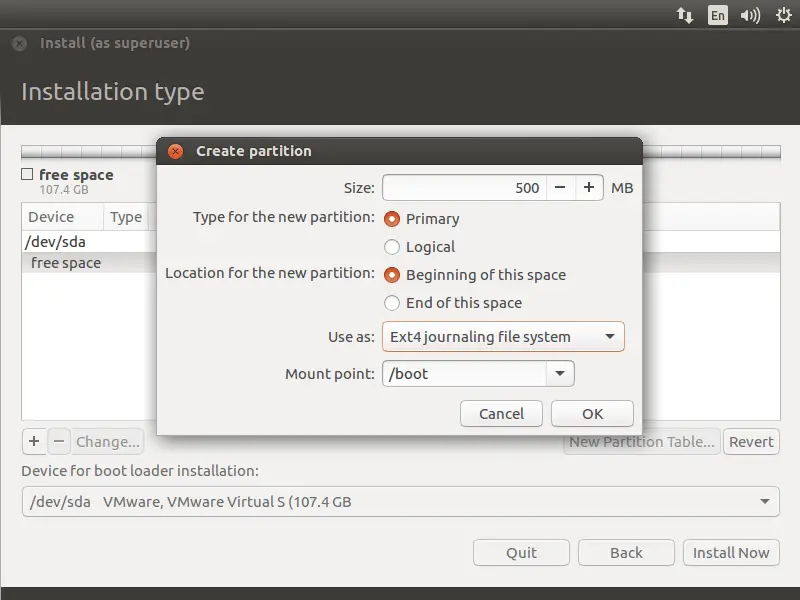
My system partition scheme will look like below:
/boot – 500MB
swap – 2 GB
/ – 99GB (Remaining space)
Select “free space” and hit “+ sign” at the bottom left to create partitions.
Following shows for /boot partition.
Following screen shot shows for the swap partition, make sure you select “use as swap area”

Following is for / (root) partition.

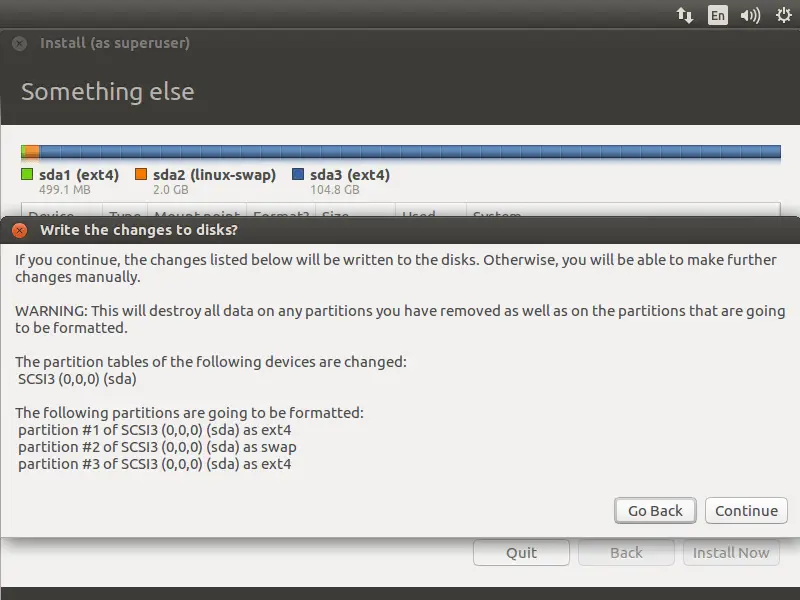
Review your partitions and then click on install now.

Click on continue to write the changes (partition table information) to disk.
Select your geographical location next screen.

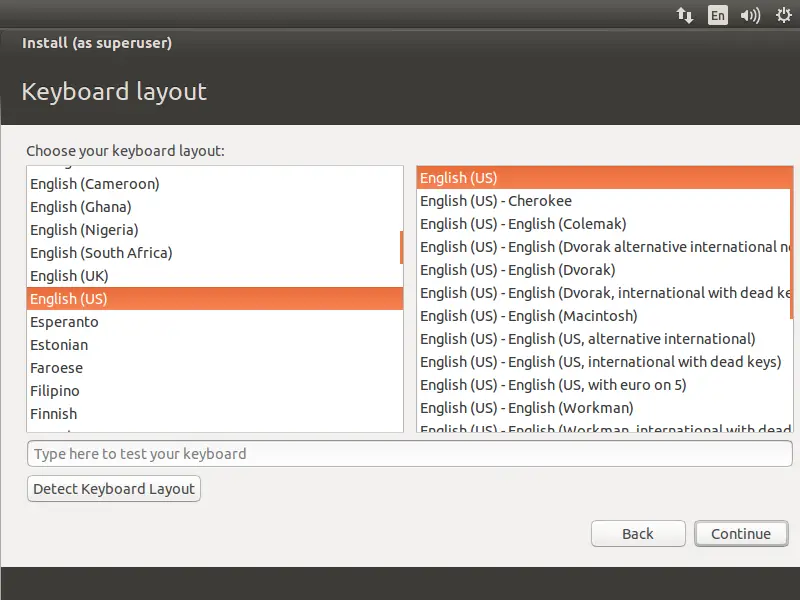
Choose your keyboard layout on next screen. If you are not sure, hit the ‘Detect Keyboard Layout‘ to find it out. You have an option test the selected keyboard by typing in the test text box.
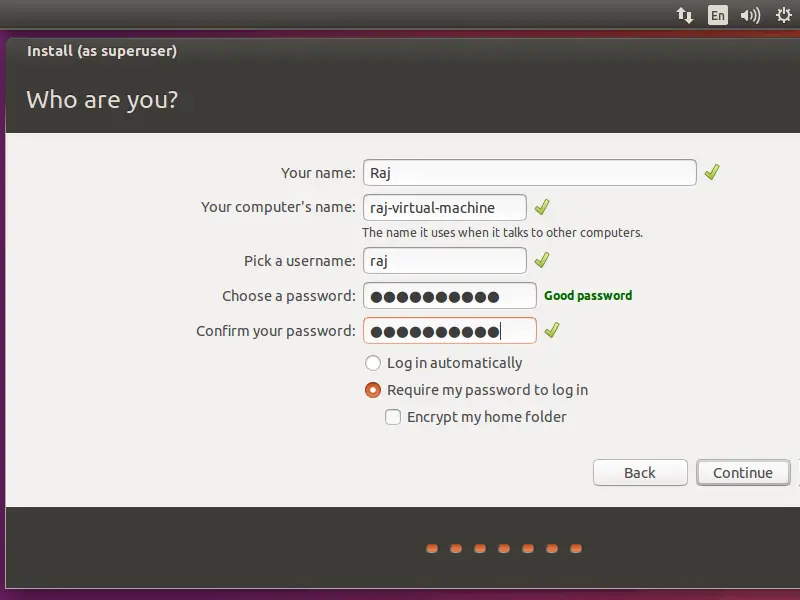
On the final stage, the installer will prompt you to enter information of about the user you wanted to create on the system.
Things you should remember – if you choose ‘Login automatically‘, System will directly take you to the desktop without asking your credentials.
It’s recommended to enter the complex password for your user. Ubuntu will tell you whether your password is secure or not.
Using ‘Encrypt my home folder‘, you can make all the files and folders in your home folder more secure from unauthorized accessing / viewing if you have multiple users using your computer. When you log into your computer, your files will be decrypted for just your session. If you are unsure, better to leave this box unchecked.
Once it’s done, click on continue.
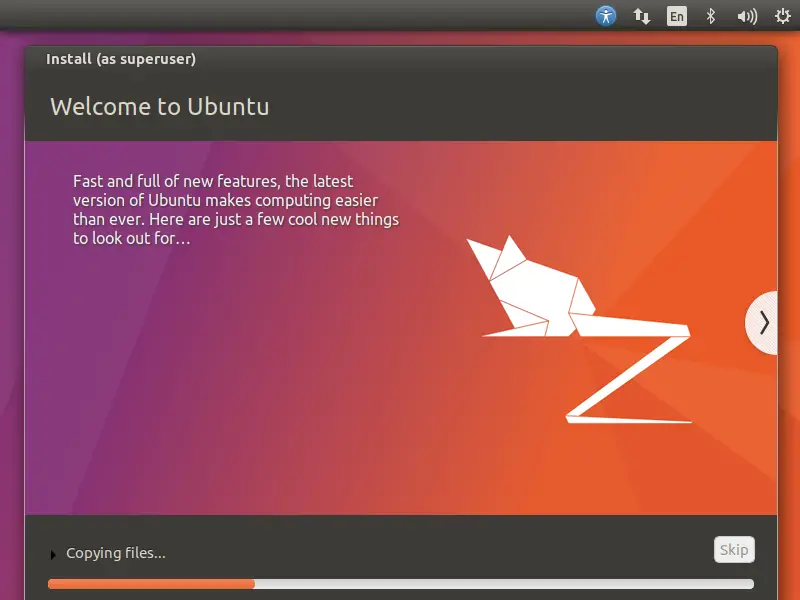
Below screenshot shows installing Ubuntu 17.04.
Once the installation is over, click on restart now.
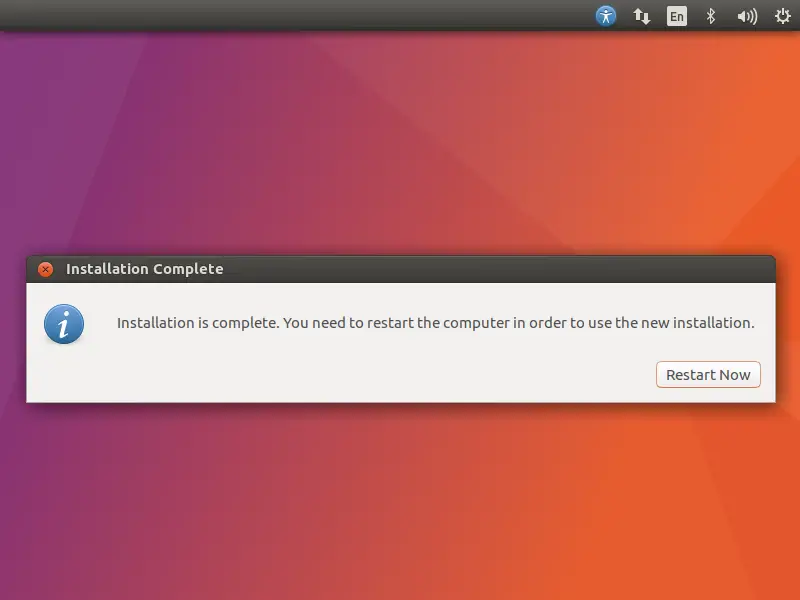
Remove the installation media and press Enter.
Upon restarted, Enter your username and password you created earlier to login to system.
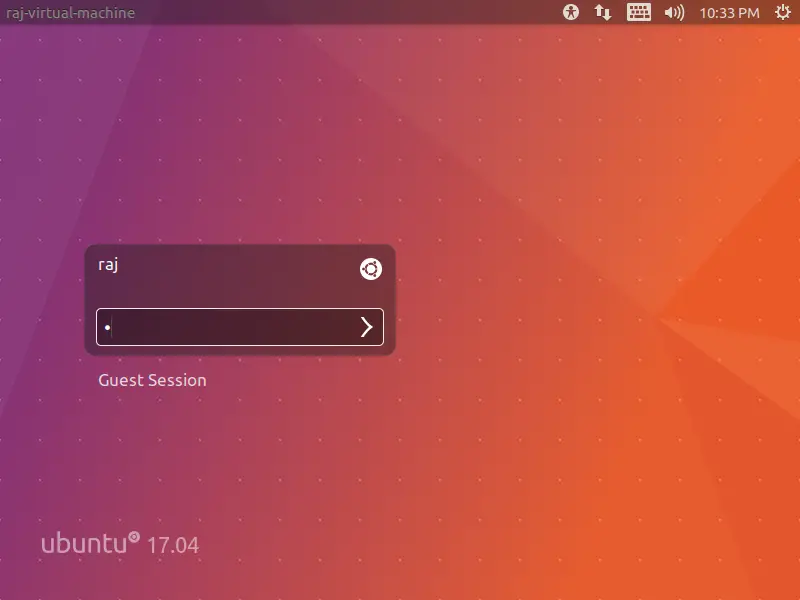
Ubuntu is now ready for you to try it out!! Use, Share and Enjoy.
