Zabbix is open-source software for monitoring the network services, servers, and other network devices. It helps to monitor CPU, Memory, Disk, and other resources on Windows or Unix hosts by installing Zabbix client on it.
Zabbix can also check the availability of the standard services such as SMTP or HTTP without installing any software on the remote host.
Zabbix’s back end written in C and uses PHP for the front end, supports MySQL / MariaDB, PostgreSQL, SQLite, Oracle or IBM DB2 databases.
This guide will help you to install Zabbix on CentOS 6 / RHEL 6.
Install Zabbix
PHP & PHP Extensions
Install the required PHP extensions using the following command.
rpm -ivh https://mirror.serverion.com/remi/enterprise/remi-release-6.rpm

yum install --enablerepo=remi-php54 php php-cli php-common php-devel php-pear php-gd php-mbstring php-mysql php-xml php-bcmath php-ldap
Configure Zabbix Repository
Install the Zabbix release package. This package contains the repository configuration to obtain Zabbix server and agent packages.
### Zabbix 4.0 (LTS) ###

rpm -Uvh https://repo.zabbix.com/zabbix/4.0/rhel/6/x86_64/zabbix-release-4.0-2.el6.noarch.rpm

### Zabbix 4.2 (Latest) ###

rpm -Uvh https://repo.zabbix.com/zabbix/4.2/rhel/6/x86_64/zabbix-release-4.2-2.el6.noarch.rpm
Install Zabbix Server
Use the below command to install the Zabbix server and Zabbix frontend with MySQL support package. Also, the Zabbix agent to monitor the Zabbix server.
yum -y install zabbix-server-mysql zabbix-web-mysql zabbix-agent
Timezone
To begin using the Apache with the Zabbix server. Zabbix configuration file needs to be updated with correct timezone.
Copy the configuration file.
cp /usr/share/doc/zabbix-web-*/httpd22-example.conf /etc/httpd/conf.d/zabbix.conf
Edit the configuration file to update the timezone.
vi /etc/httpd/conf.d/zabbix.conf
Change the value data.timezone depends on your timezone.
php_value date.timezone America/New_York
Database
Install MySQL or MariaDB
Install MariaDB or MySQL on your system.
READ: How To Install MariaDB On CentOS 6 / RHEL 6
OR
READ: How To Install MySQL 8.x On CentOS 6 / RHEL 6
For this post, I will use MySQL database that comes with the operating system.
yum install -y mysql-server mysql
Create Zabbix database and Import Schema
Start the MySQL service.
service mysqld start
If you are configuring the MySQL / MariaDB for the first time, take a look at how to secure the MariaDB / MySQL.
mysql -u root -p
Create a database with the following details.
DBName: zabbixdb
DBUser: zabbixuser
DBPassword: zabbixpassword
create database zabbixdb character set utf8 collate utf8_bin;

GRANT ALL ON zabbixdb.* TO zabbixuser@localhost IDENTIFIED BY 'zabbixpassword';

quit;
Import initial schema and data to the newly created database.
cd /usr/share/doc/zabbix-server-mysql*/

zcat create.sql.gz | mysql -u zabbixuser -p zabbixdb
Update Database Configuration
Edit the zabbix_server.conf file to set the database details.
vi /etc/zabbix/zabbix_server.conf
Make sure you set as follows.
DBHost=localhost
DBName=zabbixdb
DBUser=zabbixuser
DBPassword=zabbixpassword
Start the Zabbix Server service.
service zabbix-server start

service zabbix-agent start

service httpd start
Start the services are system boot.
chkconfig zabbix-server on

chkconfig zabbix-agent on

chkconfig httpd on

chkconfig mysqld on
SELinux
If you have SELinux enabled on your server, you need to add custom SELinux rules to allow successful connection of Zabbix web frontend to the Zabbix server.
yum install -y policycoreutils-python
Add a few custom rules.
curl https://support.zabbix.com/secure/attachment/53320/zabbix_server_add.te > zabbix_server_add.te

checkmodule -M -m -o zabbix_server_add.mod zabbix_server_add.te

semodule_package -m zabbix_server_add.mod -o zabbix_server_add.pp

semodule -i zabbix_server_add.pp
Thanks to catonrug blog.
Firewall
Configure the firewall to allow the Zabbix agent to reach the Zabbix server.
iptables -I INPUT -p tcp -m tcp --dport 10051 -j ACCEPT

iptables -I INPUT -p tcp -m tcp --dport 10050 -j ACCEPT

iptables -I INPUT -p tcp -m tcp --dport 80 -j ACCEPT

/etc/init.d/iptables save
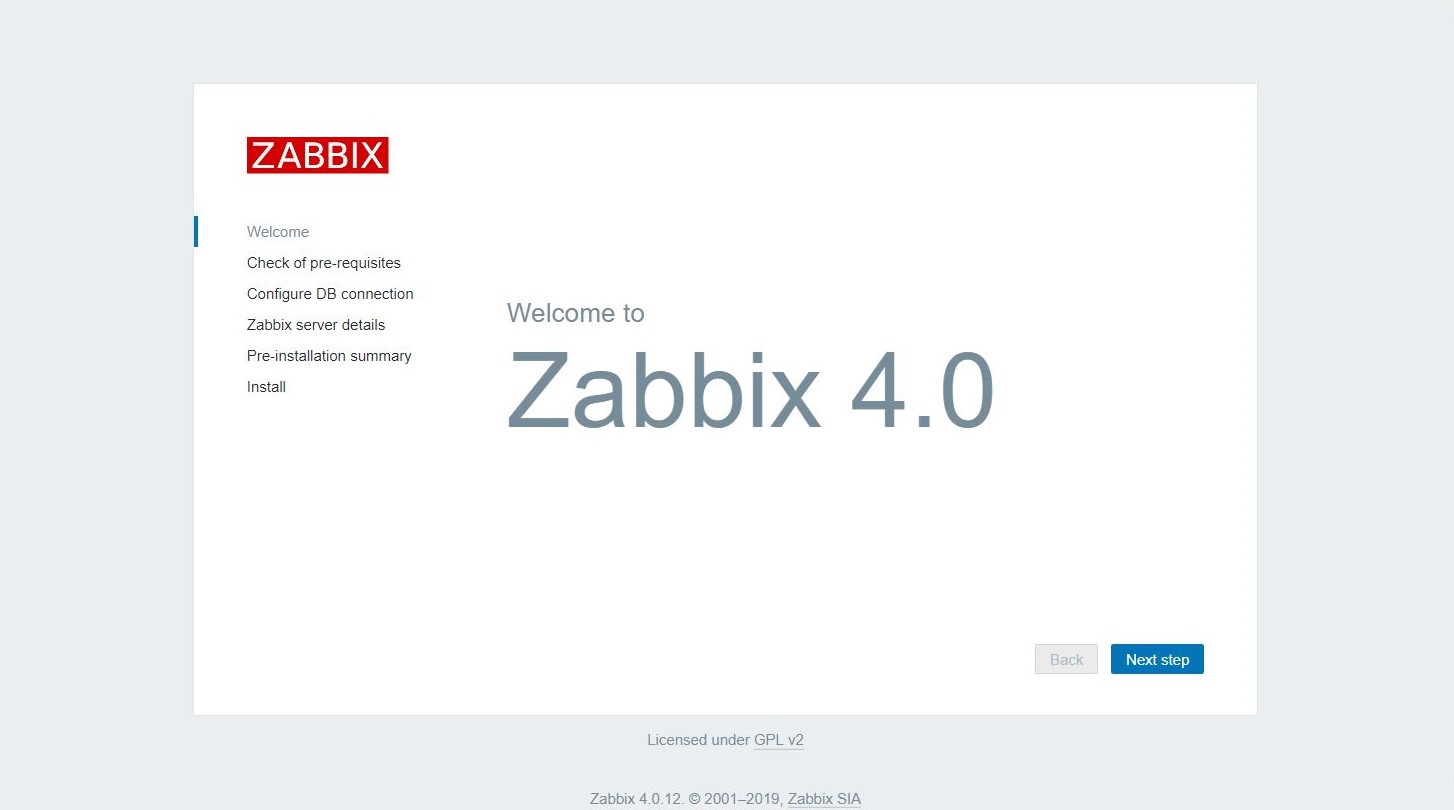
Setup Zabbix via Web Installer
Visit the following URL to start setting up the Zabbix
Click Next to continue.
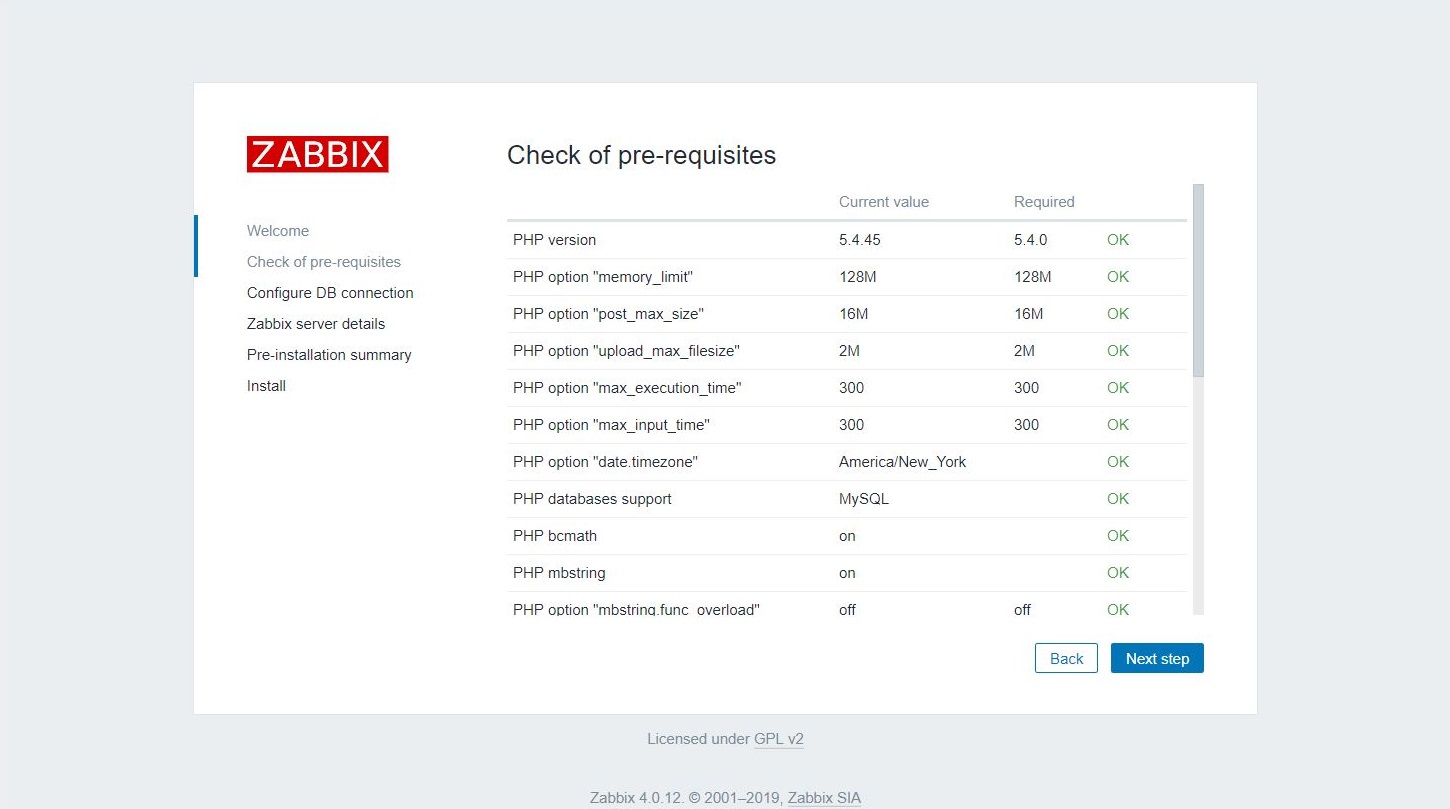
Zabbix setup will check the prerequisites, will give you the status like below.
Enter the database information.

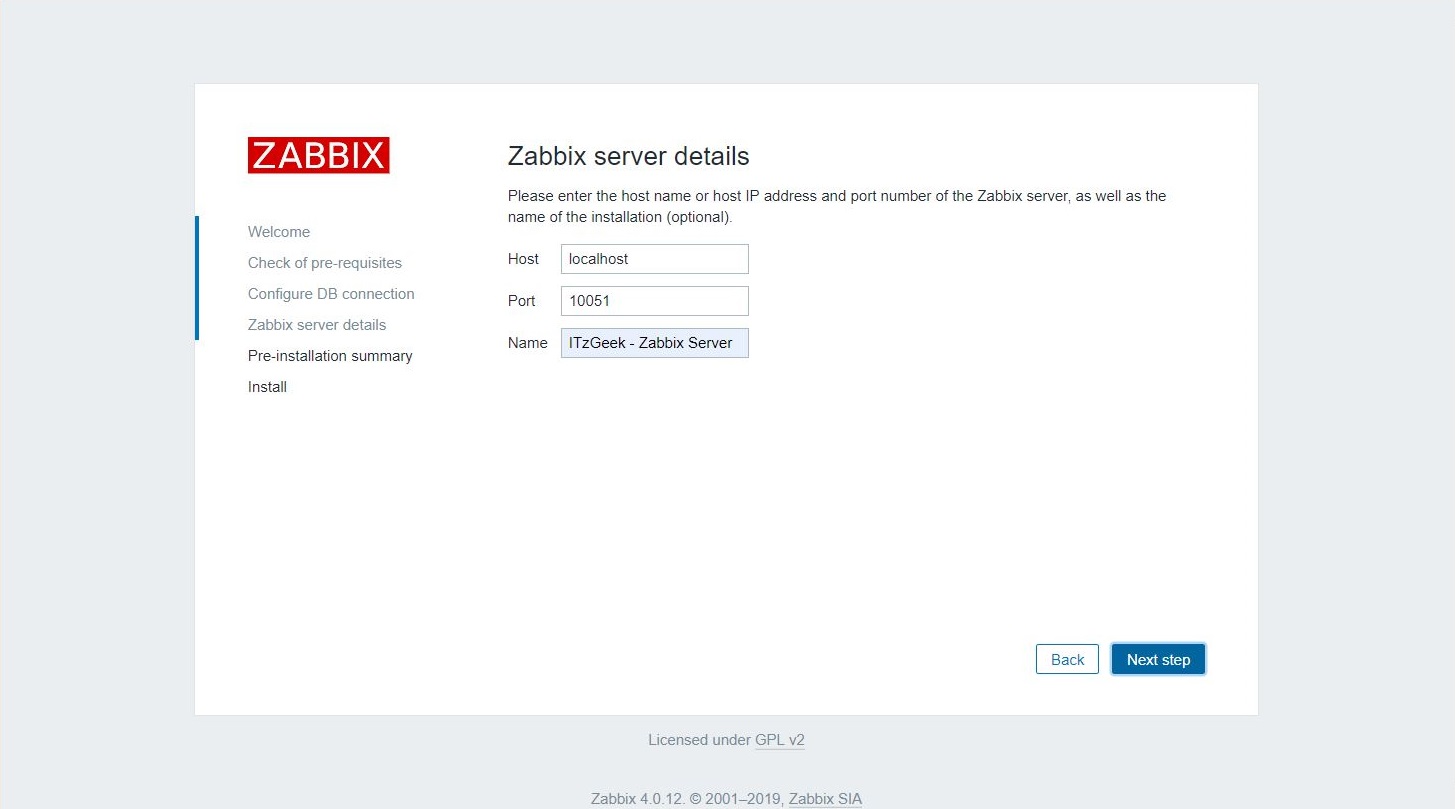
Configure the server information.
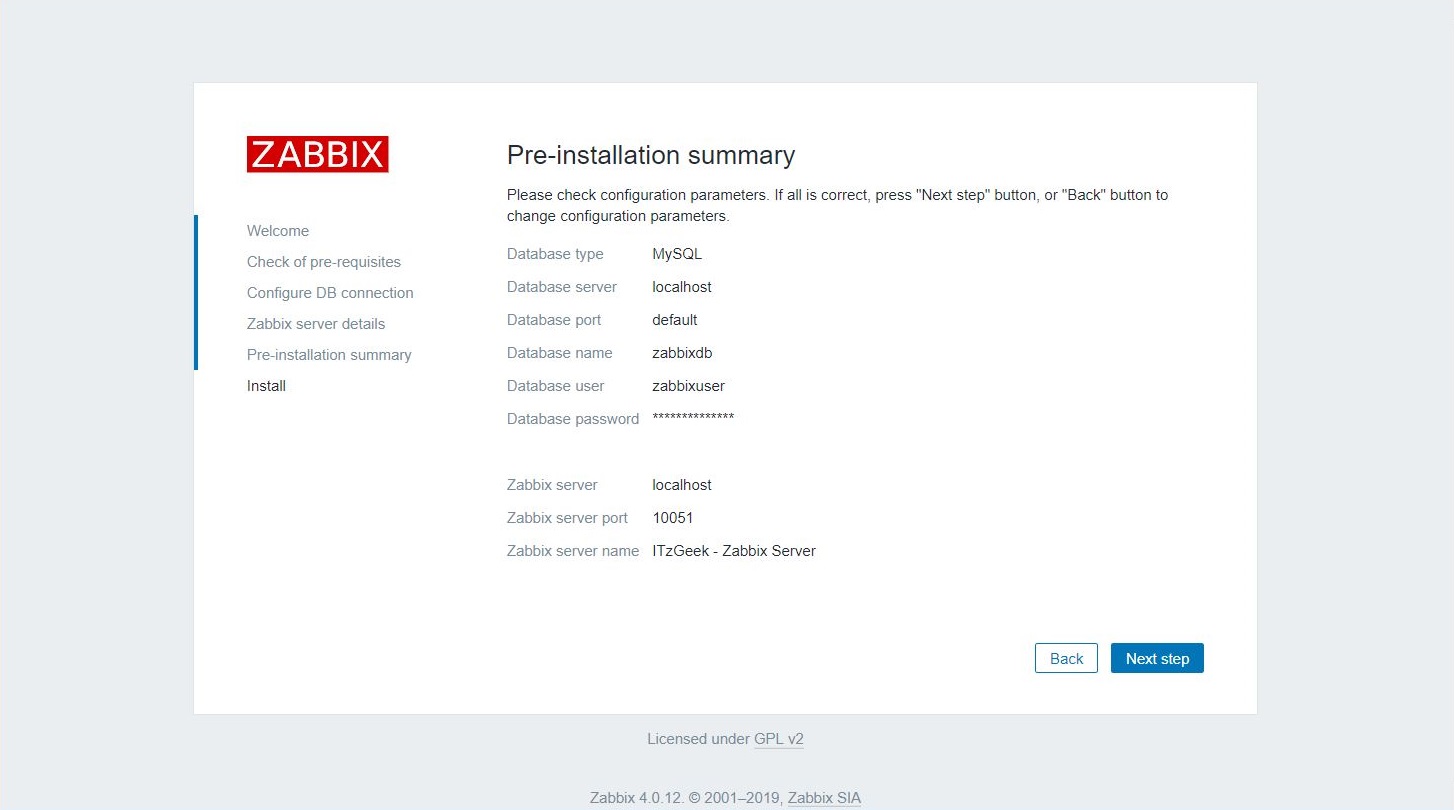
Check out the installation summary.
Finish the setup.

Access Zabbix
Login with Zabbix’s default credential.
Username: Admin
Password: zabbix

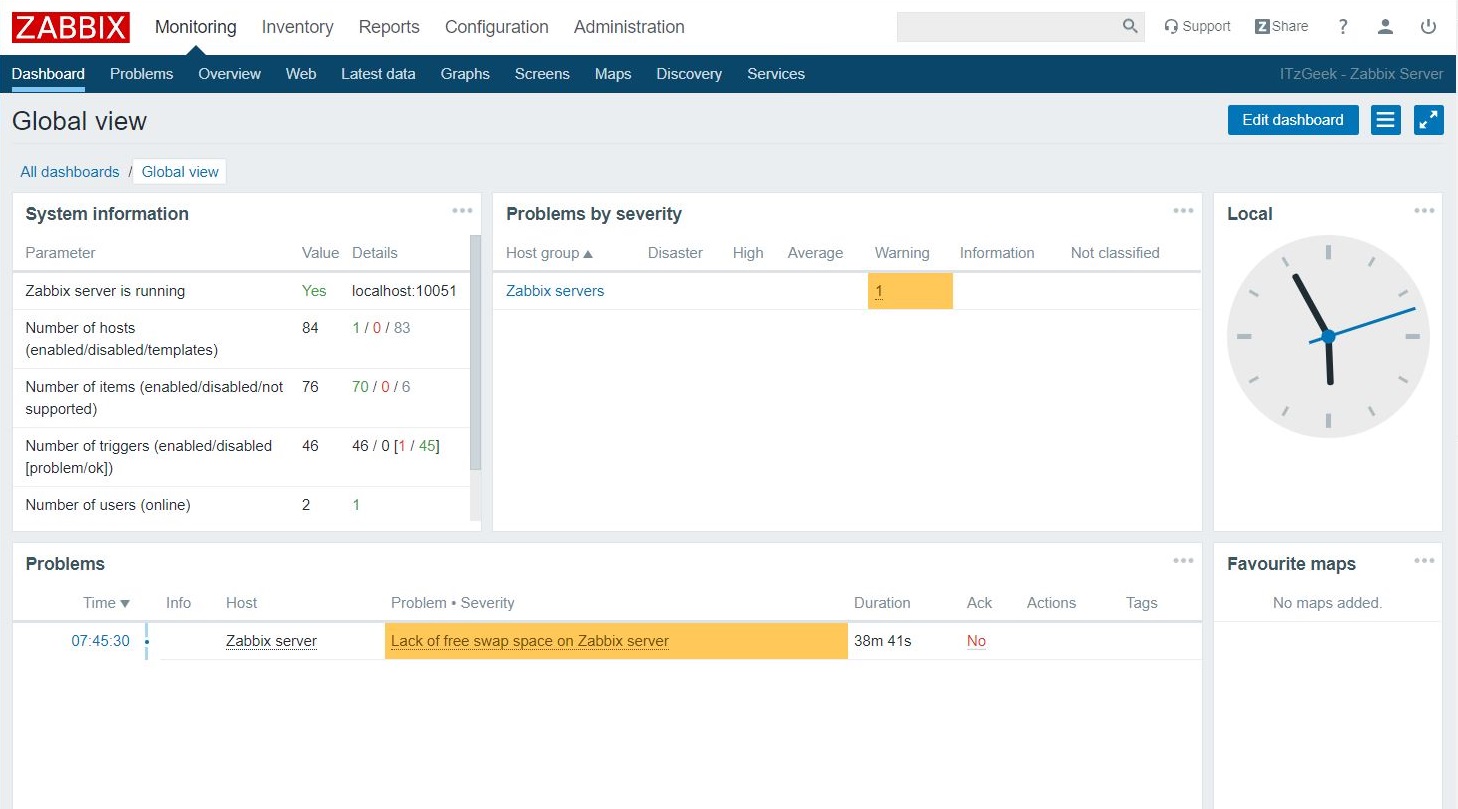
This how the Zabbix dashboard looks like.
Conclusion
That’s All. You have learned how to install Zabbix on CentOS 6 / RHEL 6. Now, you can install Zabbix agent on client machines for monitoring.