How To Setup Icinga Web 2 on CentOS 8 / RHEL 8
Setup Icinga Web 2 on CentOS 8 / RHEL 8
In the last post, we covered how to install Icinga 2 on CentOS 8 / RHEL 8. We now continue to the installation of Icinga web 2, a web interface for Icinga 2, where you can monitor all your servers.
Here, we will see how to install Icinga web 2 CentOS 8 / RHEL 8.
Install Icinga Web 2
Install PHP and PHP Extensions
Install the PHP (v7.2) package and extensions for Icinga Web 2.
READ: How To Install PHP 7.4 / 7.3 On CentOS 8 / RHEL 8
dnf install -y php php-json php-xml php-intl php-common php-pdo php-mysqlnd php-cli php-mbstring php-fpm php-gd php-zip php-ldap
Install Icinga Web 2
Use the yum command to install the Icinga Web 2 package along with Icinga CLI and Apache webserver.
dnf install -y icingaweb2 icingacli httpd
Start the Apache web server and PHP FPM.
systemctl start httpd

systemctl start php-fpm
Enable Apache web server and PHP FPM to start automatically on the system boot.
systemctl enable httpd

systemctl enable php-fpm
SELinux
If your system has SELinux enabled, then install the below package to set SELinux policy for Icinga Web 2.
dnf install -y icingaweb2-selinux
Firewall
Allow HTTP traffic in Firewall to access the Icinga web interface from external machines.
firewall-cmd --permanent --add-service=http

firewall-cmd --reload
Setup Icinga Web 2
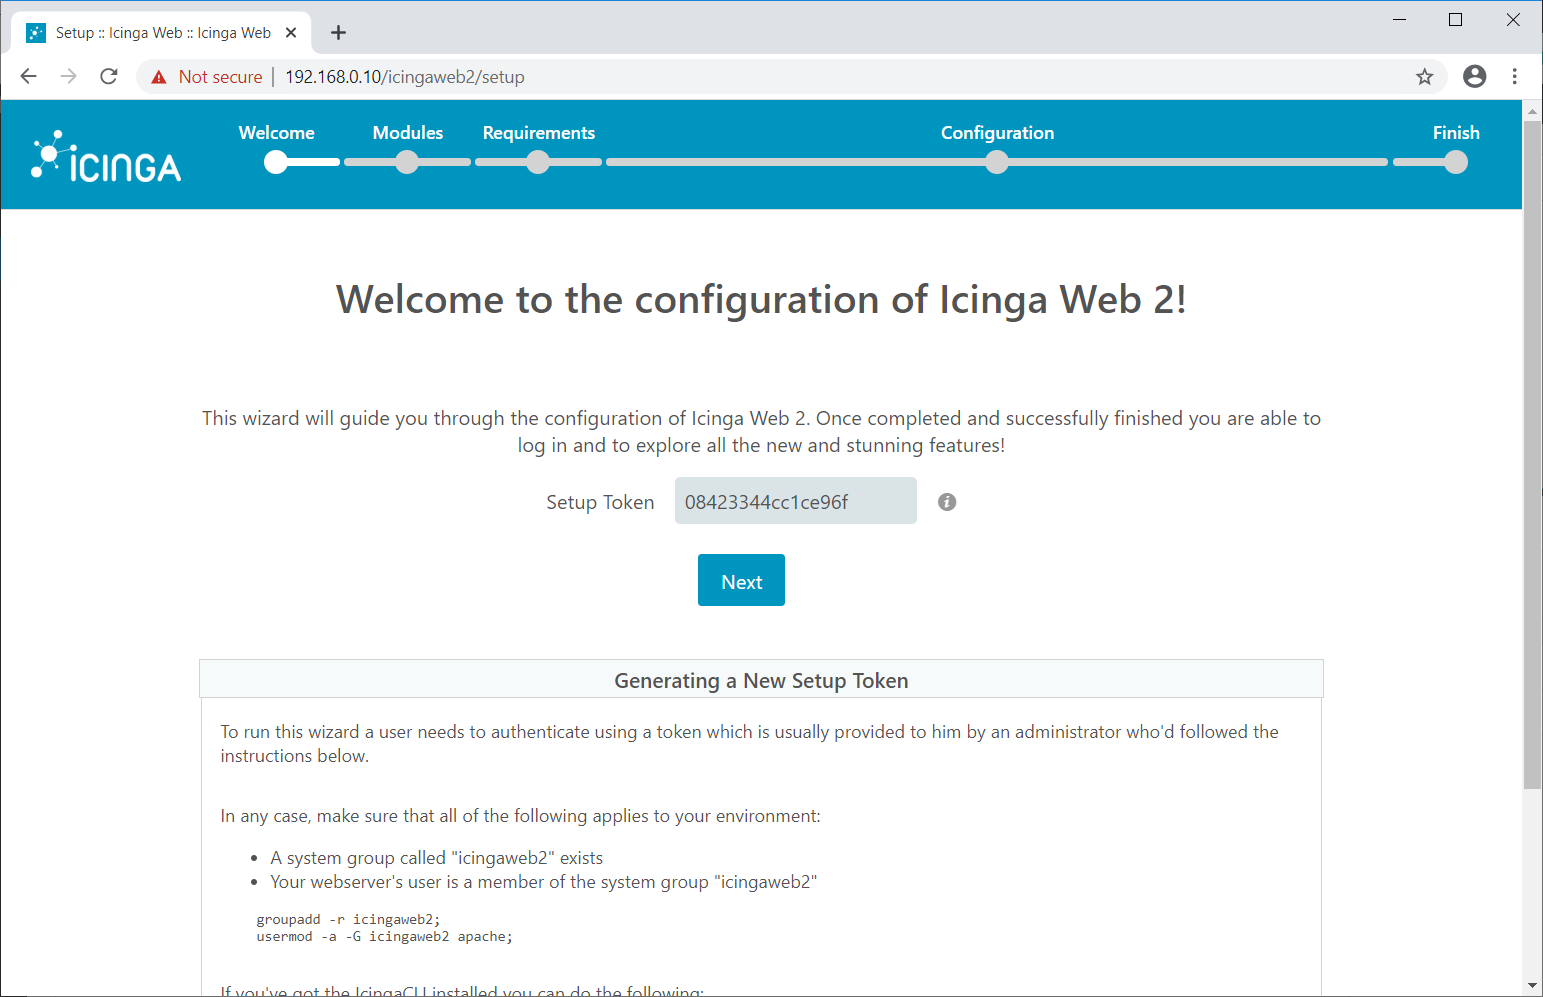
Go to the below URL to access the Icinga Web 2 setup wizard, which will guide you through all the steps for the installation of Icinga Web 2.
For security reasons, you would need to generate the token to begin the installation of Icinga Web 2.
icingacli setup token create
Output:

The newly generated setup token is: 08423344cc1ce96f
Copy and paste the generated token on the setup page and then click Next.
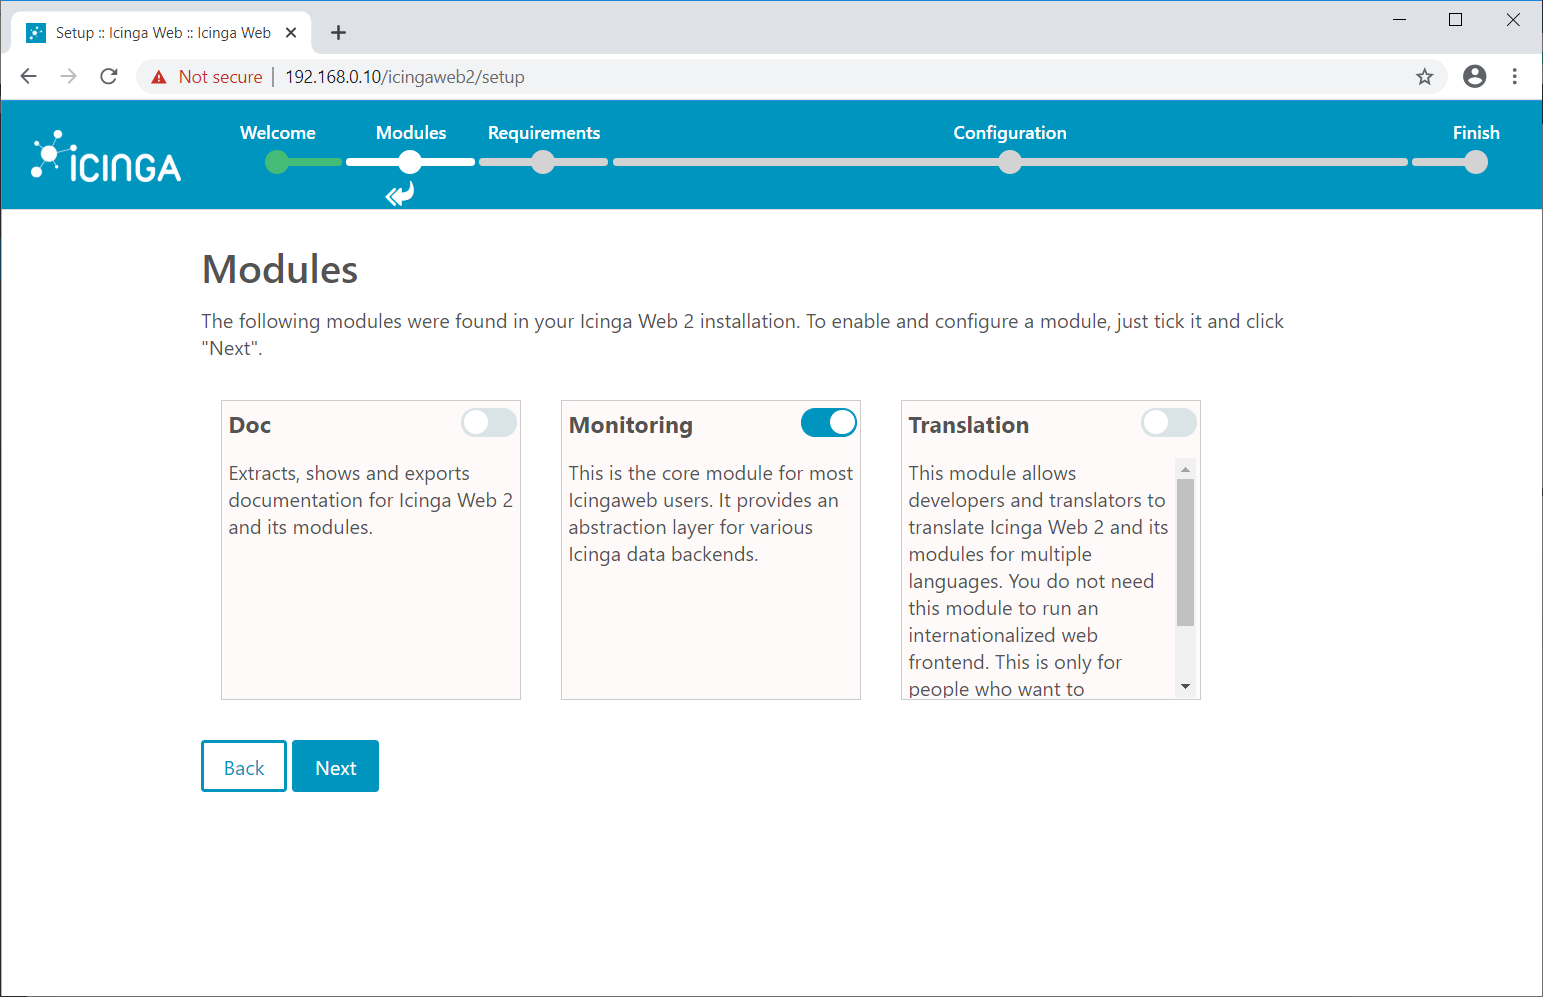
In the next screen, choose the modules to enable and configure it. These modules were installed during the Icinga 2 installation. Then, click Next.
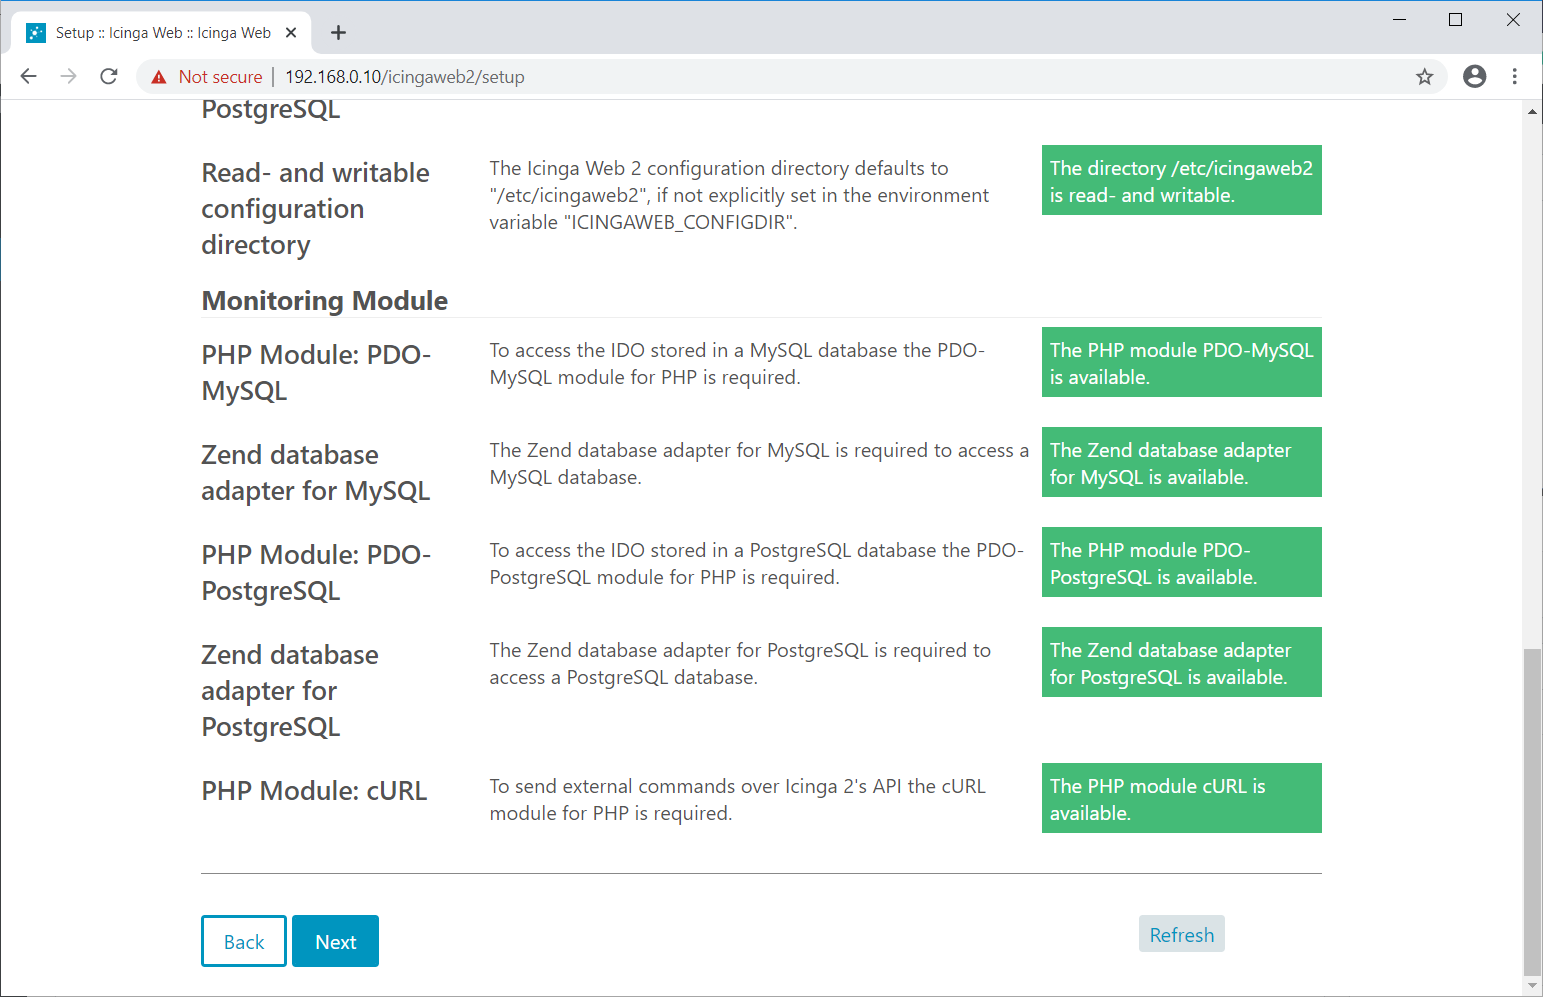
The following page shows information about the system, PHP, and required PHP extensions.
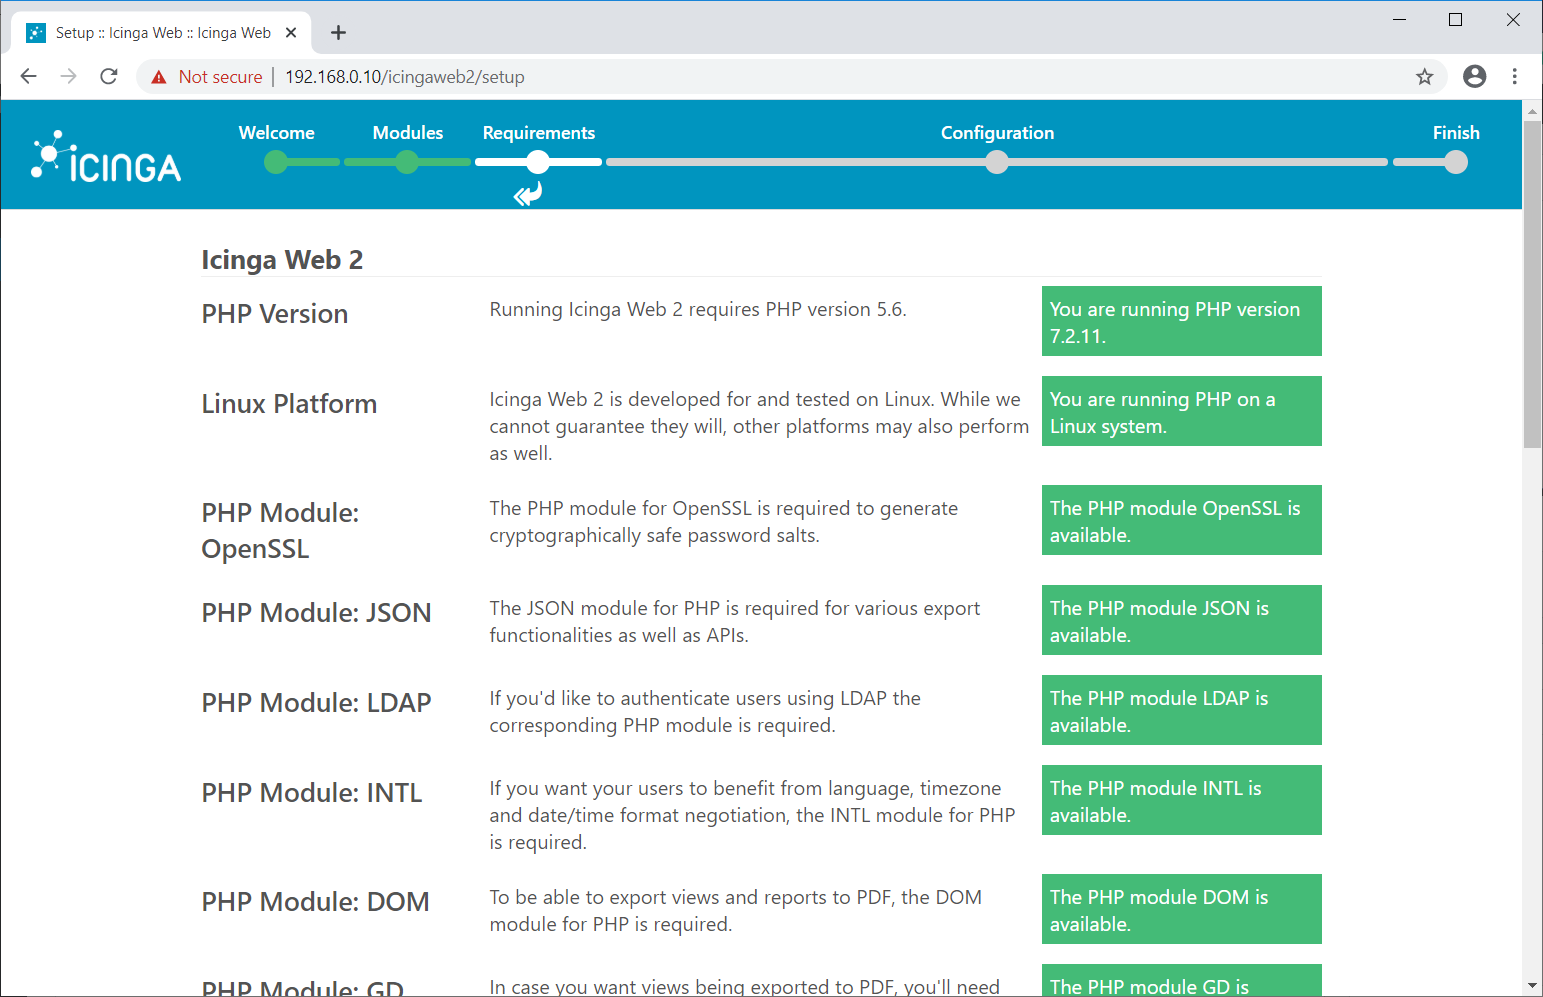
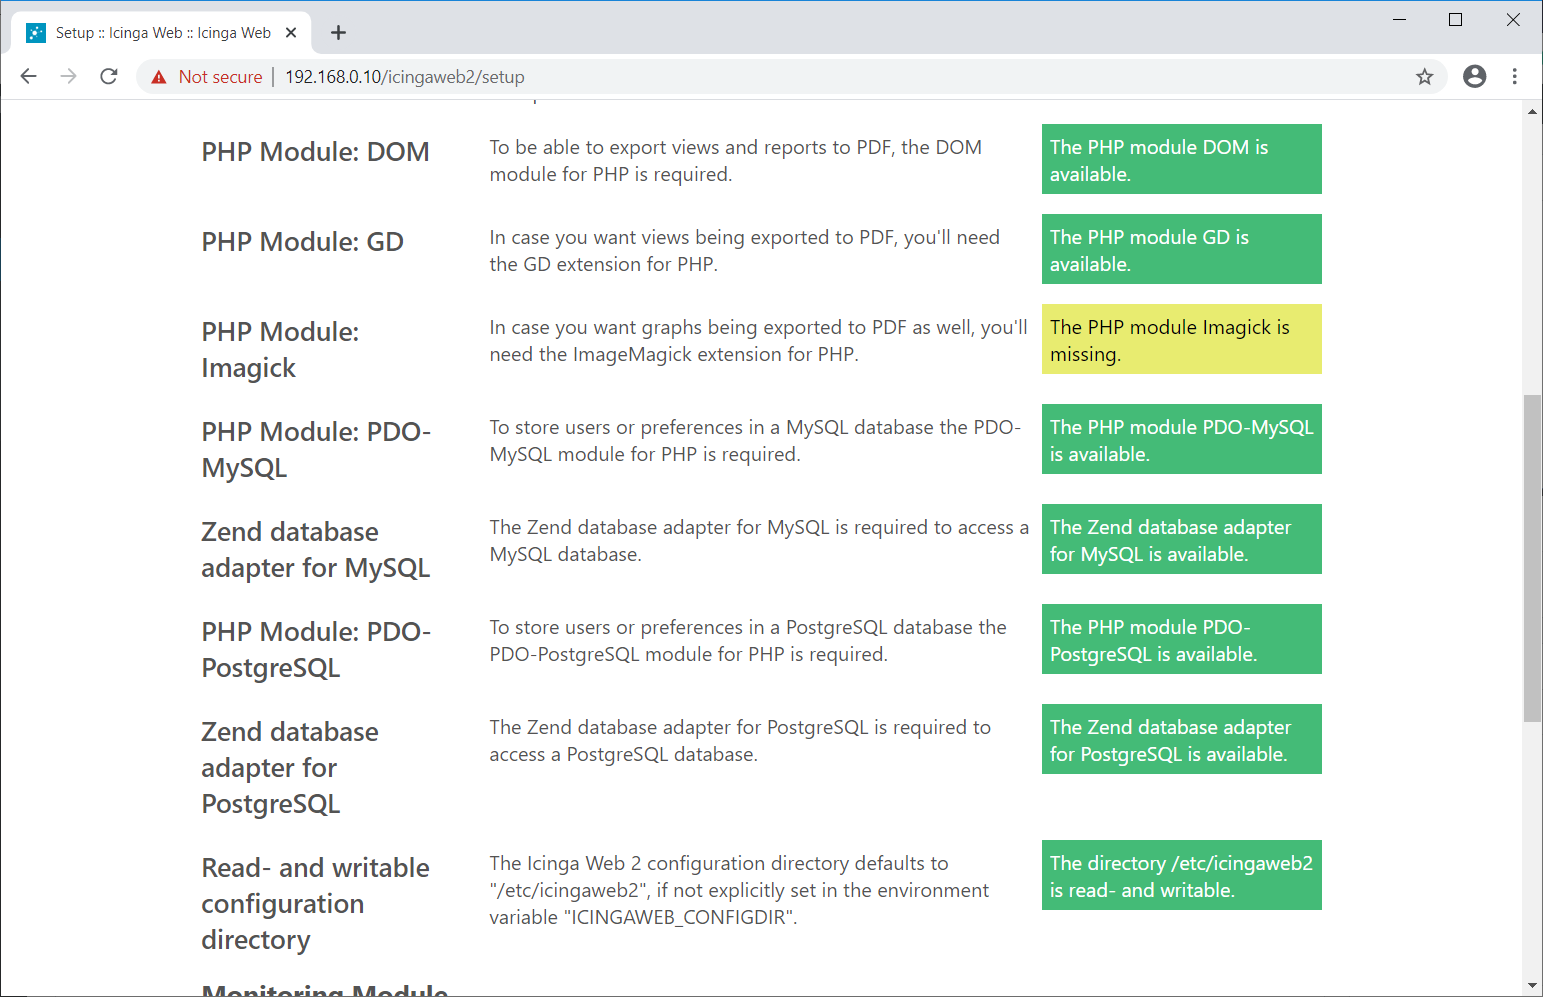
Image Magick’s PHP extension is not available in the OS repository. Follow the below link to install it.
READ: How To Install PHP Imagick On CentOS 8 / RHEL 8
After the installation of the PHP module for Imagick, restart the Apache and PHP FPM services and click the Refresh button and then click Next or Simply click Next if you are not installing the PHP module Imagick.
systemctl restart httpd

systemctl restart php-fpm
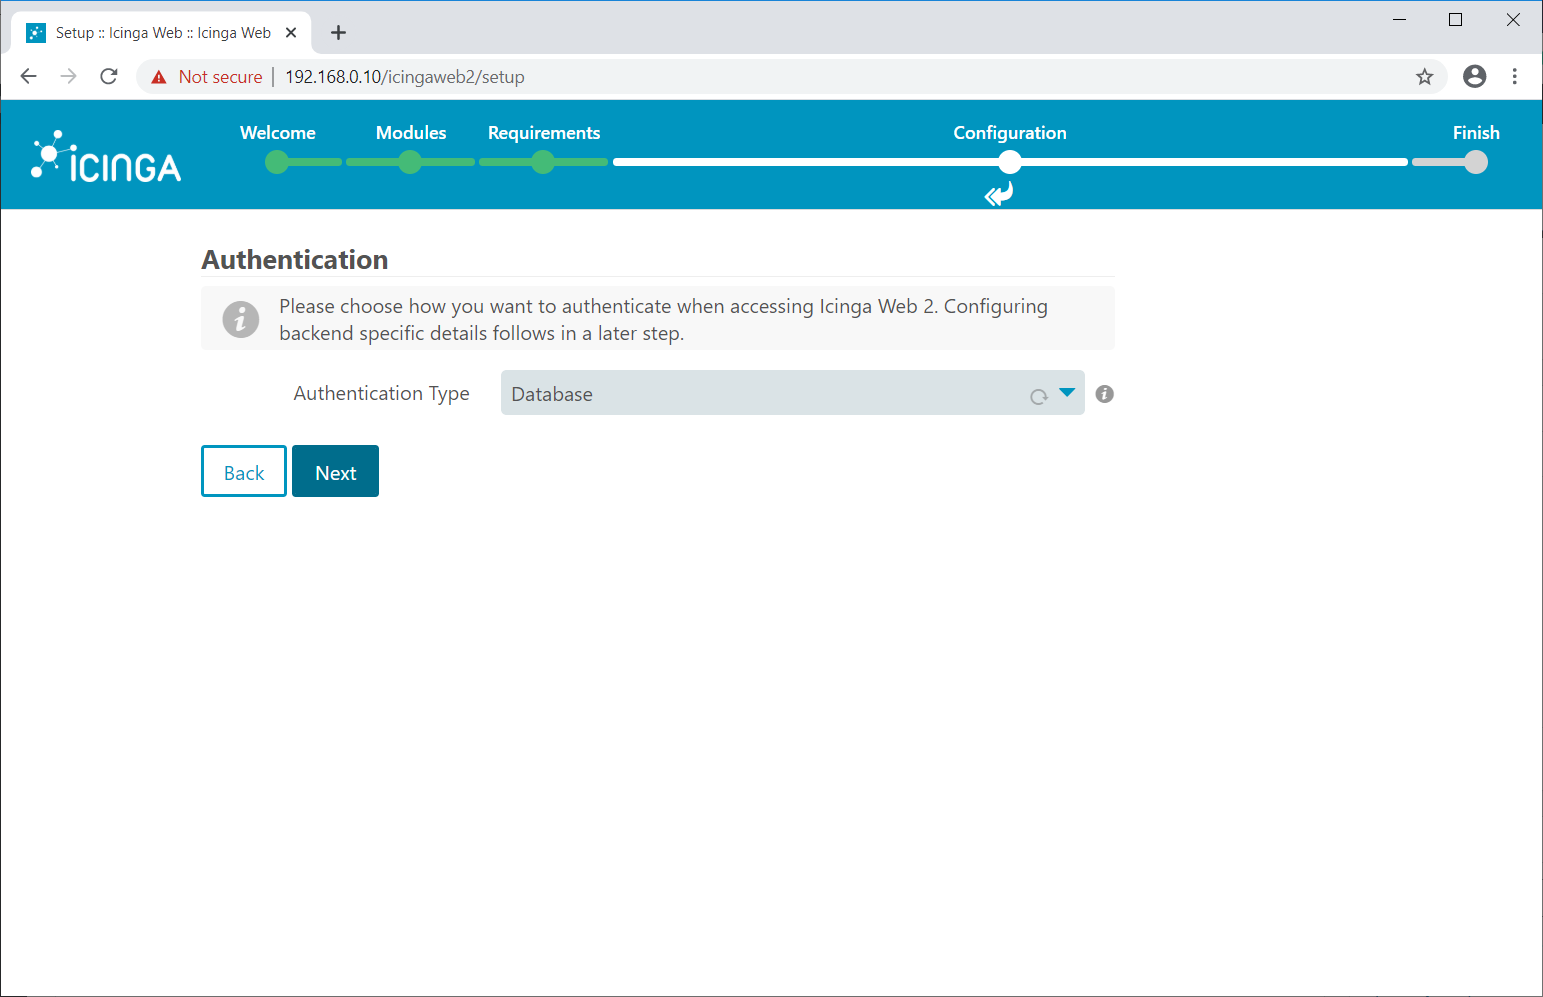
On the next page, we will configure the Icinga Web 2 authentication. Icinga Web 2 supports Active Directory, LDAP, and Local authentication mechanism.
Here, for this demo, we will create a local Icinga Web 2 user account. So, select the authentication type as Database and click Next.
Log in to the MySQL/MariaDB server.
mysql -u root -p
Create a database to store authentication details.
CREATE DATABASE icingaweb2db;

grant all privileges on icingaweb2db.* to icingaweb2@localhost identified by 'icinga123';

quit
Enter the database details on the following page and then click Next.
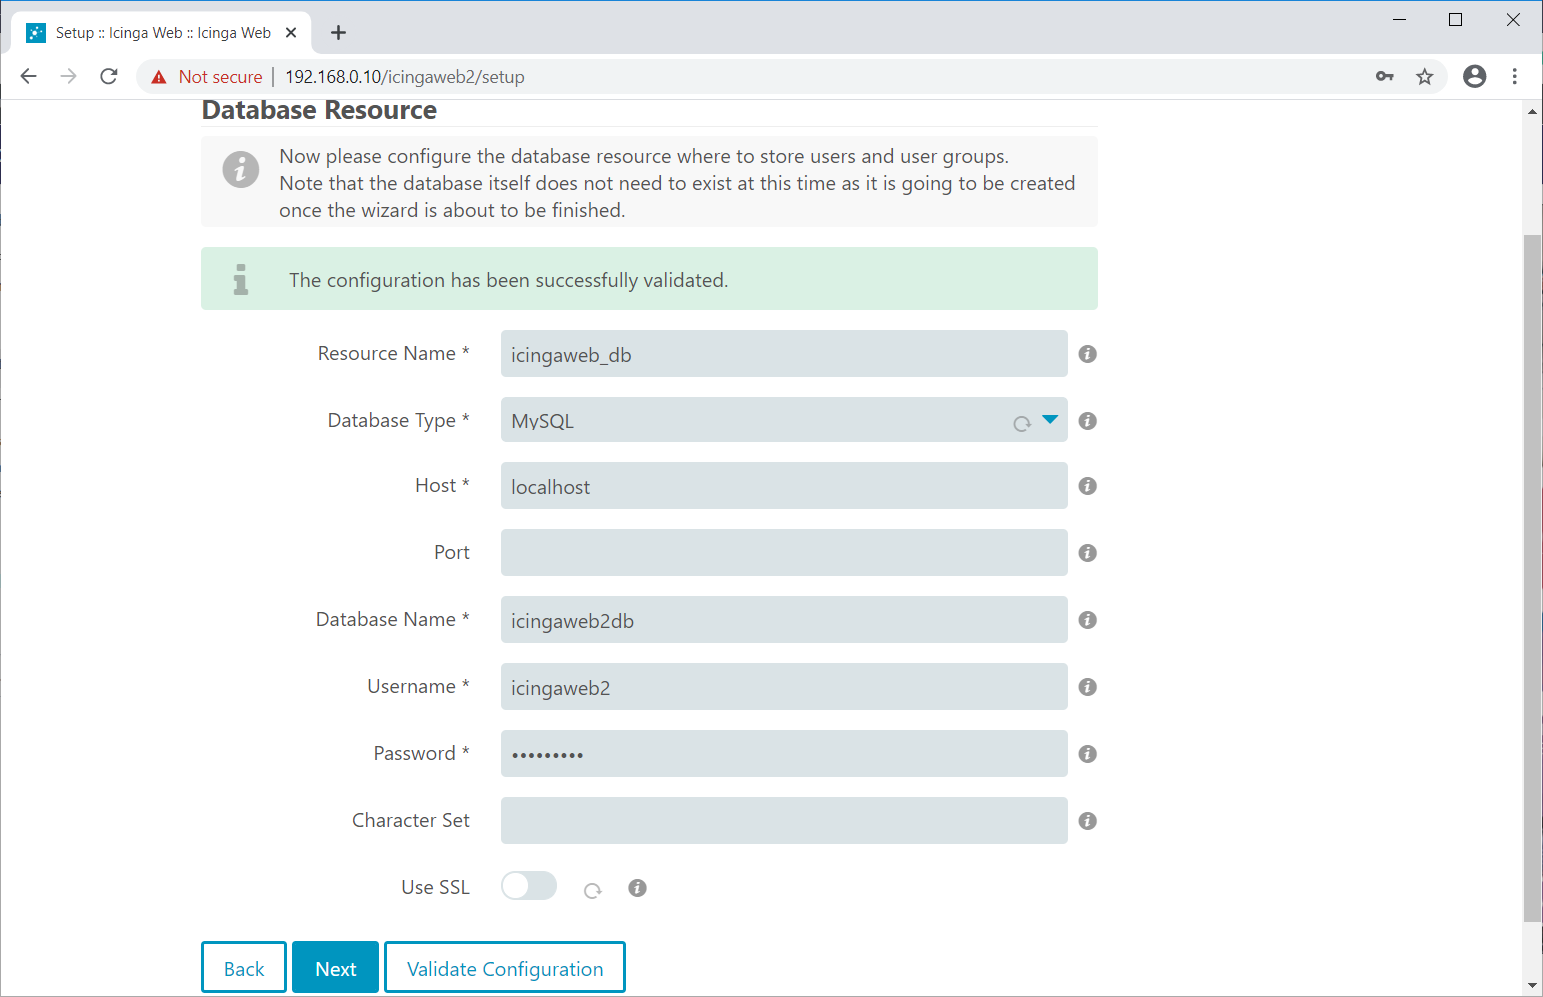
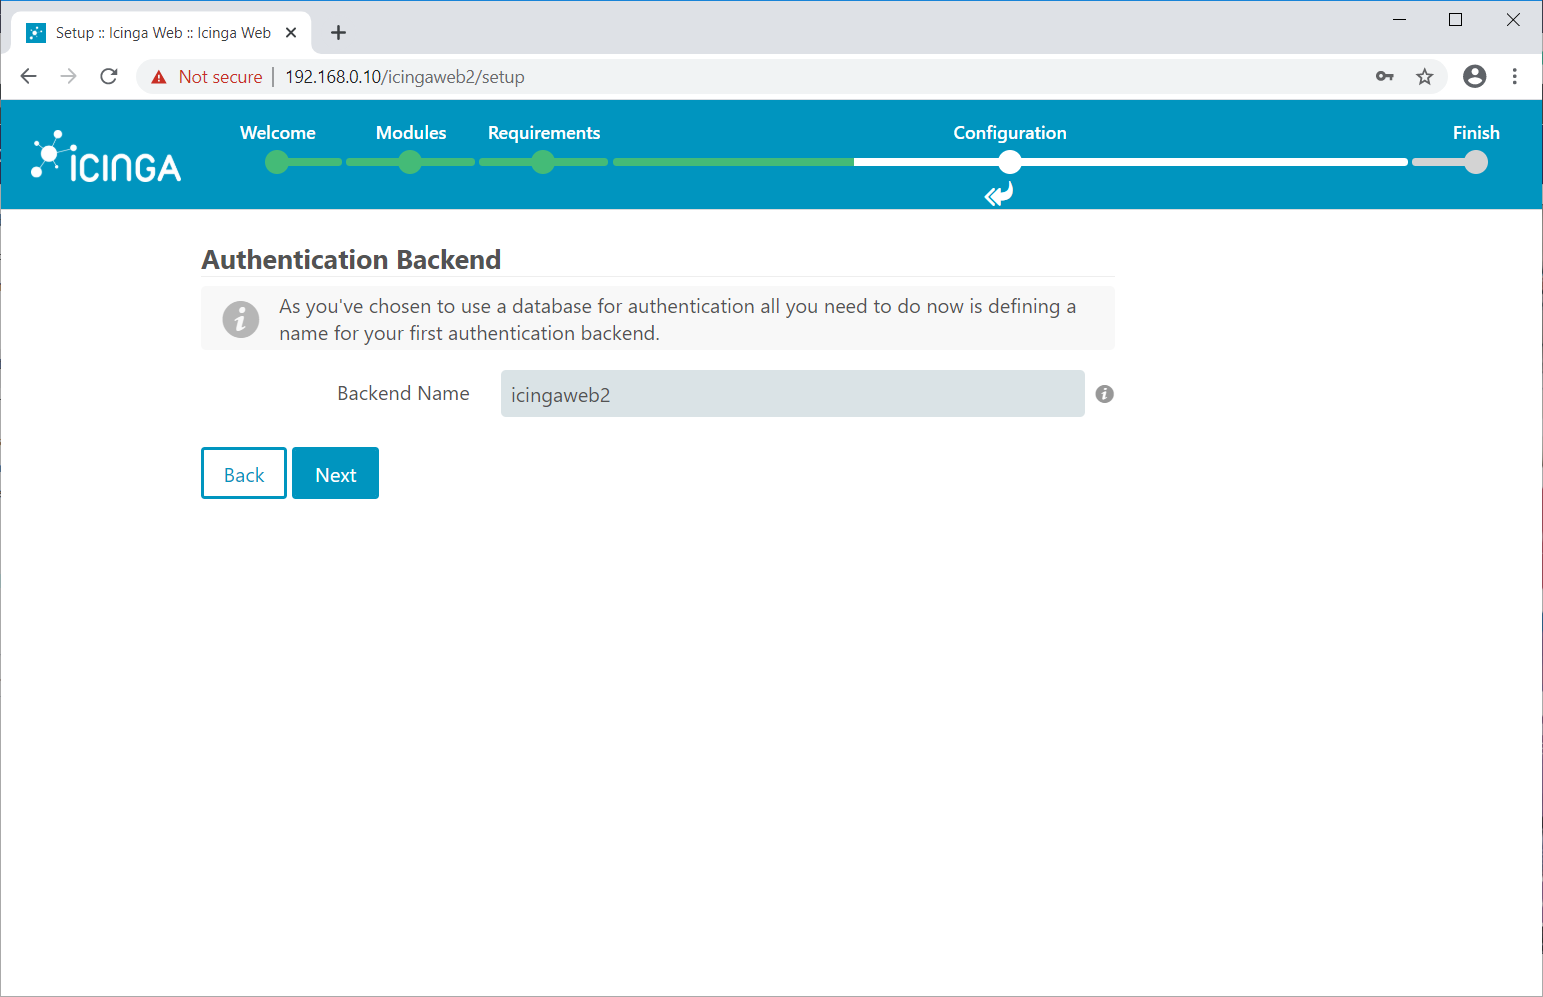
Click Next.
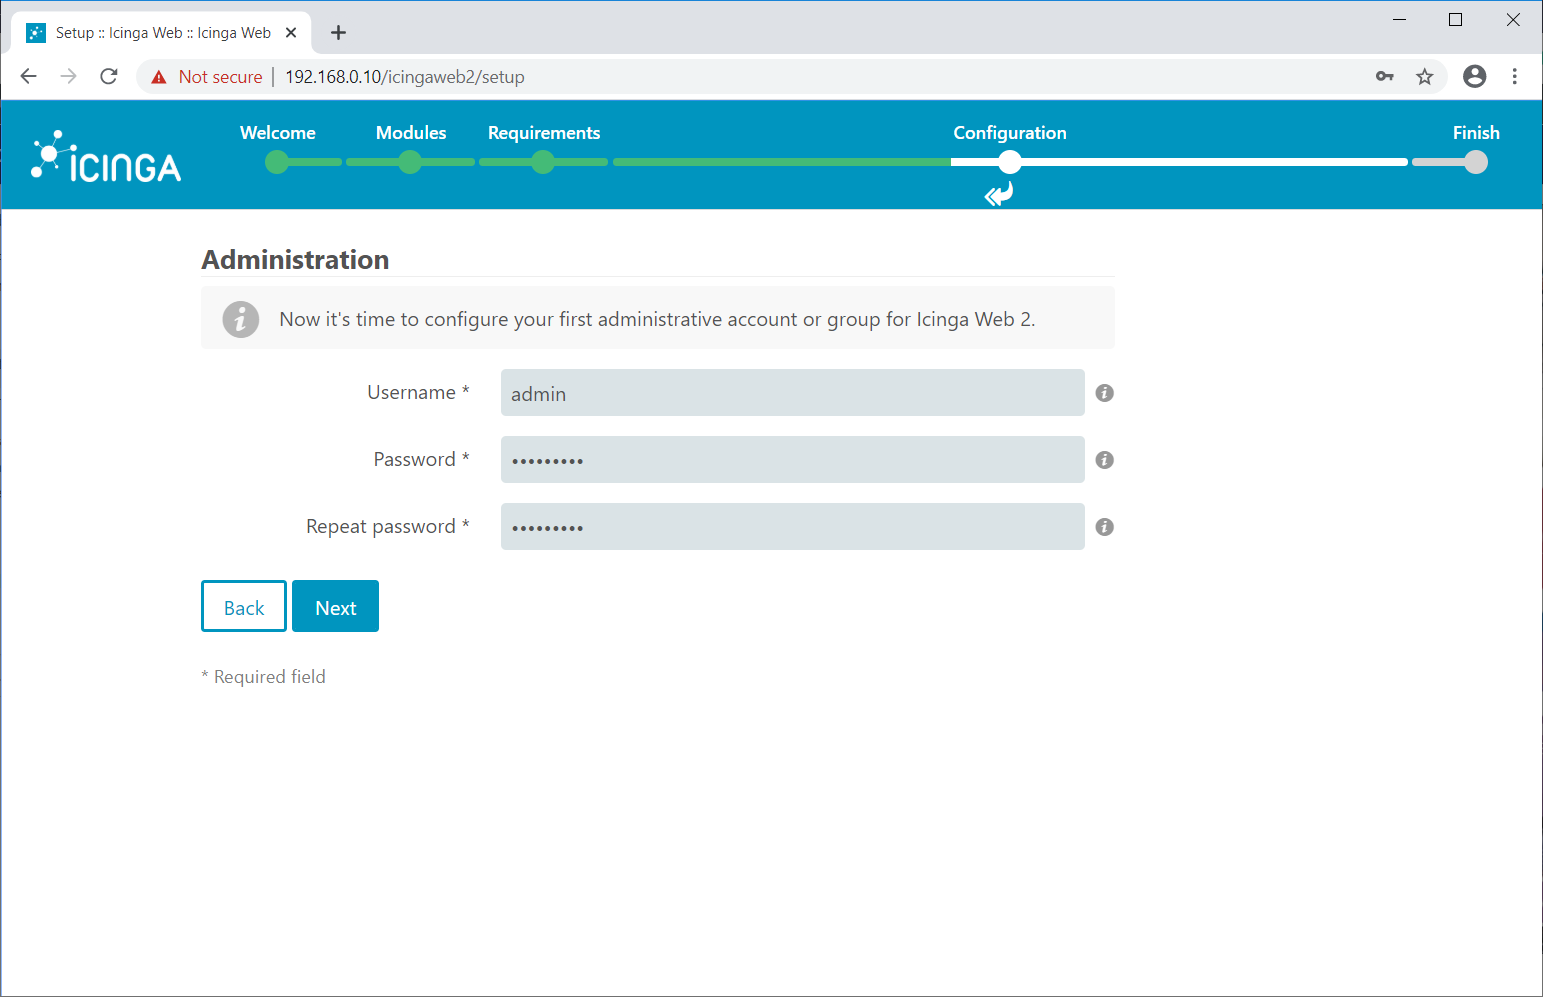
Enter the desired username and password for the Icinga Web 2 admin account.
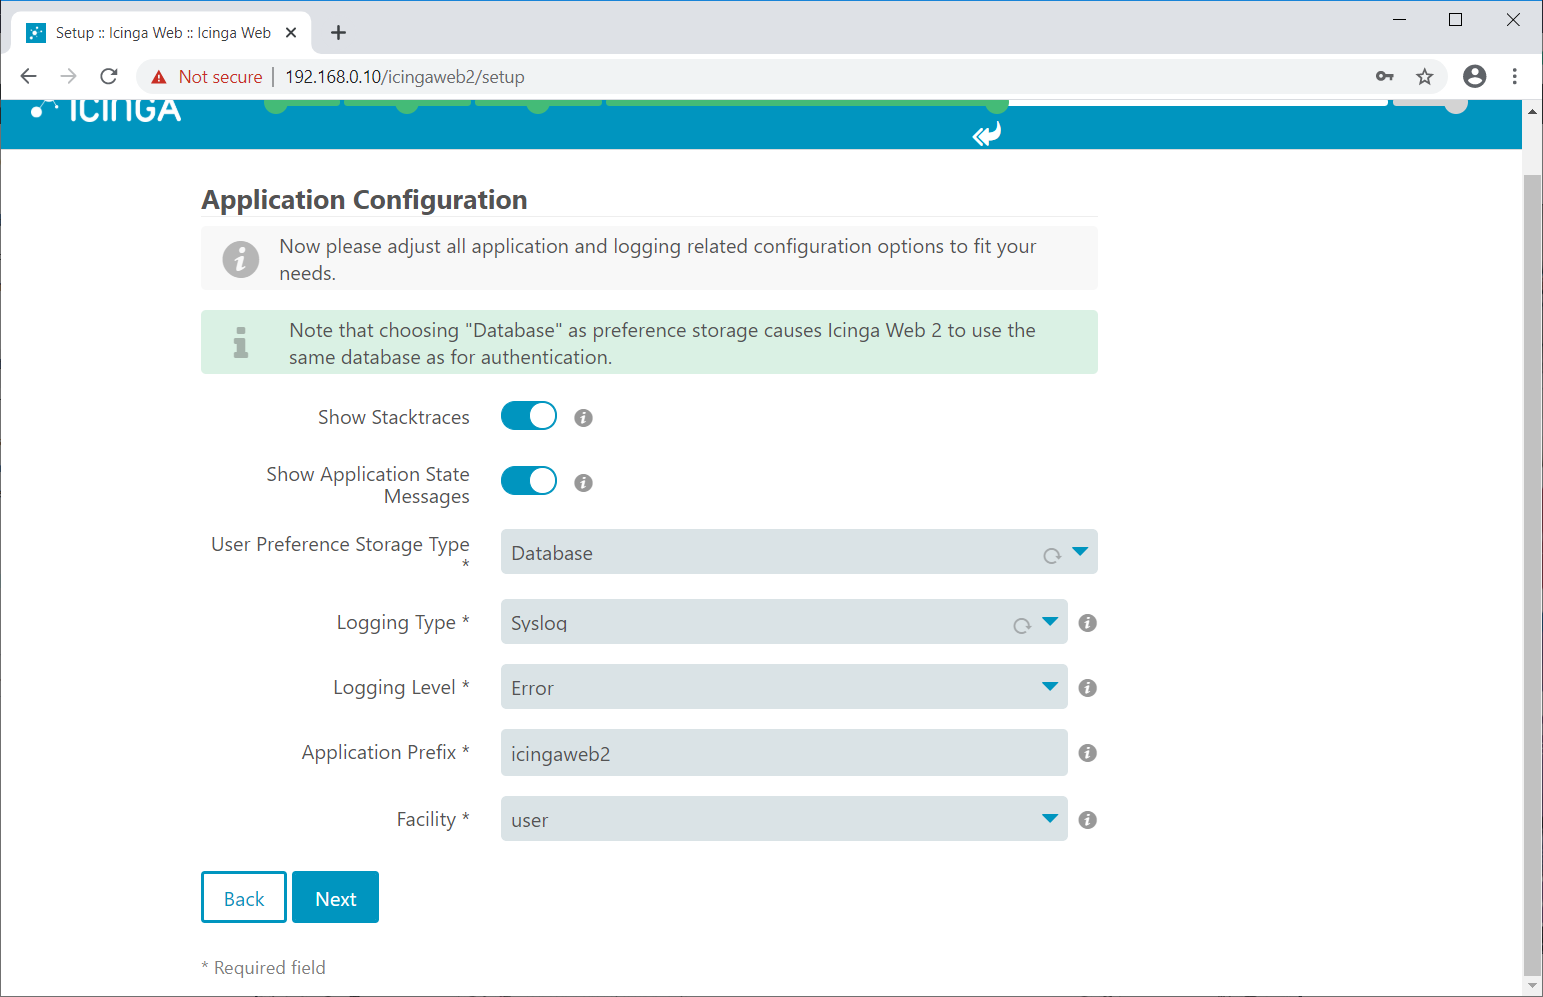
Choose where to save the application and logging related configurations. Click Next.
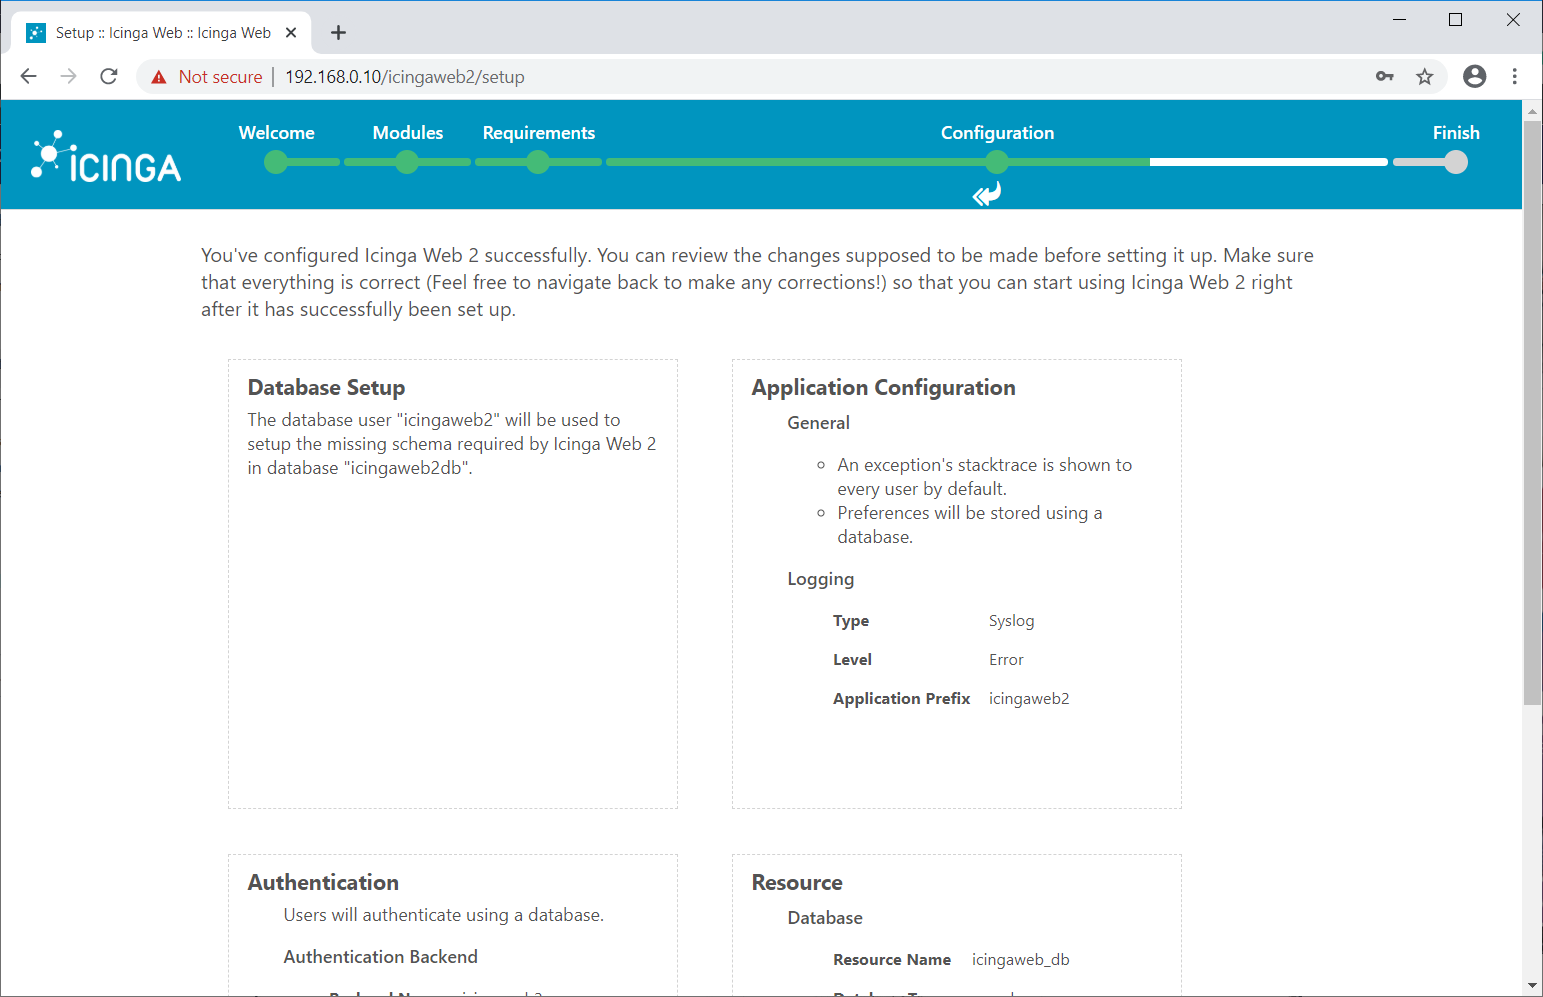
Review your settings on the next screen.
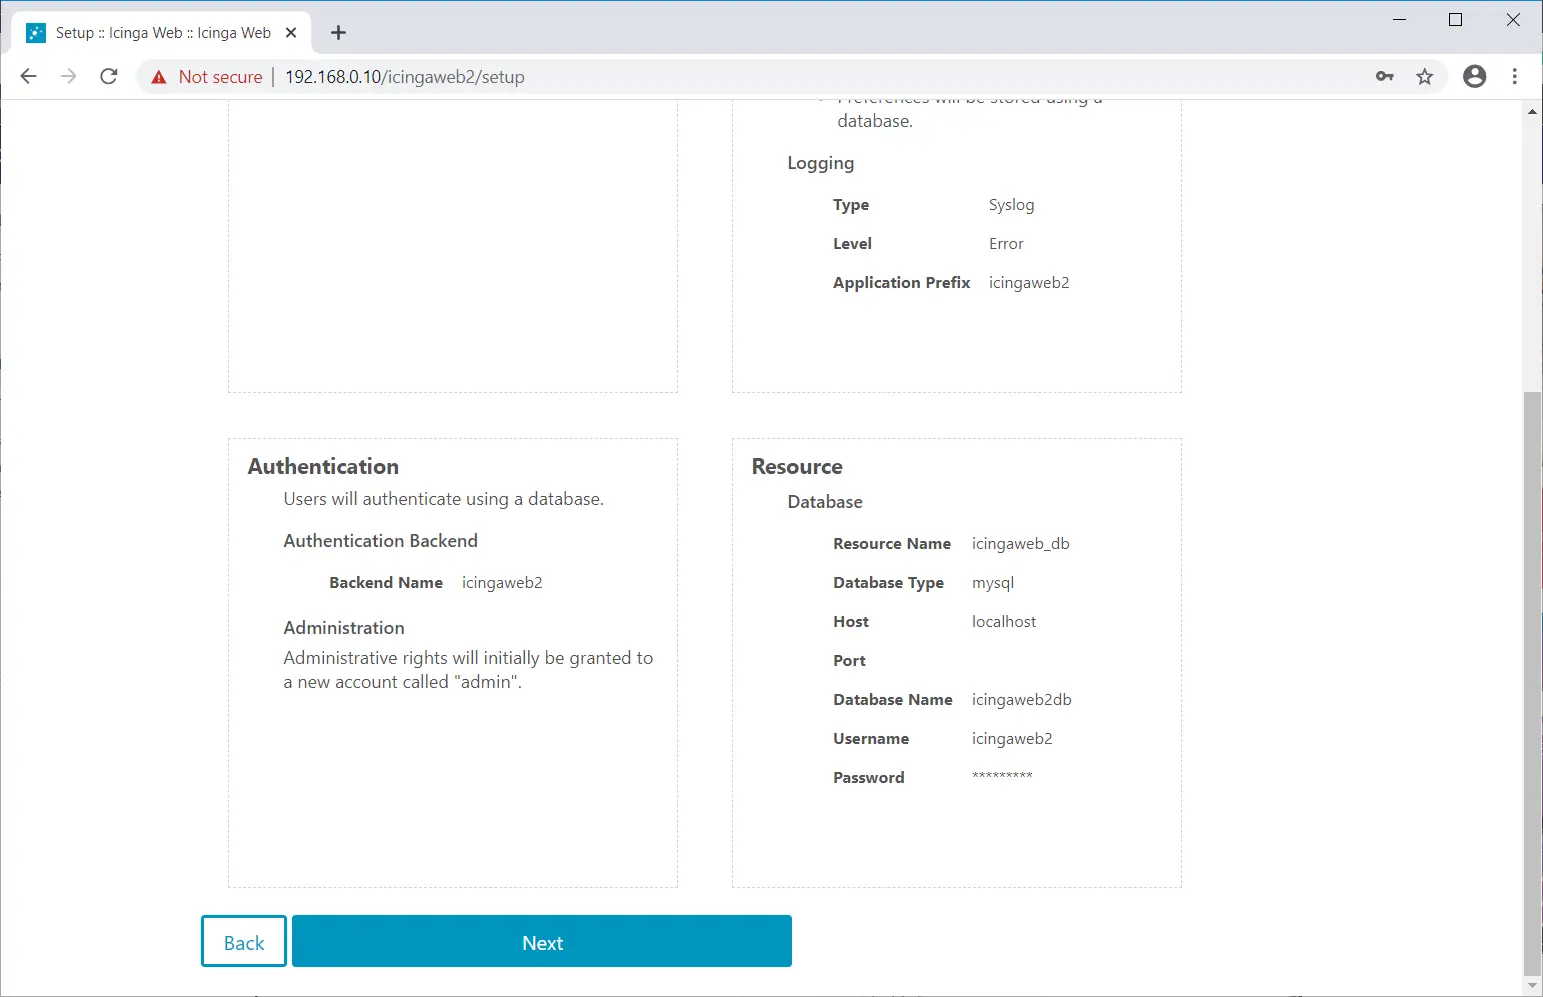
Click Next.
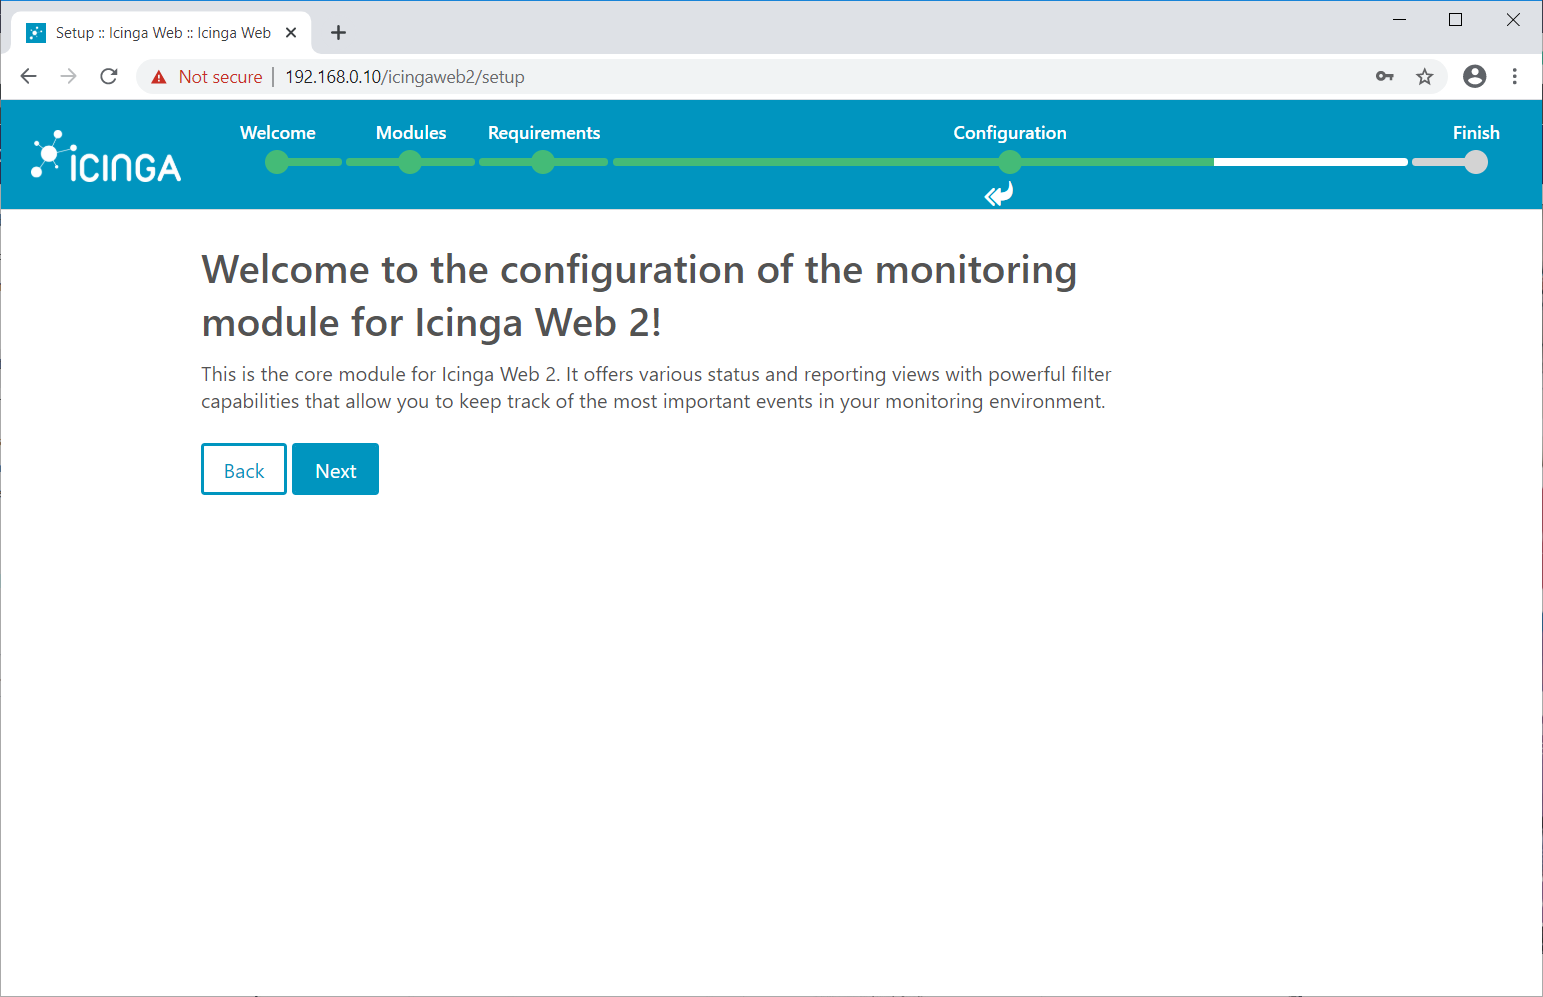
Click Next on the configuration of the monitoring module for the Icinga Web 2 page.
Monitoring backend lets Icinga Web 2 retrieves the monitoring information from Icinga 2 database. Here, we use IDO.
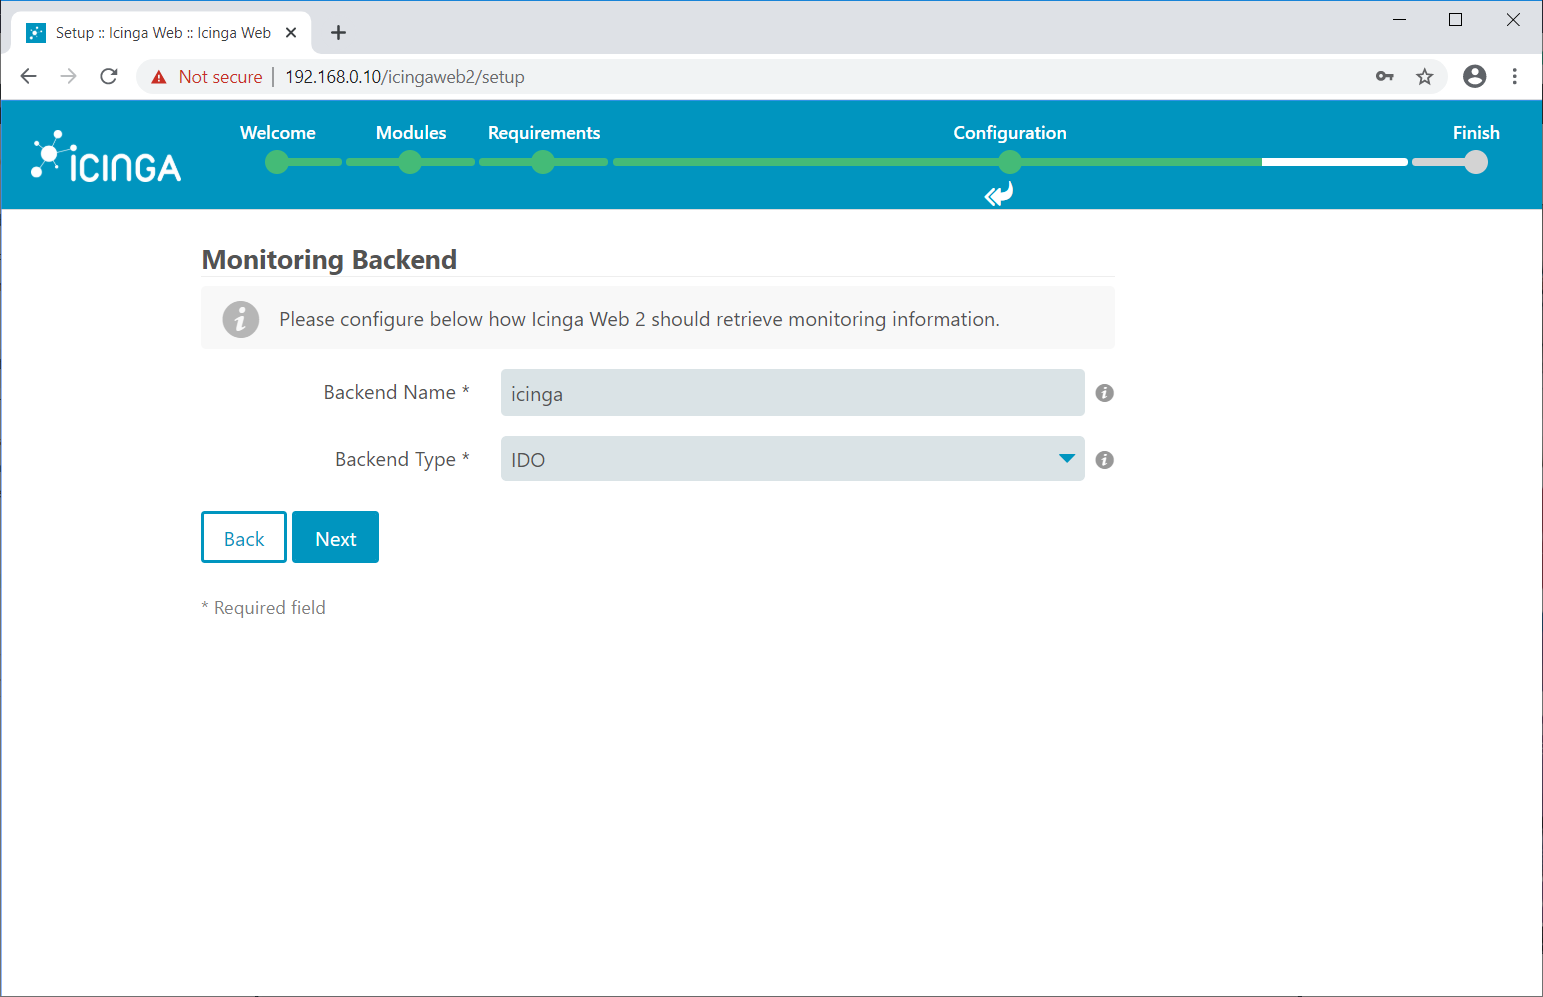
Enter the IDO database details on the following page and then click Next.
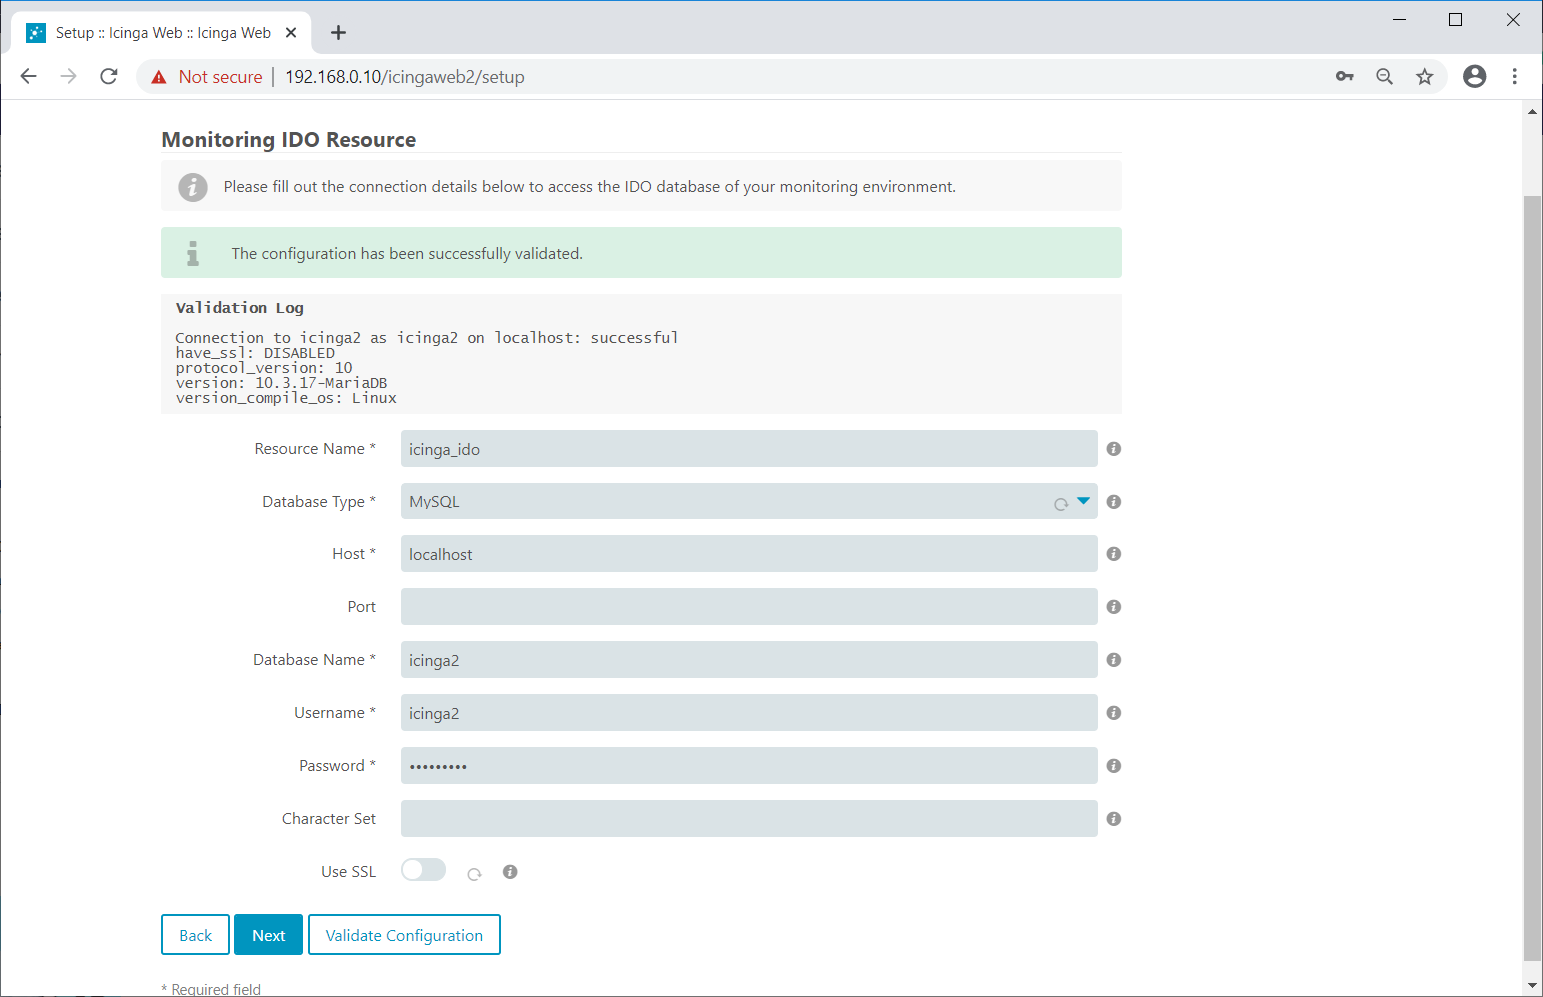
Setup Command Transport
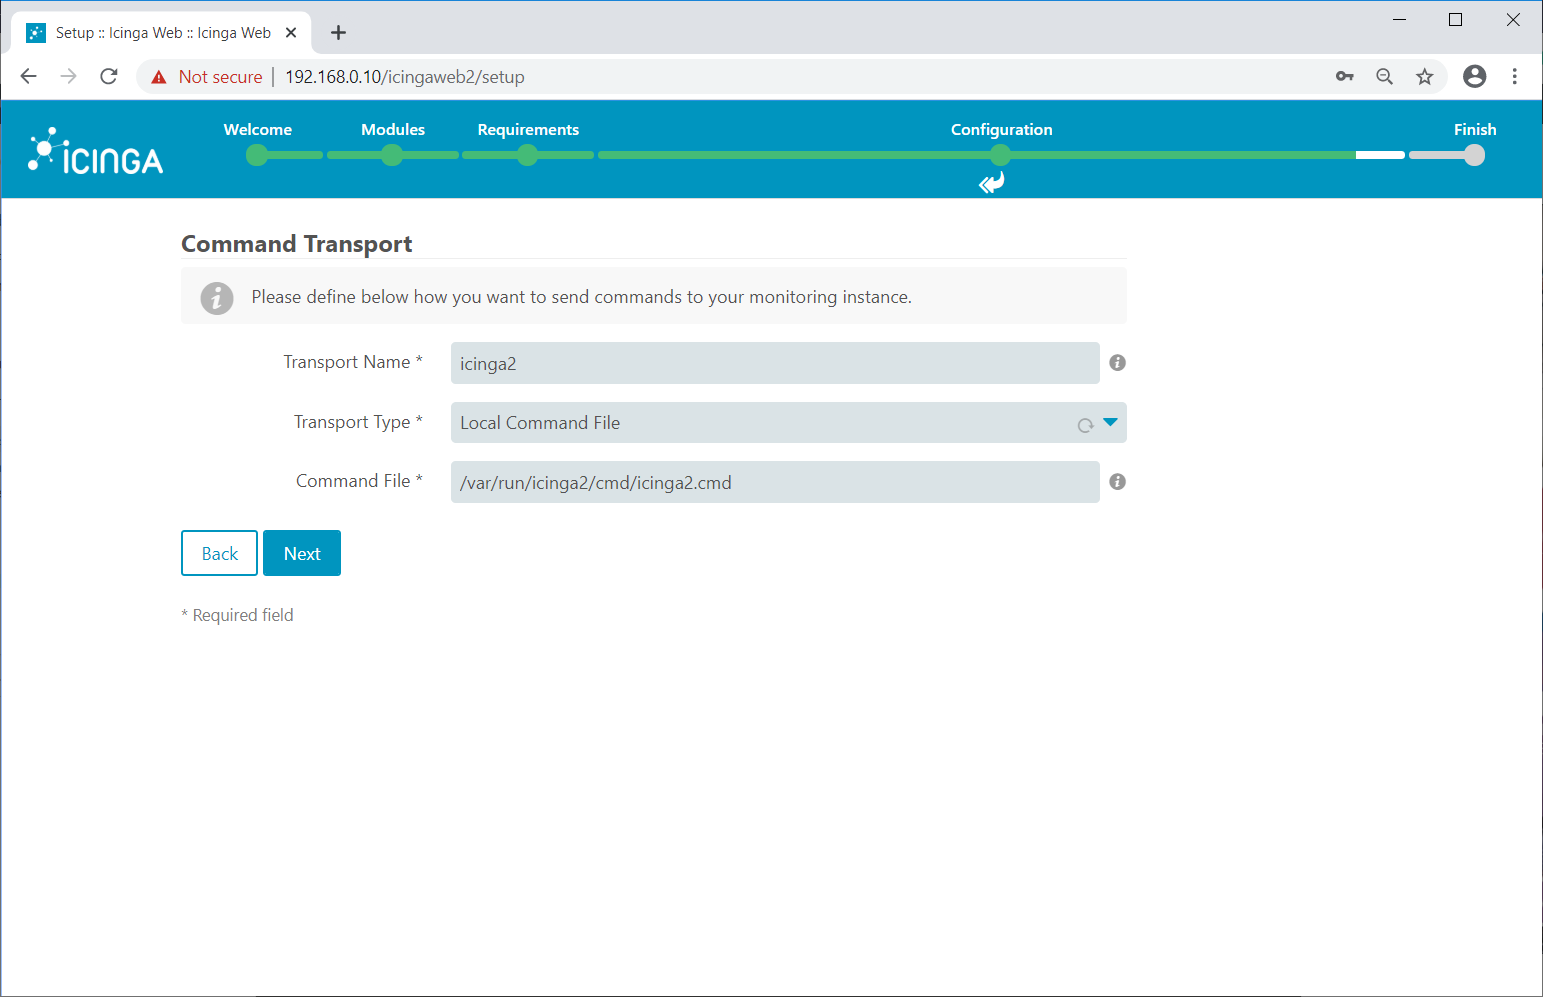
This page tells how you want to send commands to your remote server for monitoring.
Icinga Web 2 supports Local Command File, Remote Command File, and Icinga 2 API as command transport.
Here, for this demo, we will configure Icinga Web 2 with single command transport. Choose either one of the below command transport
- Local Command File
- Icinga 2 API (Recommended)
- Remote Command File
You can define multiple command modes of transport in Icinga Web 2.
Local Command File
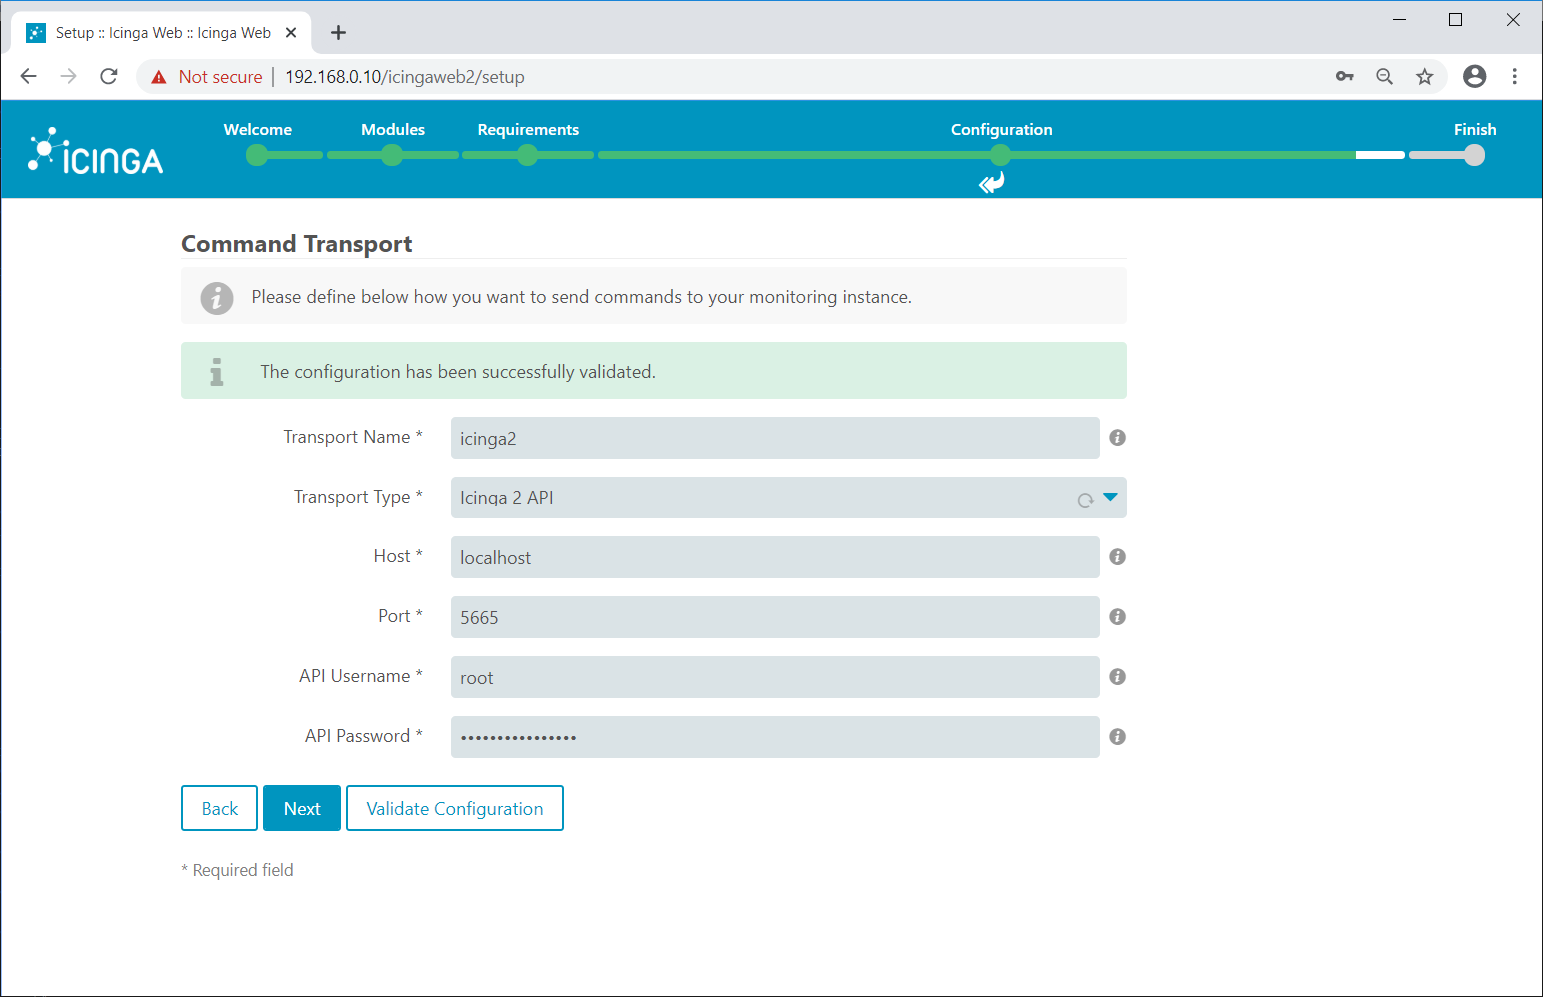
Icinga 2 API
Run the below command to setup Icinga 2 API.
icinga2 api setup
Output:

information/cli: Generating new CA.
information/base: Writing private key to '/var/lib/icinga2/ca//ca.key'.
information/base: Writing X509 certificate to '/var/lib/icinga2/ca//ca.crt'.
information/cli: Generating new CSR in '/var/lib/icinga2/certs//centos8.itzgeek.local.csr'.
information/base: Writing private key to '/var/lib/icinga2/certs//centos8.itzgeek.local.key'.
information/base: Writing certificate signing request to '/var/lib/icinga2/certs//centos8.itzgeek.local.csr'.
information/cli: Signing CSR with CA and writing certificate to '/var/lib/icinga2/certs//centos8.itzgeek.local.crt'.
information/pki: Writing certificate to file '/var/lib/icinga2/certs//centos8.itzgeek.local.crt'.
information/cli: Copying CA certificate to '/var/lib/icinga2/certs//ca.crt'.
information/cli: Adding new ApiUser 'root' in '/etc/icinga2/conf.d/api-users.conf'.
information/cli: Reading '/etc/icinga2/icinga2.conf'.
information/cli: Enabling the 'api' feature.
Enabling feature api. Make sure to restart Icinga 2 for these changes to take effect.
information/cli: Updating 'NodeName' constant in '/etc/icinga2/constants.conf'.
information/cli: Created backup file '/etc/icinga2/constants.conf.orig'.
information/cli: Updating 'ZoneName' constant in '/etc/icinga2/constants.conf'.
information/cli: Backup file '/etc/icinga2/constants.conf.orig' already exists. Skipping backup.
Done.

Now restart your Icinga 2 daemon to finish the installation!
Get the API user details from /etc/icinga2/conf.d/api-users.conf file.
cat /etc/icinga2/conf.d/api-users.conf
Output:

/**
 * The ApiUser objects are used for authentication against the API.
 */
object ApiUser "root" {
  password = "c6bbfdd8afceceb1"
  // client_cn = ""

  permissions = [ "*" ]
}
Restart the Icinga 2 service.
systemctl restart icinga2
Use the above username and password on the below command transport page.
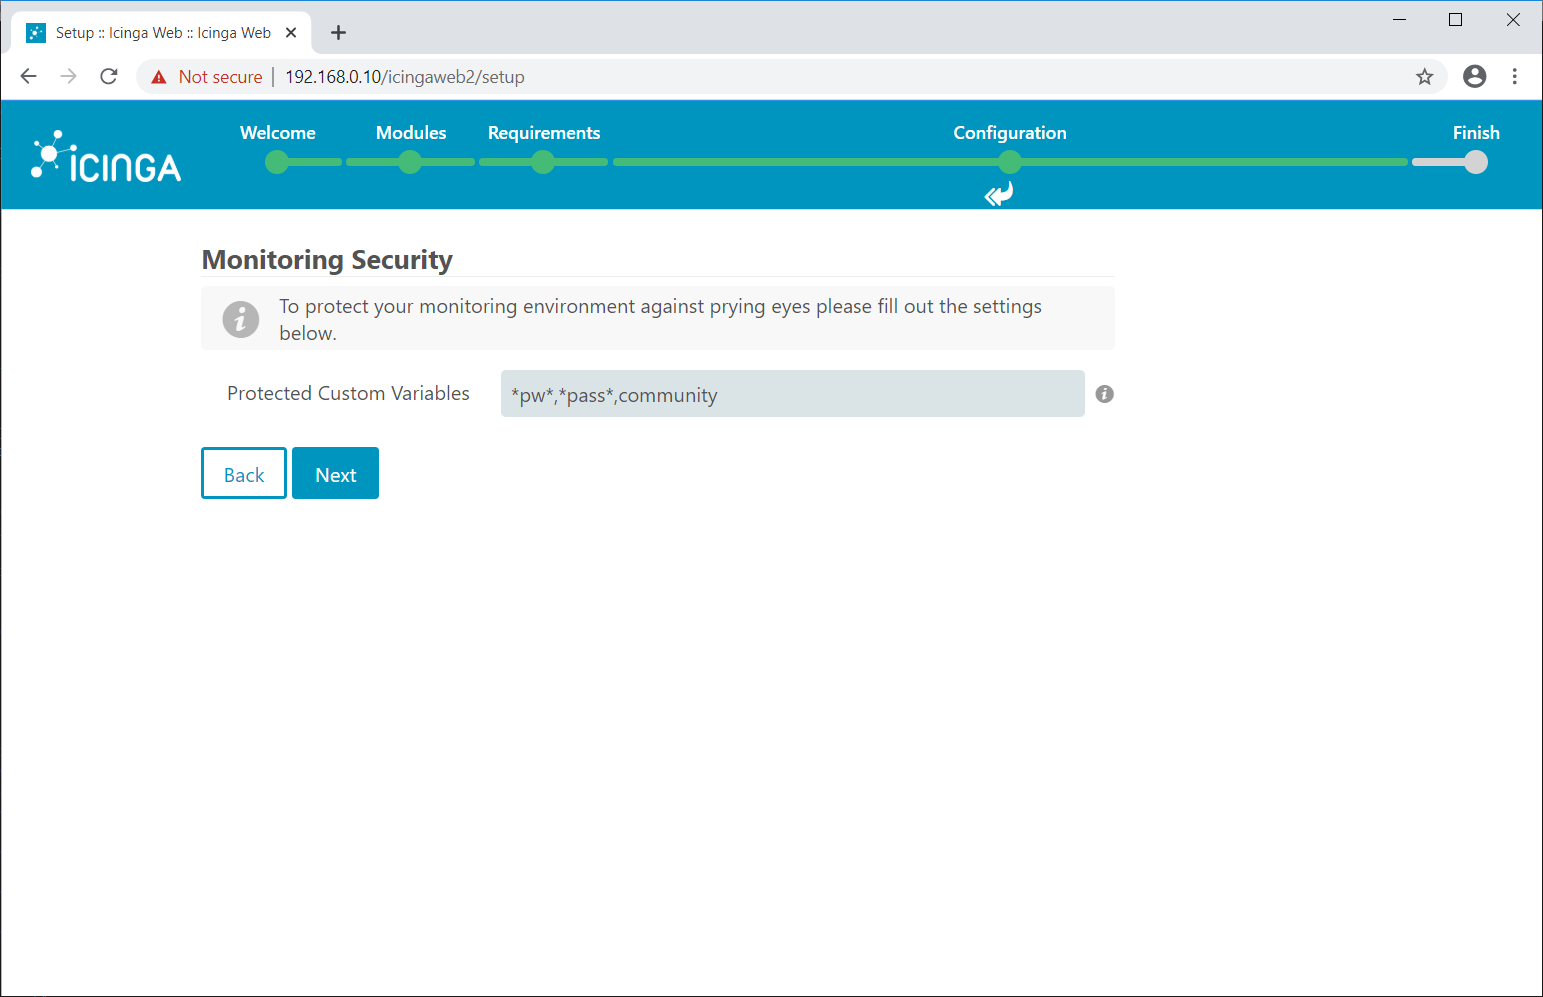
Enter the details of the variables to protect from bad ones.
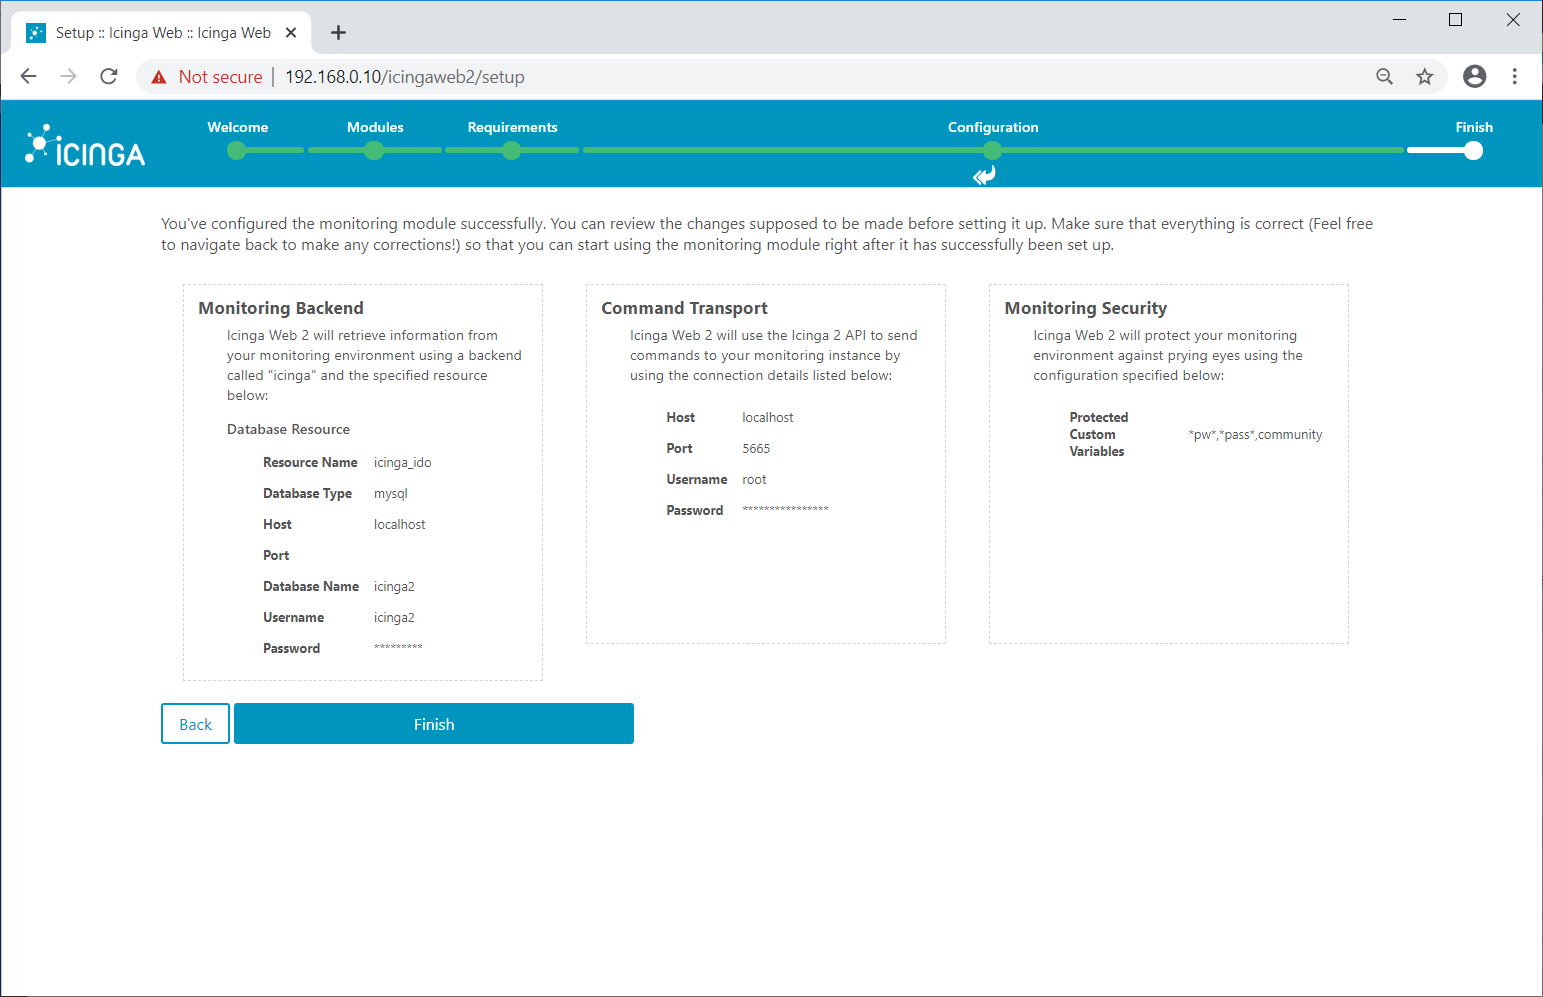
Review your monitoring configurations.
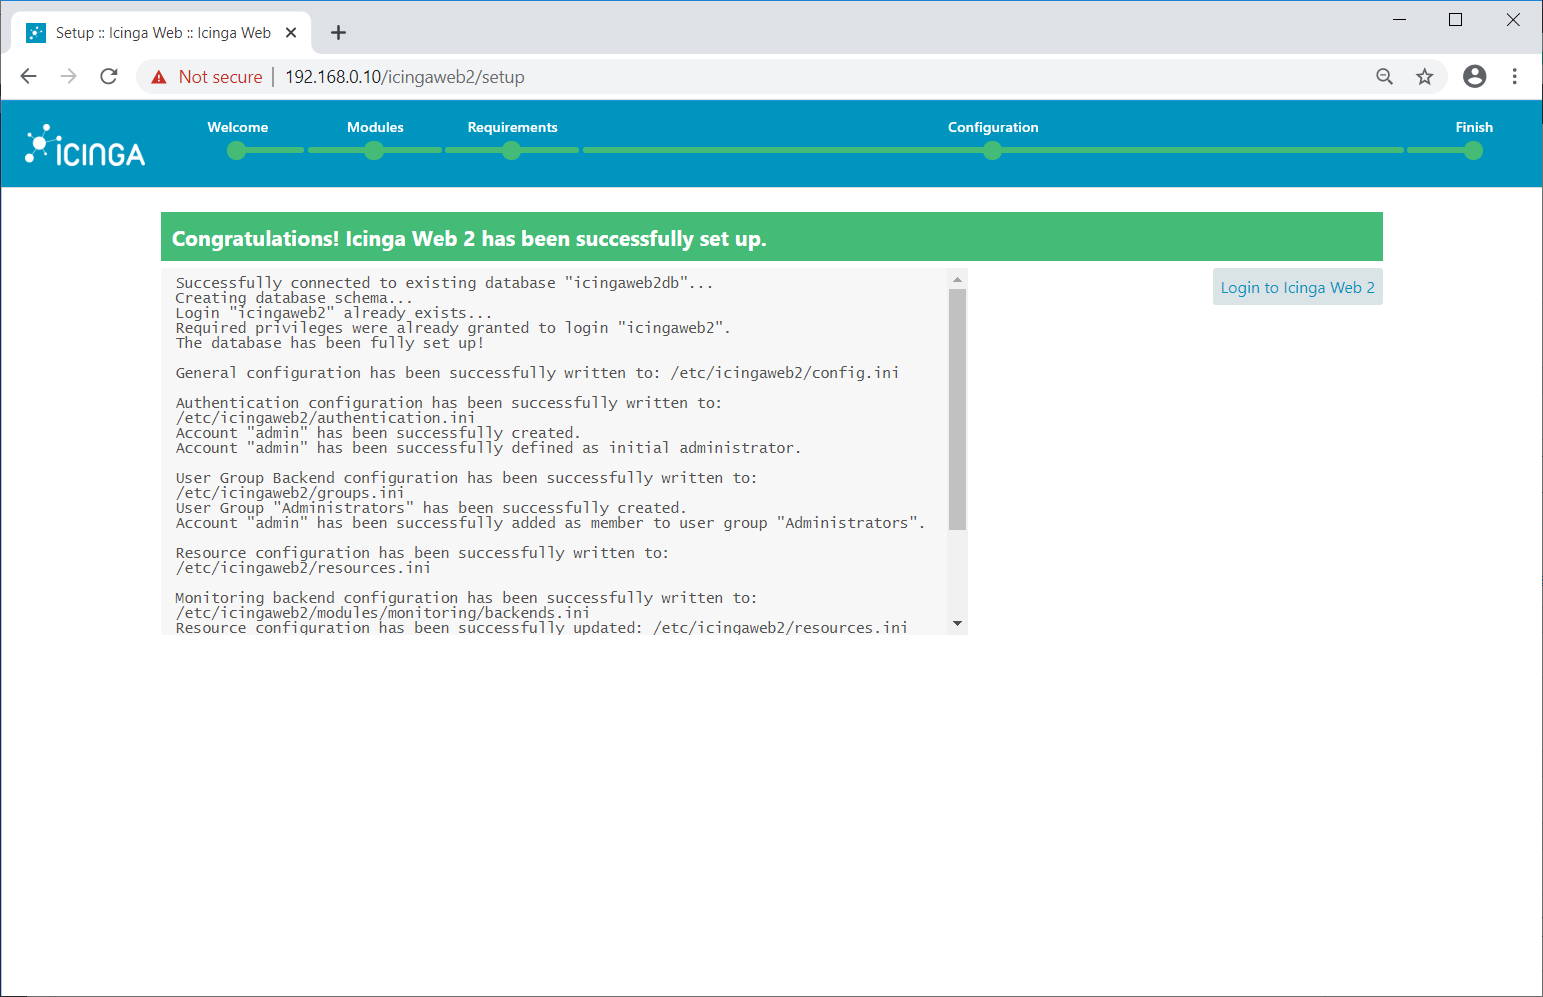
Icinga Web 2 has been successfully set up. Click on Login to Icinga Web 2.
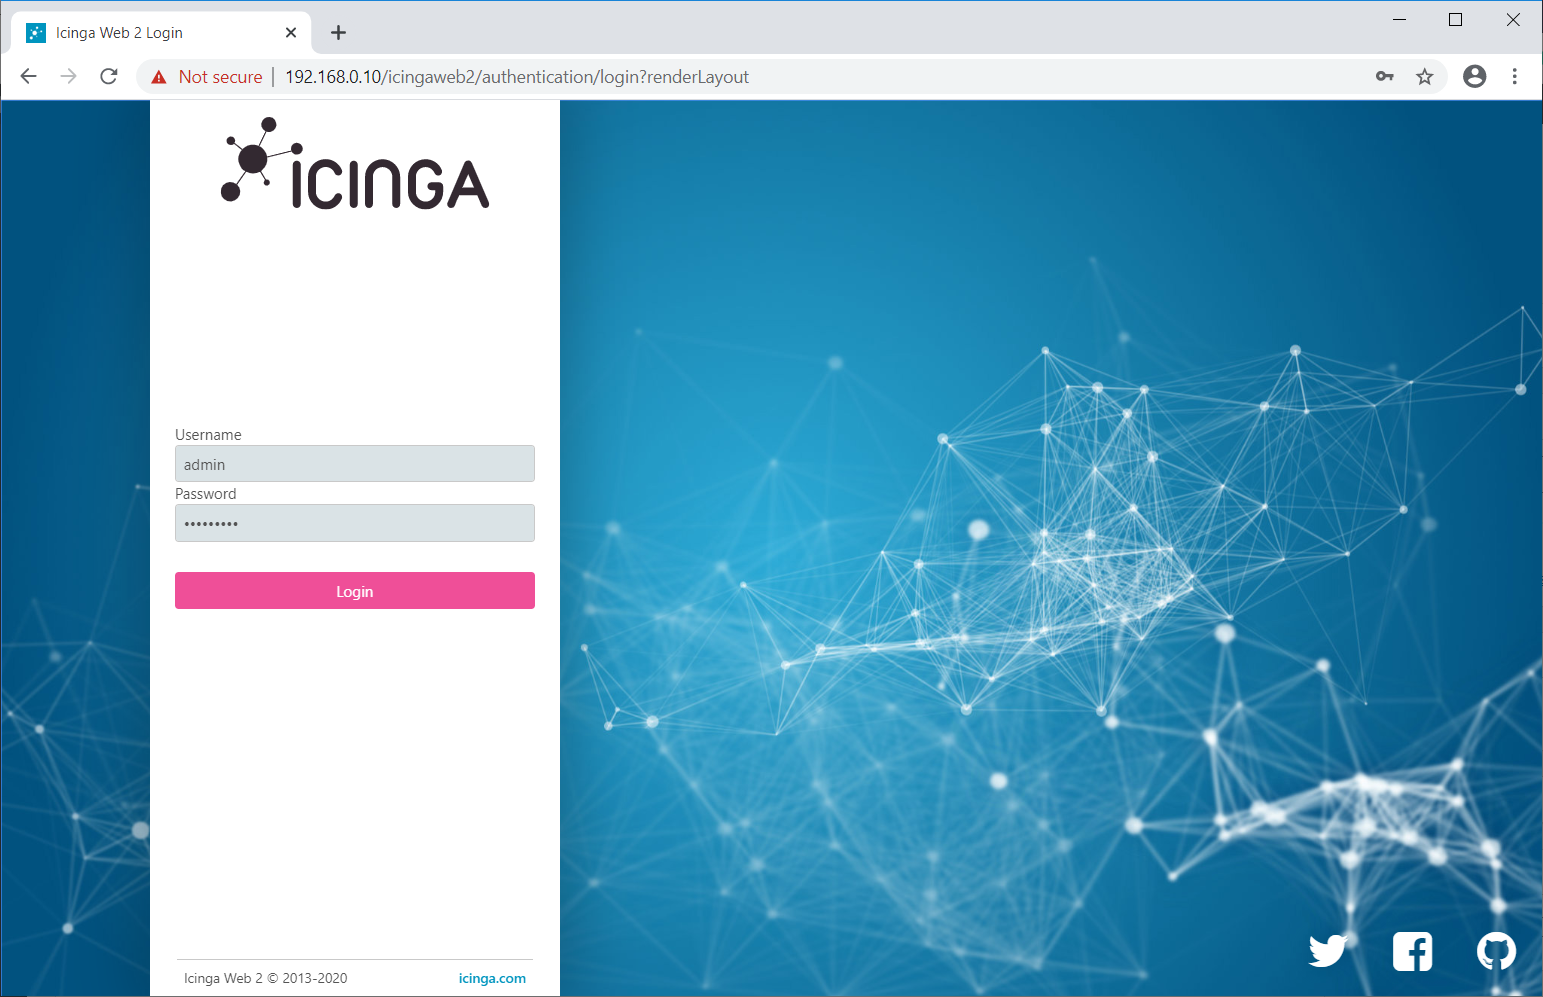
Access Icinga Web 2
Login to Icinga Web 2 using the admin account we created earlier.
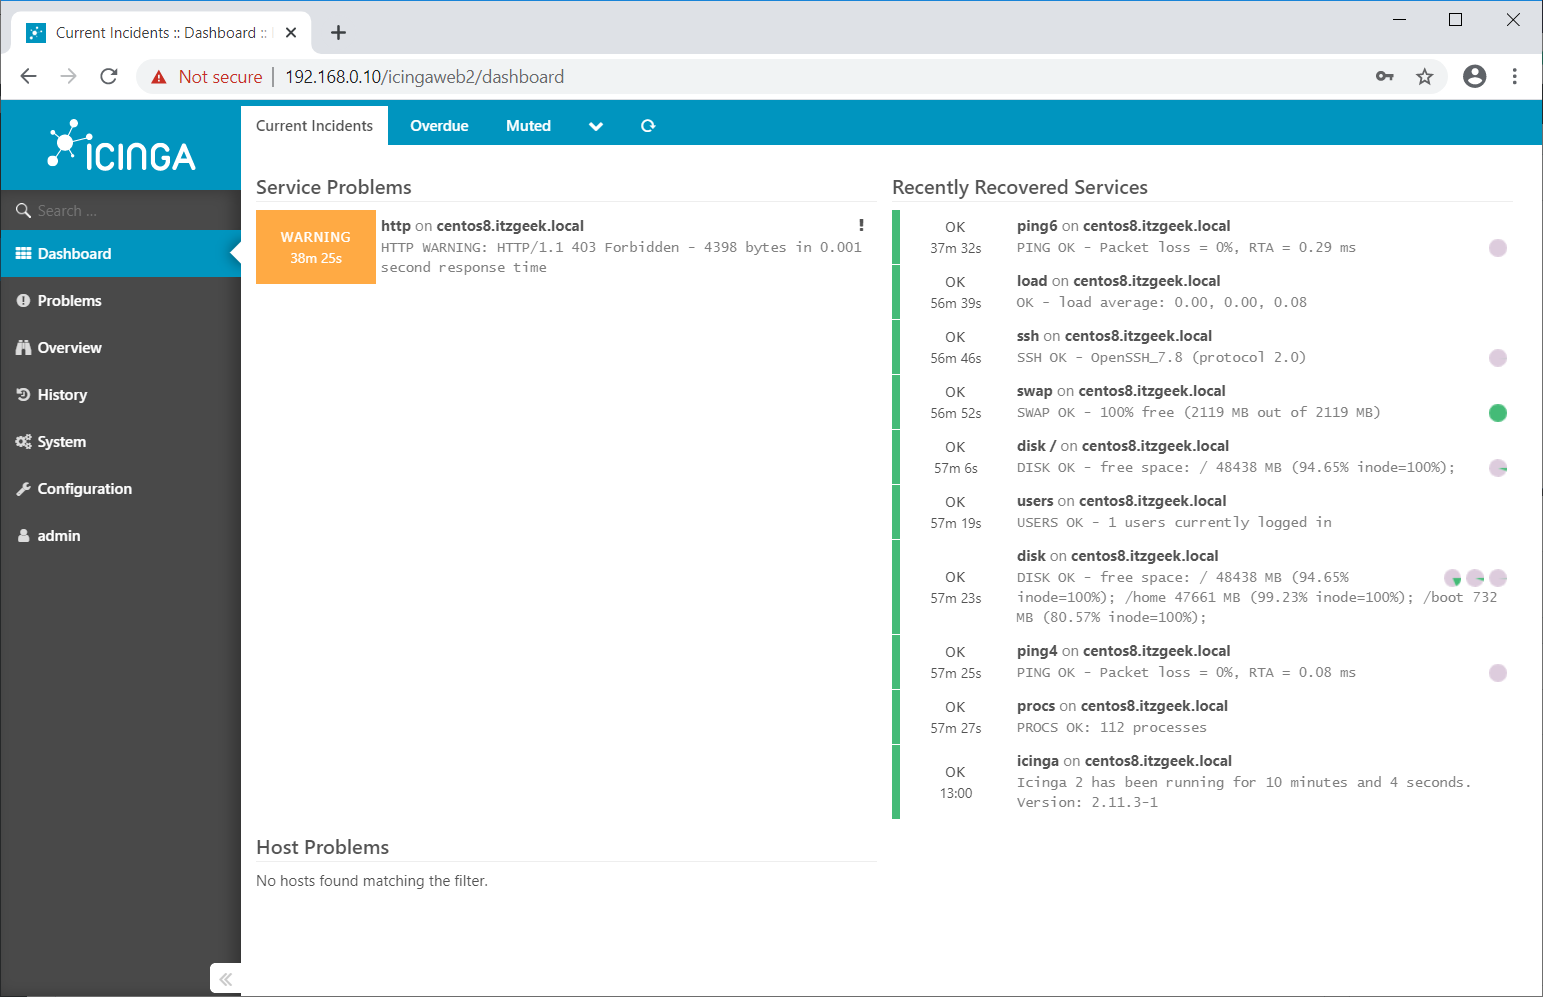
You should now get the Icinga Web 2 dashboard.
Conclusion
That’s All. In our next article, we will add remote Linux clients to Icinga 2.


![How To Upgrade To Linux Mint 20 From Linux Mint 19 [Detailed Guide]](/post/how-to-upgrade-to-linux-mint-20/featured_hu3b6c6a25dd04b6406f79faf78c8c0be6_108894_550x0_resize_q90_lanczos.jpg)
