phpPgAdmin is a free web-based administration tool for managing PostgreSQL databases, and it is very similar to phpMyAdmin, a web-based tool for managing MySQL (MariaDB).
It allows you to perform activities like creating, modifying, and deleting databases, tables, views, fields, and indexes over a web browser. It also allows you to execute queries on databases directly from the web interface.
Here, we will see how to install phpPgAdmin on Debian 11 / Debian 10.
Prerequisites
Install PostgreSQL
You will need to have a PostgreSQL instance running on in your system before you set up phpPgAdmin.
READ: Install PostgreSQL on Debian 11 / Debian 10
After the installation, check the status of the PostgreSQL service.
sudo systemctl status postgresql
Output:
● postgresql.service - PostgreSQL RDBMS
     Loaded: loaded (/lib/systemd/system/postgresql.service; enabled; vendor preset: enabled)
     Active: active (exited) since Wed 2021-09-20 08:32:44 CDT; 2s ago
    Process: 5122 ExecStart=/bin/true (code=exited, status=0/SUCCESS)
   Main PID: 5122 (code=exited, status=0/SUCCESS)
        CPU: 2ms

Oct 20 08:32:44 debian11.itzgeek.local systemd[1]: Starting PostgreSQL RDBMS...
Oct 20 08:32:44 debian11.itzgeek.local systemd[1]: Finished PostgreSQL RDBMS.
Create Database and User
By default, you can not log in as a PostgreSQL database root user postgres from phpPgAdmin due to security reasons. So, create a user and database to test the phpPgAdmin.
Install phpPgAdmin on Debian 11
phpPgAdmin is available in the Debian OS repository. So, you can install it using the apt command.
sudo apt install -y phppgadmin apache2
Configure phpPgAdmin
Before you access phpPgAdmin, you will need to edit the phpPgAdmin’s configuration file to add PostgreSQL instances.
sudo nano /etc/phppgadmin/config.inc.php
Now, add your PostgreSQL instances as shown below. You can also add more PostgreSQL instances with ([‘servers’][0], [‘servers’][1], etc..) and manage them from a single phpPgAdmin interface.
        // Display name for the server on the login screen
        $conf['servers'][0]['desc'] = 'PostgreSQL 13';


        // Hostname or IP address for server.  Use '' for UNIX domain socket.
        // use 'localhost' for TCP/IP connection on this computer
        $conf['servers'][0]['host'] = 'localhost';


        // Database port on server (5432 is the PostgreSQL default)
        $conf['servers'][0]['port'] = 5432;
As I said earlier, phpPgAdmin will not allow users to log in with no password or certain usernames (pgsql, postgres, root, administrator).
To override this extra security, change it to false.
$conf['extra_login_security'] = false;
You may want to enable the users to list only databases they own with the below setting as additional security. However, other user users can still get the data (from other databases) using SQL queries.
$conf['owned_only'] = true;
Enable Apache VirtualHost
By default, phpPgAdmin can only be accessible from the localhost. So, to access the phpPgAdmin web interface from external machines, you must edit the apache configuration file and update the virtual host.
sudo nano /etc/apache2/conf-enabled/phppgadmin.conf
The default configuration will look like below.
.   .   .
.   .   .

</IfModule>
AllowOverride None

# Only allow connections from localhost:
Require local

<IfModule mod_php.c>

.   .   .
.   .   .
Comment out the Require local line and add Require all granted just below to the commented line.
It will look like below after you modify the line.
.   .   .
.   .   .

</IfModule>
AllowOverride None

# Only allow connections from localhost:
Require all granted

<IfModule mod_php.c>

.   .   .
.   .   .
Restart the Apache service.
sudo systemctl restart apache2
Access phpPgAdmin
Now access the phpPgAdmin from your web browser, URL will be
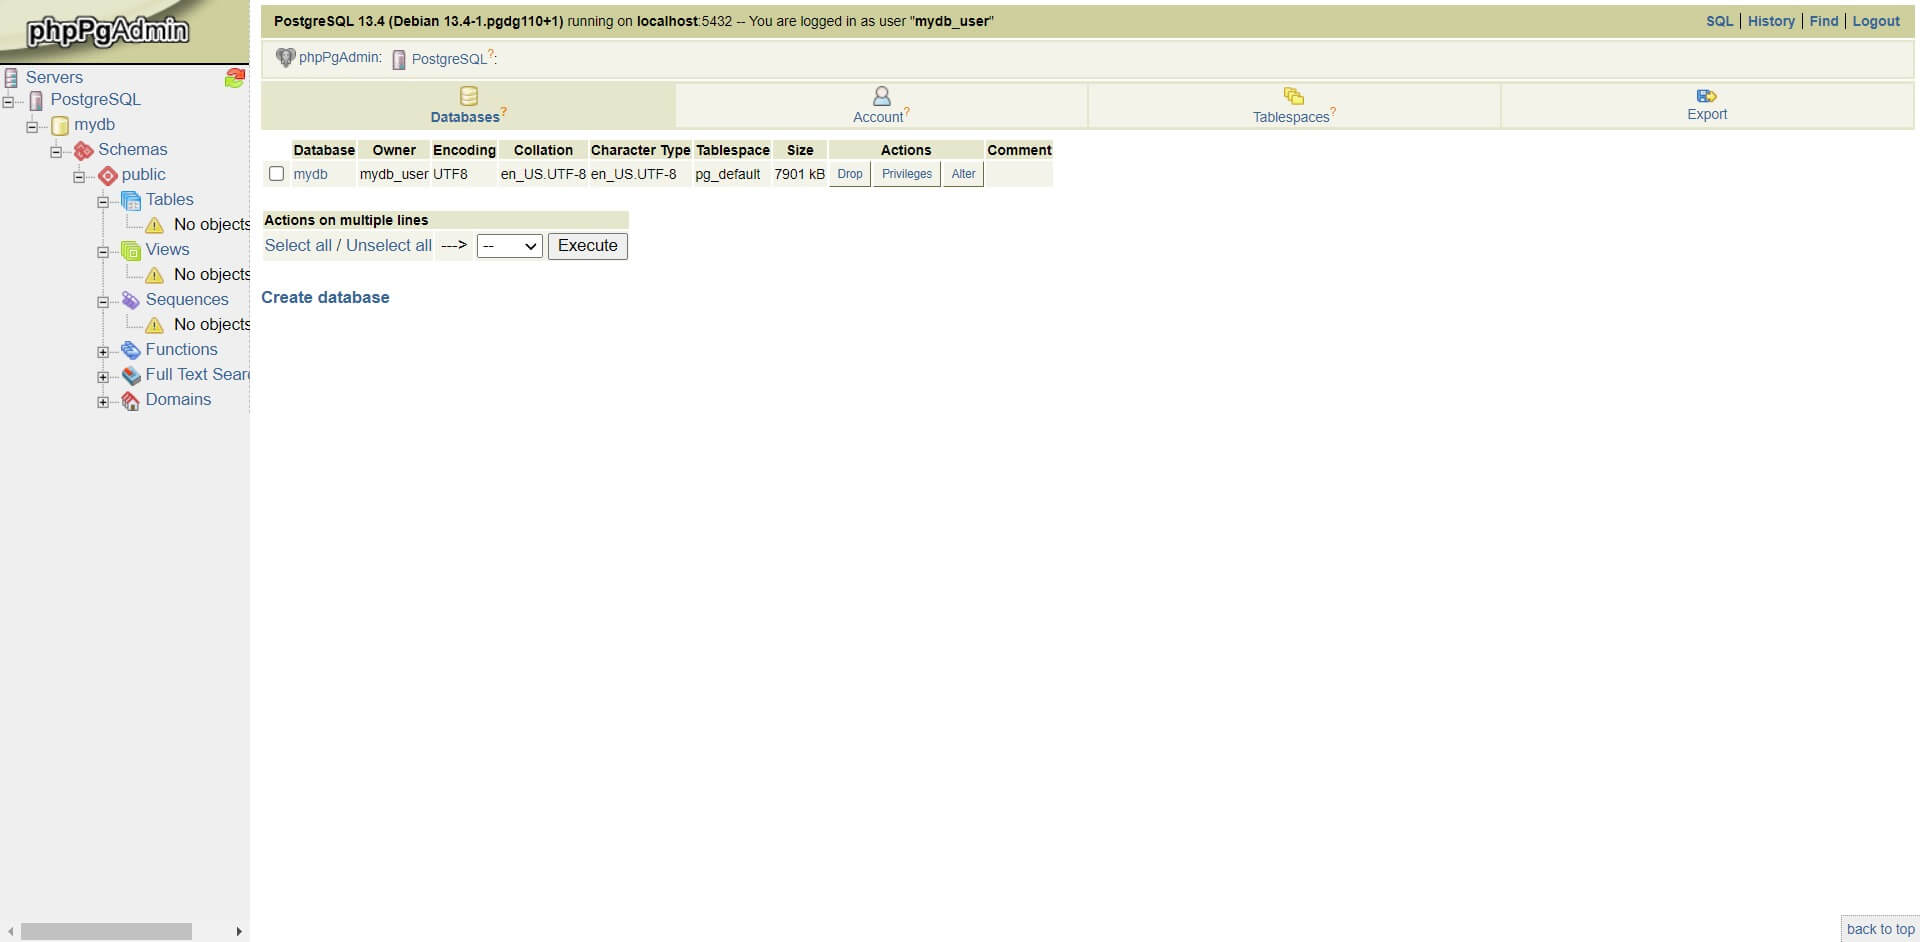
Click on the PostgreSQL server listed in the left pane to login into your PostgreSQL instance. Next, enter your database user name and password to login into phpPgAdmin.
Upon successful login, you will now get the databases.
Conclusion
That’s All. I hope you have learned how to install phpPgAdmin on Debian 11 / Debian 10.