Apache Tomcat is an open-source Java servlet container developed by the Apache Software Foundation (ASF). Tomcat implements Java Servlet, JavaServer Pages (JSP), Java EL, and WebSocket, and provides a “pure Java” HTTP web server environment for running Java codes.
In Tomcat, you can deploy an application by using a war file through the Web Manager Application.
Here, we will see how to install Apache Tomcat on Linux Mint 20 / Linux Mint 19.
Prerequisites
Install Java
Tomcat requires Java JDK to be installed on the machine. You can either install Oracle JDK or OpenJDK.
For this demo, I am going with OpenJDK.
sudo apt update

sudo apt install -y openjdk-11-jdk
Once Java is installed, you can verify the Java version by using the following command.
java -version
Output:
openjdk version "11.0.7" 2020-04-14
OpenJDK Runtime Environment (build 11.0.7+10-post-Ubuntu-3ubuntu1)
OpenJDK 64-Bit Server VM (build 11.0.7+10-post-Ubuntu-3ubuntu1, mixed mode, sharing)
Tomcat Service Account
For best practice, Tomcat should never be run as a privileged user (root). So, create a low-privilege user for running the Tomcat service.
sudo groupadd tomcat

sudo mkdir /opt/tomcat

sudo useradd -g tomcat -d /opt/tomcat -s /usr/sbin/nologin tomcat
Download Apache Tomcat
You can download the Apache Tomcat package from the official website.
OR
In the terminal use the curl command to download the Apache Tomcat.
### Apache Tomcat 10.x

curl https://downloads.apache.org/tomcat/tomcat-10/v10.0.4/bin/apache-tomcat-10.0.4.tar.gz -o apache-tomcat-10.0.4.tar.gz

### Apache Tomcat 9.x

curl https://downloads.apache.org/tomcat/tomcat-9/v9.0.44/bin/apache-tomcat-9.0.44.tar.gz -o apache-tomcat-9.0.44.tar.gz
Extract the tomcat onto your desired (/opt/tomcat) directory.
sudo tar -zxvf apache-tomcat-*.tar.gz

sudo mv apache-tomcat-*/* /opt/tomcat/
Change the ownership of the extracted directory so that the tomcat user can write files to it.
sudo chown -R tomcat:tomcat /opt/tomcat/
Setup Apache Tomcat
We will use the systemd to manage the Tomcat service. The Tomcat service file requires the Java location, use the below command to find the location of Java.
sudo update-java-alternatives -l
Output:
java-1.11.0-openjdk-amd64 1111 /usr/lib/jvm/java-1.11.0-openjdk-amd64
Create a systemd file for Tomcat.
sudo nano /etc/systemd/system/tomcat.service
Add the below information to the Tomcat systemd service file.
[Unit]
Description=Apache Tomcat Web Application Container
Wants=network.target
After=network.target

[Service]
Type=forking

Environment=JAVA_HOME=/usr/lib/jvm/java-1.11.0-openjdk-amd64
Environment=CATALINA_PID=/opt/tomcat/temp/tomcat.pid
Environment=CATALINA_HOME=/opt/tomcat
Environment='CATALINA_OPTS=-Xms512M -Xmx1G -Djava.net.preferIPv4Stack=true'
Environment='JAVA_OPTS=-Djava.awt.headless=true'

ExecStart=/opt/tomcat/bin/startup.sh
ExecStop=/opt/tomcat/bin/shutdown.sh
SuccessExitStatus=143

User=tomcat
Group=tomcat
UMask=0007
RestartSec=10
Restart=always

[Install]
WantedBy=multi-user.target
Reload systemd daemon.
sudo systemctl daemon-reload
Start Apache Tomcat
To start the Tomcat service; run:
sudo systemctl start tomcat
Check the status of Tomcat, run:
sudo systemctl status tomcat
Enable the auto start of Tomcat service on system boot:
sudo systemctl enable tomcat
By default, Tomcat runs on port 8080. Use can use the netstat command to check the port status.
sudo netstat -antup | grep 8080
Output:
tcp 0 0 0.0.0.0:8080 0.0.0.0:* LISTEN 4308/java
READ: netstat command not found – Quick Fix
Configure Apache Tomcat Web UI
Tomcat comes with the web manager and Host Manager for managing Tomcat. Both the Host Manager and Web Manager are password-protected, and it requires a username and password to access.
Only the user with the manager-gui and admin-gui roles is allowed to access web manager and host-manager respectively. Those two roles are defined in the tomcat-users.xml file.
sudo nano /opt/tomcat/conf/tomcat-users.xml
Place the following two lines (role and user definition) just above the last line.
rolename="admin-gui,manager-gui"/>
<user username="admin" password="password" roles="manager-gui,admin-gui"/>
For security reasons, Web Manager and Host Manager are accessible only from the localhost, ie, from the server itself.
If you want to access managers from the remote system then you need to add your source network to allow list. To do that, edit the below two files.
sudo nano /opt/tomcat/webapps/manager/META-INF/context.xml

sudo nano /opt/tomcat/webapps/host-manager/META-INF/context.xml
Update the below line on both files with the source IP from which you are accessing the Web and Host Manager.
.* will allow everyone to have access to managers.
allow="127\.\d+\.\d+\.\d+|::1|0:0:0:0:0:0:0:1|.*" />
OR
You can allow only part of your network. For example, to allow only the 192.168.0.0/24 network, you can use the below values.
allow="127\.\d+\.\d+\.\d+|::1|0:0:0:0:0:0:0:1|192.168.0.*" />
Restart the Tomcat service.
sudo systemctl restart tomcat
Access Apache Tomcat
Open the web browser and point it to,
You would get the Tomcat default page and this confirms that Tomcat is successfully installed.
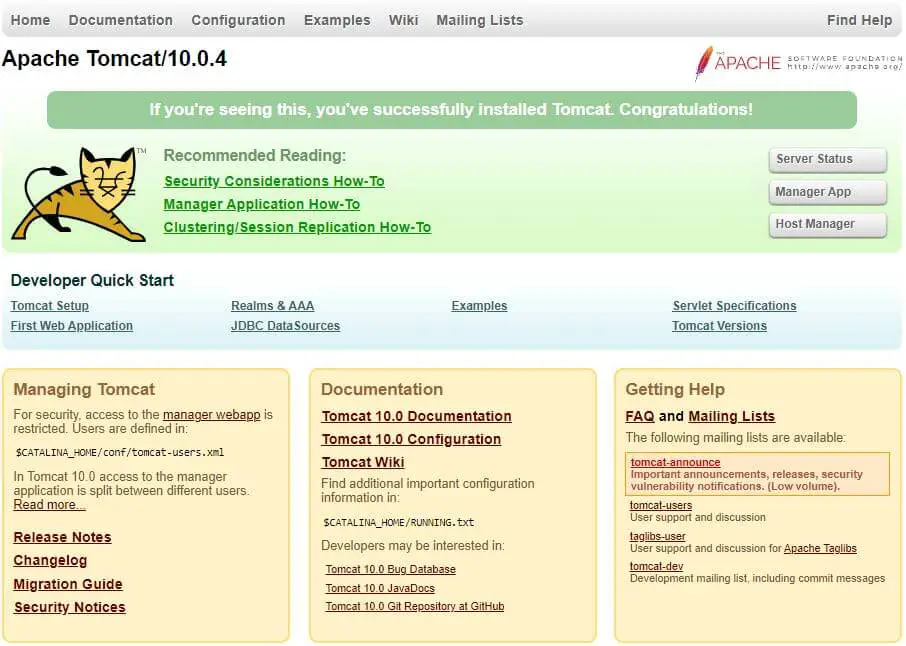
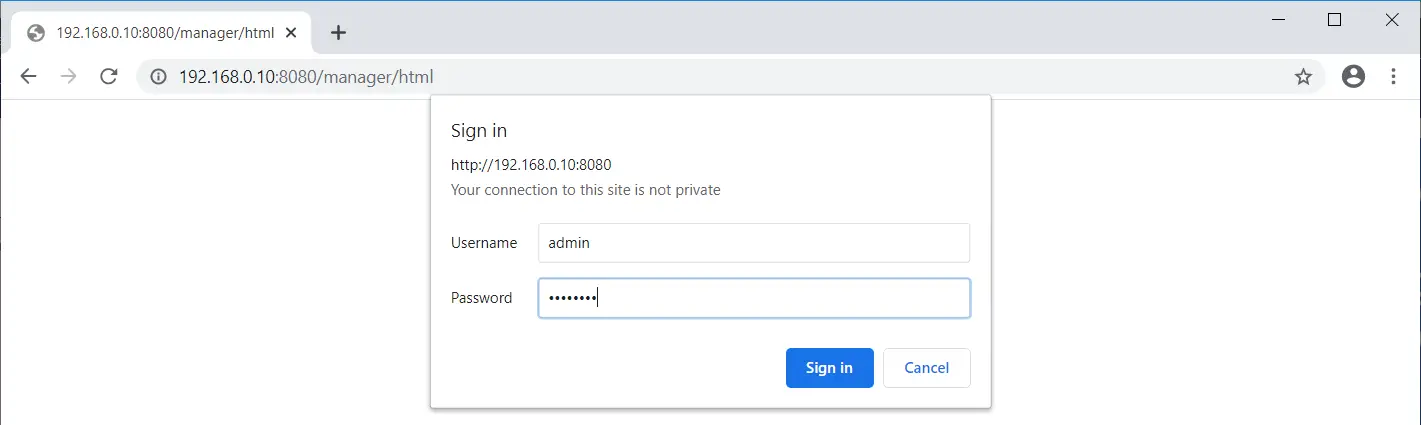
Click on the Manager App to access Web Manager (Login Required). Username: admin, Password: password.
Here, you can deploy a new application, deploy an application on a specified context, start, stop, reload, and un-deploy an application.
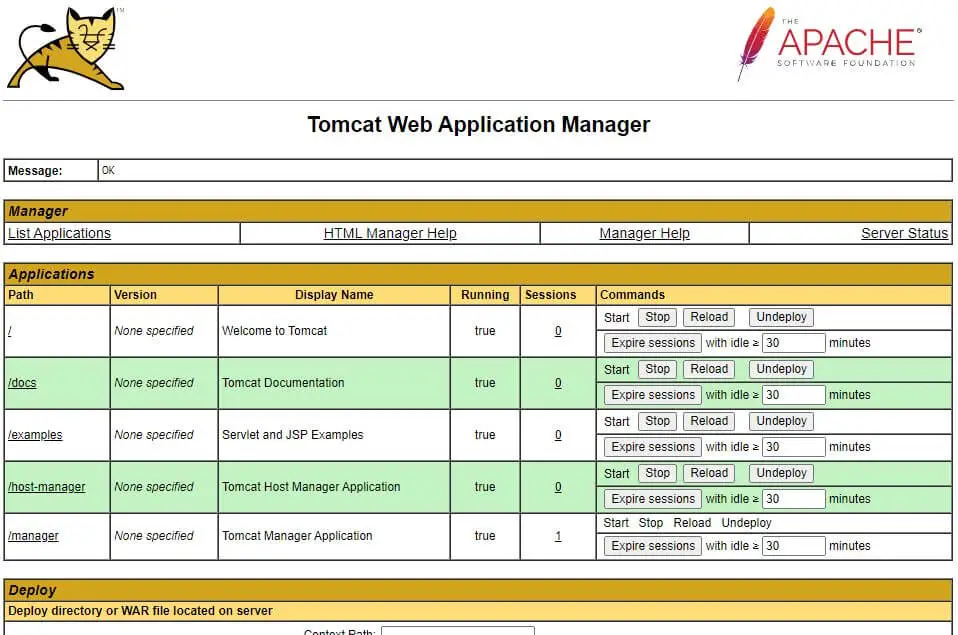
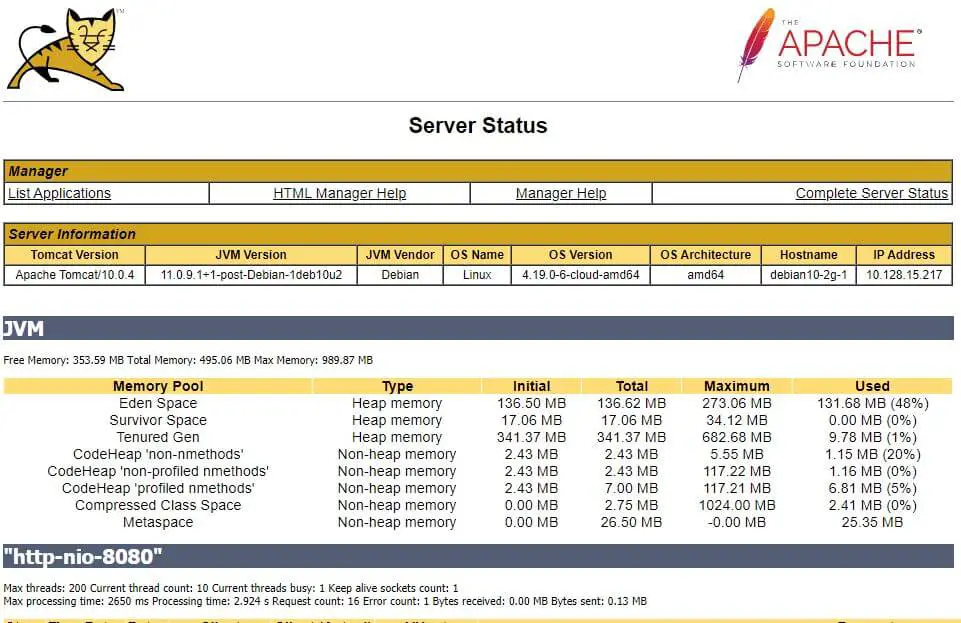
Also, you can check the server status by clicking on the Server Status.
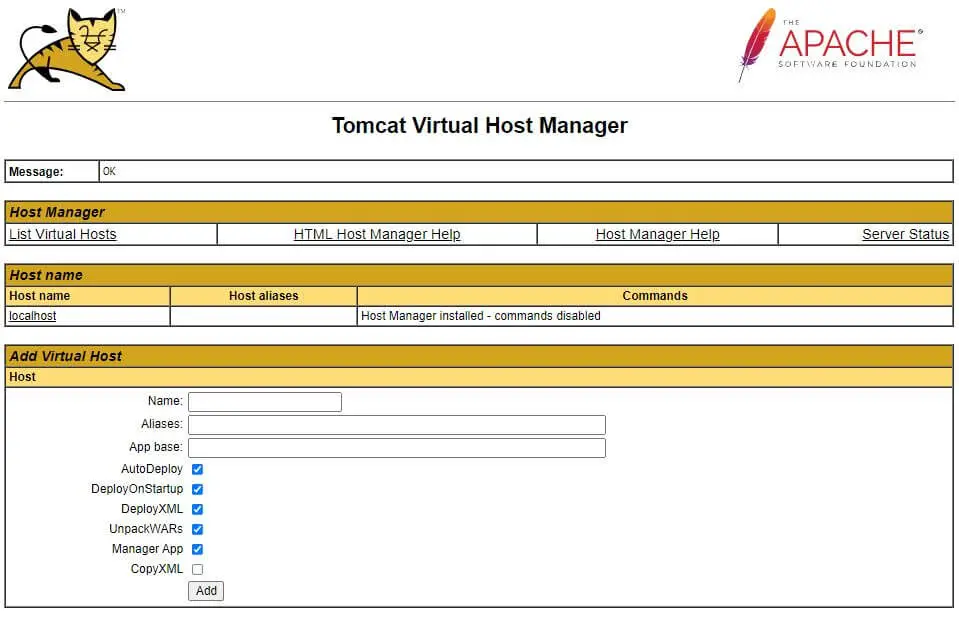
Click on the Host Manager to access the Tomcat Virtual Host Manager (Login Required). Username: admin, Password: password.
Here, you can manage the virtual hosts.
Conclusion
That’s All. I hope you have learned how to install Apache Tomcat on Linux Mint 20 / Linux Mint 19.