Android Studio – the first software that comes in mind of an app developer who is developing applications for Google’s Android operating system. It is the powerful and official IDE for Android app development, developed by Google, based on IntelliJ IDEA.
Android Studio is a replacement for the Eclipse Android Development Tools (ADT) which was discontinued in 2015 as primary IDE for native Android application development. It is available for Windows, Linux, and macOS.
Here, we will install Android Studio on Ubuntu 18.04.
System Requirements
- Graphical Interface (GNOME or KDE Desktop)
- CPU with Intel VT or AMD SVM.
- 64-bit OS capable of running 32-bit applications
- RAM: Minimum – 3GB / Recommended – 8GB
- 10 GB HDD
Prerequisites
Check whether CPU supports Intel VT / AMD SVM or not.
egrep --color 'vmx|svm' /proc/cpuinfo | wc -l
Output:
4
If the above output is non-zero, then your machine has virtualization support.
Install KVM and other utilities.
sudo apt install -y qemu-kvm libvirt-bin ubuntu-vm-builder bridge-utils wget unzip
Add your user to the KVM group.
sudo usermod -aG kvm raj
sudo usermod -aG libvirt raj
Reboot the machine or Log out and log in back.
Install Android Studio on Ubuntu 18.04
Follow any one of the methods to install Android Studio on Ubuntu.
- Install Android Studio on Ubuntu using official tar archive – (recommended)
- Install Android Studio on Ubuntu using Ubuntu Software center
- Install Android Studio on Ubuntu using Snap
Method 1: Install Android Studio on Ubuntu using Ubuntu Software Cente
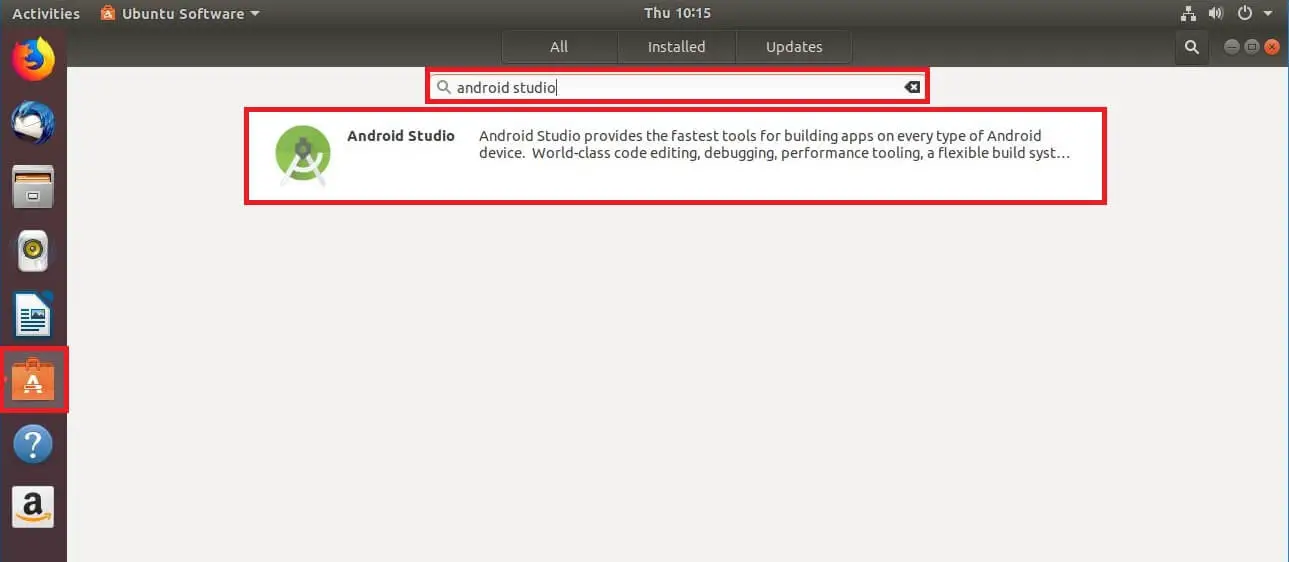
Open up the Ubuntu Software Center from the left pane and search for Android Studio.
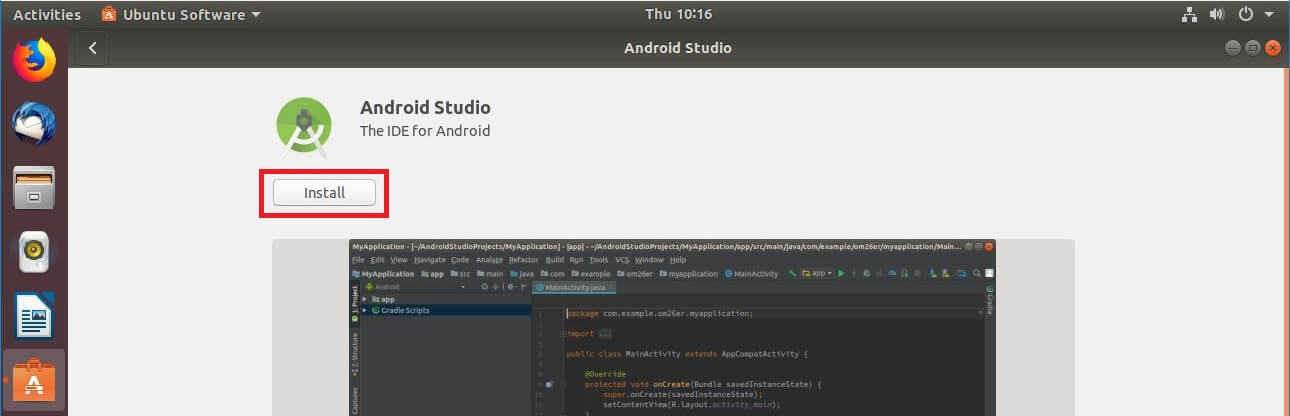
Click the Install button to kick start the installation of Android Studio.
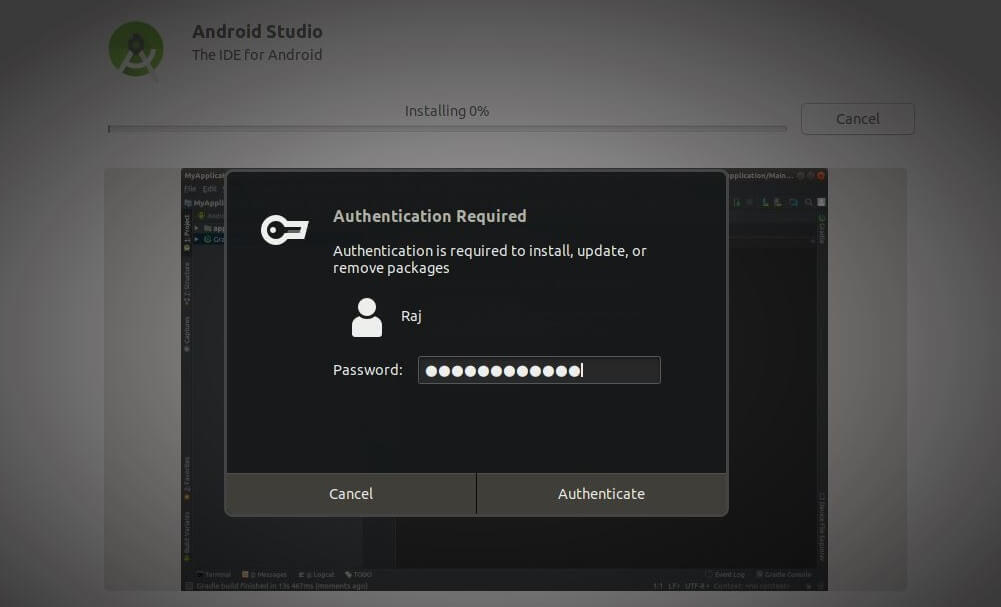
You would need to enter your password to install Android Studio.
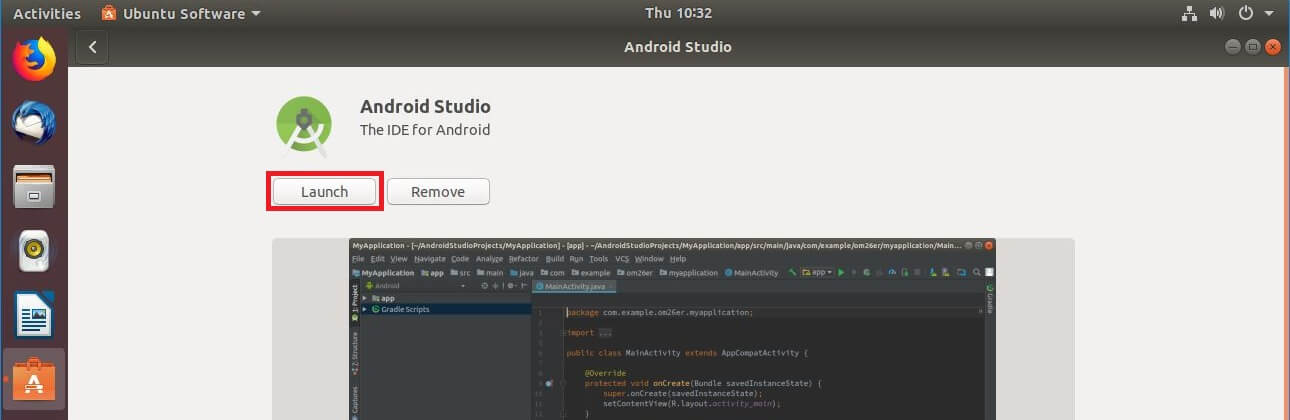
Once the Android Studio installation is complete, click the Launch button to start Android Studio.
Method 2: Install Android Studio on Ubuntu using Snap
You can also install Android Studio using the Snap command. Snap will setup environment for Android Studio to run correctly. Ensure your system has Snap installed.
sudo snap install android-studio
Installation would take at least 10 or 15 mins to complete. Upon completion, verify Android Studio installation using the below command.
sudo snap list android-studio
Output:
Name            Version  Rev  Tracking  Developer     Notes
android-studio  3.1.3.0  51   stable    snapcrafters  classic
Launch Android Studio using the following command.
android-studio
Method 3: Install Android Studio on Ubuntu using official tar archive (recommended)
Open a terminal ( Ctrl + Alt + T ).
Prerequisites
Install 32-bit libraries using the following command.
sudo apt update

sudo apt install libc6:i386 libncurses5:i386 libstdc++6:i386 lib32z1 libbz2-1.0:i386 wget
Install Java
Android Studio requires Oracle JDK 8 (not OpenJDK) to function correctly.
Add Oracle JDK repository on the system.
sudo add-apt-repository ppa:webupd8team/java
Then, install the Oracle JDK 8 using the following command.
sudo apt update

sudo apt install oracle-java8-installer
During the Oracle JAVA installation, you will need to accept the Oracle License agreement
Check the java version
java -version
Output:
java version "1.8.0_171"
Java(TM) SE Runtime Environment (build 1.8.0_171-b11)
Java HotSpot(TM) 64-Bit Server VM (build 25.171-b11, mixed mode)
Download and Setup Android Studio
Next, open a browser and visit the below link to download the latest version of Android Studio (Recommended Method).
OR
From terminal.
cd Downloads/

wget https://dl.google.com/dl/android/studio/ide-zips/3.1.3.0/android-studio-ide-173.4819257-linux.zip
Go to Downloads directory and extract the downloaded archive using unzipcommand.
sudo mv android-studio-ide-*-linux.zip /opt/

cd /opt/

sudo unzip /opt/android-studio-ide-*-linux.zip
Change the permission of extracted files.
sudo chown -R raj:raj android-studio
Start the Android Studio by executing studio.sh from the bin directory.
cd /opt/android-studio/bin/

./studio.sh
Symlink the executable to /bin directory so that you can quickly start Android Studio using android-studio command irrespective of the current working directory.
sudo ln -sf /opt/android-studio/bin/studio.sh /bin/android-studio
Create Launcher Icon
Manual:
To have Android Studio launcher icon in GNOME or Dash just like in the Start menu of Windows. Create a .desktop file under /usr/share/applications directory.
sudo nano /usr/share/applications/android-studio.desktop
Use the following information in the above file.
[Desktop Entry]
Version=1.0
Type=Application
Name=Android Studio 3.1.3
Comment=Android Studio
Exec=bash -i "/opt/android-studio/bin/studio.sh" %f
Icon=/opt/android-studio/bin/studio.png
Categories=Development;IDE;
Terminal=false
StartupNotify=true
StartupWMClass=jetbrains-android-studio
Name[en_GB]=android-studio.desktop
Automatic: (After you start Android Studio)
To make Android Studio available in your list of applications, select Tools >> Create Desktop Entry from the Android Studio menu bar.
Access Android Studio
You can start Android Studio by going to Activities >> Search for Android Studio.

OR
android-studio
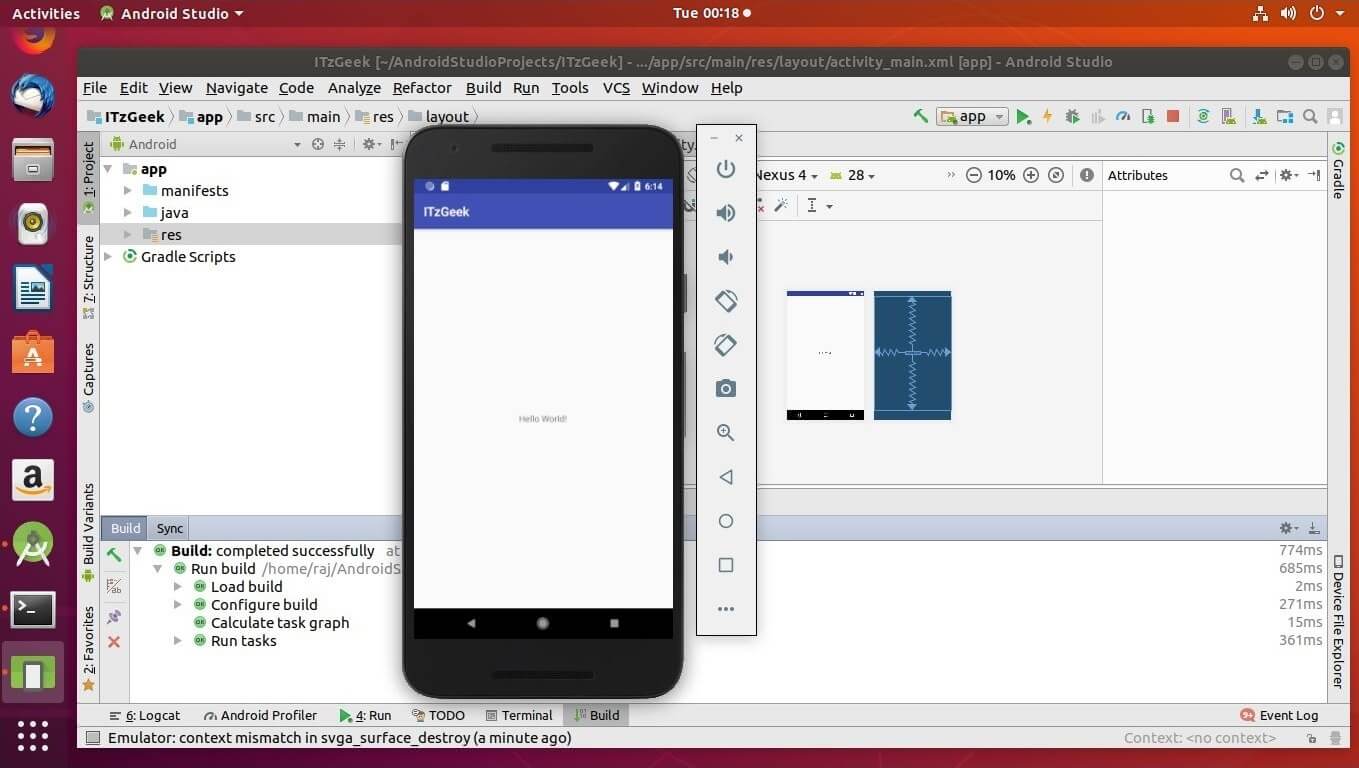
Android Studio running on Ubuntu 18.04:
That’s All. You have successfully installed Android Studio on Ubuntu 18.04.