Node.js is a free and open-source, cross-platform JavaScript runtime environment for developing web applications and network tools, built on Google’s V8 JavaScript engine.
Node.js lets you use JavaScript for server-side scripting—running scripts server-side to create dynamic web page contents before the page is sent to the user’s web browser. It has an event-driven architecture capable of asynchronous I/O, which makes Node.js fast and scalable.
Ryan Dahl developed Node.js in 2009.
Here, we will see how to install Node.js on Ubuntu 18.04 / Ubuntu 16.04 & Linux Mint 19.
Node.js Versions
There are two versions of Node.js available for the users.
- v12.x (Long Term Supported)
- v14.x (Current Latest Version)
Prerequisites
Update the repository index.
sudo apt update
Install build tools if you plan to compile and install native addons from npm.
sudo apt install -y build-essential curl
Add Node.js PPA
NodeSource maintains Node.js binary packages for Ubuntu. You can go for any one of the Node.js version to install it on your machine.
Node.js 12.x (LTS)
curl -sL https://deb.nodesource.com/setup_12.x | sudo -E bash -
Node.js 13.x (Current Version)
curl -sL https://deb.nodesource.com/setup_13.x | sudo -E bash -
Install Node.js
Once after adding the PPA on your machine, install the Node.js by using the following command. NPM (Node Package Manager) will also be installed along with Node.js.
sudo apt install -y nodejs
Check the version of Node.js and NPM using the following command. The following output is for your information only.
nodejs -v
Output:
v12.16.1
NPM version.
npm -v
Output:
6.13.4
Install Yarm Package Manager
To install the Yarn package manager, run:
curl -sL https://dl.yarnpkg.com/debian/pubkey.gpg | sudo apt-key add -

echo "deb https://dl.yarnpkg.com/debian/ stable main" | sudo tee /etc/apt/sources.list.d/yarn.list

sudo apt update

sudo apt install -y yarn
Create Test Web Server
To test the Node.js installation, we will create a test web server and run with Node.js.
Let’s create a file called web_server.js.
nano web_server.js
Place the below content into the web_server.js file.
const http = require('http');
const port = 8080;
const server = http.createServer((req, res) => {
   res.writeHead(200, {'Content-Type': 'text/plain'});
   res.end('Hello World\n');
});
server.listen(port, () => {
  console.log(`Node.js server listening on port ${port}`);
});
Now, start the web server with Node.js.
nodejs --inspect web_server.js
You should get the following message on your terminal.
Debugger listening on ws://127.0.0.1:9229/9a55cde2-814e-4b61-baef-4878d46dca63
For help see https://nodejs.org/en/docs/inspector
Node.js server listening on port 8080
This message confirms the web server has been started and listening on port 8080.
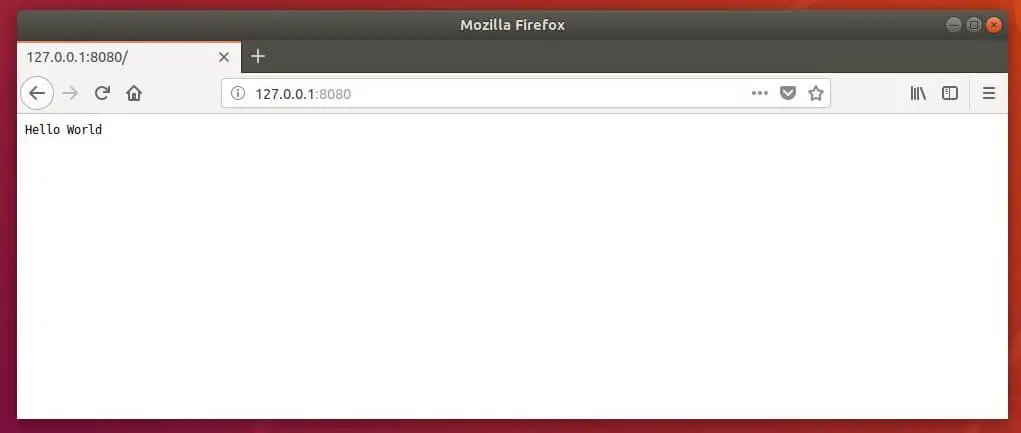
Verify Node.js Installation
Open a browser and go to the below address.
You should get the web page like below.
Conclusion
That’s All. You have successfully installed Node.js on Ubuntu 18.04 / Ubuntu 16.04 & Linux Mint 19.