Apache Subversion, also known as SVN, an open-source version control system that is used to keep track of source file and documents.
Whenever you add, delete or change a file or folder that you control with subversion, you commit these differences to the subversion repository, which creates a new revision in the subversion repository reflecting these changes.
At any time, you can go back, view and get the contents of previous revisions.
This post helps you install Apache SVN on Ubuntu 18.04.
Switch to the root user.
su -
OR
sudo su -
Install web server
let us first update the repository index.
apt update
Here, we will install Apache server for accessing SVN server using HTTP URLs.
apt install -y apache2 apache2-utils
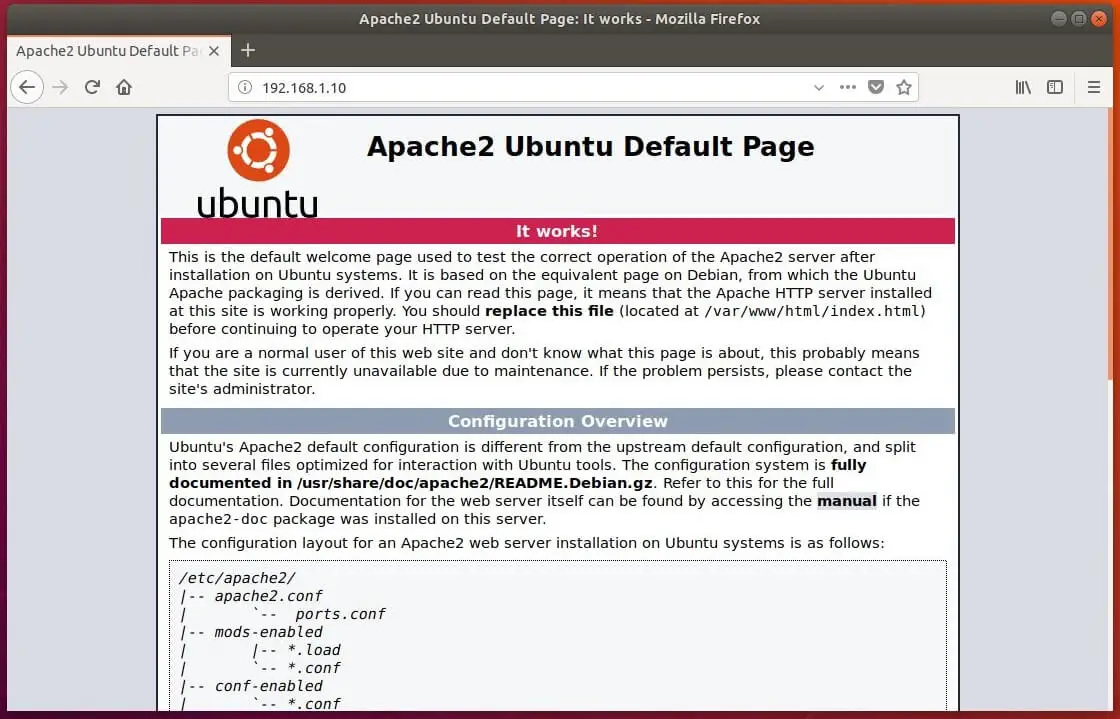
Verify the Apache service by visiting below URL.
You should get the Apache2’s default page.
Install Apache Subversion
Once the Apache web server is installed, you can go ahead and install Apache subversion.
apt -y install subversion subversion-tools libapache2-mod-svn
Configure Apache Subversion
Now, create a repository as per your requirements. Here, I am creating /opt/svn as the base and will create a “testrepo” repository in it.
mkdir /opt/svn
Create the repository called “testrepo”.
svnadmin create /opt/svn/testrepo
Change the permission of the repository so that Apache can read and write data onto it.
chown -R www-data:www-data /opt/svn/testrepo/
Configure a virtual host in Apache for SVN.
nano /etc/apache2/mods-enabled/dav_svn.conf
Place the following content.
<Location /svn>
     DAV svn
     SVNParentPath /opt/svn
     AuthType Basic
     AuthName "Subversion Repository"
     AuthUserFile /etc/apache2/dav_svn.passwd
     Require valid-user
</Location>
Create a password file for the user. Replace raj with your username.
htpasswd -cm /etc/apache2/dav_svn.passwd raj
Restart the apache server.
systemctl restart apache2
Test Apache Subversion
Access the Apache SVN using a browser.
Authenticate yourself with the username and password.

Upon successful login, you will get the page like below.

Create a directory called “checkout”.
mkdir checkout
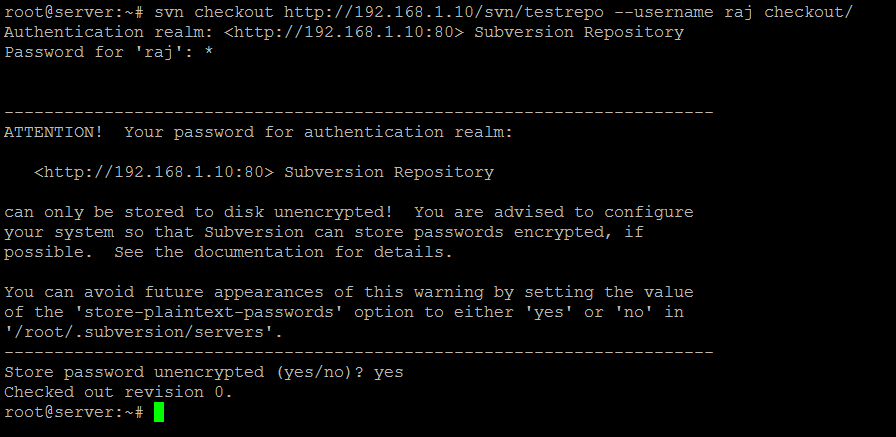
Check out the files contained within the directory to the testing repository. Replace raj with your username.
svn checkout https://192.168.1.10/svn/testrepo --username raj checkout/
The output will be like below.
Authentication realm: <https://192.168.1.10:80> Subversion Repository
Password for 'raj': **** <-- Enter Password


-----------------------------------------------------------------------
ATTENTION!  Your password for authentication realm:

   <https://192.168.1.10:80> Subversion Repository

can only be stored to disk unencrypted!  You are advised to configure
your system so that Subversion can store passwords encrypted, if
possible.  See the documentation for details.

You can avoid future appearances of this warning by setting the value
of the 'store-plaintext-passwords' option to either 'yes' or 'no' in
'/root/.subversion/servers'.
-----------------------------------------------------------------------
Store password unencrypted (yes/no)? yes <-- Store Password
Checked out revision 0.
Create test files for committing on the testrepo repository.
cd checkout/
touch checkout1.txt
touch checkout2.txt
Add those created files for committing.
svn add checkout1.txt checkout2.txt
Output:
A checkout1.txt
A checkout2.txt
Commit the added files. You can add messages with a flag -m.
svn commit -m 'First Revision'
Output:
Adding checkout1.txt
Adding checkout2.txt
Transmitting file data ..
Committed revision 1.
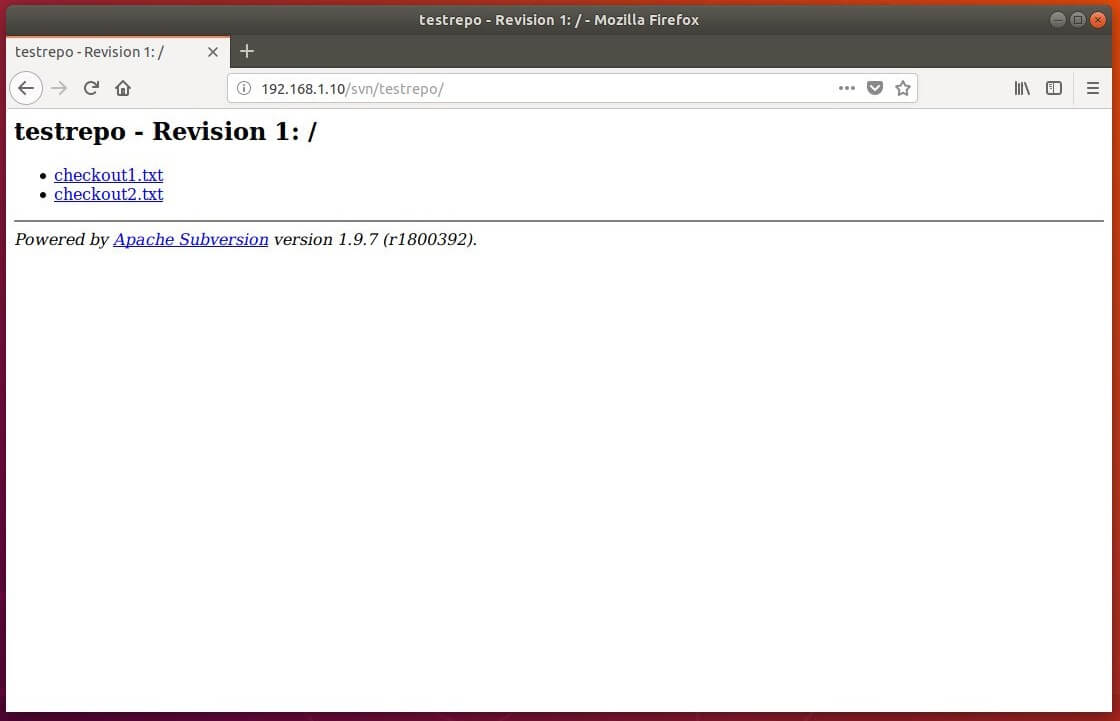
You can view the committed files in a browser.
You can use SVN clients like TortoiseSVN for windows and RapidSVN for Linux to manage revisions.
That’s All.