
phpMyaAdmin is the web based administration tool for managing the MySQL, MariaDB and Drizzle servers, it helps in performing databases activities such as creating, deleting ,querying , tables, columns, relations, indexes, users, permissions, etc. This guide will help you to install phpMyAdmin on Ubuntu 14.10.
Before installing phpMyAdmin, you can have AMP installed on the server. Here is the tutorial on Installing LAMP on Ubuntu 14.10.
Installing phpMyAdmin:
I am assuming that you have completed the previous step, Install phpMyAdmin using the following command.
raj@server:~$ sudo apt-get install libapache2-mod-auth-mysql php5-mysql phpmyadmin
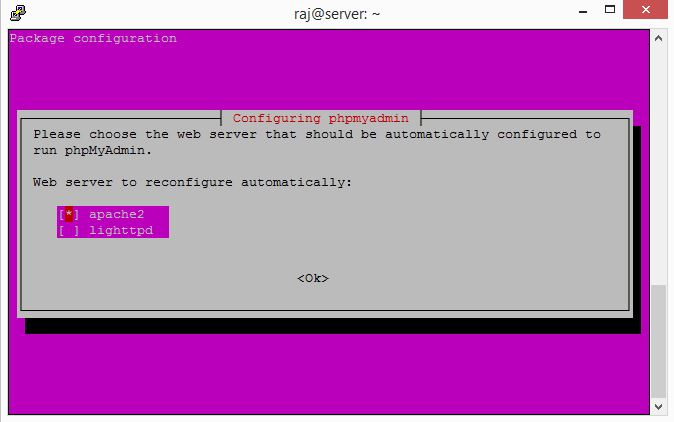
Installation will prompt you to select the web server for automatic configuration. Use space to select the web server type and then press Enter.
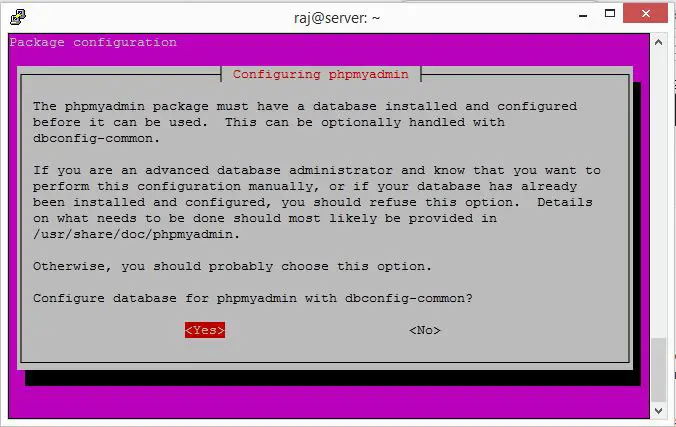
Next screen will prompt you for configuring database called db-common for phpMyAdmin. Use the tab key to select yes and Press Enter.
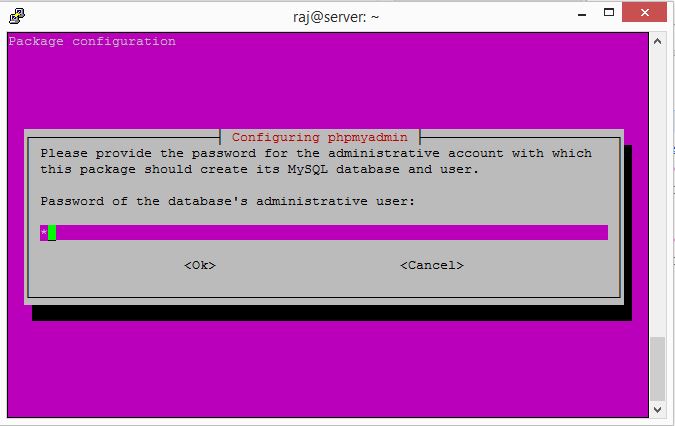
Next it will prompt you to enter the password for MySQL root user, please enter the MySQL root password.
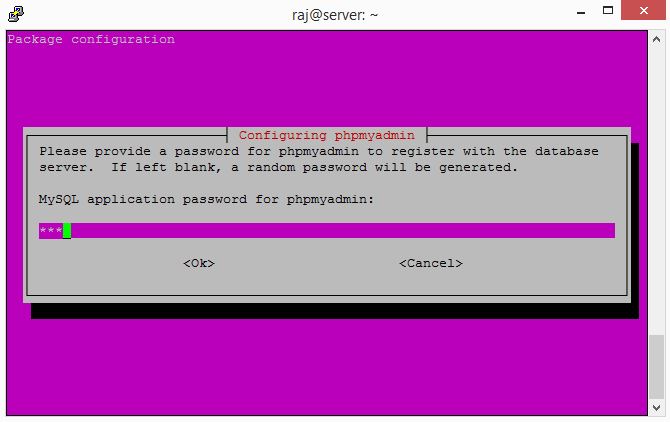
It will prompt you to type the password for MySQL application password for phpmyadmin.if you left it blank, a random password will be generated. Type the password of your wish and press Enter.
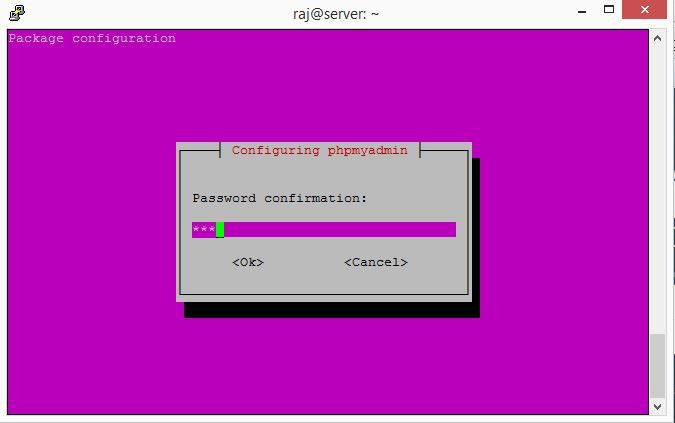
Confirm your password in the next screen.
Accessing phpMyAdmin:
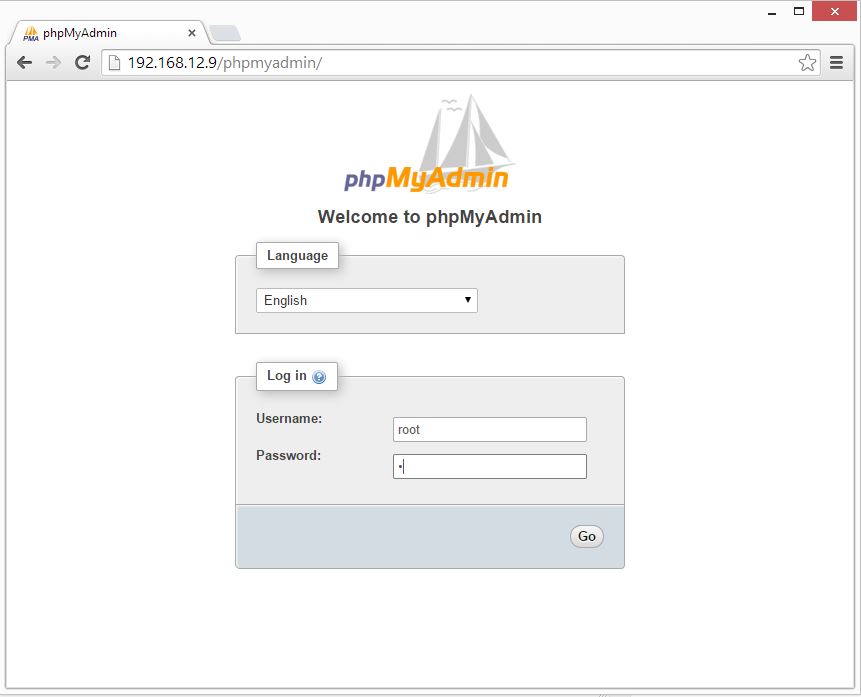
Now access the phpPgAdmin from the browser, url will be https://your-ip-address/phpMyAdmin.
Login by using root or admin user.
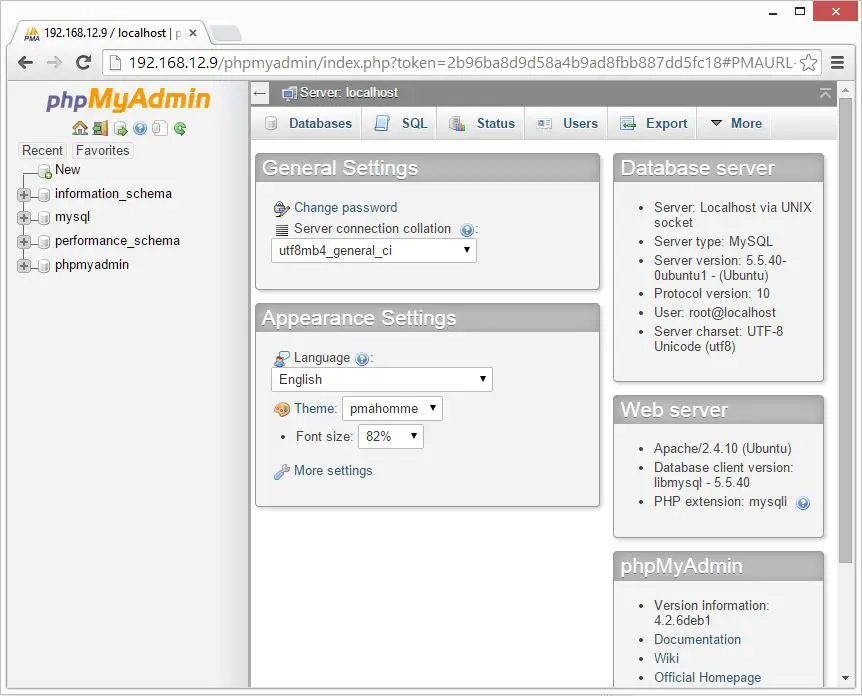
You will get the database page.
That’s All. Hope this helped you, we welcome your comments.