LAMP Stands for Linux, Apache, MySQL, and PHP. Most of the websites work with the above combination. If you think the above combination will be only on servers where the hosting is made, that is wrong you can make on your PC which has Linux.
The installation of the LAMP stack on Ubuntu is simple quiet when compared to other Linux environment.
In other Linux environment, you need to install packages separately, one by one. But in Ubuntu, you can install the stack in the single command.
Here, will install LAMP stack on Ubuntu 16.04 / Ubuntu 14.04.
Install Linux
You can find the tutorial about installing Ubuntu 16.04, here.
Install AMP Stack (Apache, MySQL, and PHP)
Update the repository cache using the following command.
sudo apt-get update
Copy and Paste the line on the terminal and hit enter.
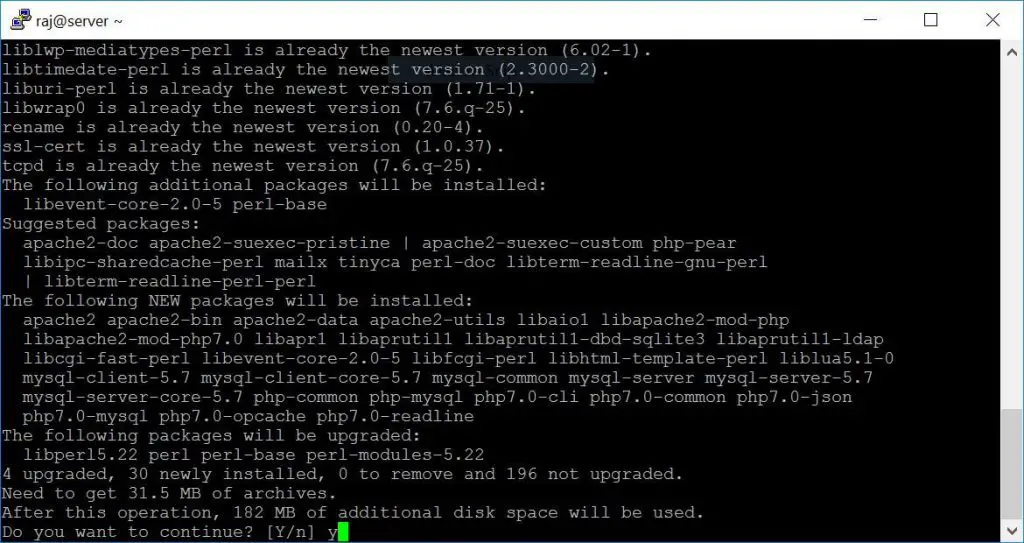
sudo apt-get install lamp-server^
The above command will search the required package for LAMP server and will start to install those packages. You should see messages something like below.
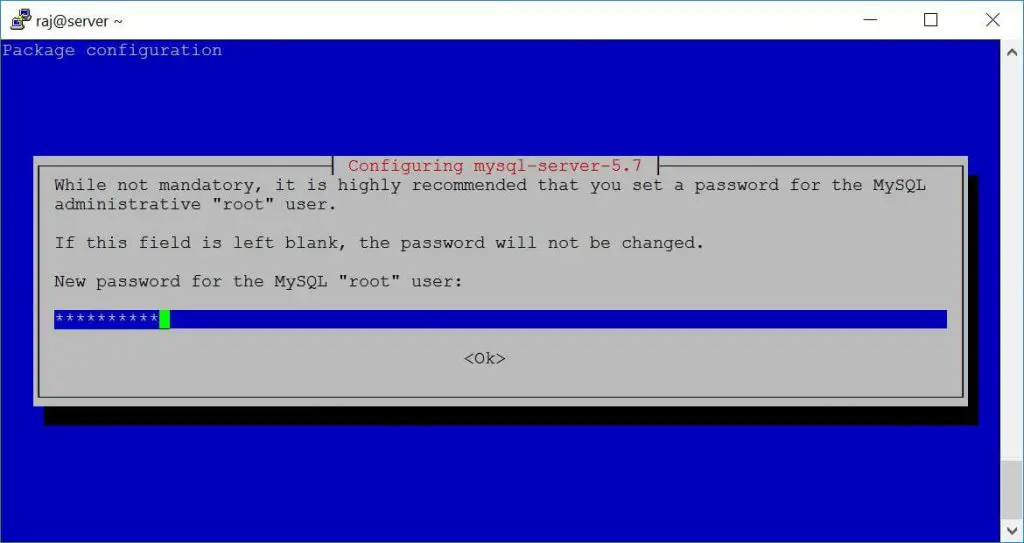
After the installation of all packages, it will prompt you to configure the MySQL root password. Type new root password for MySQL in the Next Screen.
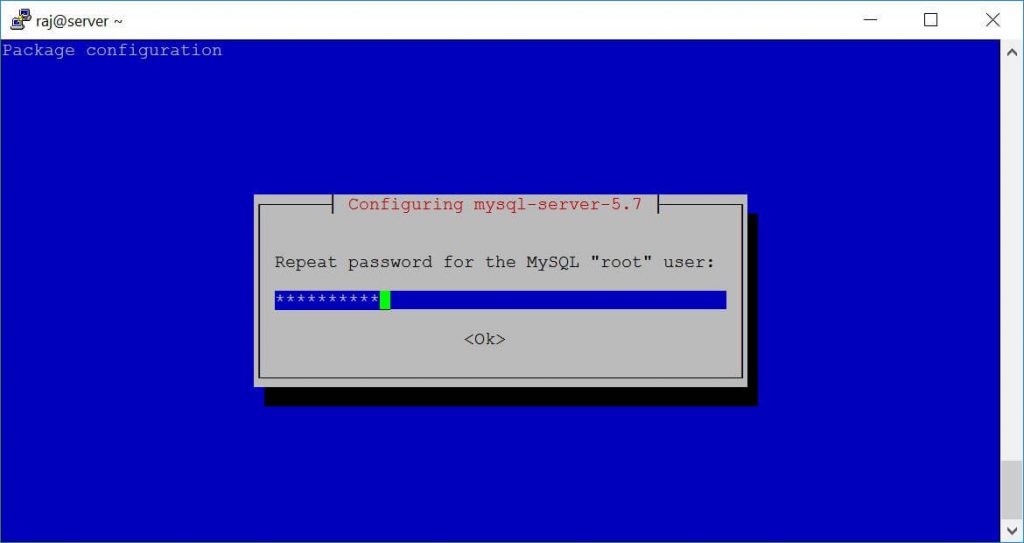
Repeat the root password.
After that, it will continue to install the other packages that are required for AMP stack.
Now, check the status of the Apache and MySQL service.
Apache:
sudo service apache2 status
Output:
● apache2.service - LSB: Apache2 web server
   Loaded: loaded (/etc/init.d/apache2; bad; vendor preset: enabled)
  Drop-In: /lib/systemd/system/apache2.service.d
           └─apache2-systemd.conf
   Active: active (running) since Tue 2018-02-13 13:58:21 IST; 23min ago
     Docs: man:systemd-sysv-generator(8)
  Process: 5823 ExecStop=/etc/init.d/apache2 stop (code=exited, status=0/SUCCESS)
  Process: 5845 ExecStart=/etc/init.d/apache2 start (code=exited, status=0/SUCCESS)
   CGroup: /system.slice/apache2.service
           ├─5862 /usr/sbin/apache2 -k start
           ├─5865 /usr/sbin/apache2 -k start
           ├─5866 /usr/sbin/apache2 -k start
           ├─5867 /usr/sbin/apache2 -k start
           ├─5868 /usr/sbin/apache2 -k start
           ├─5869 /usr/sbin/apache2 -k start
           └─5889 /usr/sbin/apache2 -k start

Feb 13 13:58:20 server.itzgeek.local systemd[1]: Stopped LSB: Apache2 web server.
Feb 13 13:58:20 server.itzgeek.local systemd[1]: Starting LSB: Apache2 web server...
Feb 13 13:58:20 server.itzgeek.local apache2[5845]:  * Starting Apache httpd web server apache2
Feb 13 13:58:21 server.itzgeek.local apache2[5845]:  *
Feb 13 13:58:21 server.itzgeek.local systemd[1]: Started LSB: Apache2 web server.
MySQL:
sudo service mysql status
Output:
● mysql.service - MySQL Community Server
   Loaded: loaded (/lib/systemd/system/mysql.service; enabled; vendor preset: enabled)
   Active: active (running) since Tue 2018-02-13 14:17:20 IST; 4min 11s ago
  Process: 6184 ExecStartPost=/usr/share/mysql/mysql-systemd-start post (code=exited, status=0/
  Process: 6175 ExecStartPre=/usr/share/mysql/mysql-systemd-start pre (code=exited, status=0/SU
 Main PID: 6183 (mysqld)
   CGroup: /system.slice/mysql.service
           └─6183 /usr/sbin/mysqld

Feb 13 14:17:19 server.itzgeek.local systemd[1]: Stopped MySQL Community Server.
Feb 13 14:17:19 server.itzgeek.local systemd[1]: Starting MySQL Community Server...
Feb 13 14:17:20 server.itzgeek.local systemd[1]: Started MySQL Community Server.
Test Apache
To make sure everything installed correctly we will now test Apache by accessing it over the web browser.
1. Before testing Apache, restart the Apache server.
sudo service apache2 restart
2. Open up any web browser and then enter the following into the web address:
OR
You will get the following page, and this confirms that the Apache server is working fine.
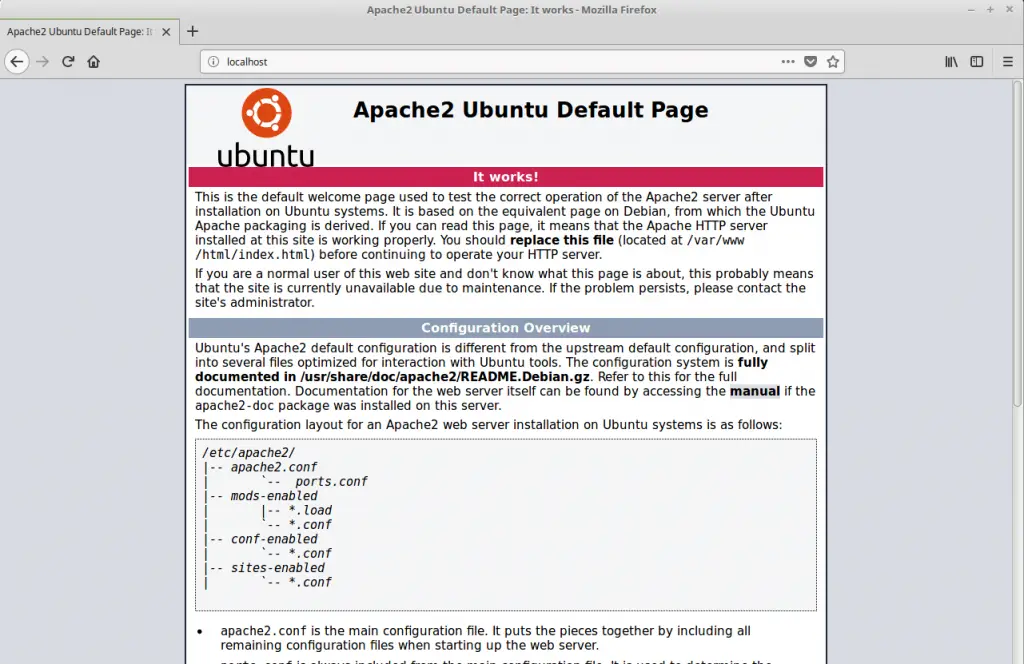
Apache’s default document root is /var/www/html on Ubuntu, the configuration file is /etc/apache2/apache2.conf. Additional configuration files are stored in the /etc/apache2/*-available directory
Test PHP
For testing the PHP, Place one PHP file on to the default directory of the Apache.
Step 1. In the terminal copy/paste the following line:
sudo nano /var/www/html/phpinfo.php
This will open up a file called phpinfo.php.
Step 2. Copy/Paste this line into the phpinfo file:
<?php phpinfo(); ?>
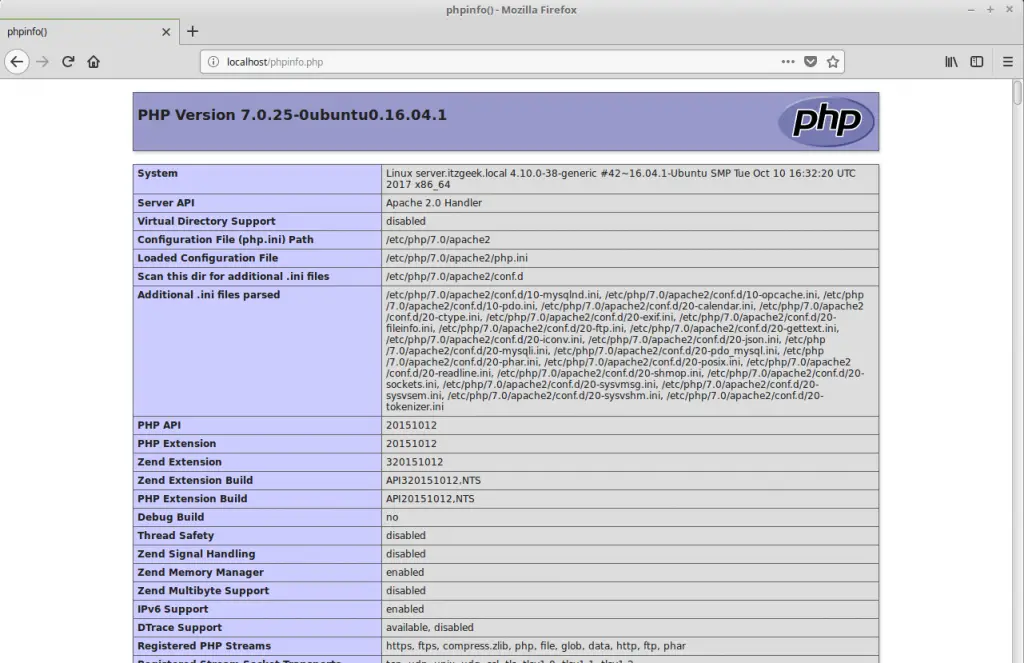
Step 3. Now open your web browser and type the following into the web address:
OR
The page will look like below.
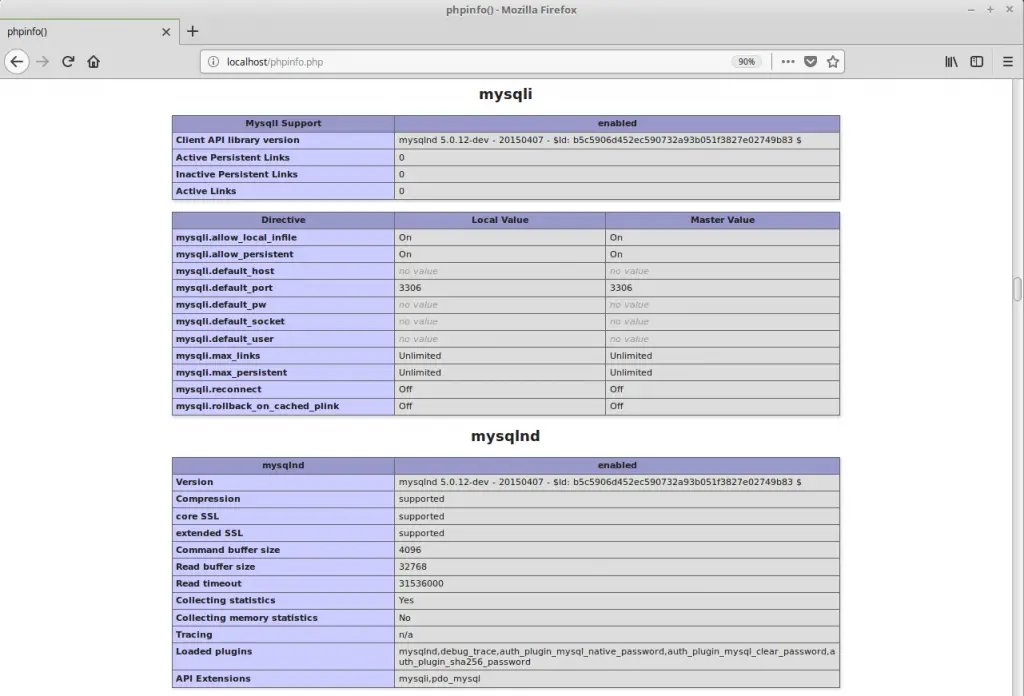
If you scroll the page down, you would see the PHP extensions information including MySQL.
That’s all.