Uchiwa is an open source dashboard for Sensu core; it provides you a simple yet customizable dashboard for Sensu Core monitoring infrastructure.
Assuming that you have already installed Sensu core in your infrastructure.
READ: Install Sensu on Ubuntu 16.04 / Debian 8
Here, we will install Uchiwa dashboard on Ubuntu 16.04 / Debian 8
Install Uchiwa Dashboard:
Before installing Uchiwa, add a Uchiwa repository to your machine.
echo "deb https://sensu.global.ssl.fastly.net/apt sensu main" | sudo tee /etc/apt/sources.list.d/uchiwa.list
Add the public key to your system.
wget -O- https://sensu.global.ssl.fastly.net/apt/pubkey.gpg | sudo apt-key add -
Install Uchiwa using the following command.
sudo apt-get -y install uchiwa
Create the uchiwa.json file in /etc/sensu/config.d/ directory.
sudo nano /etc/sensu/uchiwa.json
Add the following lines.
{
  "sensu": [
    {
      "name": "ITzGeek DC",
      "host": "localhost",
      "port": 4567,
      "timeout": 10
    }
  ],
  "uchiwa": {
    "host": "0.0.0.0",
    "port": 3000,
    "refresh": 10
  }
}
The above lines include connection information for the uchiwa dashboard to access Sensu API. Uchiwa dashboard will bind to all interfaces on the port 3000.
ITzGeek DC is just a name to distinguish the Sensu instance from other instances (Applicable, If you have multiple instances of Sensu core).
Replace localhost with the hostname / IP address of Sensu Core server instance.
It is also possible to secure Uchiwa dashboard by allowing only authorized users to access the dashboard.
Restart the Sensu and Uchiwa services.
sudo service sensu-server restart
sudo service sensu-api restart
sudo service uchiwa restart
Enable Sensu services to start automatically.
sudo update-rc.d sensu-server defaults
sudo update-rc.d sensu-client defaults
sudo update-rc.d sensu-api defaults
sudo update-rc.d uchiwa defaults
Access Uchiwa Dashboard:
Open up your computer web browser and navigate it to the following URL.
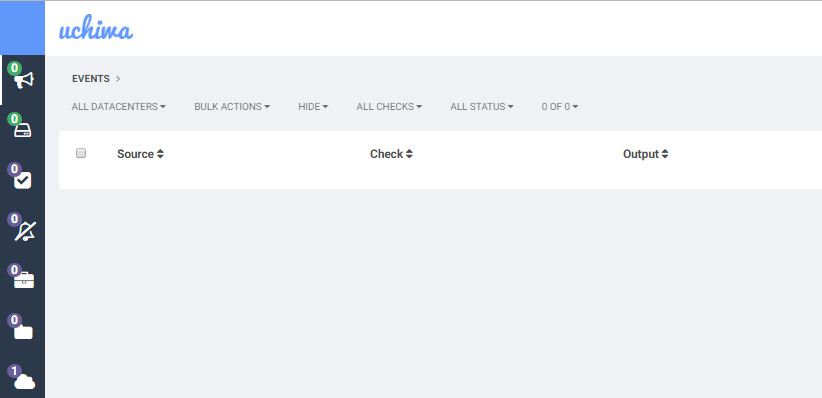
You will get the following page, an event page where all issues arise in your environment are reported.
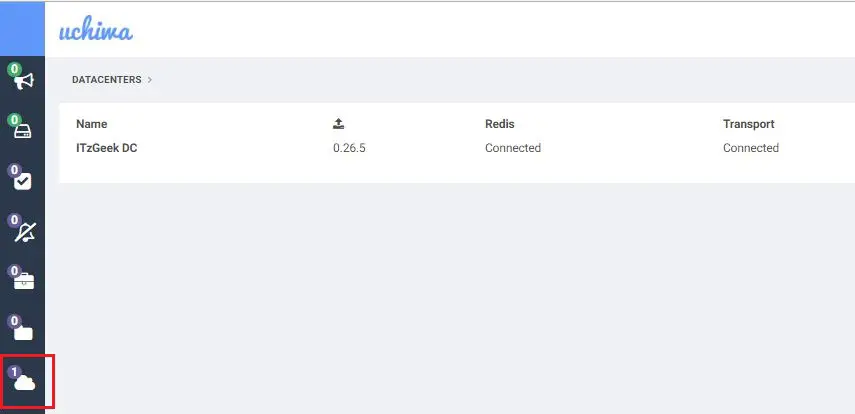
Click on data centers icon to list down the Sensu server instances.
Monitor using Uchiwa:
We will configure Sensu master server as a client to monitor itself. So, create the client.json file in /etc/sensu/config.d/ directory.
sudo nano /etc/sensu/conf.d/client.json
Add the below lines to the above file.
{
  "client": {
    "name": "sensu-server",
    "address": "127.0.0.1",
    "environment": "development",
    "subscriptions": [
      "dev",
      "ubuntu"
   ],
    "socket": {
      "bind": "127.0.0.1",
      "port": 3030
    }
  }
}
We will see what each line represents in our next article. For now, just restart the sensu-client service on Sensu server.
sudo service sensu-client restart
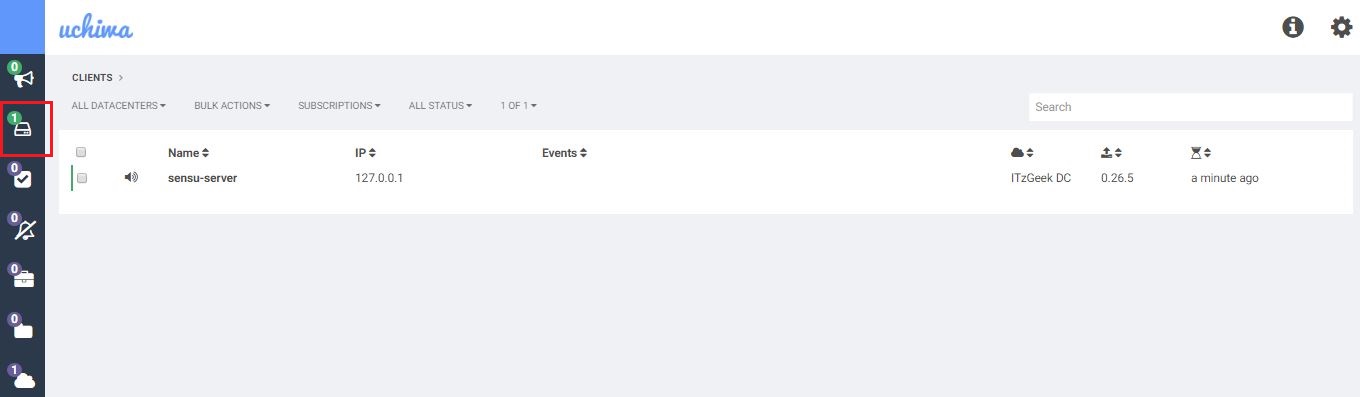
Check the status of the newly added client by going to clients page.
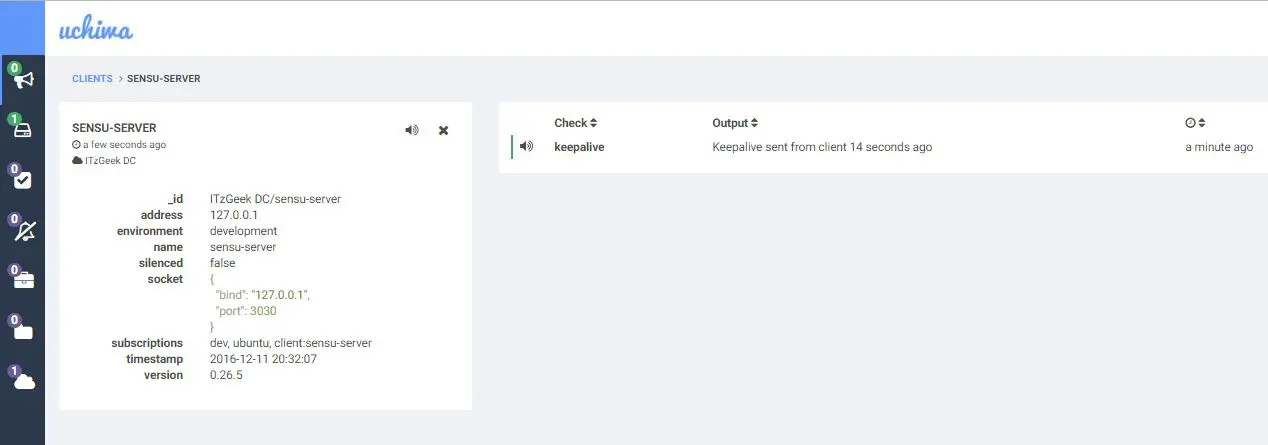
Click on the sensu-server (client machine) to get more information on checks.
In our next article, we will add a remote Linux host into Sensu core for monitoring the services.
READ: How to Add Remote Linux Host into Sensu Monitoring Tool
That’s All.