![]()
In the last tutorial, we have had created an instance using CLI; same can be done through a web interface called Horizon. It enables us to manage various OpenStack resources and services. This guide helps you to configure horizon in Ubuntu 14.04.
Horizon uses OpenStack API’s to interact with the cloud controller, you can also customize the dashboard for branding. Here we will be using apache servers as web server to serve horizon dashboard.
System requirements:
Before proceeding ahead, make sure your system meets below requirements.
OpenStack compute installation, it enables identity service for user and project management.
Dashboard should be run as identity service user with sudo privileges.
Python version should support Django, v 2.7.
Install and configure dashboard on a node that can contact the identity service.
Install the Horizon components:
Install the following OpenStack dashboard package on the controller node.
# apt-get install openstack-dashboard
Configure the Horizon:
Edit the /etc/openstack-dashboard/local_settings.py file.
# nano /etc/openstack-dashboard/local_settings.py
Modify below settings.
## Enter controller node details.

OPENSTACK_HOST = "controller"

## Allow hosts to access dashboard

ALLOWED_HOSTS = '*'

## Comment out any other storage configuration.

CACHES = {
'default': {
'BACKEND': 'django.core.cache.backends.memcached.MemcachedCache',
'LOCATION': '127.0.0.1:11211',
}
}

## Default role that will assigned when the user is created via dashboard.

OPENSTACK_KEYSTONE_DEFAULT_ROLE = "user"

## Replace TIME_ZONE with your Time zone.

TIME_ZONE = "TIME_ZONE"
Restart the apache service.
# service apache2 restart
Access the dashboard using the following url
https://controller/horizon or https://ip-add-ress/horizon
Enter the admin credential that we created during Keystone configurations.
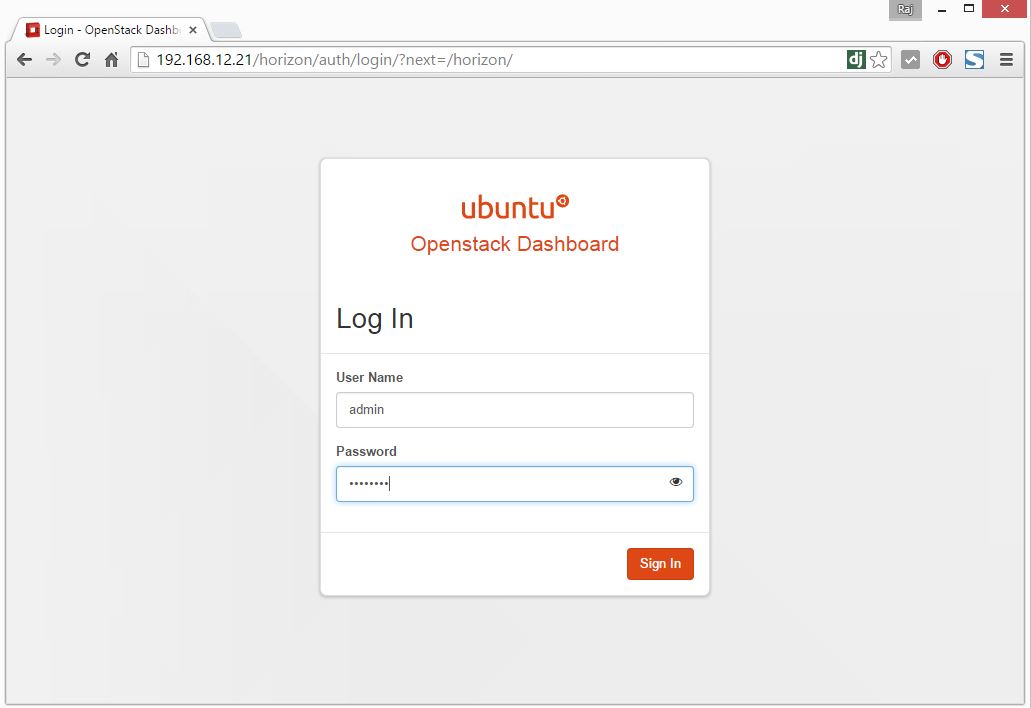
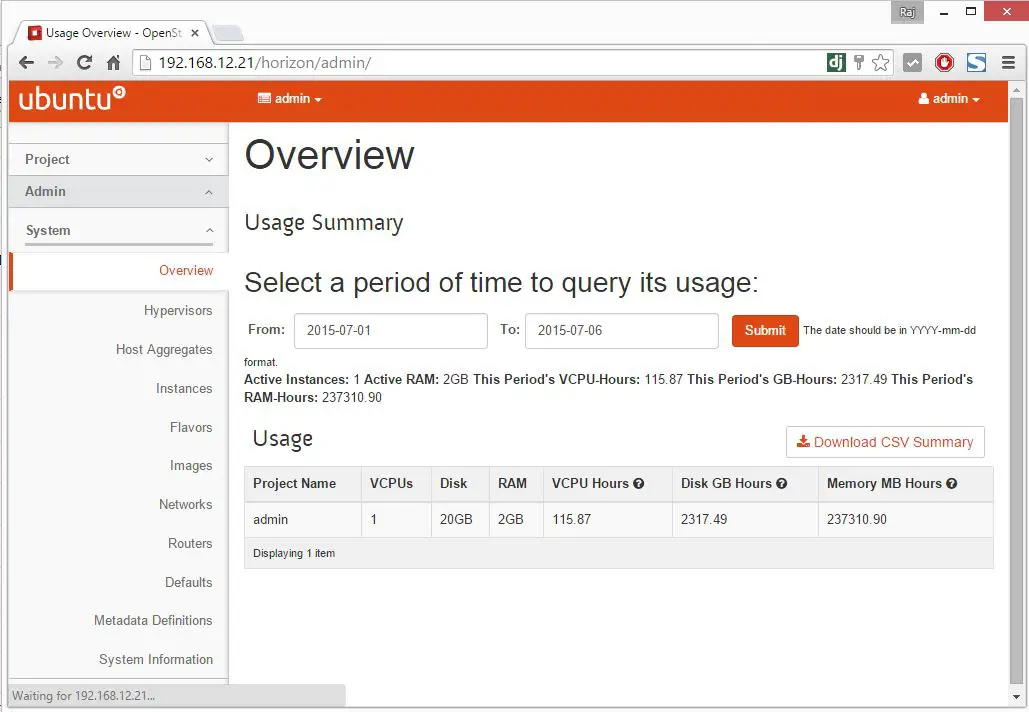
Once you logged in, you will be taken to summary page of Horizon.
Click on Instances section on the left side to list down the instances.
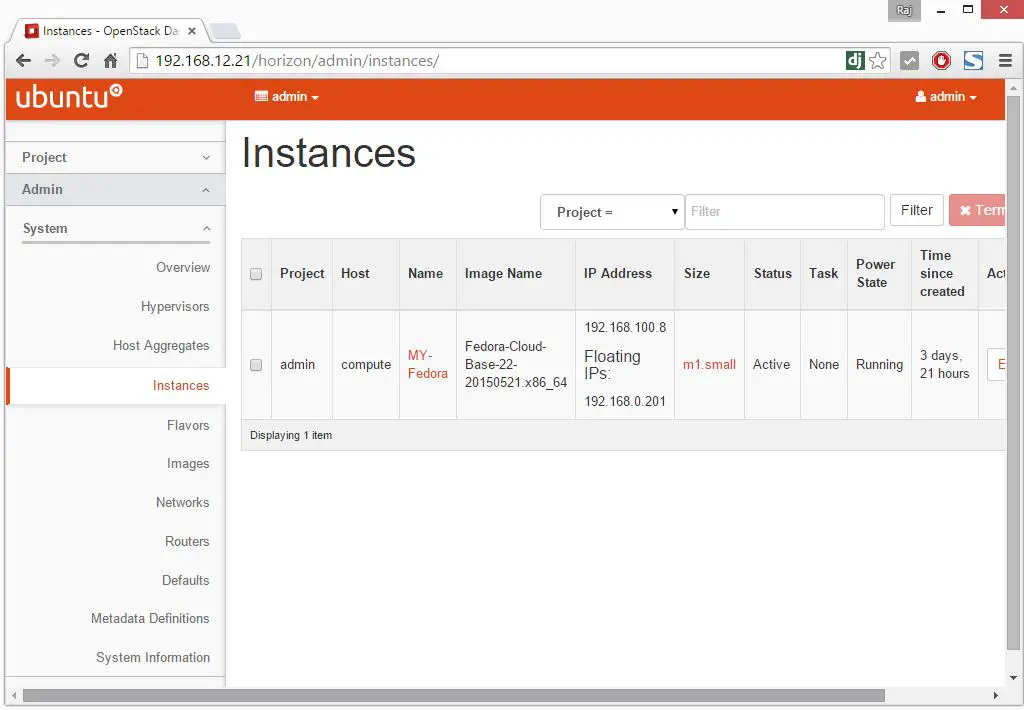
Click on the Instance name to get further information.
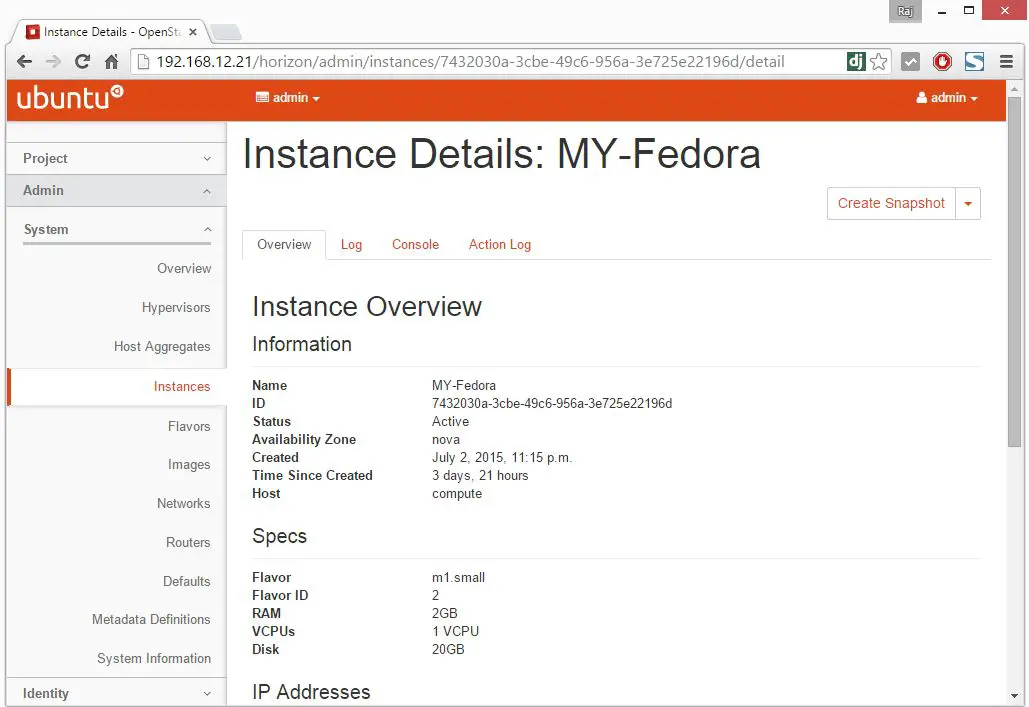
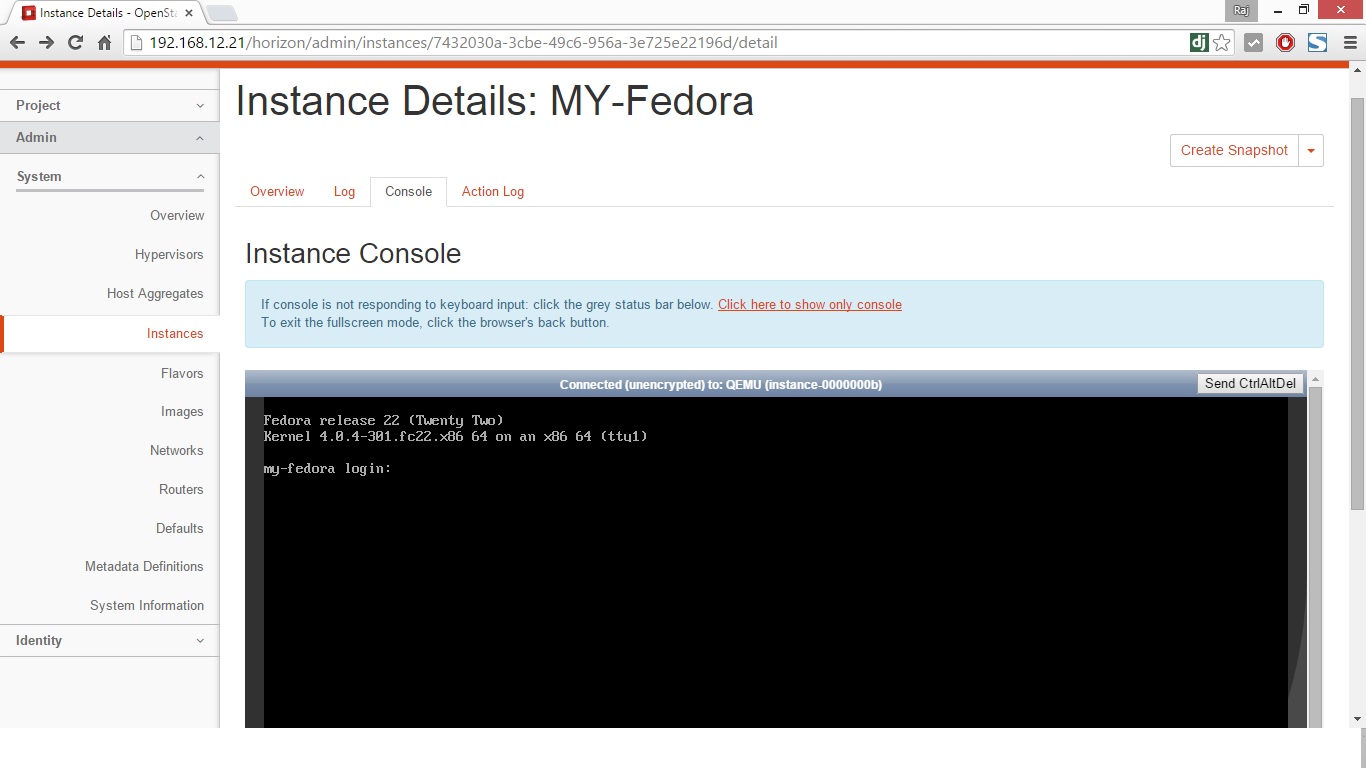
You can click on the console menu to get the remote console of the selected instance.
You may need to make a host entry of controller on client desktop from where you are accessing the dashboard.
That’s All!!!, you have successfully configured Horizon. Next is to configure Block Storage Server (Cinder).