Cacti is an open-source web-based network monitoring tool designed as the front end application for the RRDtool (Round-Robin Database tool), it allows a user to poll the services at an interval of time and resulting in the graph format.
Cacti is used to get a graph data for the CPU and network bandwidth utilization, it monitors the network traffic by polling a router or switch via SNMP.
Here, we will see how to install Cacti on CentOS 7 / RHEL 7.
Prerequisites
Setup EPEL Repository
Setup EPEL repository only CentOS 7 / RHEL 7.
rpm -Uvh https://dl.fedoraproject.org/pub/epel/epel-release-latest-7.noarch.rpm
Install SNMP
Install SNMP and RRDTool.
yum -y install net-snmp net-snmp-utils net-snmp-libs rrdtool
Install PHP & PHP Extensions
The PHP version available in base OS repository is already reached the end of life and for the Cacti installation, you may need to go for PHP v7.2+.
So, we will use the Remi repository to install PHP 7.x.
READ: How To Install PHP 7.3/7.2 On CentOS 7 / RHEL 7
yum install -y https://rpms.remirepo.net/enterprise/remi-release-7.rpm
PHP v7.3
yum install -y --enablerepo=remi-php73 php php-xml php-session php-sockets php-ldap php-gd php-gmp php-intl php-mbstring php-mysqlnd php-pdo php-process php-snmp
PHP v7.2
yum install -y --enablerepo=remi-php723 php php-xml php-session php-sockets php-ldap php-gd php-gmp php-intl php-mbstring php-mysqlnd php-pdo php-process php-snmp
Install MariaDB
The MariaDB package (v5.4) available in the base OS repository doesn’t meet Cacti’s minimum requirement as Cacti requires MariaDB v5.6+ or MariaDB v10+ for installation. So, install the latest version of MariaDB available from the official MariaDB community website.
READ: How To Install MariaDB on CentOS 7 / RHEL 7
### CentOS 7 ###

cat <<EOF>> /etc/yum.repos.d/mariadb.repo
[mariadb]
name = MariaDB
baseurl = https://yum.mariadb.org/10.4/centos7-amd64
gpgkey=https://yum.mariadb.org/RPM-GPG-KEY-MariaDB
gpgcheck=1
EOF


### RHEL 7 ###

cat <<EOF>> /etc/yum.repos.d/mariadb.repo
[mariadb]
name = MariaDB
baseurl = https://yum.mariadb.org/10.4/rhel7-amd64
gpgkey=https://yum.mariadb.org/RPM-GPG-KEY-MariaDB
gpgcheck=1
EOF
Install the MariaDB server using the following command.
yum install -y MariaDB-server MariaDB-client
Database Tuning
Cacti recommend changing MariaDB settings for better performances. Edit the MariaDB configuration file.
vi /etc/my.cnf.d/server.cnf
Add variables in the [mysqld] section.
collation-server = utf8mb4_unicode_ci
character-set-server=utf8mb4
max_heap_table_size = 64M
tmp_table_size = 64M
join_buffer_size = 64M
innodb_file_format = Barracuda
innodb_large_prefix = 1
innodb_flush_log_at_timeout = 3
innodb_buffer_pool_size = 1GB
innodb_buffer_pool_instances = 10
# Based on what type for storage you use. The below values are for SSD drives.
# Change it if Cacti reports issues during the installation
innodb_read_io_threads = 32
innodb_write_io_threads = 16
innodb_io_capacity = 5000
innodb_io_capacity_max = 10000
Start & Enable Services
Start the following services.
systemctl start httpd snmpd mariadb
Enable the services to start automatically on system boot.
systemctl enable httpd snmpd mariadb
Create Database
If you are configuring the MySQL for the first time; take a look at how to secure the MariaDB.
Create a database for Cacti installation.
mysql -u root -p
Create a database for Cacti.
create database cacti;
Grant permission to the newly created database.
GRANT ALL ON cacti.* TO cactiuser@localhost IDENTIFIED BY 'cactipassword';
flush privileges;
exit
The newly created database user (cactiuser) should have access to the mysql.time_zone_name table. To do that, import the mysql_test_data_timezone.sql to mysql database first.
mysql -u root -p mysql < /usr/share/mysql/mysql_test_data_timezone.sql
Then, log in to MySQL.
mysql -u root -p
Grant the permission to cactiuser.
GRANT SELECT ON mysql.time_zone_name TO cactiuser@localhost;
flush privileges;
exit
Install Cacti
Use the yum command on CentOS / RHEL to install Cacti package.
yum -y install cacti
Import the default database to the cacti database.
mysql cacti < /usr/share/doc/cacti-*/cacti.sql -u root -p
Edit the config file to specify the database type, name, hostname, user, and password information.
vi /usr/share/cacti/include/config.php
Make the changes accordingly.
/* make sure these values reflect your actual database/host/user/password */
$database_type = "mysql";
$database_default = "cacti";
$database_hostname = "localhost";
$database_username = "cactiuser";
$database_password = "cactipassword";
$database_port = "3306";
$database_ssl = false;
Edit the crontab file.
vi /etc/cron.d/cacti
Uncomment the following entry to poll every five min.
*/5 * * * * apache /usr/bin/php /usr/share/cacti/poller.php > /dev/null 2>&1
Set the timezone by editing /etc/php.ini file.
vi /etc/php.ini
Update the timezone.
date.timezone = US/Central
memory_limit = 512M
max_execution_time = 60
Edit the Apache configuration file to perform the remote installation.
vi /etc/httpd/conf.d/cacti.conf
Modify the first directory stanza, from Require host localhost.
Alias /cacti /usr/share/cacti
<Directory /usr/share/cacti/>
            <IfModule mod_authz_core.c>
                         # httpd 2.4
                         Require host localhost
            </IfModule>
            <IfModule !mod_authz_core.c>
                         # httpd 2.2
                         Order deny,allow
                         Deny from all
                         Allow from localhost
            </IfModule>
</Directory>
To Require all granted.
Alias /cacti /usr/share/cacti
<Directory /usr/share/cacti/>
            <IfModule mod_authz_core.c>
                         # httpd 2.4
                         Require all granted
            </IfModule>
            <IfModule !mod_authz_core.c>
                         # httpd 2.2
                         Order deny,allow
                         Deny from all
                         Allow from localhost
            </IfModule>
</Directory>
Restart the services.
systemctl restart httpd
Firewall
Configure the firewall to allow HTTP service.
firewall-cmd --permanent --add-service=http

firewall-cmd --reload
SELinux
Set the SELinux context for Cacti logs.
yum install -y policycoreutils-python

semanage fcontext -a -t httpd_sys_rw_content_t "/var/log/cacti(/.*)?"

restorecon -Rv /var/log/cacti/
setenforce 0
Setup Cacti
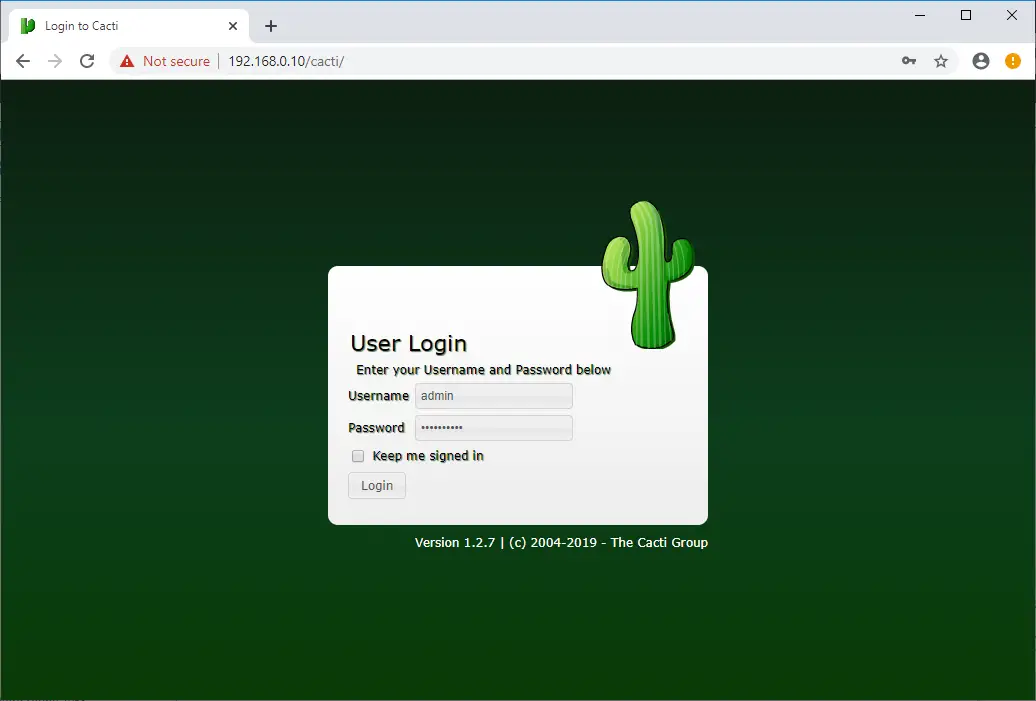
Visit the following URL to start the installation of cacti.
Login to Cacti to set up Cacti installation.
Username: admin
Password: admin
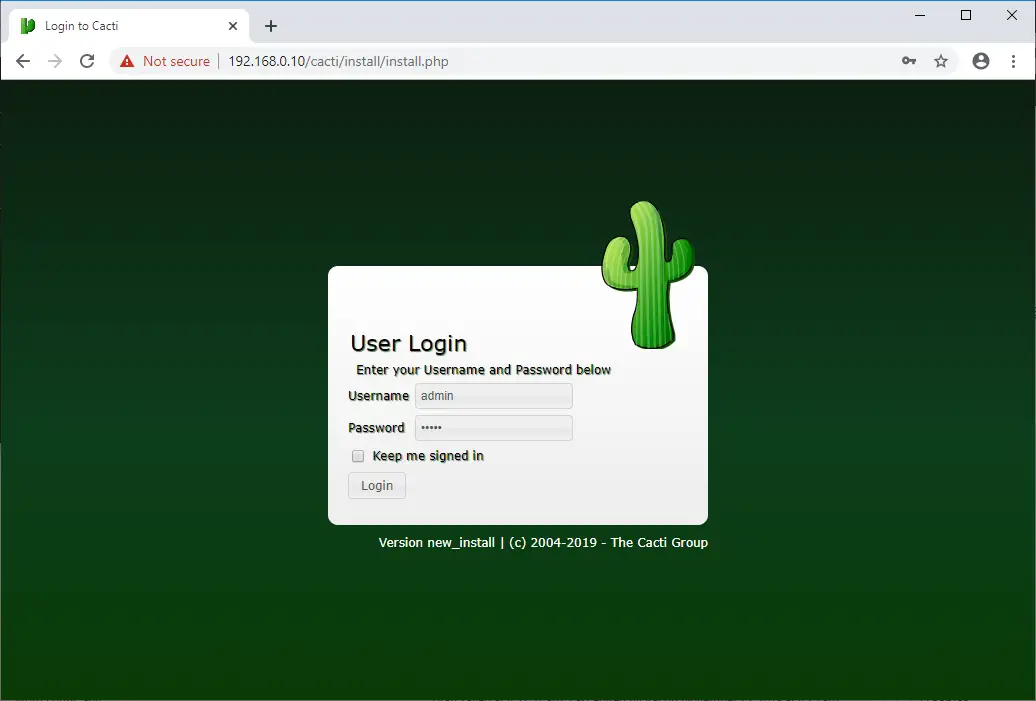
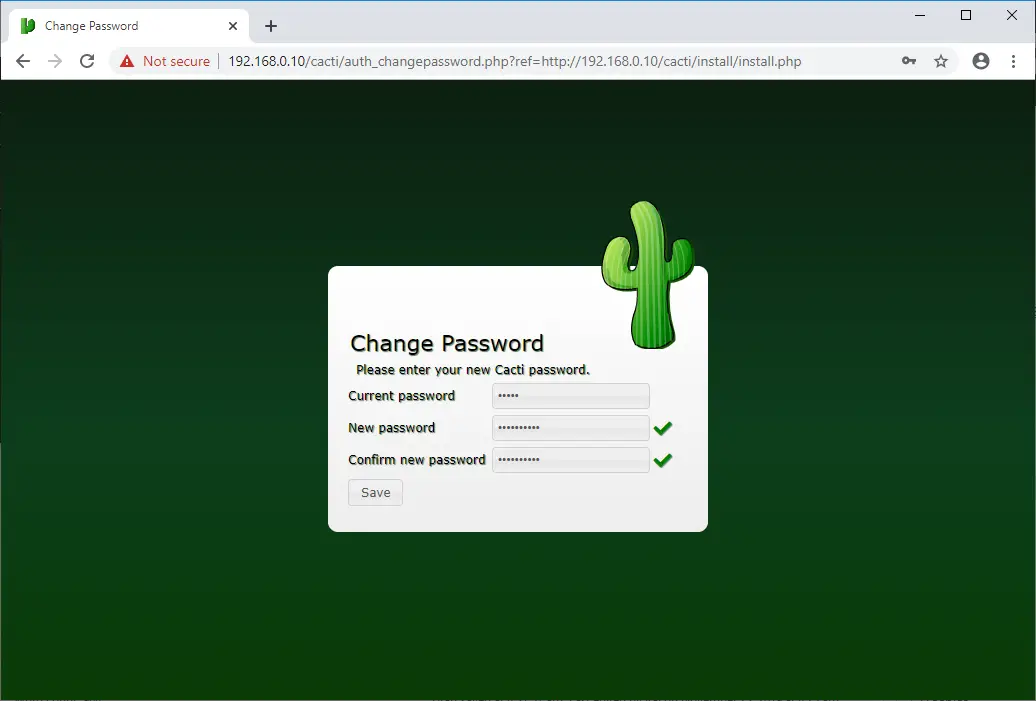
You must change the password of the Cacti admin user before you setup Cacti.
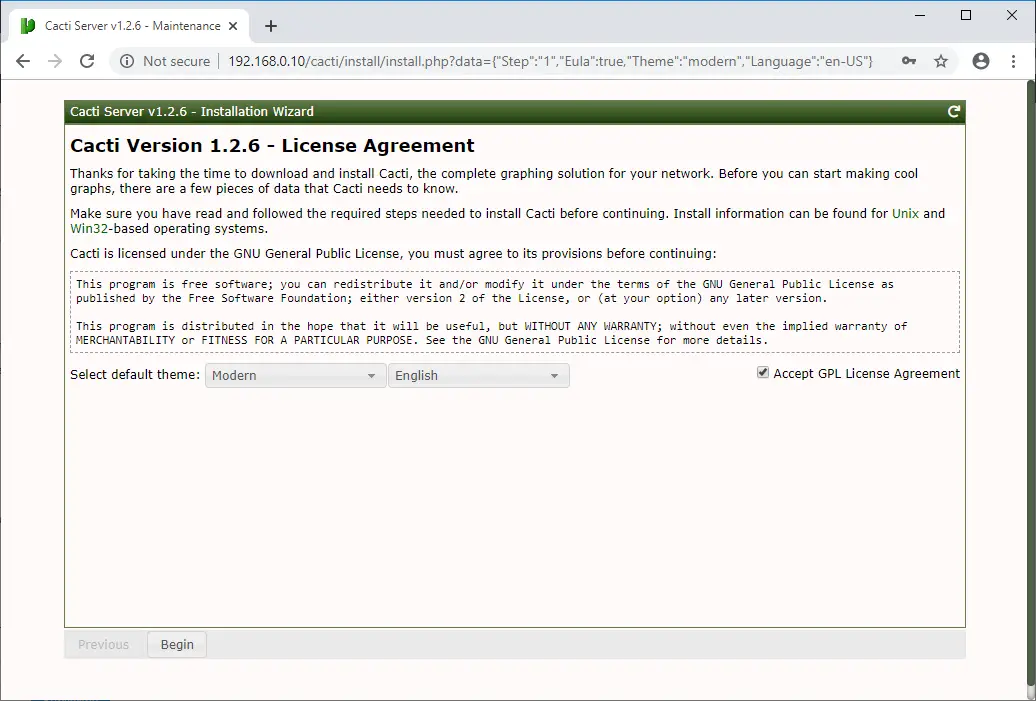
Accept the License Agreement on this page and then click on Next to continue.
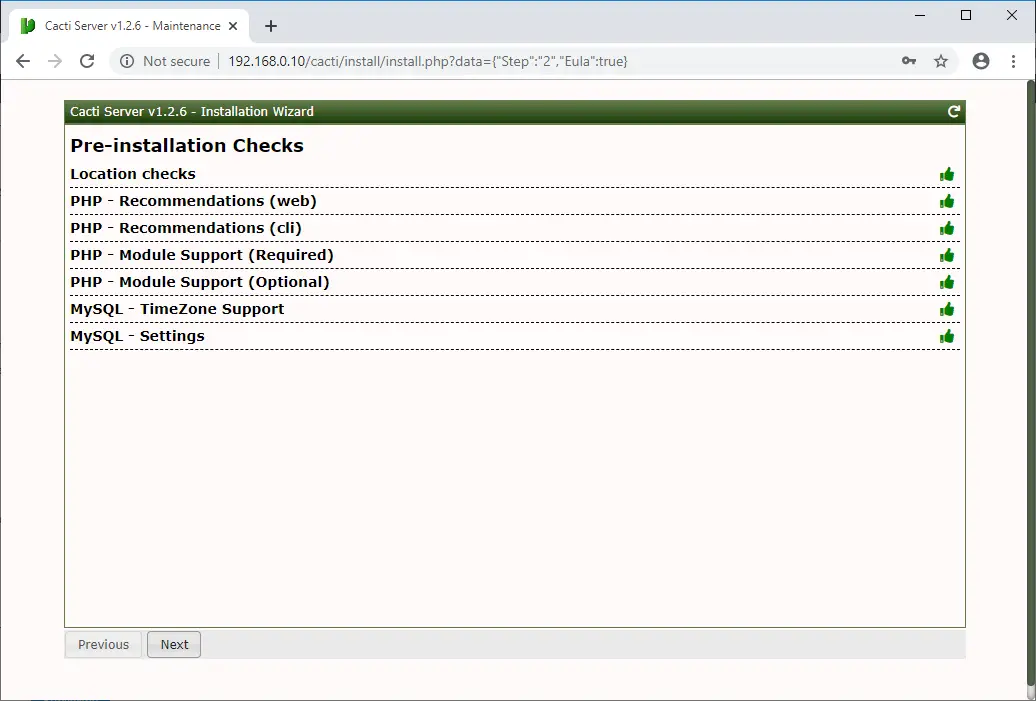
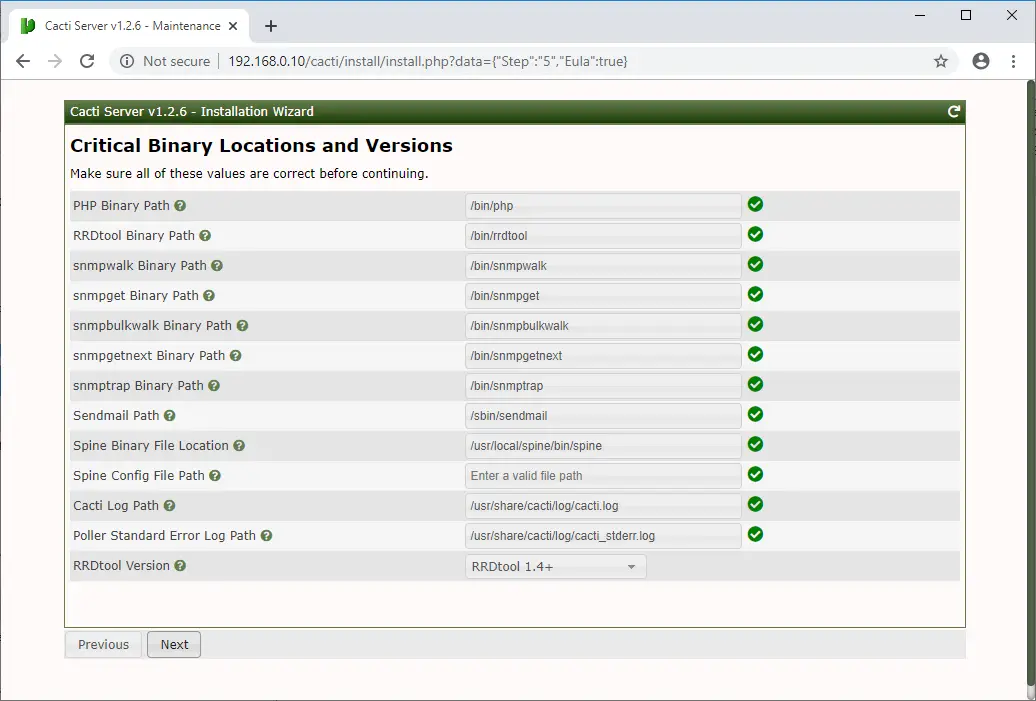
Cacti perform pre-installation checks for Cacti installation. You need to fix the problems if the installation wizard reports.
Move to the next step by clicking the Next button located at the right bottom of the page.
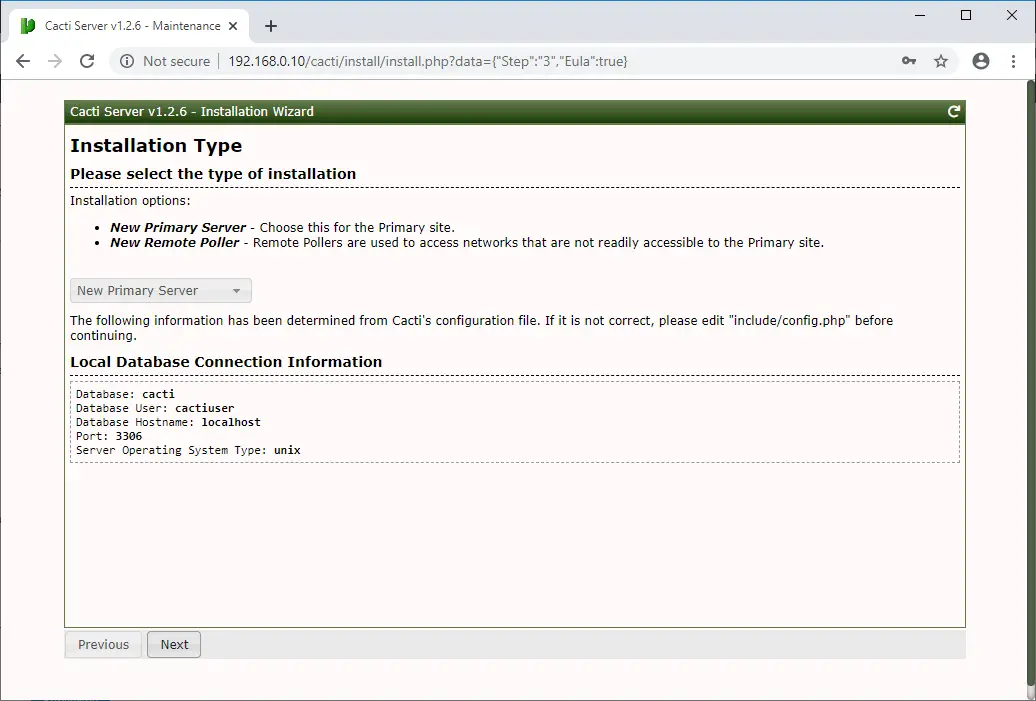
Select New Primary Server or the new installation and then click Next.
This step checks and reports for permission problems you may have in the Cacti installation directory.
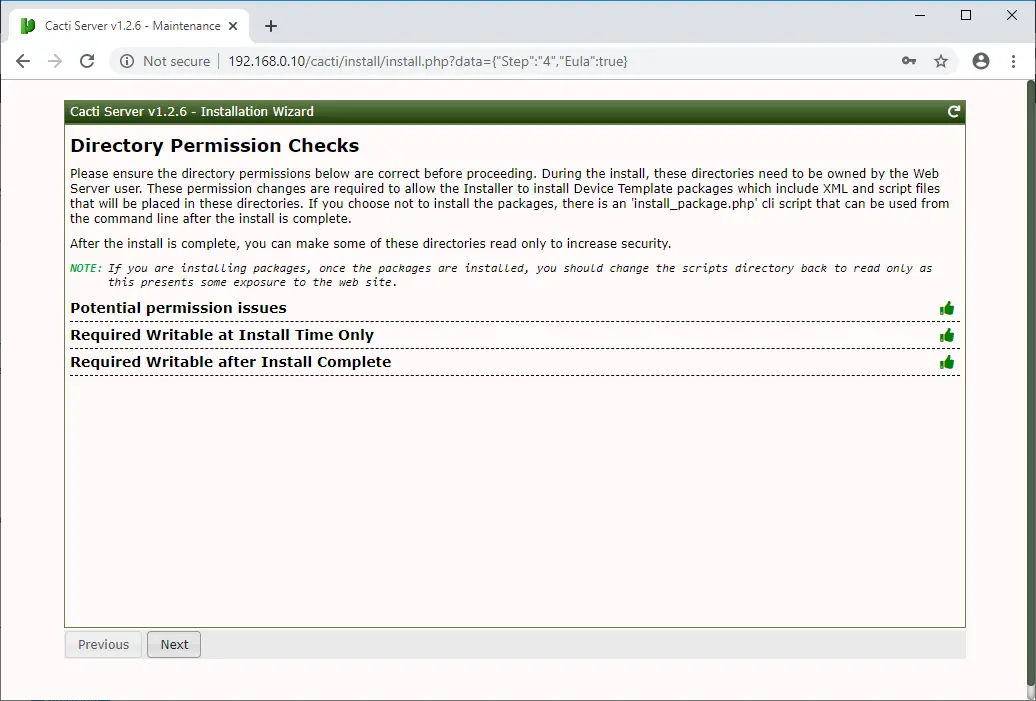
It will show you if there is any package is missing, which is mandatory for the cacti.
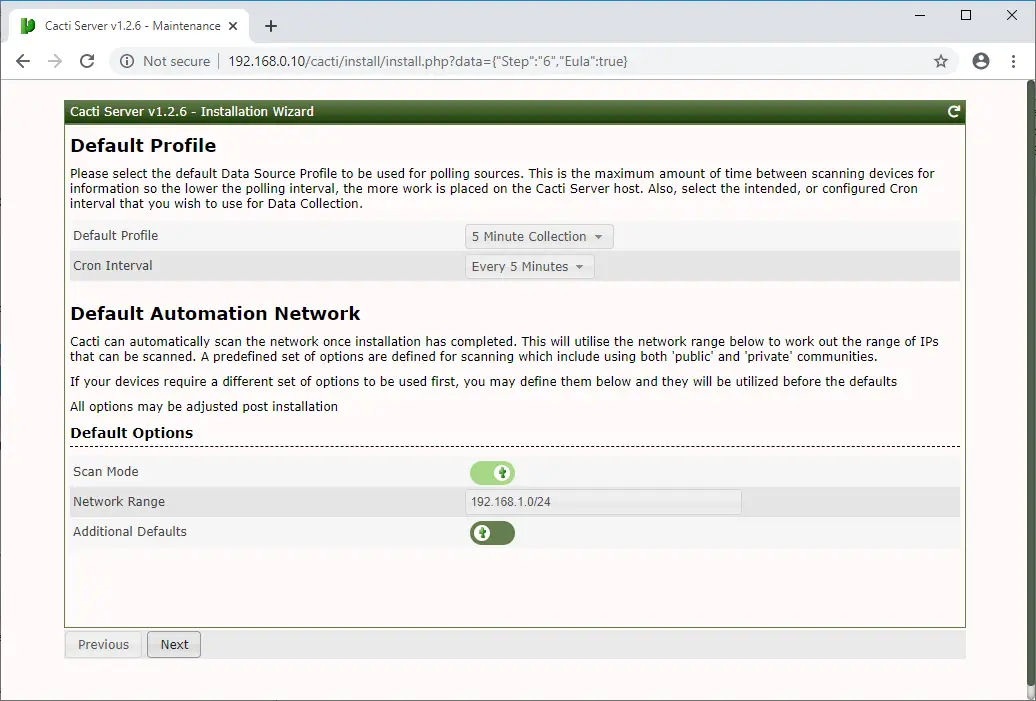
Click Next on the default profile page as we already configured cron to poll every five minutes.
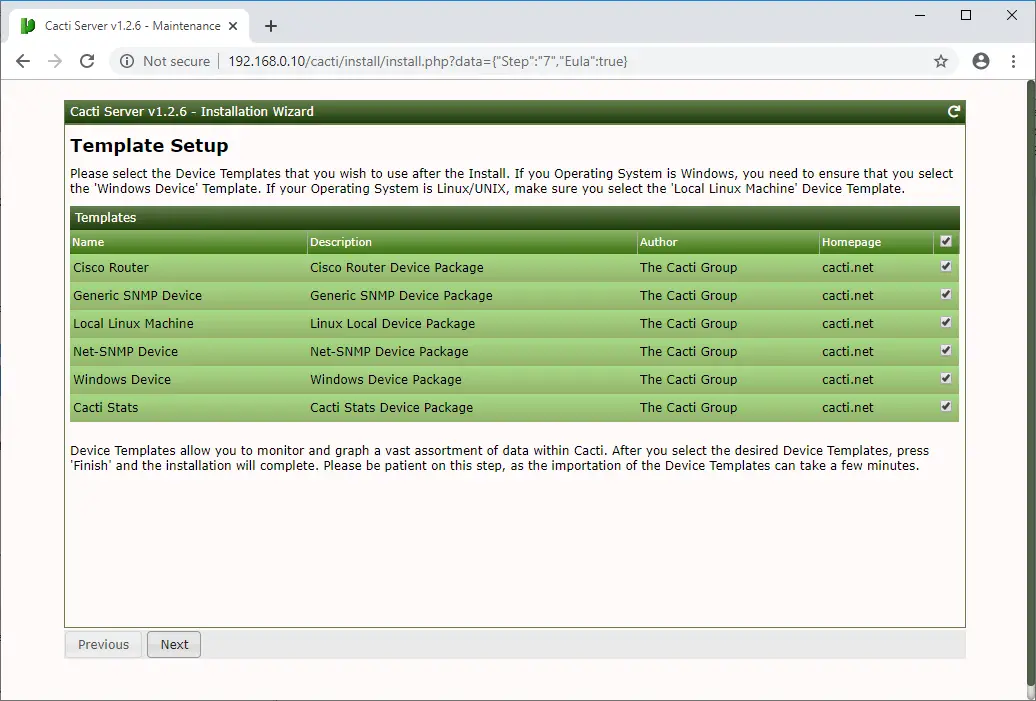
Select all templates and click Finish to complete the Cacti installation.
Click Next on the final test summary page.

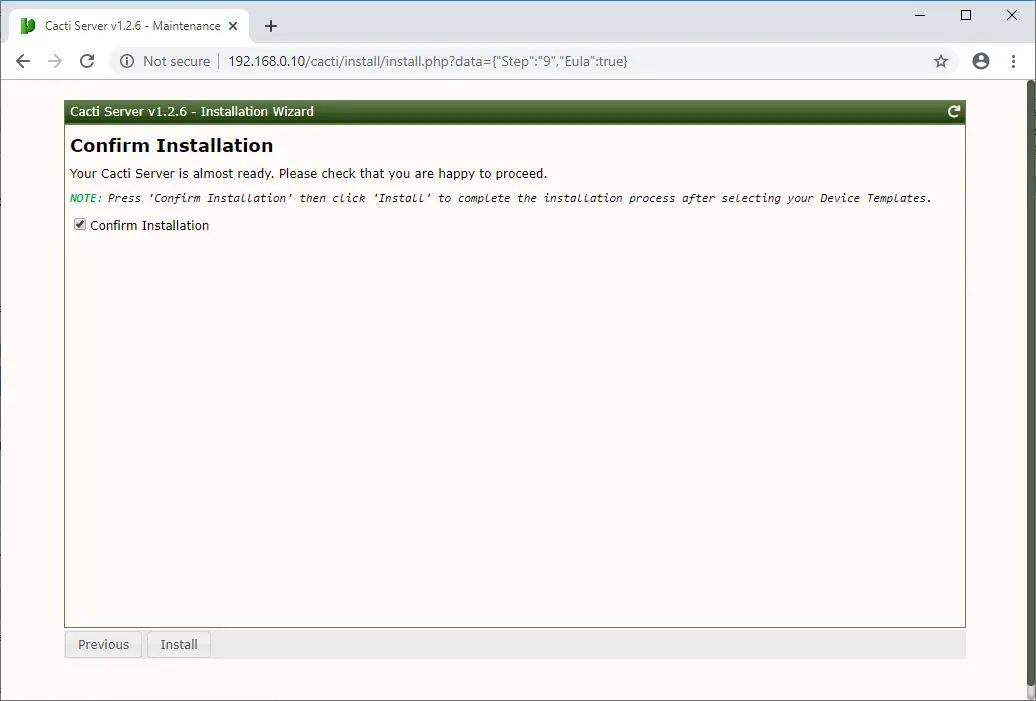
Select Confirm Installation and press Install to begin the Cacti installation.
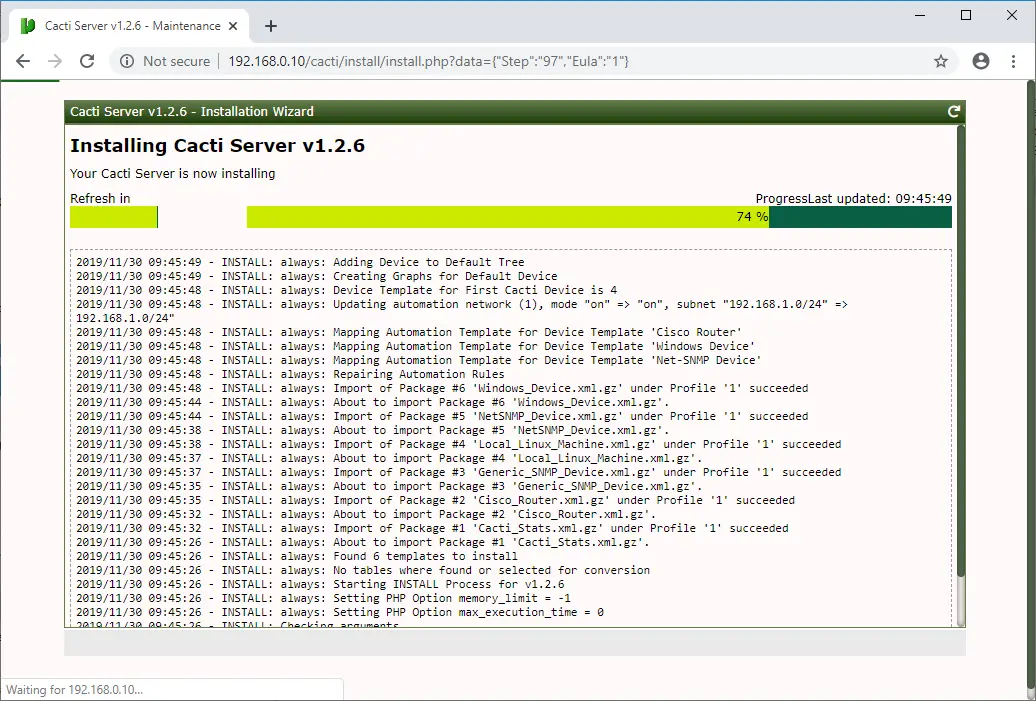
Wait for the installation to complete.
In a minute or two, the Cacti installation will complete.
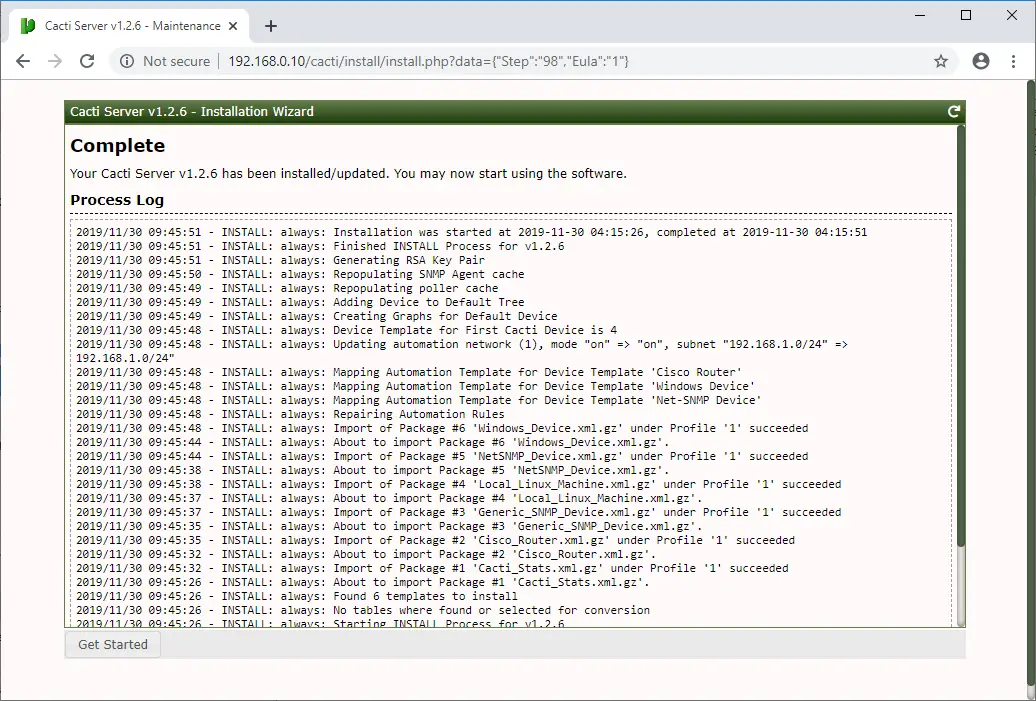
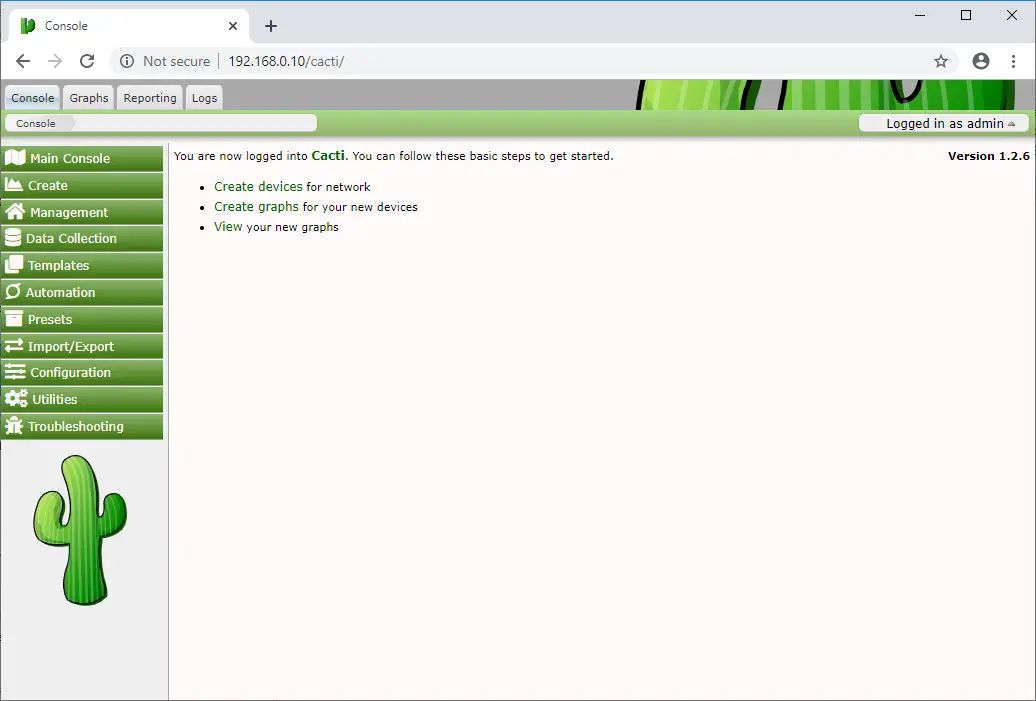
Clicking on the Get Started on the above page will take you directly to the Cacti dashboard. Otherwise, you can log in to Cacti with the user name and the password you set during the Cacti installation.
Access Cacti
Enter the User Name and Password to login to Cacti.
Password: <YOUR_PASSWORD>
Cacti Dashboard:
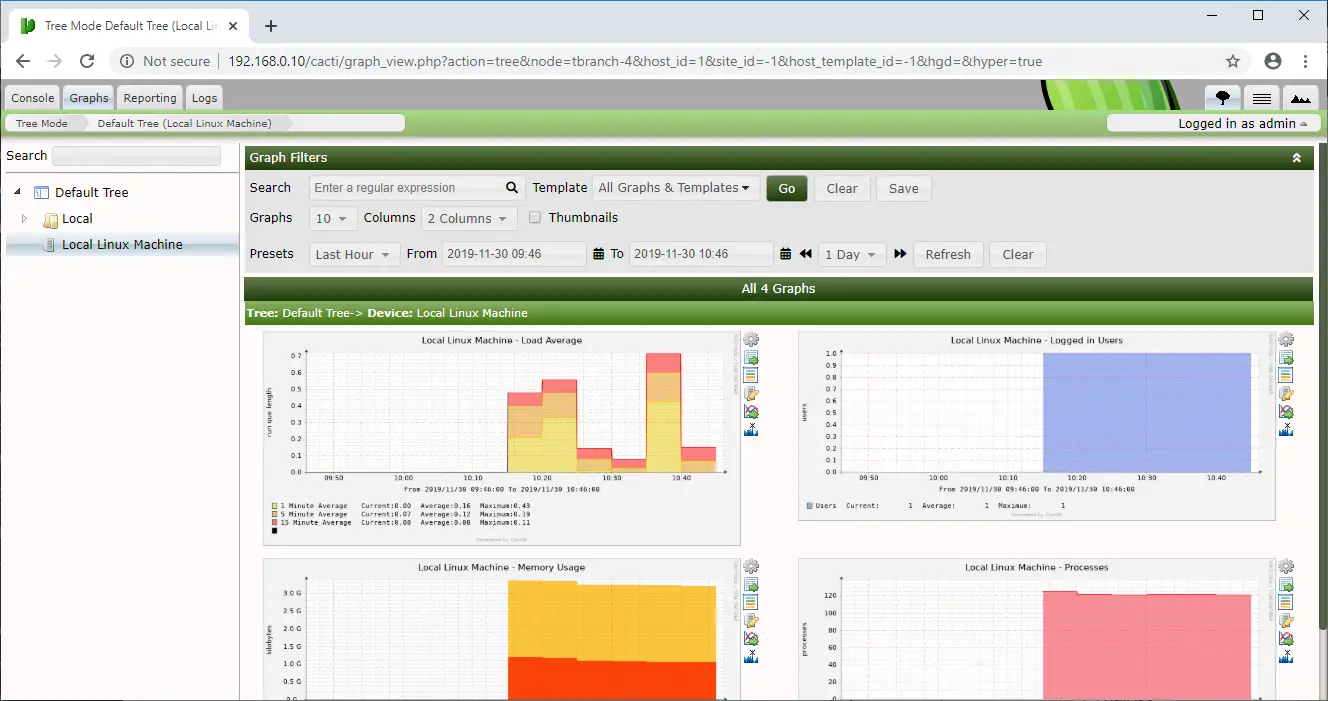
By default, the local machine (your Cacti server) will be added for monitoring in Cacti. You can Go to Graphs >> Default Tree >> Local Linux Machine to see the usage graph of the Cacti server.
Conclusion
That’s All. I hope you have learned how to install Cacti on CenOS 7 / RHEL 7. Now, you can check out how to monitor remote Linux machines with Cacti monitoring tool. Please share your feedback in the comments section.