Ruby on Rails® simply known as Rails, is an open-source web framework written in Ruby. It helps you create highly powerful web sites and applications.
This post will help you to install Ruby on Rails on Ubuntu 18.04 / Ubuntu 16.04 using:
1. rbenv (Recommended)
2. RVM
Prerequisites
Install the curl and other required packages.
sudo apt update

sudo apt install -y curl gnupg2 dirmngr git-core zlib1g-dev build-essential libssl-dev libreadline-dev libyaml-dev libsqlite3-dev sqlite3 libxml2-dev libxslt1-dev libcurl4-openssl-dev software-properties-common libffi-dev
Install Node.js
Some functionalities of rails like CoffeeScript and Asset Pipeline require a Javascript runtime. Here, we will install the LTS version of Node.js (v12.x).
If you want to use Node.js’s latest feature, install Node.js v13.x.
curl -sL https://deb.nodesource.com/setup_12.x | sudo -E bash -

sudo apt install -y nodejs
Install Yarn
Add the Yarn repository to install the Yarn package manager.
curl -sL https://dl.yarnpkg.com/debian/pubkey.gpg | sudo apt-key add -

echo "deb https://dl.yarnpkg.com/debian/ stable main" | sudo tee /etc/apt/sources.list.d/yarn.list
Install Yarn with the below command.
sudo apt update && sudo apt install -y yarn
Install Ruby
Using rbenv (Recommended)
The rbenv lets you install and manage the versions of Ruby easily, and it is simpler than RVM.
To install rbenv on your system, run the below commands.
cd
git clone https://github.com/rbenv/rbenv.git ~/.rbenv
echo 'export PATH="$HOME/.rbenv/bin:$PATH"' >> ~/.bashrc
echo 'eval "$(rbenv init -)"' >> ~/.bashrc
exec $SHELL

git clone https://github.com/rbenv/ruby-build.git ~/.rbenv/plugins/ruby-build
echo 'export PATH="$HOME/.rbenv/plugins/ruby-build/bin:$PATH"' >> ~/.bashrc
exec $SHELL
The above commands will install rbenv into your home directory and set appropriate environment variables.
For this post, we will install the latest version of Ruby (v2.7.0). The installation process may take up to 20 minutes to complete, so please be patient.
rbenv install 2.7.0
You can also install or use the different versions of Ruby, run the rbenv install <version> command with Ruby version rbenv install -l.
Set Ruby v2.7.0 as the default version for all login shells.
rbenv global 2.7.0
Check the Ruby version.
ruby -v
Output:
ruby 2.7.0p0 (2019-12-25 revision 647ee6f091) [x86_64-linux]
Install the bundler.
gem install bundler
Using RVM
RVM stands for Ruby Version Manager. It provides an efficient way to install and manage ruby versions independently by automatically downloading its dependencies.
Import public key in your system.
gpg --keyserver hkp://keys.gnupg.net --recv-keys 409B6B1796C275462A1703113804BB82D39DC0E3 7D2BAF1CF37B13E2069D6956105BD0E739499BDB
Use the curl command to install RVM in your system.
curl -sSL https://get.rvm.io | bash -s stable
Load RVM environment variables using the below command.
source ~/.rvm/scripts/rvm
Use the following command to install Ruby 2.7.0.
rvm install 2.7.0
You can also install other versions of ruby using the rvm install <version> command.
Set default Ruby version to 2.7.0 in case your system has multiple versions of ruby.
rvm use 2.7.0 --default
Output:
Using /home/raj/.rvm/gems/ruby-2.7.0
Check the Ruby version.
ruby -v
Output:
ruby 2.7.0p0 (2019-12-25 revision 647ee6f091) [x86_64-linux]
Install the bundler.
gem install bundler
Install Rails
Use gem install rails command to install the latest stable release of Rails. This process may take a while, be patient with it.
gem install rails
You can also use gem install rails –version=<version> to install a specific version of rails.
Check the Rails version.
rails -v
Output:
Rails 6.0.2.2
Create a Test Application
We will now create a test application with MariaDB support to test it out.
Install MariaDB Database
Rails uses sqlite3 as the default database, and it is not recommended to use it in a production environment where you get high traffic. You may probably want to go with MySQL or PostgreSQL.
For this demo, we will use MariaDB as a database server.
READ: How To Install MariaDB v10.4 on Ubuntu 18.04
After the installation of MariaDB, install the development files package.
sudo apt install -y libmariadb-dev
Create Database
Create Database User
sudo mysql -u root -p
Create a database user for your application.
CREATE USER 'itzgeek'@'localhost' IDENTIFIED BY 'password';

GRANT ALL PRIVILEGES ON *.* TO 'itzgeek'@'localhost';

exit
Install the MySQL2 extension.
gem install mysql2
Create Rails Application
Create a test application with database support as a standard user as running the Rails server as the root user is not recommended.
cd ~

rails new itzgeekapp -d mysql

cd itzgeekapp
Update the database information.
nano config/database.yml
Enter the DB user details shown lie below.
default: &default
  adapter: mysql2
  encoding: utf8mb4
  pool: <%= ENV.fetch("RAILS_MAX_THREADS") { 5 } %>
  username: itzgeek  << DB User
  password: password  << DB Password
  socket: /var/run/mysqld/mysqld.sock
Create the database.
rake db:create
Output:
Created database 'itzgeekapp_development'
Created database 'itzgeekapp_test'
Validate Test Application
Start your rails application.
rails server -b 0.0.0.0
Output:
=> Booting Puma
=> Rails 6.0.2.2 application starting in development
=> Run `rails server --help` for more startup options
Puma starting in single mode...
* Version 4.3.3 (ruby 2.7.0-p0), codename: Mysterious Traveller
* Min threads: 5, max threads: 5
* Environment: development
* Listening on tcp://0.0.0.0:3000
Use Ctrl-C to stop
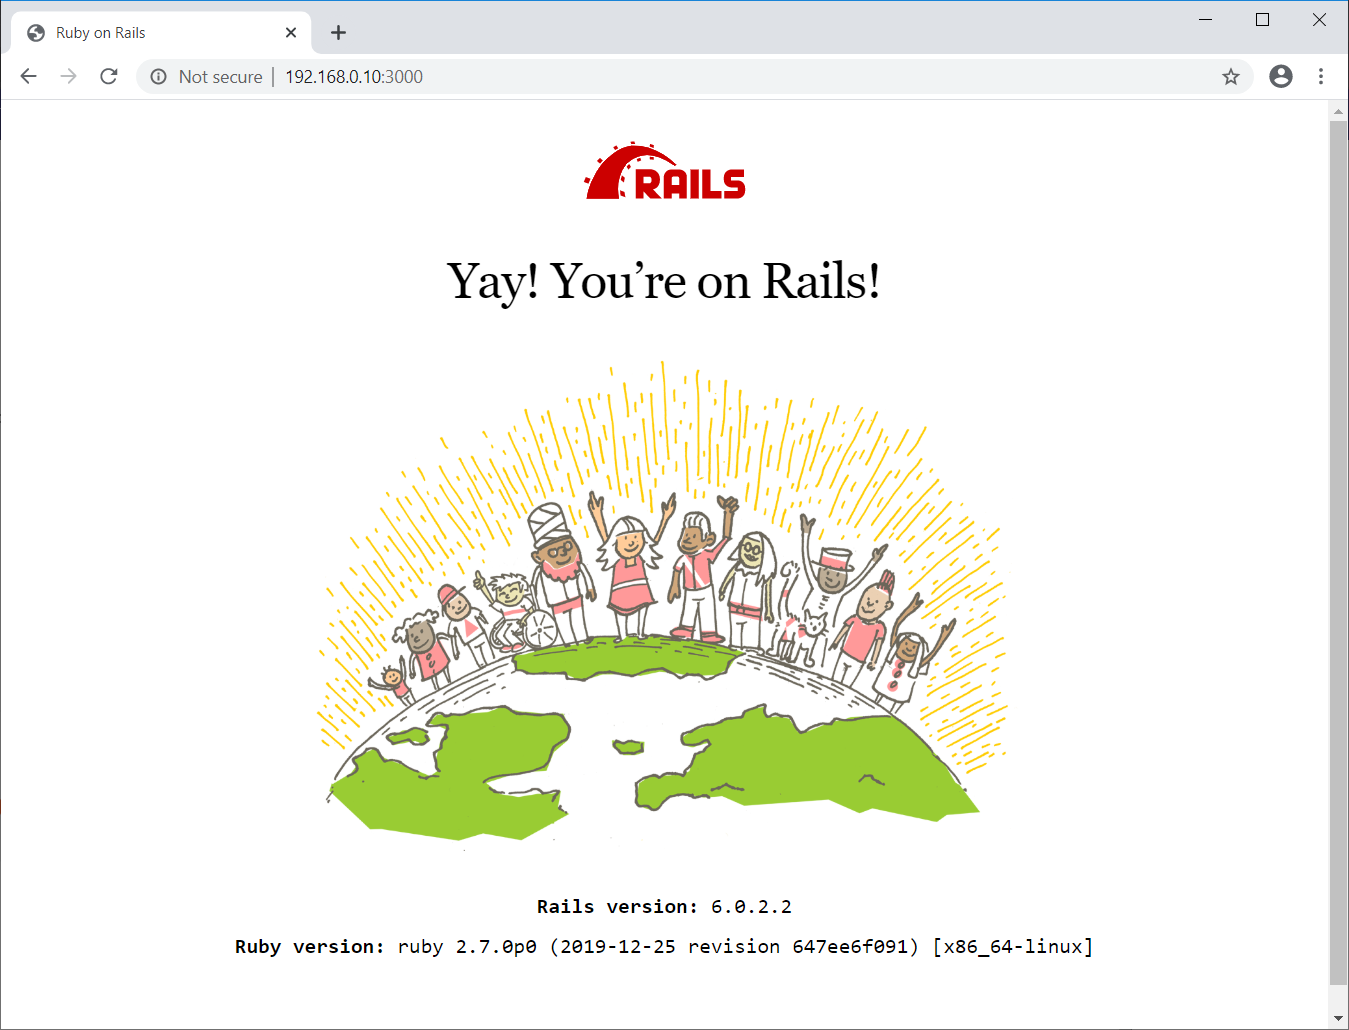
If everything is working correctly, your Rails application should be running on port 3000.
Visit your Rails application by going to the below URL in a web browser.
OR
You should get the following page.
Conclusion
That’s All. I hope you have learned how to install Ruby on Rails on Ubuntu 18.04 / Ubuntu 16.04.