Fedora 27 Workstation has been released today (14 November 2017), and I am bringing you the step by step guide to install Fedora 27 Workstation release.
Fedora offers three installation images separately for the workstation, server, and cloud. The following guide is created based on Fedora 27 Workstation.
What’s new in Fedora 27 Workstation
- dnfdragora replaces Yumex-DNF
- GNOME is updated to 3.26
- LibreOffice is updated 5.4
More here.
System Requirements
The following is the recommended system requirement for Fedora 27 installation,
- 1GHz or faster processor
- 1GB System Memory
- 10GB unallocated drive space
As a minimum system requirement, your machine should at least have 768MB of RAM for the installation.
Download Fedora 27 Workstation
Download Live ISO of Fedora 27 Workstation from here. Write the image to DVD using image writer software. Then, put your Fedora DVD on to your system and then change the boot sequence accordingly to boot from DVD first.
Install Fedora 27 Workstation
Select the Fedora Workstation Live 27.
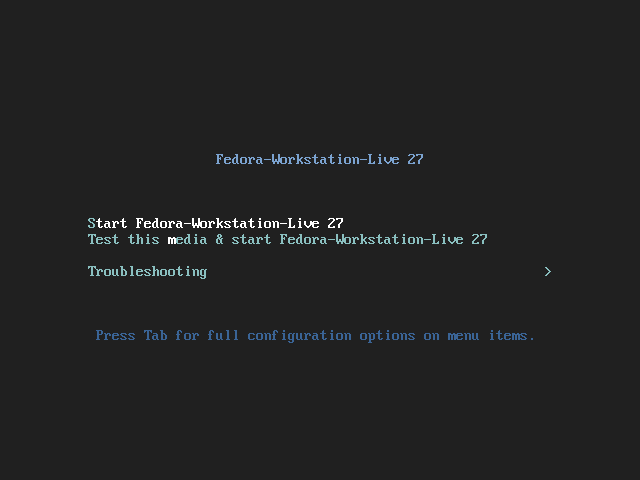
Wait for the Live CD to load fully.
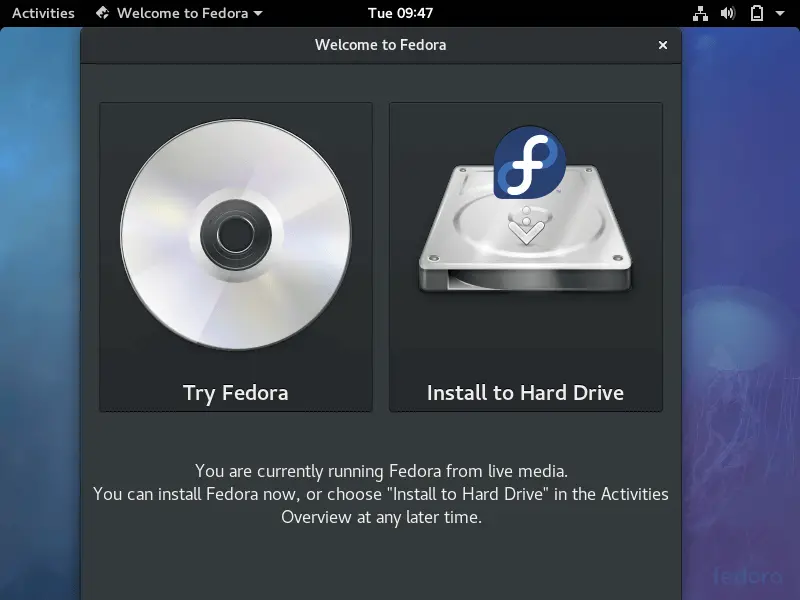
Step 1: Choose install to Hard drive.
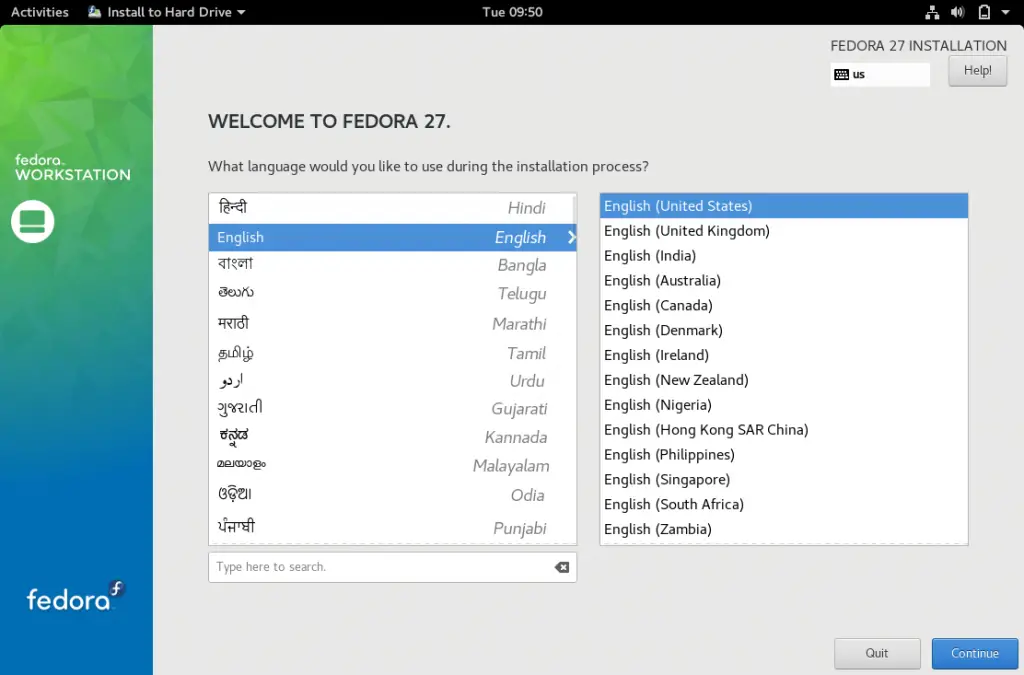
Step 2: Select the language and continue.
Step 3: Next step is the installation summary. You need to clear the warning messages. Other settings are optional. If you want to change any settings, click on it.
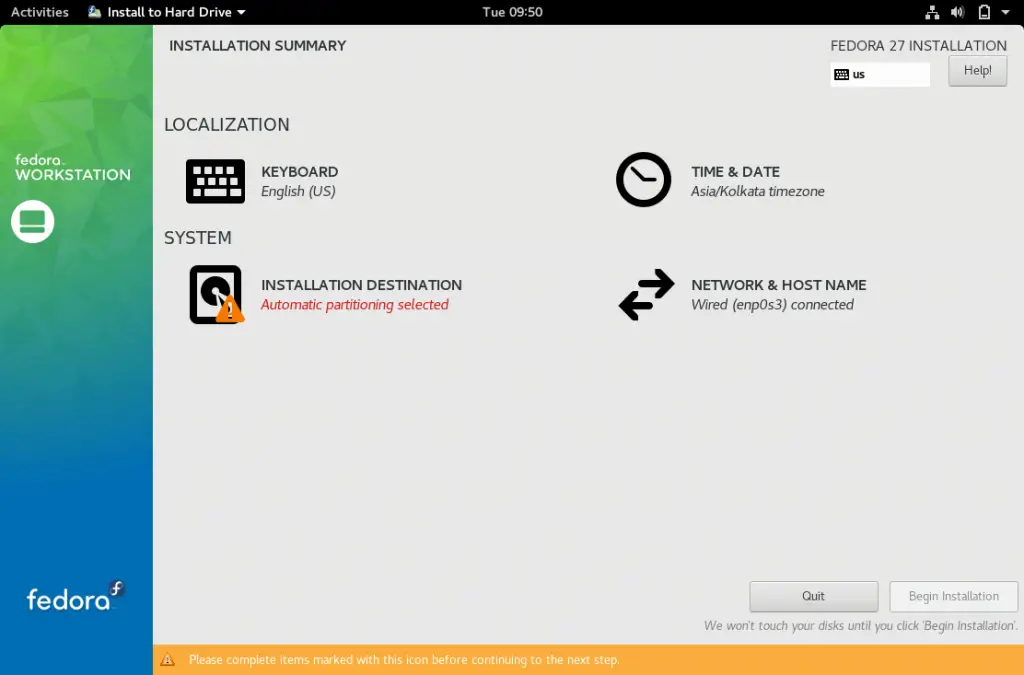
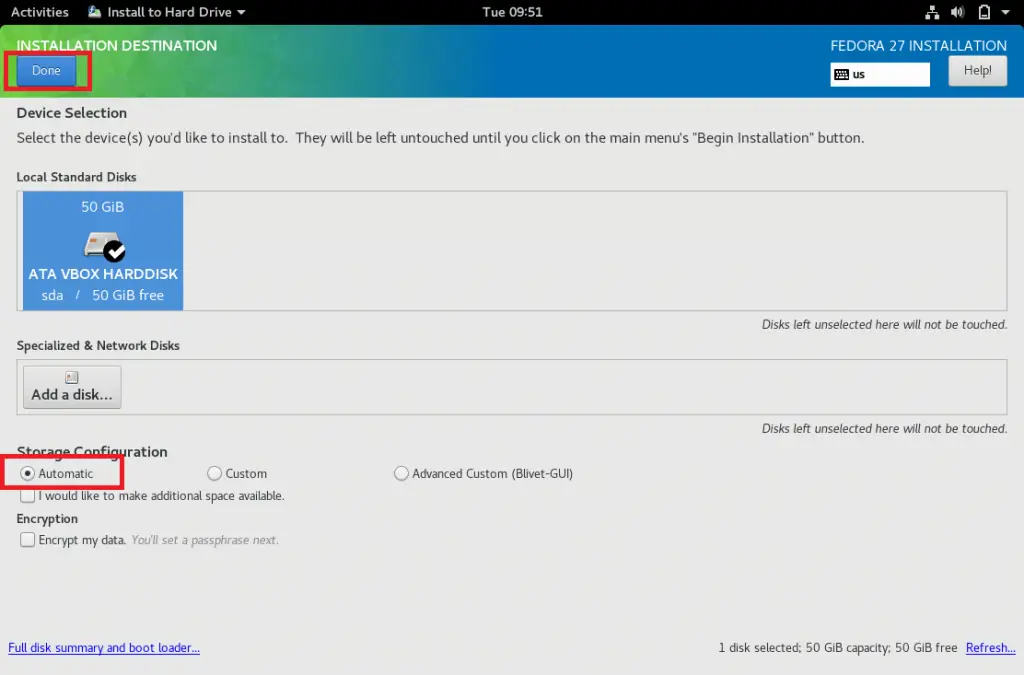
Step 4: As per the above screenshot, I have a warning for installation destination. I’ve clicked on Installation destination to create a partition for the installation.
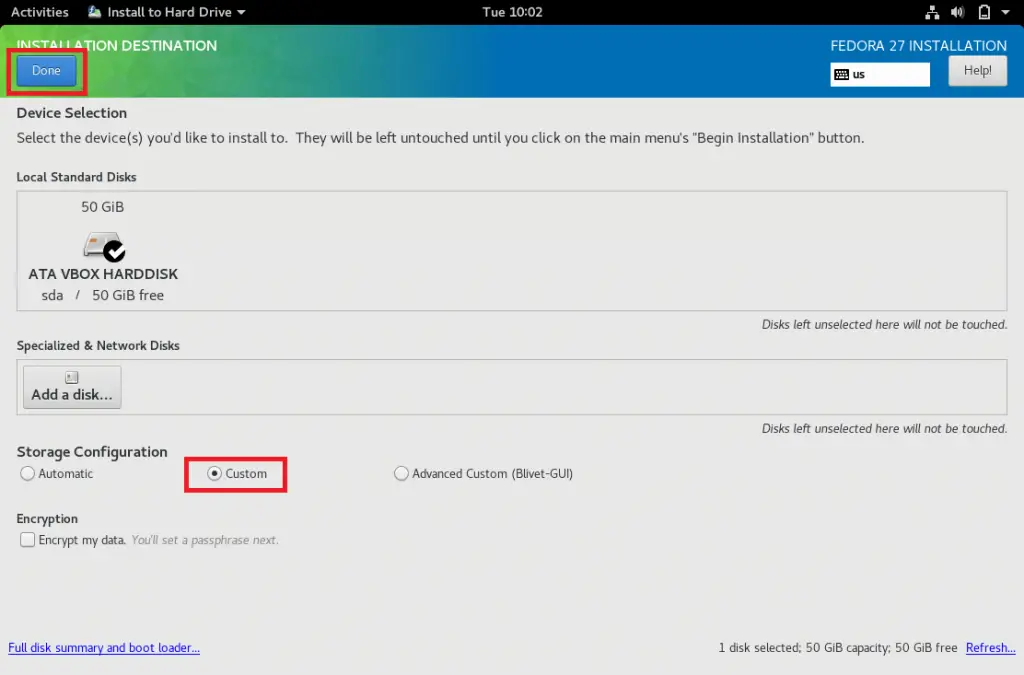
You can choose either automatic partition or manual partition.
Automatic Partitioning
You can just click on the done button to tell the system to create partitions for you.
Once you clicked, you will go back to installation summary where you will find the installation destination is “Automatic Partitioning Selected”
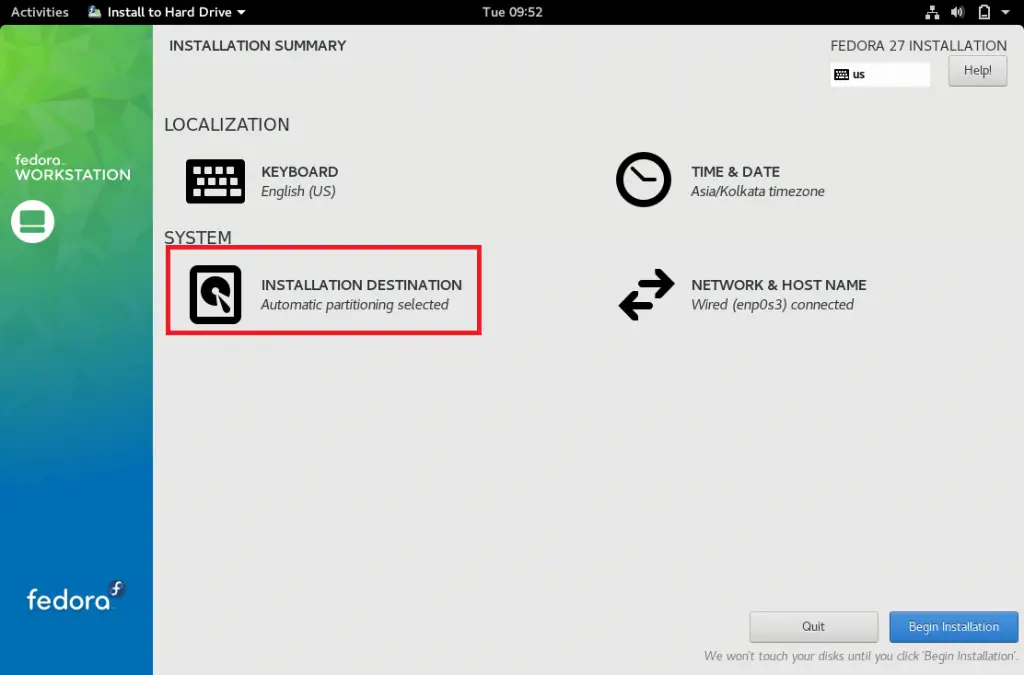
You can skip following steps and go to step 5.
Manual Partitioning
Partition scheme will be like below, / partition is with LVM.
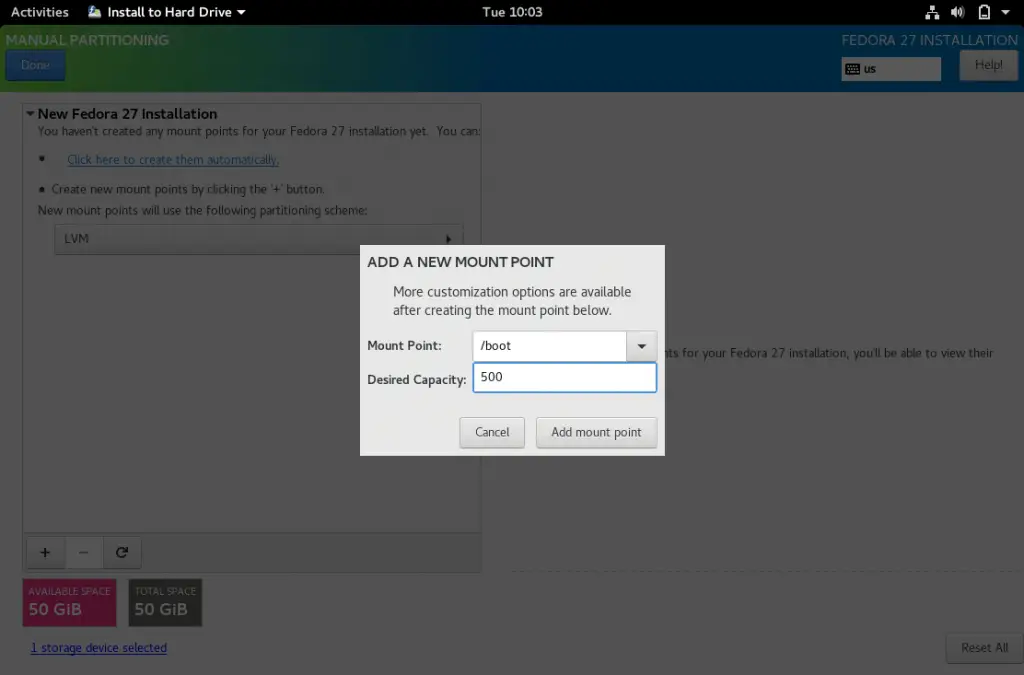
/boot – 500MB
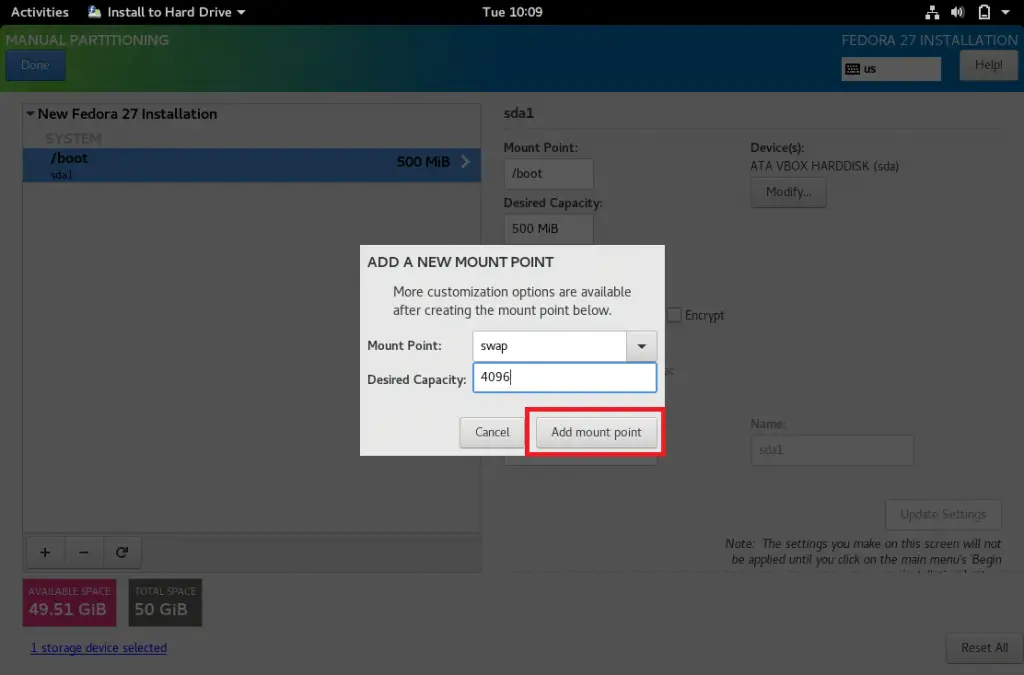
swap – 4096MB (Double that of RAM)
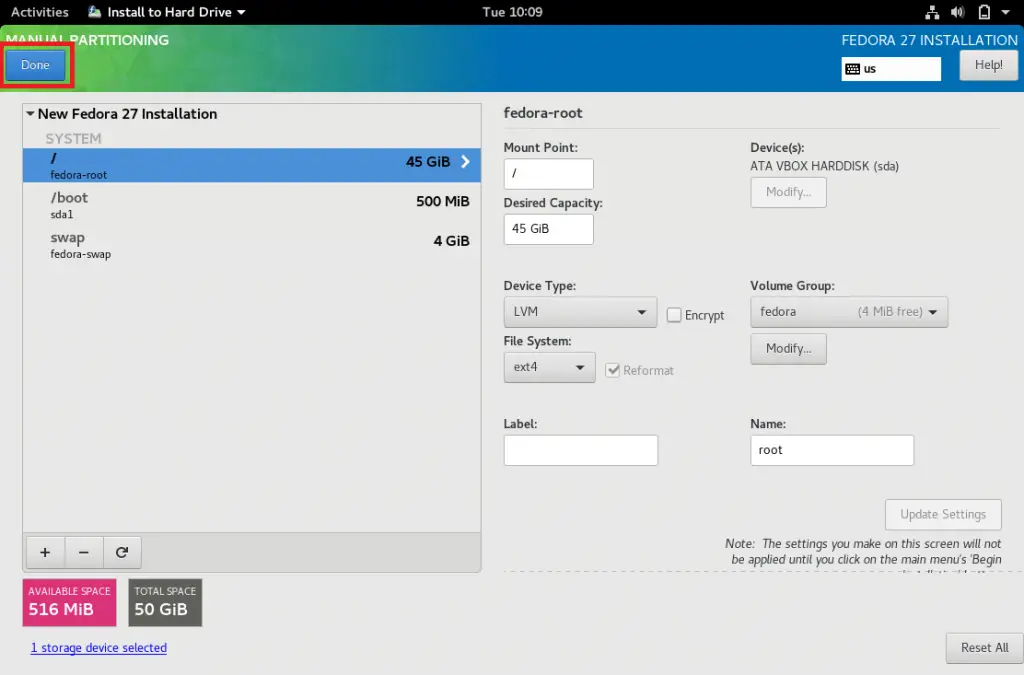
/ – remaining (45GB)
Select the hard disk and choose custom, then click on Done.
You will get the following page, where you can create partitions. By default, LVM partitioning scheme is selected, so whatever partition you create here will be LVM instead of a standard partition.
You can click on scroll button (LVM) for more partitioning scheme.
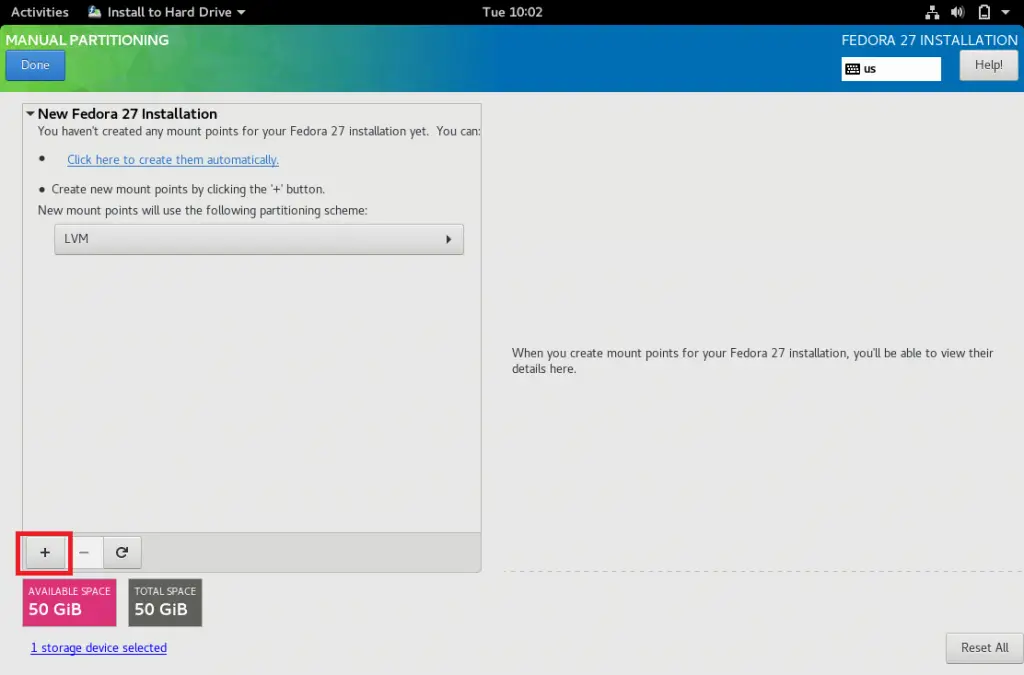
Click on + sign at the bottom to create partitions. Following is for /boot partition.
Following is for a swap partition. Make sure you to select the mount point as swap.
Following is for / (root) partition. If you do not mention the size then it will take all remaining available space.

The following is the summary of partitions that we had created. Click on done.
Click on accept changes for formatting partitions.

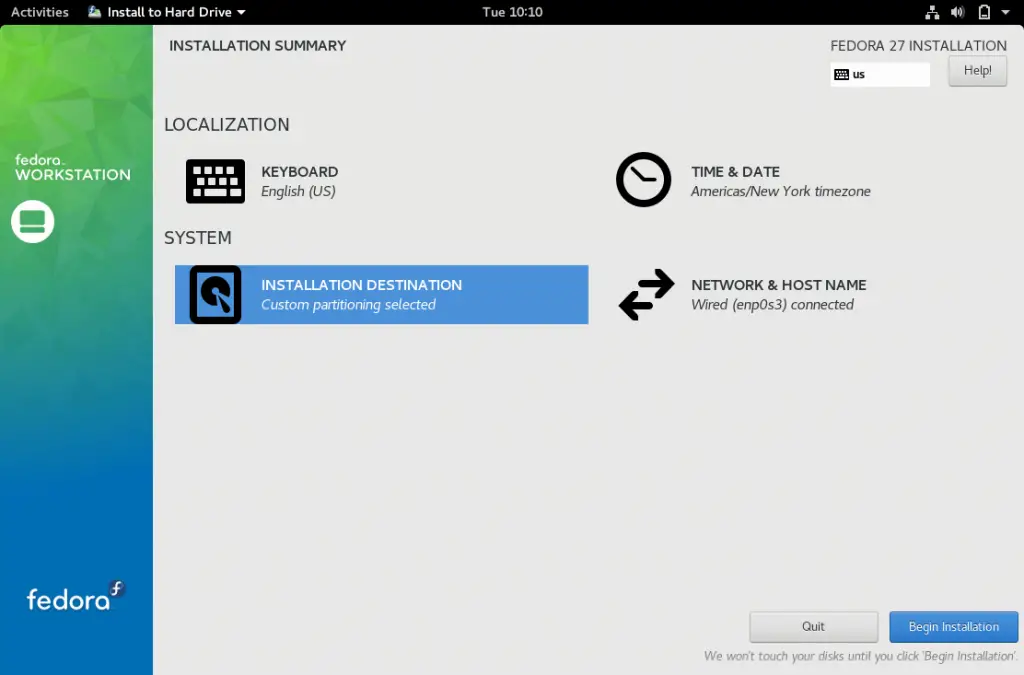
Once you clicked, you will go back to installation summary where you can find the installation destination is “Custom Partitioning Selected”
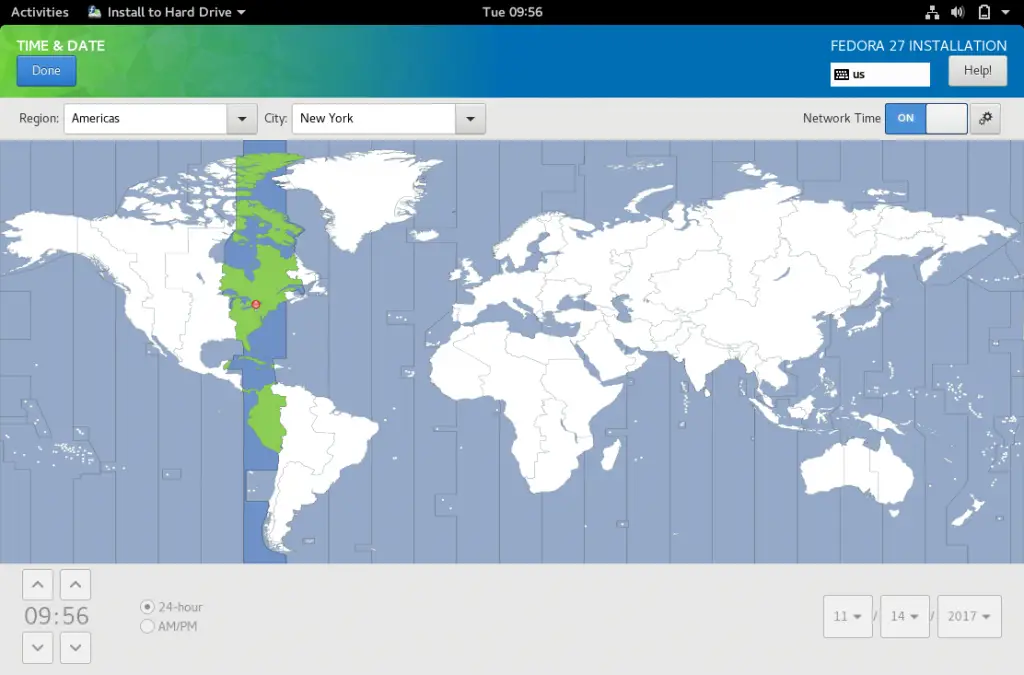
Step 5: If you click on Date and Time, you will get the following page to change the Date and Time / Time zone. Click on done to save.
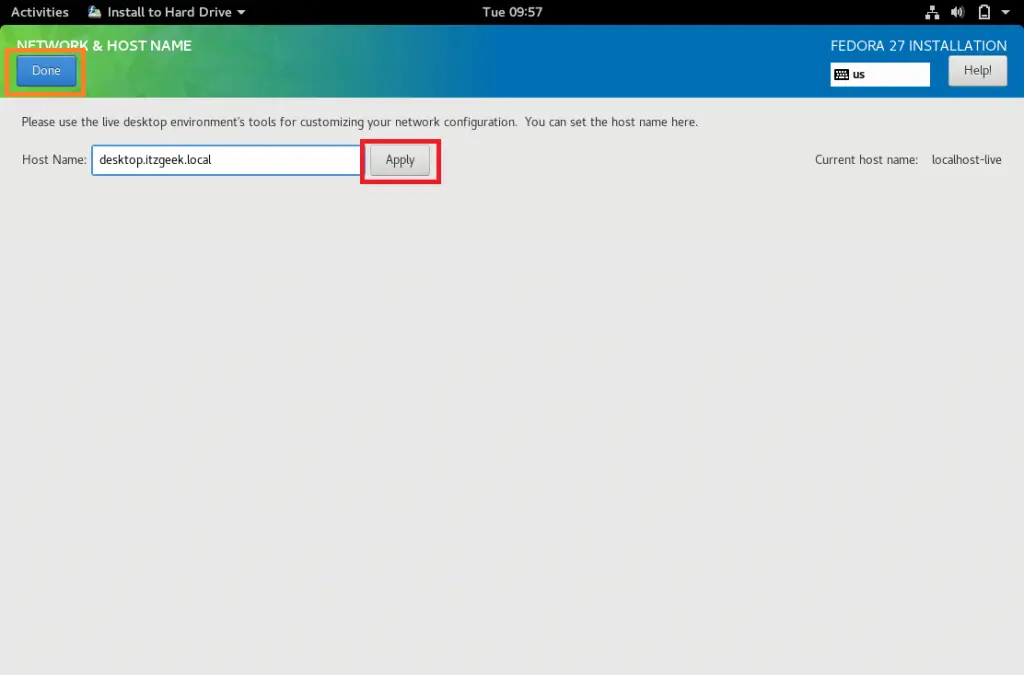
Step 6: If you click on Network and Hostname, you will get the following page to set up the hostname. Set hostname in hostname field and then click apply.
Step 7: Click on begin installation to start the installation.
Step 8: Once you clicked, the installer will start to install the packages. In the meantime, we need to clear the following warnings.
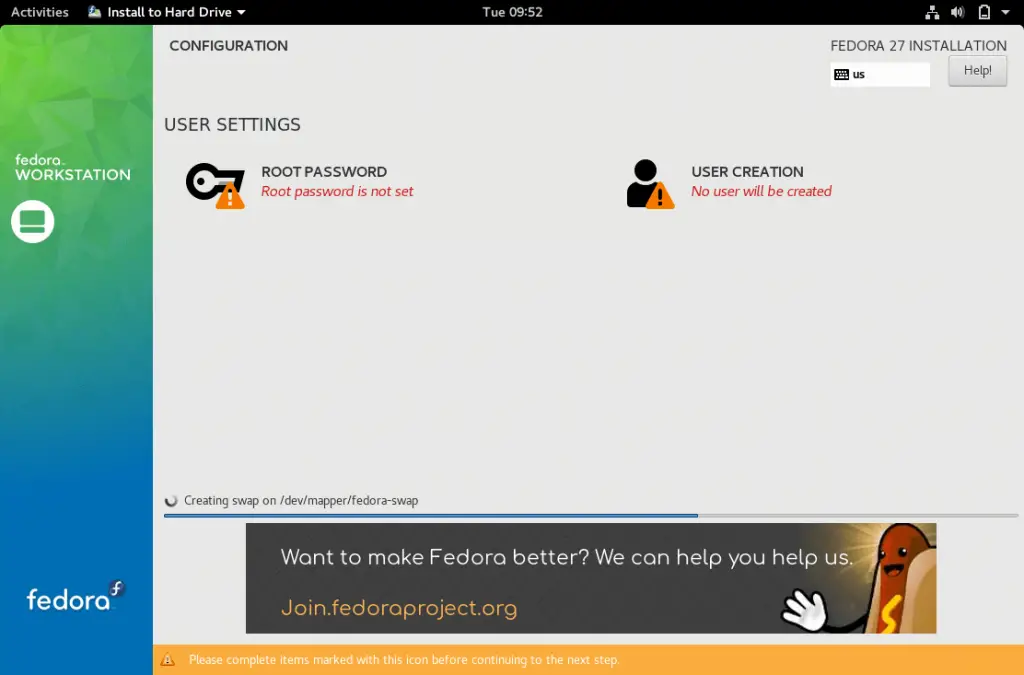
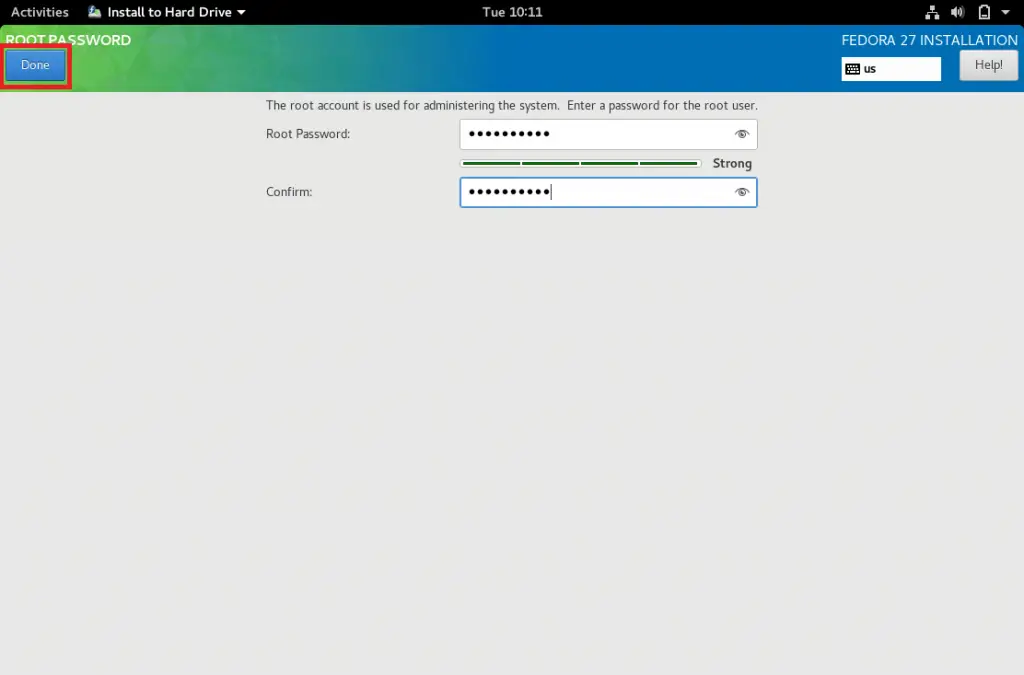
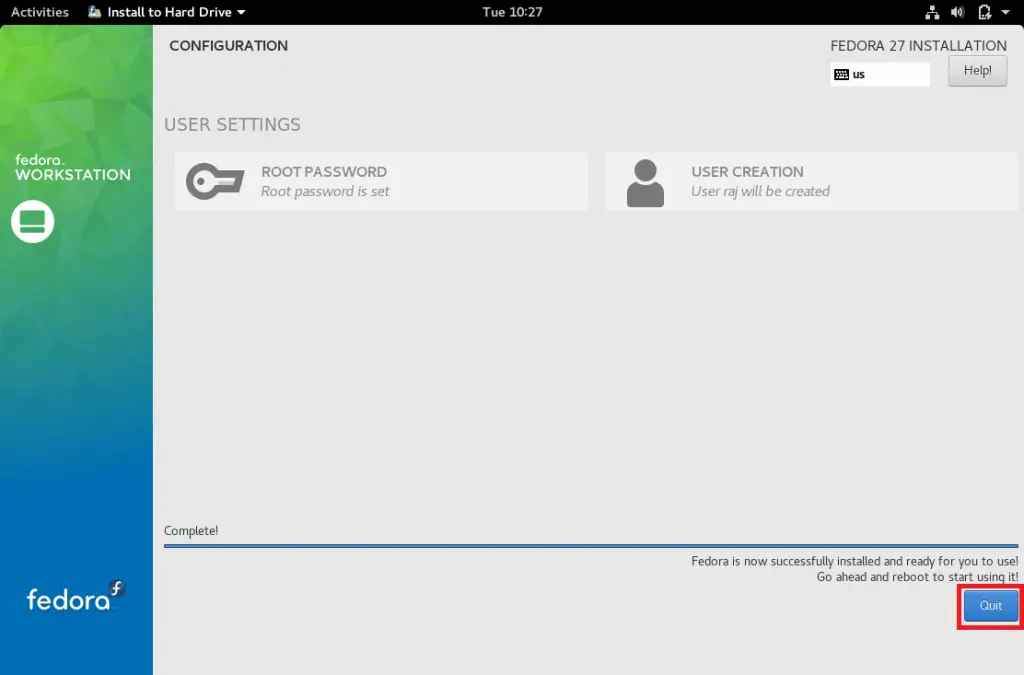
Step 9: Set root password by clicking on ROOT PASSWORD.
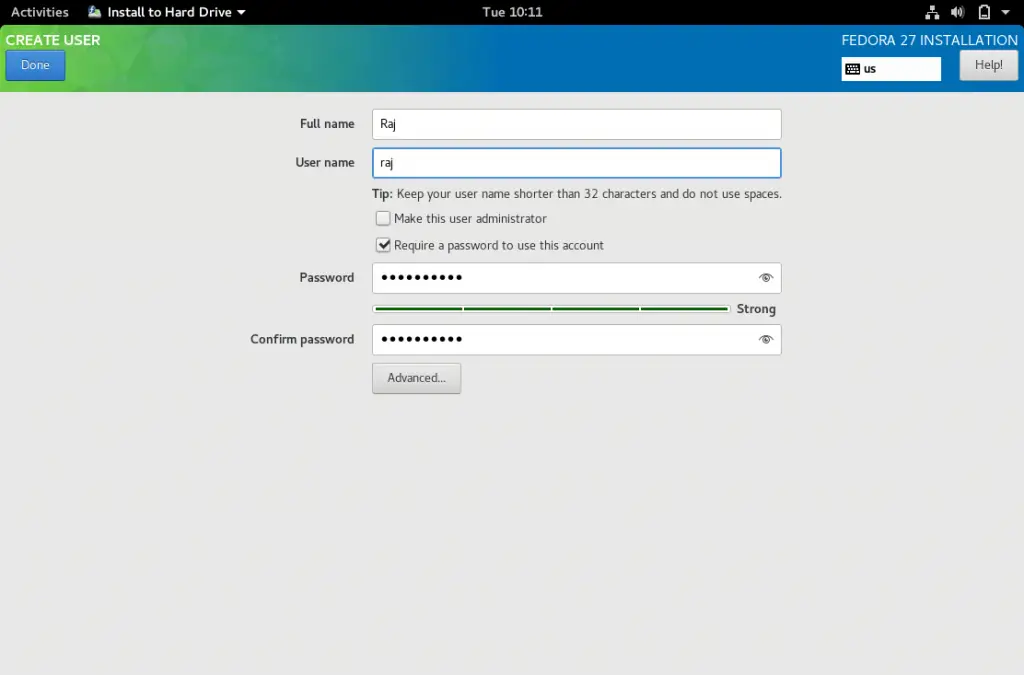
Step 10: Create a new user by clicking on USER CREATION.
Step 11: Once the installation is completed, click on quit.
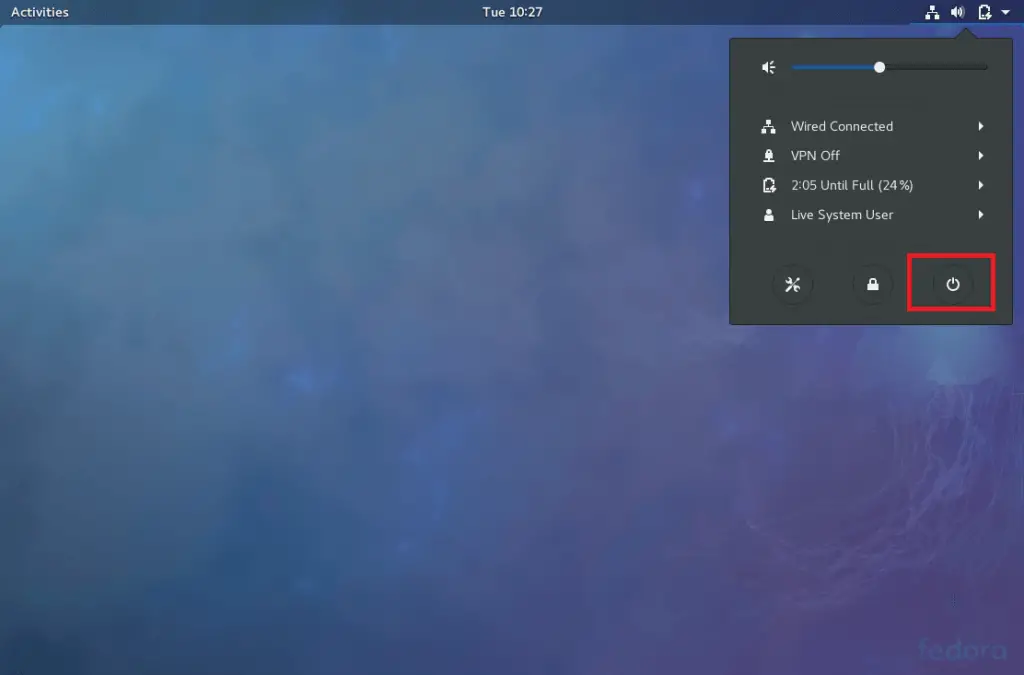
Step 12: Reboot live CD.
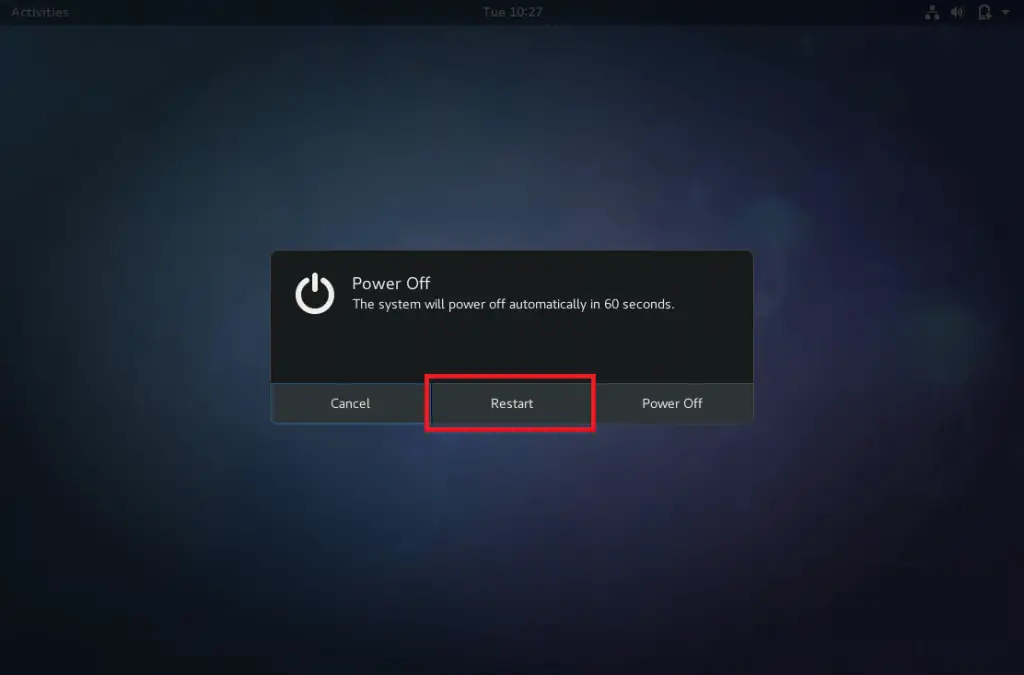
Step 13: Click Restart to reboot the machine.
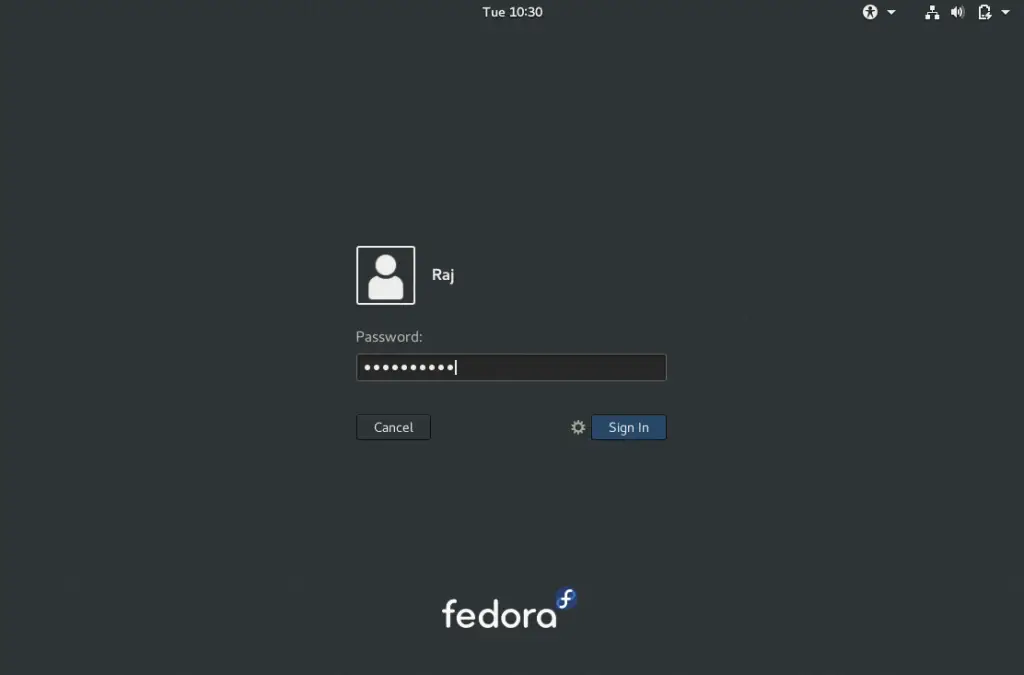
Step 14: Once the machine is rebooted. Log in with the username and password that you created earlier.
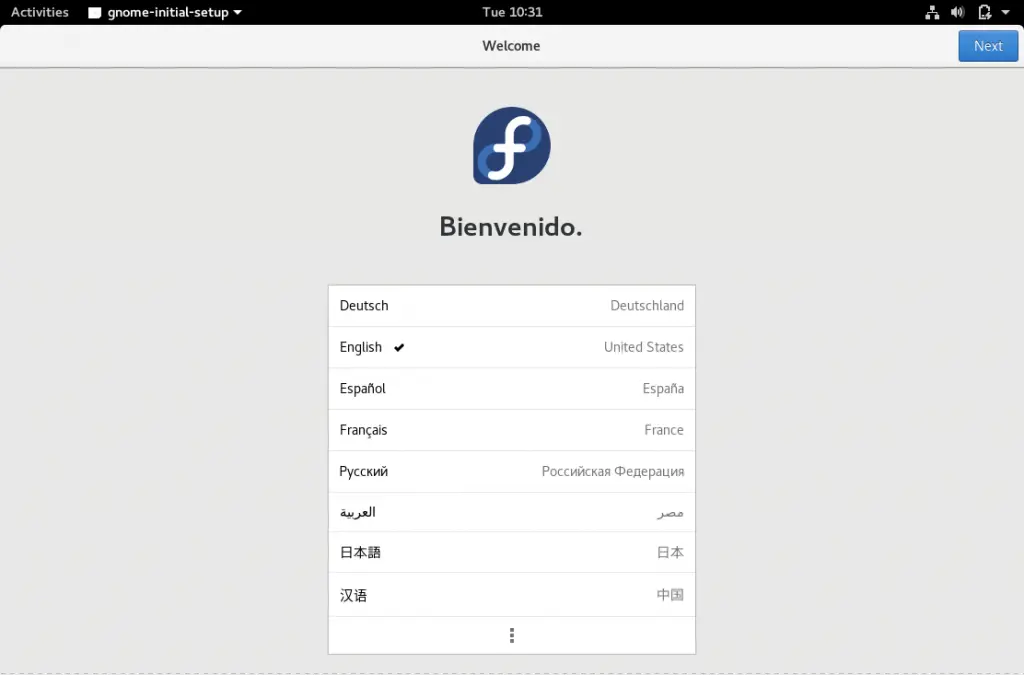
Step 15: You may need to perform Gnome initial setup on your first login. Select Language.
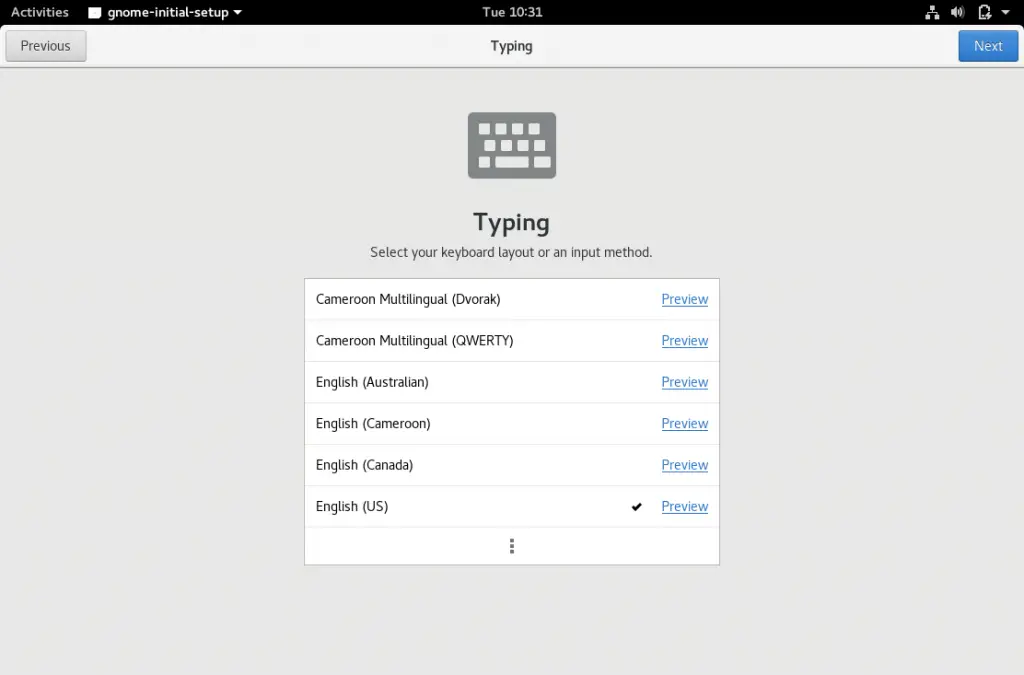
Step 16: Select the keyboard.
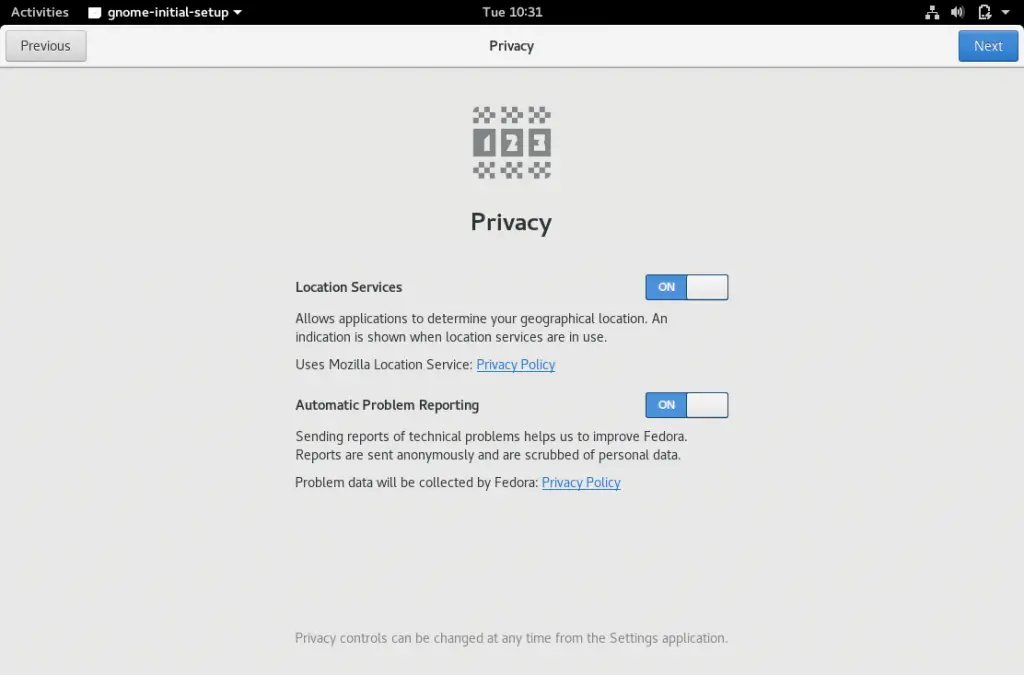
Step 17: Select what to share.
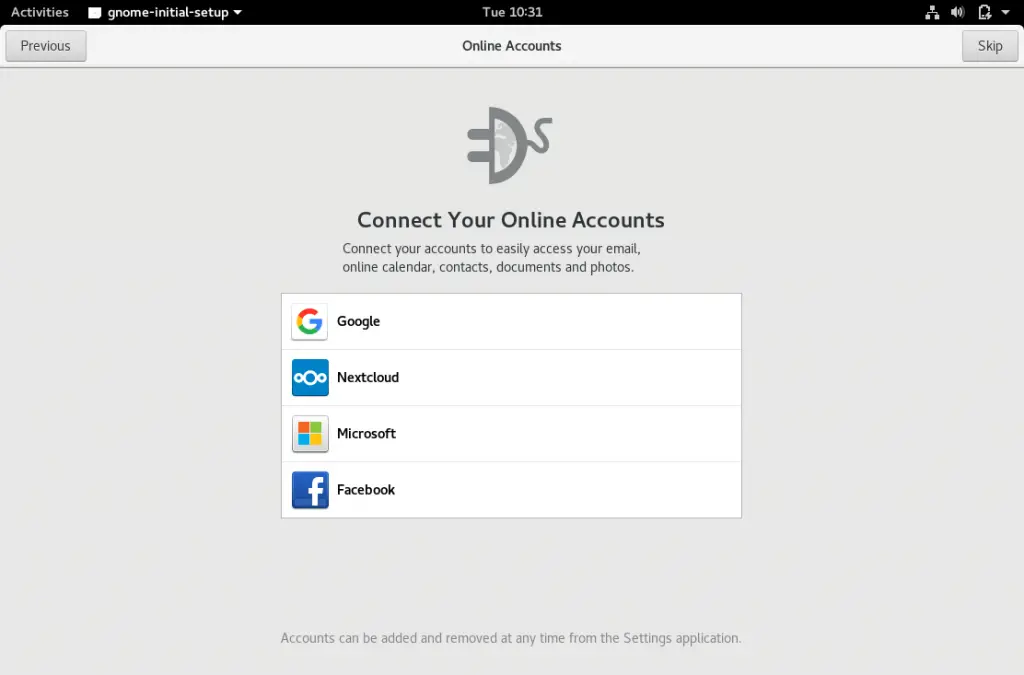
Step 18: Connect your online accounts (Skip if you dont want to setup now).
Step 19: You can start using Fedora now.

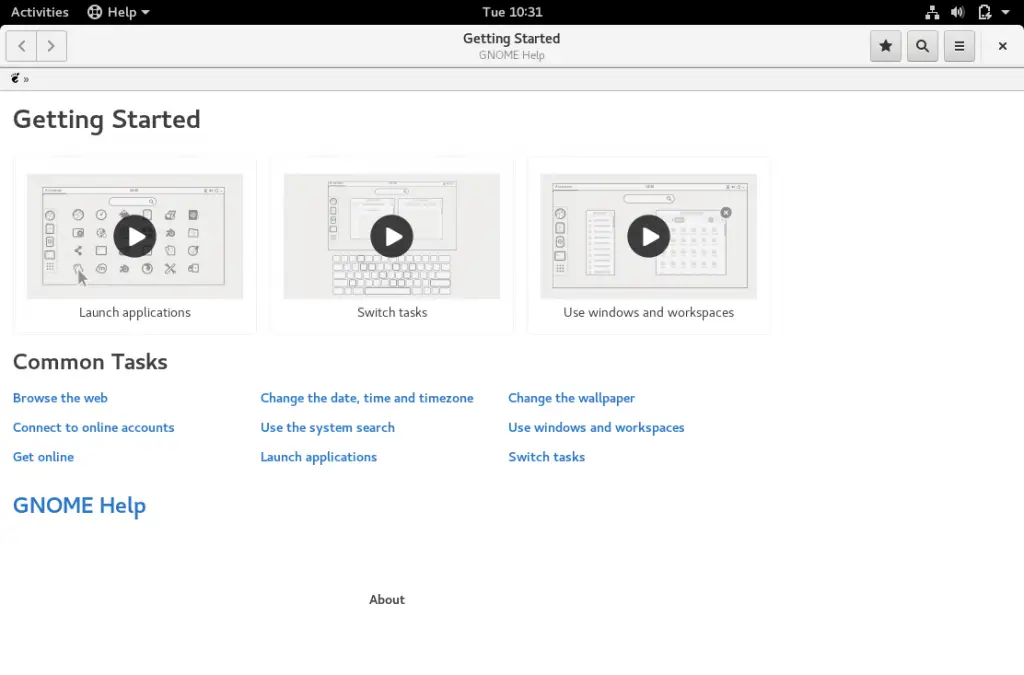
Step 20: You can use Getting Started to know more about how to use Fedora. It has few videos for newbies
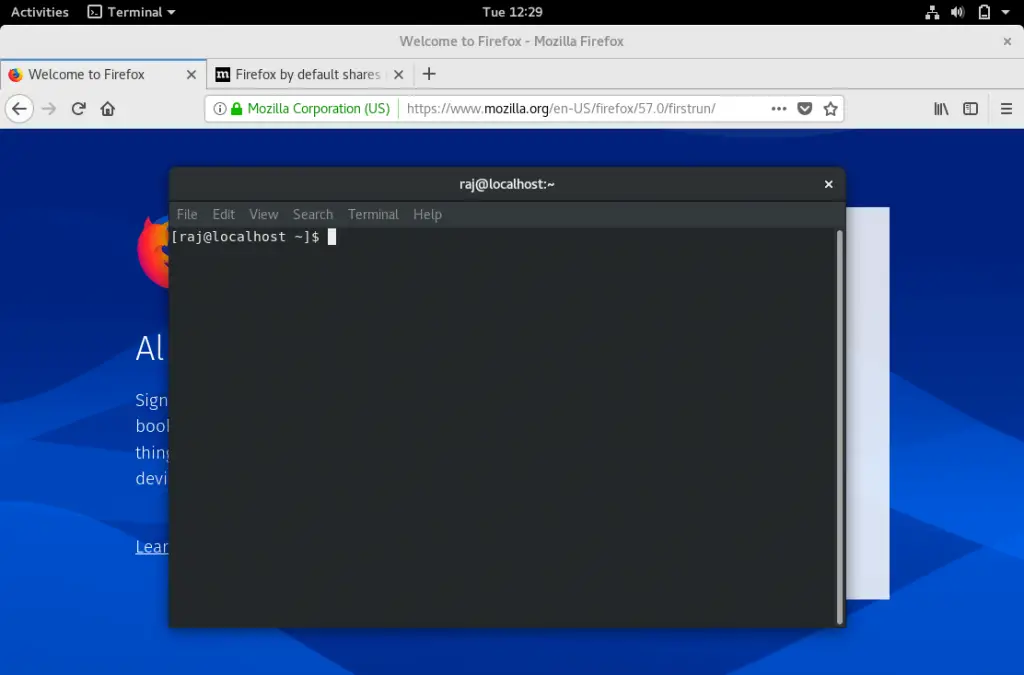
The following screenshot shows desktop of Fedora 27 Workstation.
That’s All.