Lighttpd (pron lighty) is an open source web server optimized for speed-critical environments. It was written by Jan Kneschke as a proof-of-concept to handle 10,000 connections in parallel on one server.
Lighttpd is the perfect solution for servers that is suffering load problems. It is licensed under the BSD license.
This article shows you how to install Lighttpd on Ubuntu 18.04 with PHP-FPM and MariaDB support.
Install Linux
Here is the tutorial on Step by Step installation of Ubuntu 18.04 and Upgrading Ubuntu 16.04 & Ubuntu 17.10 to Ubuntu 18.04.
READ: How to Install Ubuntu 18.04 LTS (Bionic Beaver) on UEFI and Legacy BIOS System
READ: How to Upgrade To Ubuntu 18.04 From Ubuntu 16.04 / Ubuntu 17.10 [Detailed Guide]
READ: How to Install Ubuntu 18.04 Alongside With Windows 10 or 8 in Dual Boot
We will now install LMP (Lighttpd v1.4.45, PHP v7.2, MariaDB v10.1.29) on Ubuntu 18.04.
Log in as the root or switch to the root user.
$ su
OR
$ sudo su -
Install MariaDB
Update the system repository index.
apt update
Install the MariaDB server by using the following command.
apt -y install mariadb-server
MariaDB service should now be up and running. If not, start MariaDB server using the following command.
systemctl start mariadb
Auto-start the MariaDB service during every boot. Type the following on terminal and hit enter.
systemctl enable mariadb
Next, make the MariaDB server secure by using the mysql_secure_installation command.
READ: How To Secure MySQL Server with mysql_secure_installation
Install Lighttpd
Install Lighttpd using the following command.
apt install -y lighttpd
Start the Lighttpd service after the installation.
systemctl start lighttpd
Firewall
Issue the following commands to allow HTTP requests through the firewall.
ufw allow 80/tcp
ufw reload
ufw enable
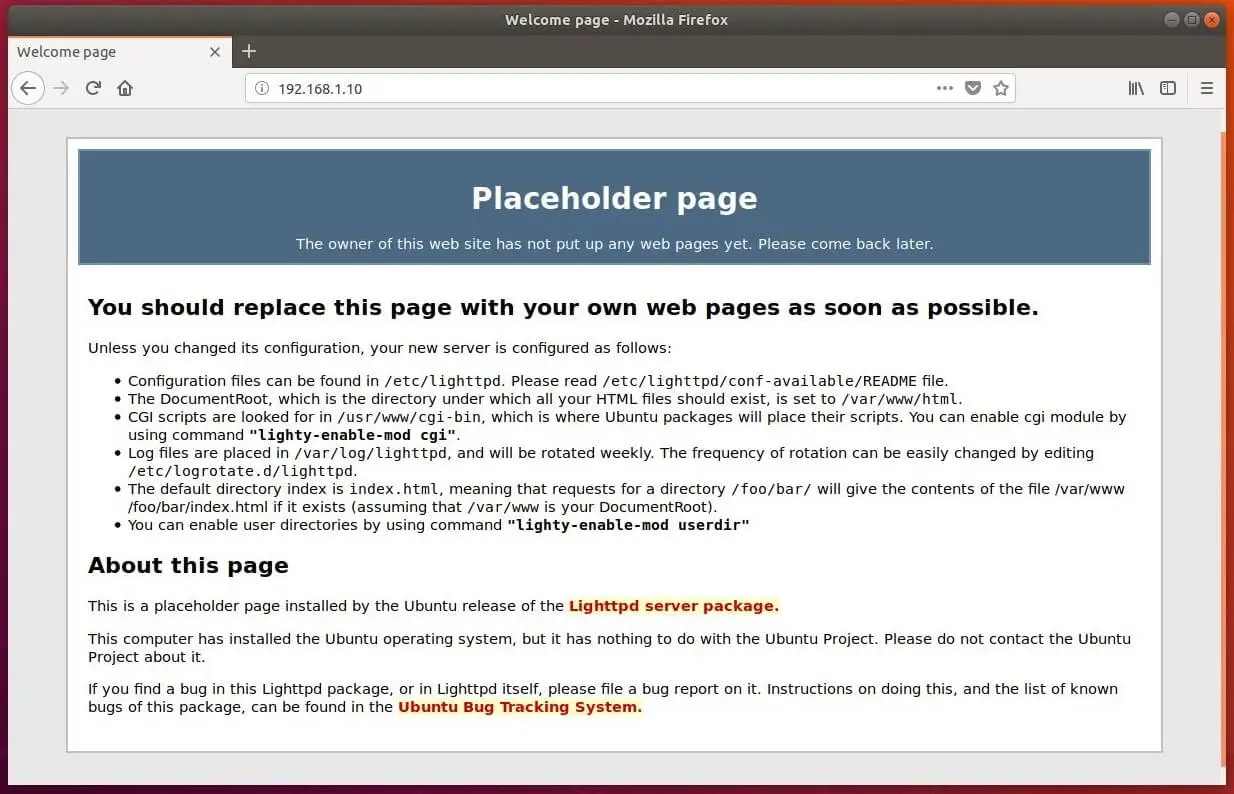
Open a web browser and go to:
You should see the following Lighttpd’s placeholder page, and this confirms you that the Lighttpd has been successfully installed on the server.
Auto-start Lighttpd at system startup.
systemctl enable lighttpd
Install PHP7-FPM
Next, we will install PHP with Fast CG and is useful for sites having high traffic. Install PHP-FPM by issuing the following command.
apt install -y php-fpm php-mysql php-cli
Edit php.ini file.
nano /etc/php/7.2/fpm/php.ini
set cgi.fix_pathinfo to 1.
cgi.fix_pathinfo=1
PHP-FPM listens on the UNIX socket /run/php/php7.2-fpm.sock by default. Edit the file “/etc/php/7.2/fpm/pool.d/www.conf” to make PHP-FPM listens on TCP socket.
nano /etc/php/7.2/fpm/pool.d/www.conf
Change the listen parameter.
FROM:
listen = /run/php/php7.2-fpm.sock
TO:
listen = 127.0.0.1:9000
Restart PHP-FPM service.
systemctl restart php7.2-fpm
Edit 15-fastcg-php.conf file.
nano /etc/lighttpd/conf-available/15-fastcgi-php.conf
Look for the below entries and change it.
FROM:
"bin-path" => "/usr/bin/php-cgi",
"socket" => "/var/run/lighttpd/php.socket",
TO:
"host" => "127.0.0.1",
"port" => "9000",
Enable FastCGI and FastCGI-PHP modules.
lighty-enable-mod fastcgi
lighty-enable-mod fastcgi-php
Restart Lighttpd service.
systemctl restart lighttpd
Enable PHP7-FPM Support on Virtual Host
Let’s create a name-based virtual host on Lighttpd server for the following details.
Server Name : www.itzgeek.local
Document Root : /var/www/html/www.itzgeek.local
Create a configuration file called www.itzgeek.local.conf in /etc/lighttpd/conf-available/.
nano /etc/lighttpd/conf-available/www.itzgeek.local.conf
Add the following content.
$HTTP["host"] == "www.itzgeek.local" {   ### Domain URL
server.document-root = "/var/www/html/www.itzgeek.local"   ### Document root
}
Enable the virtual host.
ln -s /etc/lighttpd/conf-available/www.itzgeek.local.conf /etc/lighttpd/conf-enabled/
Test PHP7-FPM support on the Virtual Host
Create a document root directory for your domain.
mkdir /var/www/html/www.itzgeek.local
For testing the PHP-FPM, place a .php file on to the document root of the created virtual host.
nano /var/www/html/www.itzgeek.local/index.php
File editor will open up a file called index.php. Copy/Paste this line into the index.php file:
<?php phpinfo(); ?>
Set permission.
chown -R www-data:www-data /var/www/html/
Restart the services.
systemctl restart lighttpd
systemctl restart php7.2-fpm
Open a browser and go to your domain.
In my case, it is.
The page will look like below:
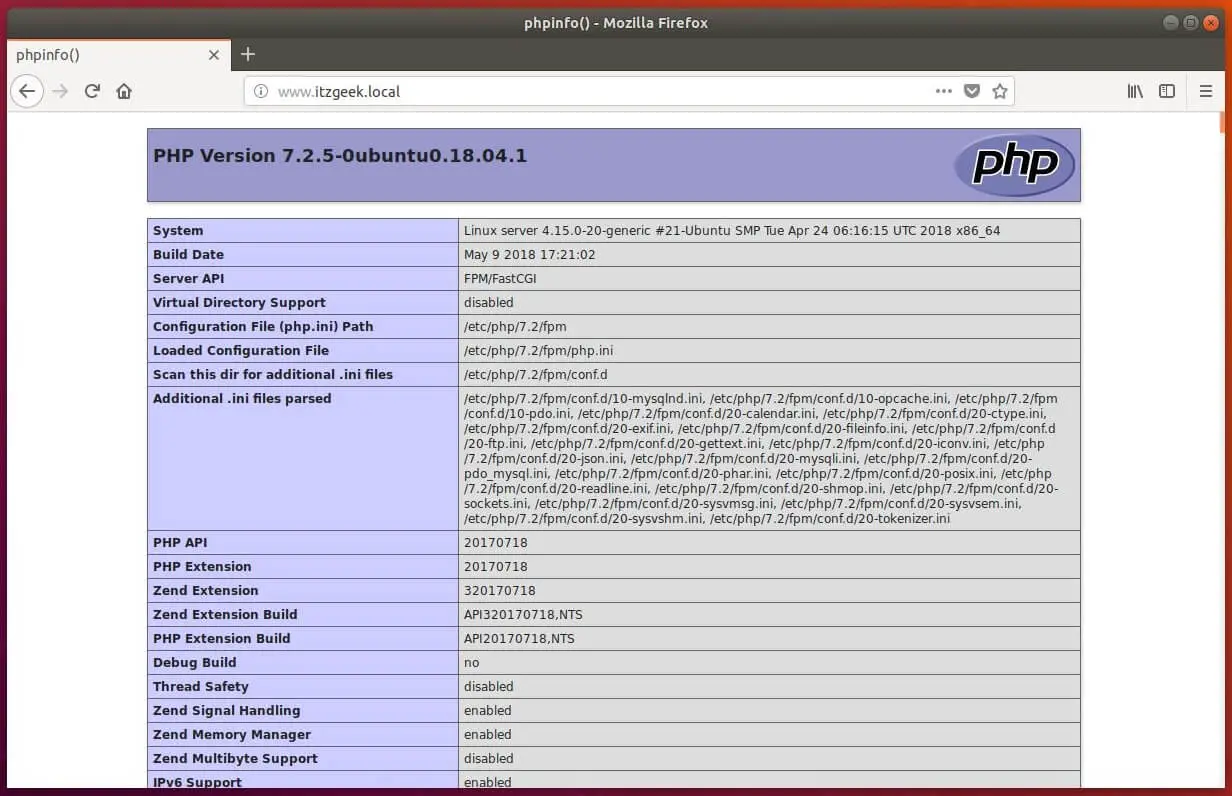
From the above screenshot, PHP is working through FastCGI that is shown in the Server API line.
Scroll further down, and you will see all modules that are enabled in PHP.
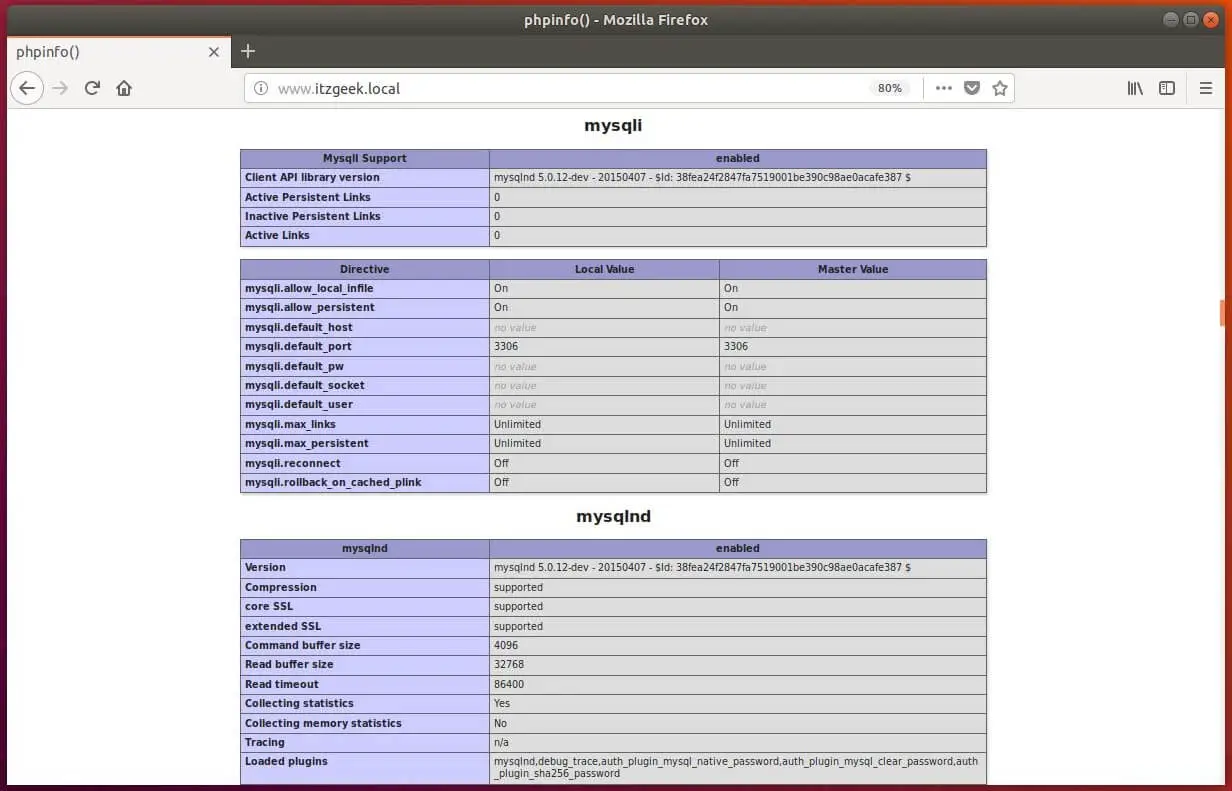
Scroll down the browser and look for the MariaDB support information.
That’s All.