NetBeans IDE offers platform framework for Java desktop applications and an integrated development environment for developing with Java, JavaScript, PHP, Python (no longer supported after NetBeans 7), Groovy, C, C++, Scala, Clojure, and others.
NetBeans is available for Windows, Linux, Mac and Solaris operating system.
Here is the tutorial about how to install NetBeans IDE on Ubuntu 18.04.
Install Java JDK 8
NetBeans requires having the Java VM installed on the machine, so you would need to install either Oracle Java 8 or OpenJDK 8.
READ: How to Install Oracle JDK 8 on Ubuntu 18.04 / Ubuntu 17.10
Verify the Java version.
java -version
Output:
java version "1.8.0_171"
Java(TM) SE Runtime Environment (build 1.8.0_171-b11)
Java HotSpot(TM) 64-Bit Server VM (build 25.171-b11, mixed mode)
Download NetBeans IDE 8.2
Go to the download page of NetBeans and select the package as per your requirement.
OR
In terminal (Ctrl + Alt + T),
cd Downloads
wget https://download.netbeans.org/netbeans/8.2/final/bundles/netbeans-8.2-linux.sh
Here I used the whole package for this article.
Install NetBeans IDE 8.2
Install the downloaded package.
cd Downloads
sudo bash netbeans-8.2-linux.sh
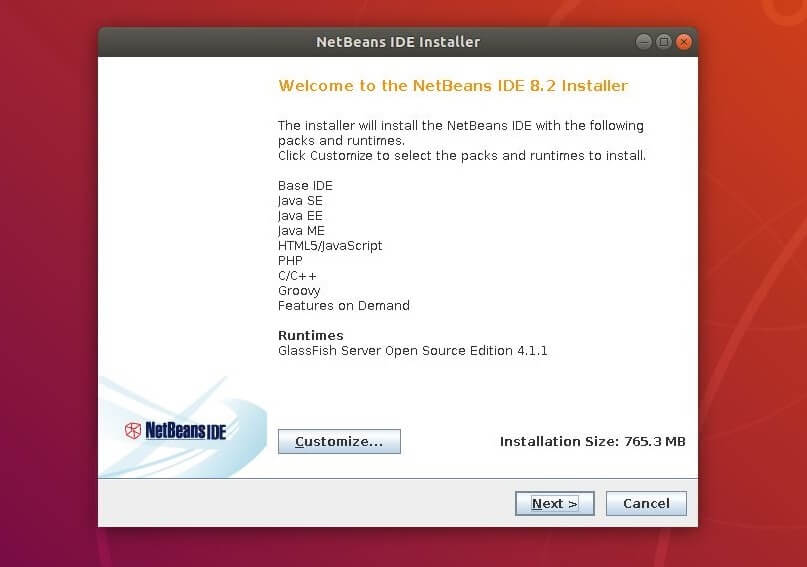
The package will start the graphical NetBeans IDE installer. Click Next or customize the installation according to your requirement.
Accept License agreement of NetBeans.

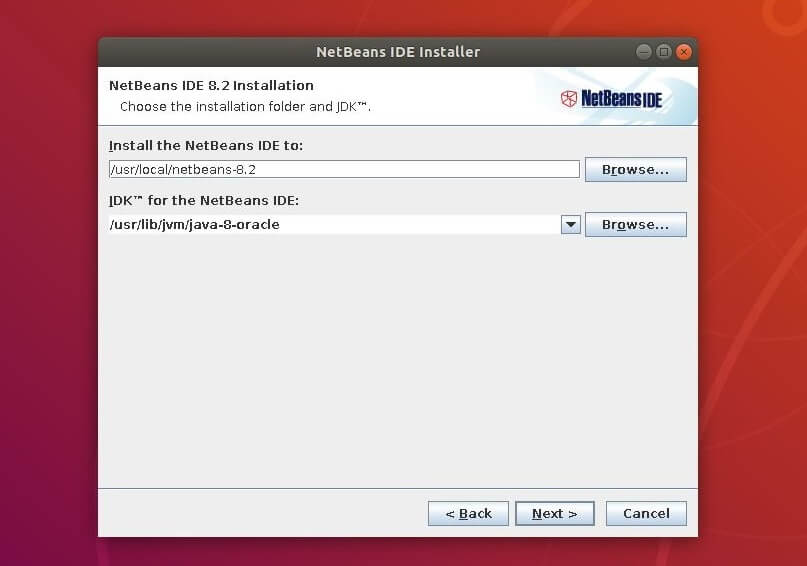
Choose the location for installing NetBeans IDE 8.2. Also, select the location of JDK installed on your machine.
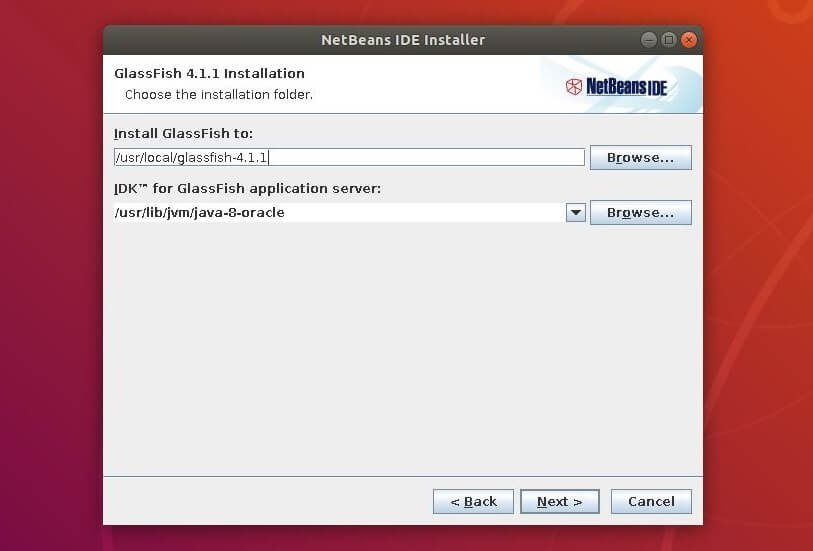
Choose the location for installing GlassFish Server.
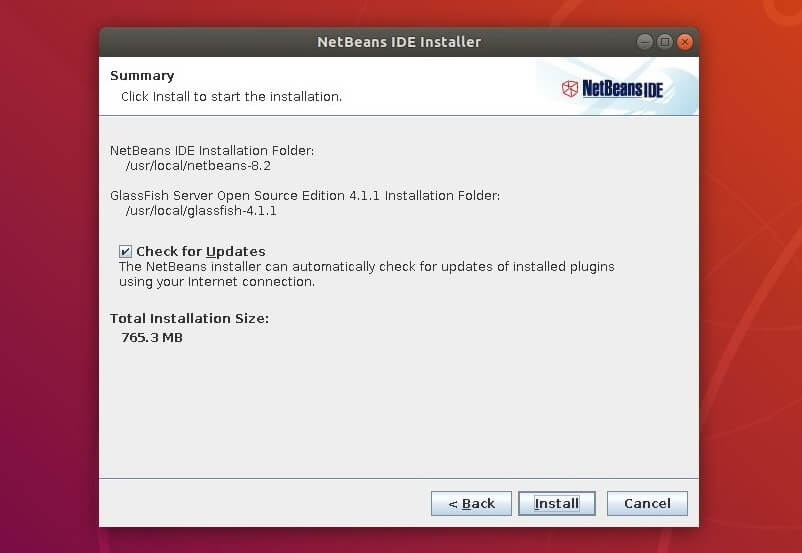
Click on Install to begin the installation.
NetBeans IDE installation is in progress.
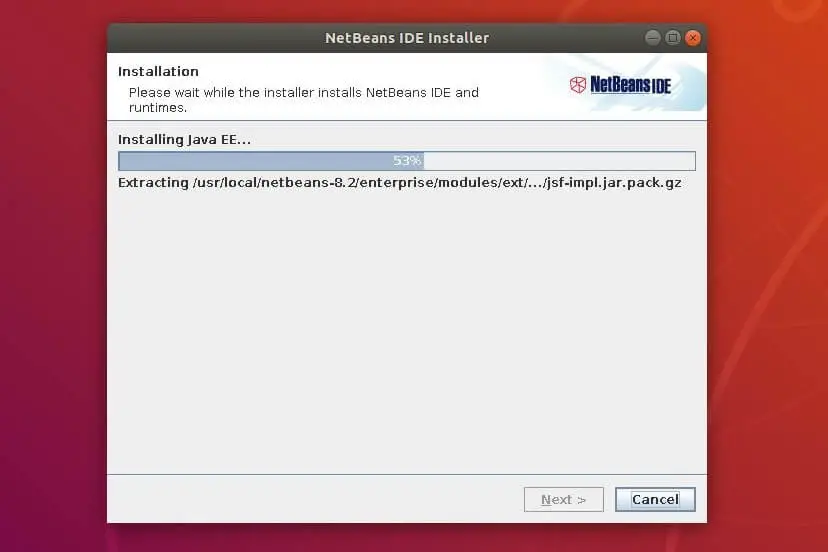
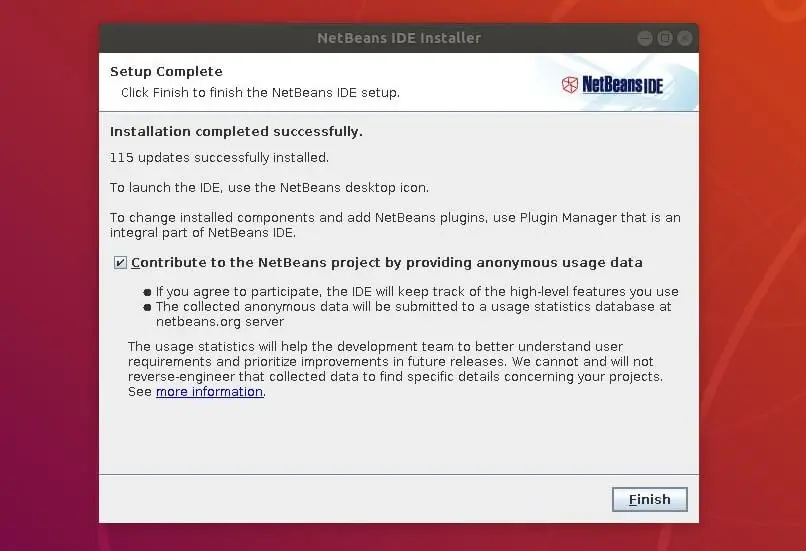
Wait for 10 to 15 minutes to let the installation complete. Click on Finish.
Start NetBeans IDE 8.2
Start NetBeans: Activities >> Search for Netbeans.

OR
Run NetBeans IDE from the installed directory.
/usr/local/netbeans-8.2/bin/netbeans
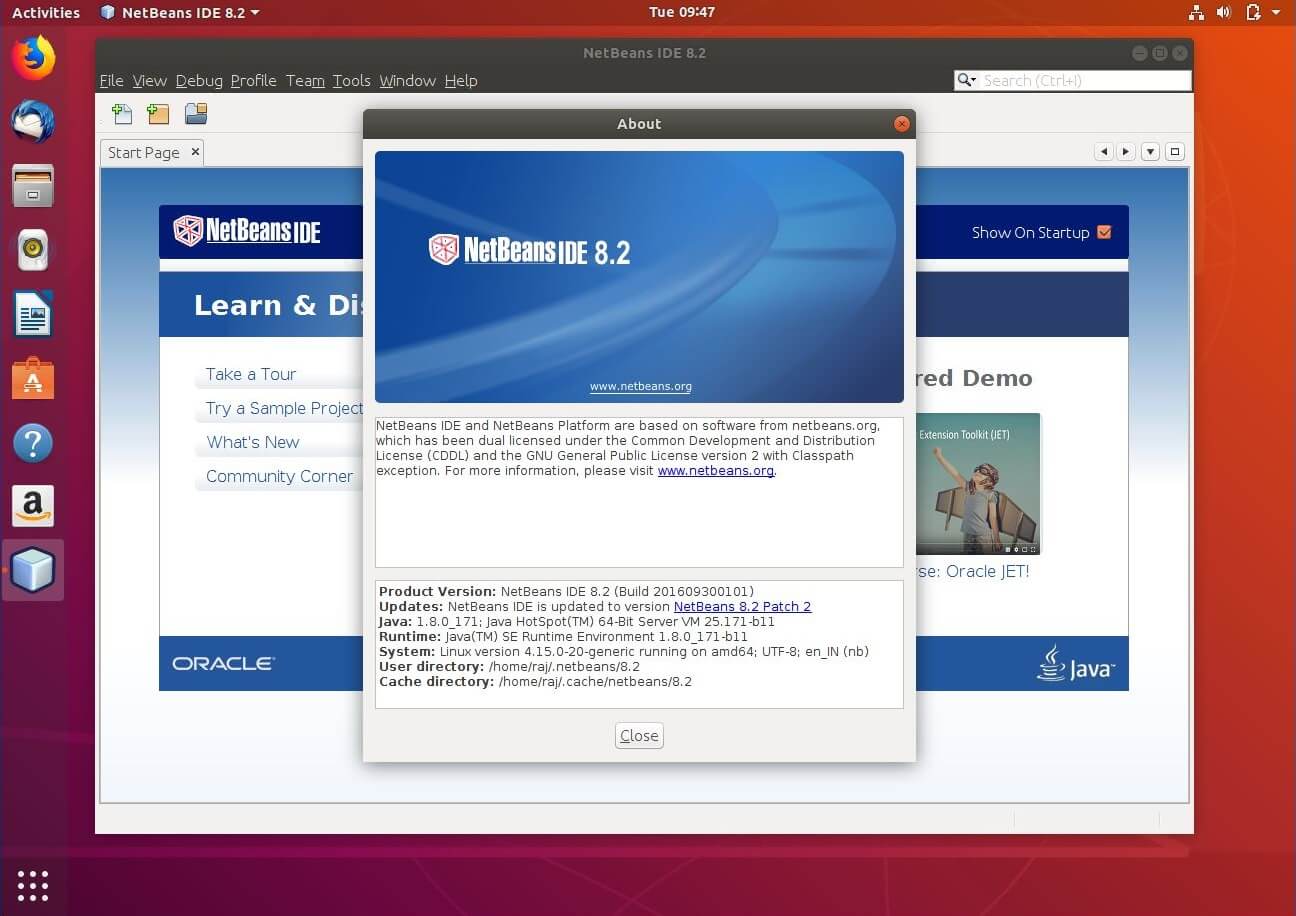
You will get home of NetBeans IDE 8.2.
Screenshot of NetBeans running on Ubuntu 18.04 / Ubuntu 17.10:
That’s all.