Zabbix is an open-source enterprise-class monitoring software for servers, network devices, and applications. Zabbix uses Zabbix Agent installed on monitored hosts to collect the data. Also, it can monitor standard services such as SMTP or HTTP web services without having a client on the monitored host.
Additionally, Zabbix supports monitoring via SNMP, TCP, and ICMP checks, as well as over IPMI, JMX, SSH, and telnet. Zabbix can alert you with real-time notification using XMPP.
Zabbix is released under the GPL license v2.
Here, we will see how to install Zabbix Server Ubuntu 18.04 / Ubuntu 16.04.
System Requirements
Hardware
Zabbix requires at least 128MB of RAM and 256MB of HDD space to start with. However, the amount of disk or memory depends on the number of hosts and parameters are being monitored.
Software
Zabbix 5.0 (LTS)
Apache: 1.3.12 or later
MySQL: 5.5 or 8.0.x / MariaDB: 10.0.3 or Later
PHP: 7.2.0 or later
Zabbix 4.0 (LTS)
Apache: 1.3.12 or later
MySQL: 5.0.3 or 8.0.x / MariaDB: Latest
PHP: 5.4.0 or later
Install Zabbix
Configure Zabbix repository
Zabbix is not included in Ubuntu repositories. So, to install Zabbix, we will need to set up the Zabbix repository on the system by installing the Zabbix repository configuration package.
Zabbix 5.0 (LTS)
### Ubuntu 18.04 ###

wget https://repo.zabbix.com/zabbix/5.0/ubuntu/pool/main/z/zabbix-release/zabbix-release_5.0-1+bionic_all.deb

sudo dpkg -i zabbix-release_5.0-1+bionic_all.deb
Zabbix 4.0 (LTS)
### Ubuntu 18.04 ###

wget https://repo.zabbix.com/zabbix/4.0/ubuntu/pool/main/z/zabbix-release/zabbix-release_4.0-3+bionic_all.deb

sudo dpkg -i zabbix-release_4.0-3+bionic_all.deb


### Ubuntu 16.04 ###

wget https://repo.zabbix.com/zabbix/4.0/ubuntu/pool/main/z/zabbix-release/zabbix-release_4.0-3+xenial_all.deb

sudo dpkg -i zabbix-release_4.0-3+xenial_all.deb
Install Zabbix Server
Use the apt command to install the Zabbix server along with MariaDB Server on your system.
Zabbix 5.0 (LTS) – Ubuntu 18.04
sudo apt update

sudo  apt install -y zabbix-server-mysql zabbix-frontend-php zabbix-apache-conf zabbix-agent
Zabbix 4.0 (LTS) – Ubuntu 18.04/16.04
sudo apt update

sudo apt -y install zabbix-server-mysql zabbix-frontend-php zabbix-agent
Timezone
Edit the Zabbix configuration file to update it with your timezone.
sudo nano /etc/zabbix/apache.conf
Update the below line with the correct timezone. See the link for more time zones.
<IfModule mod_php7.c>

       ...
       ...

       php_value date.timezone America/New_York

       ...
       ...

</IfModule>
Create Database
Login to the MariaDB server and create a database for our Zabbix installation.
sudo mysql -u root -p
Create a database with the following details.
DBName: zabbix
DBUser: zabbixuser
DBPassword: password
create database zabbix character set utf8 collate utf8_bin;

grant all privileges on zabbix.* to zabbixuser@localhost identified by 'password';

quit;
Once you create a database for Zabbix installation, import the initial schema, and data into it.
cd /usr/share/doc/zabbix-server-mysql

zcat create.sql.gz | mysql -u zabbixuser -p zabbix
Update Zabbix Configuration
Edit the zabbix_server.conf file to set the database details.
sudo nano /etc/zabbix/zabbix_server.conf
Make sure you set as follows.
DBHost=localhost
DBName=zabbix
DBUser=zabbixuser
DBPassword=password
Restart all the services.
sudo systemctl restart zabbix-server zabbix-agent apache2
Enable the Zabbix services to start automatically on system reboot.
sudo systemctl enable zabbix-server zabbix-agent apache2
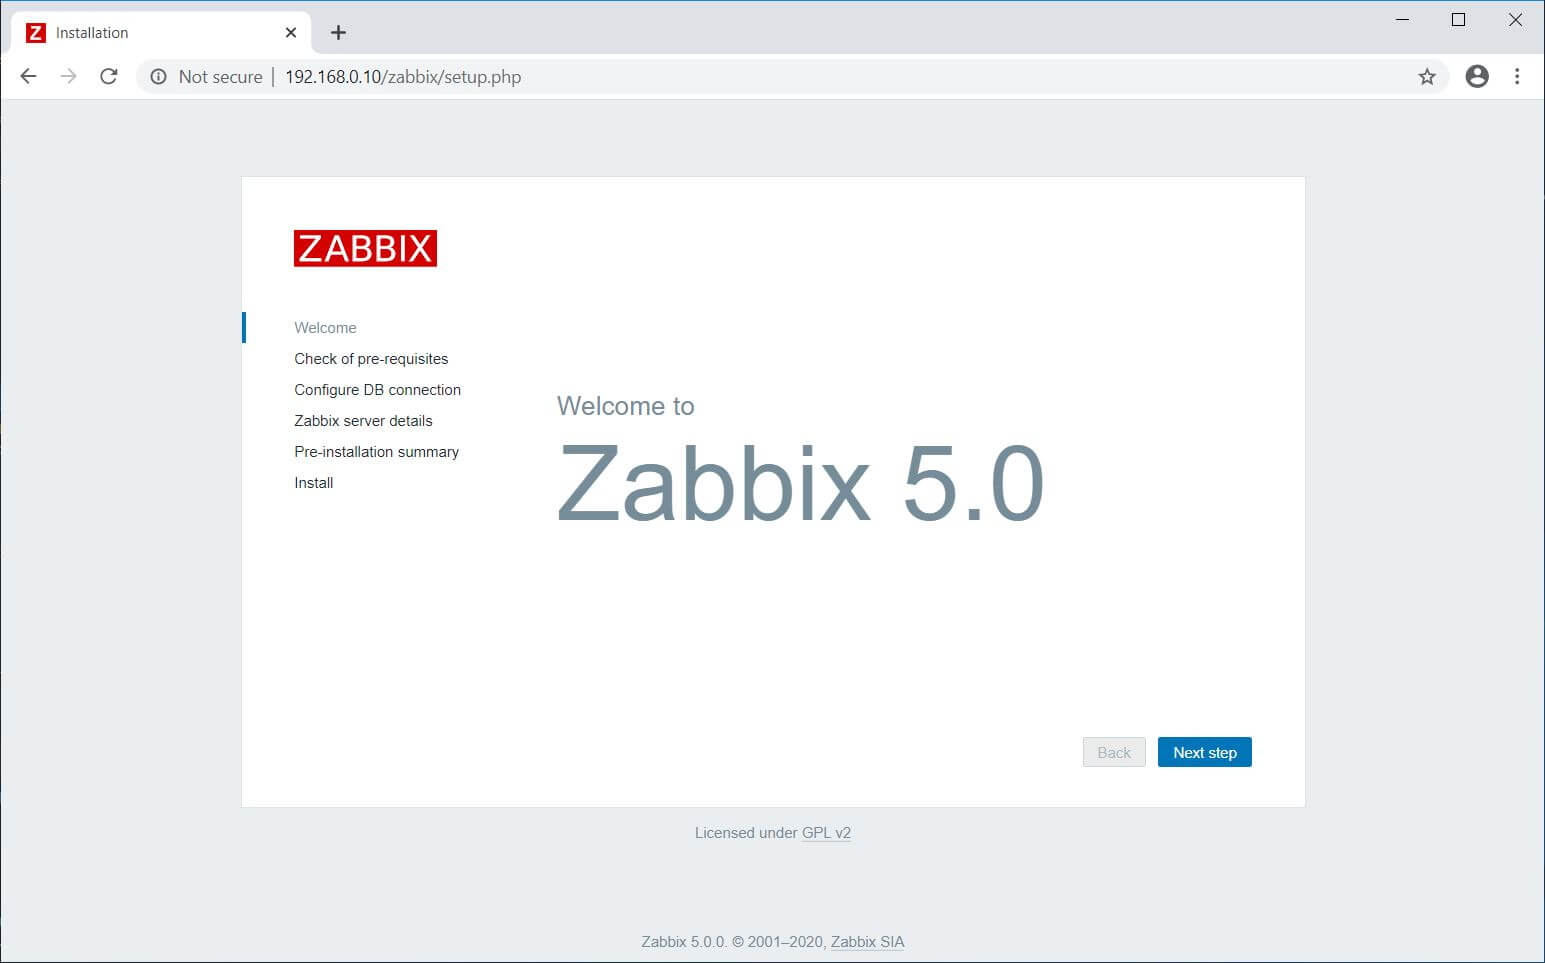
Setup Zabbix via Web Installer
Open a web browser and point it to the following URL.
Click Next Step on Zabbix welcome page.
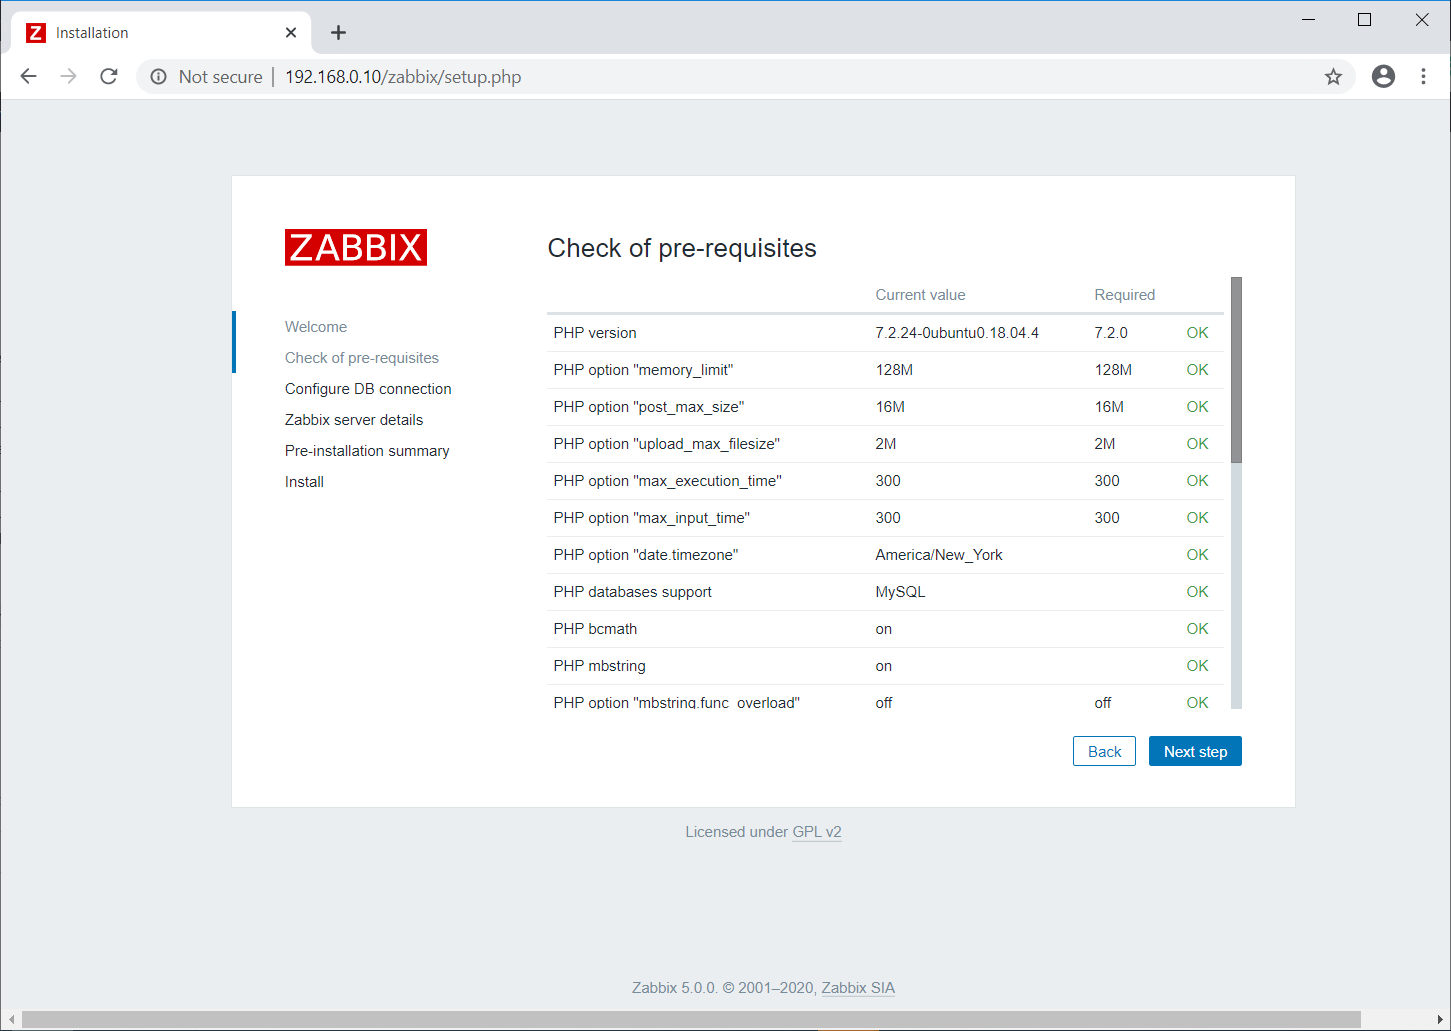
This step verifies all pre-requisites are met for Zabbix Installation. If there are any issues, this page will tell you what all the extensions are missing.
If everything is OK, click the Next Step.
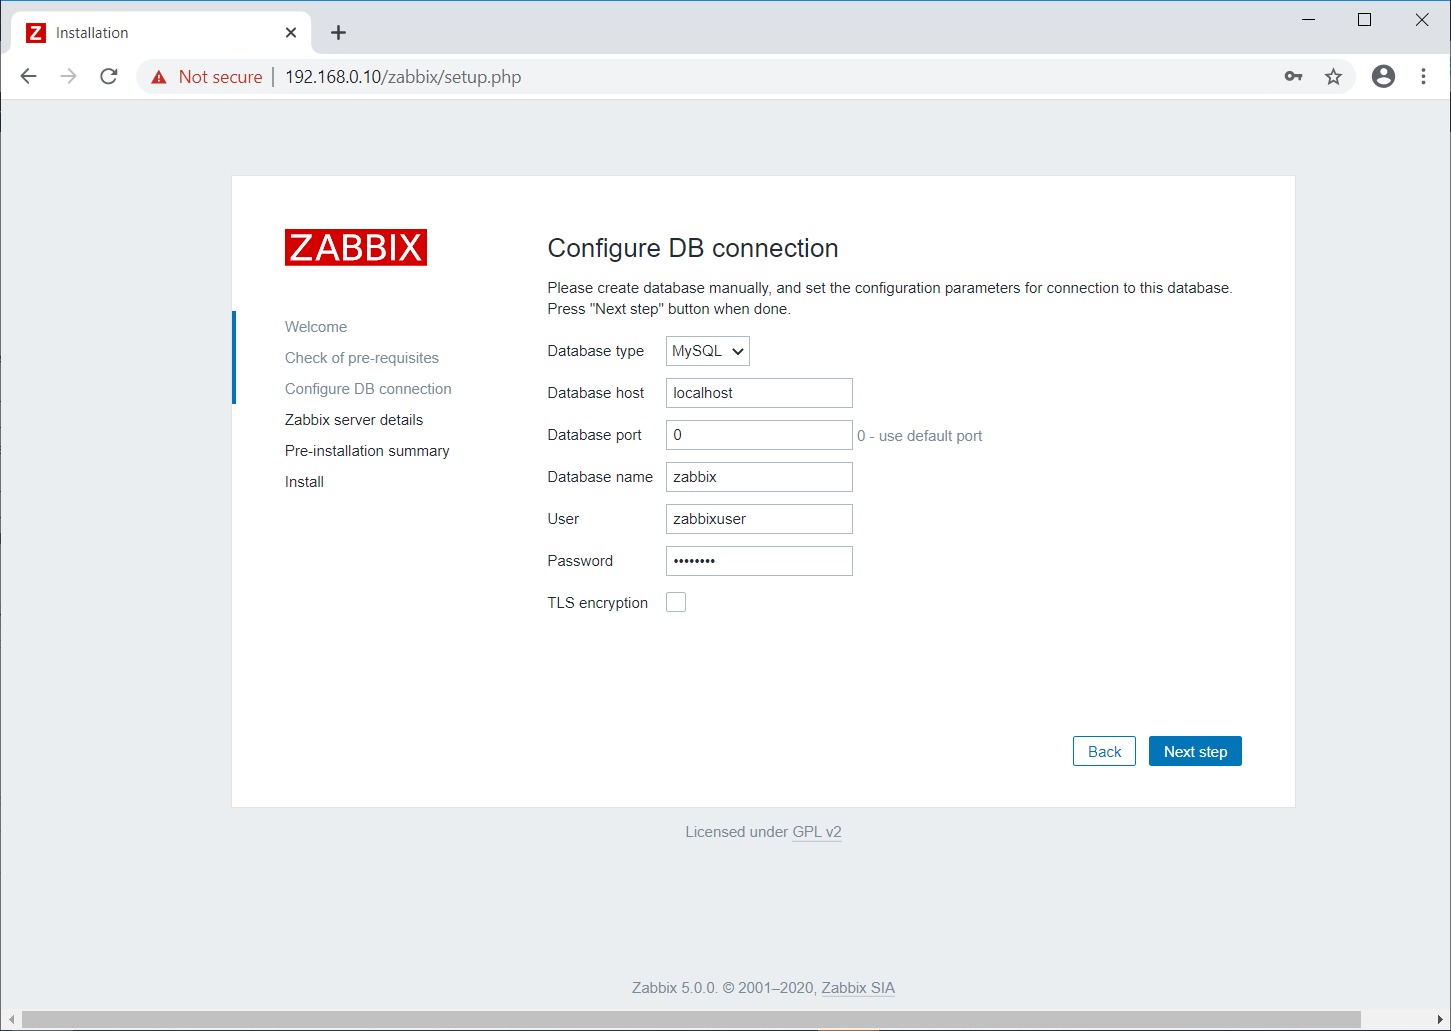
Enter the Zabbix database name, DB user, and password, and then click Next Step.
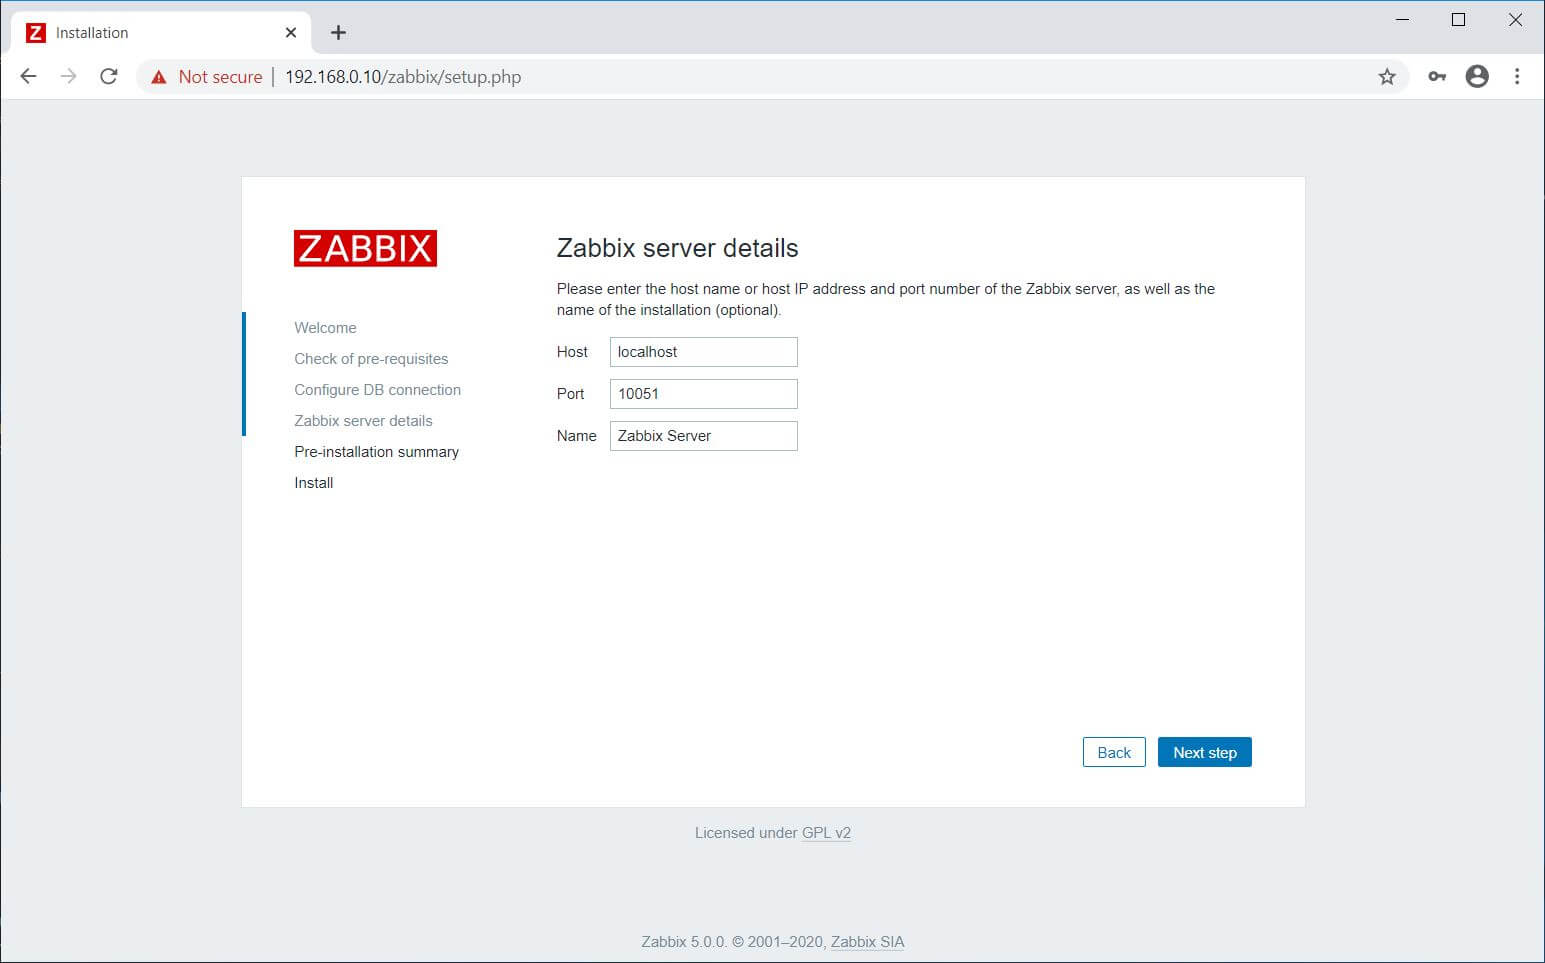
Mention the Zabbix server details, port number, and the name for the Zabbix installation.
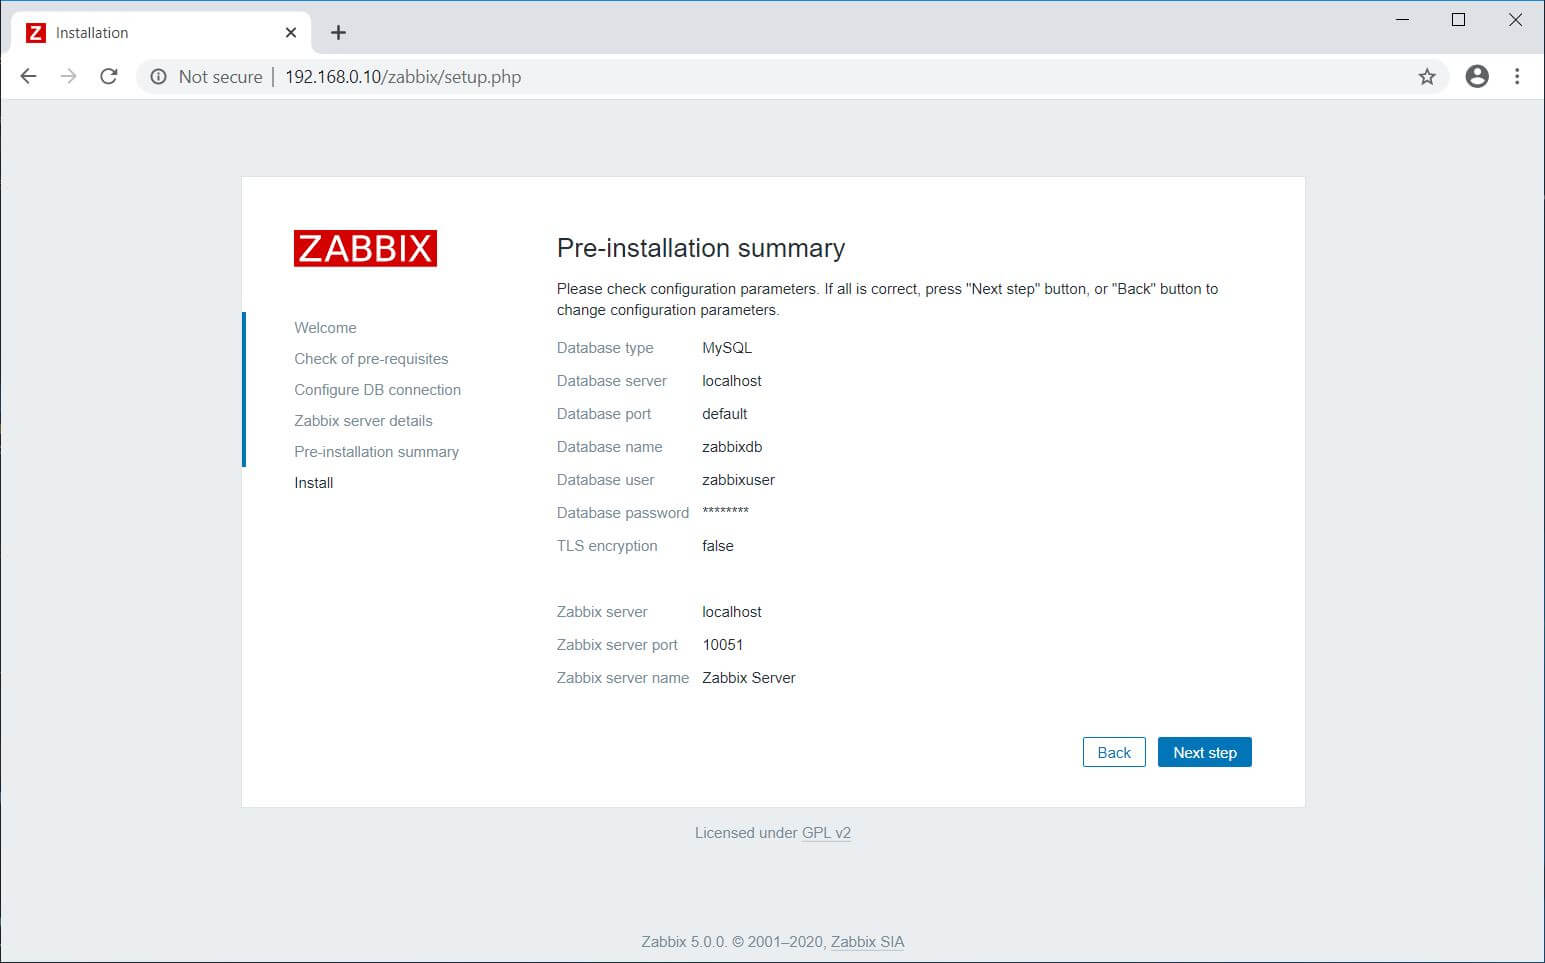
You will get a pre-installation summary like below. Click Next Step to go to the next page.
Now, you have completed the installation of Zabbix. Click Finish.
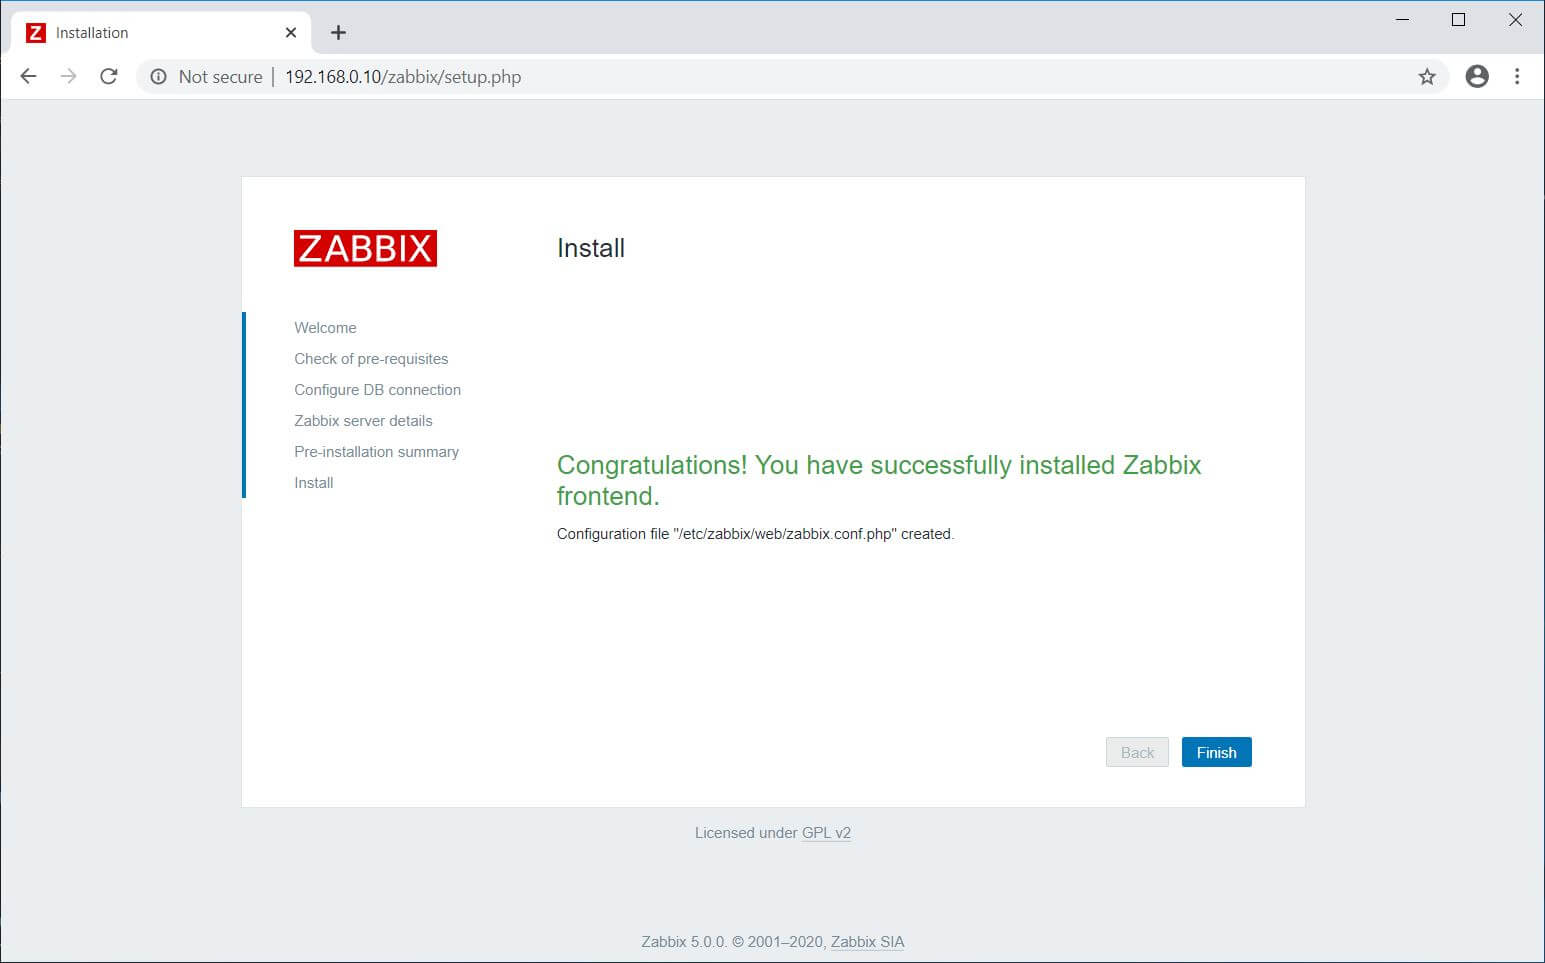
Once after you clicked the Finish button, the installer will redirect you to the Zabbix Login Page.
Access Zabbix
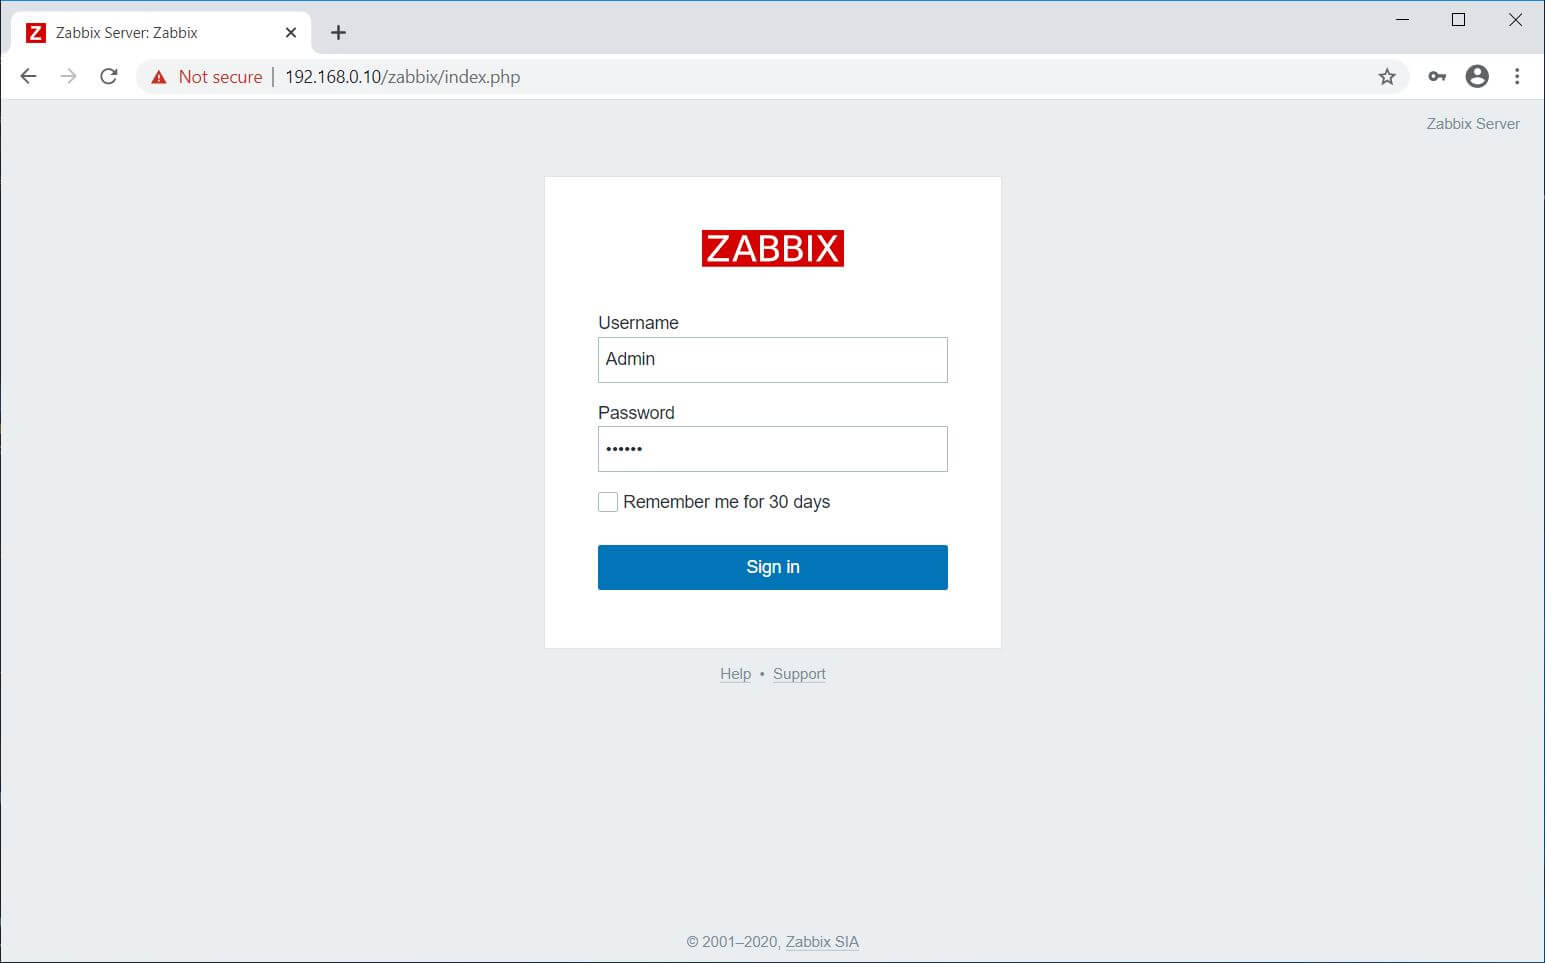
Log in to Zabbix Server with the default username and password.
Username: Admin.
Password: zabbix.
Zabbix Dashboard:


Conclusion
That’s All. Now, you can proceed to install Zabbix Agent on client systems and then add client machines to Zabbix server for monitoring.