![]() Using VirtualBox you can create and run guest operating systems (“virtual machines”) such as Linux and Windows under a host operating system. There are two ways of installing VirtualBox: from pre-compiled binaries and from the sources code. This tutorial shows you how to set up VirtualBox 4.3 from the pre-compiled binaries.
Using VirtualBox you can create and run guest operating systems (“virtual machines”) such as Linux and Windows under a host operating system. There are two ways of installing VirtualBox: from pre-compiled binaries and from the sources code. This tutorial shows you how to set up VirtualBox 4.3 from the pre-compiled binaries.
From the version 2.0 VirtualBox supports 32 and 64bit host and guest operating systems (if you want to install 64bit guests your processor must support hardware virtualization and, of course, the host operating system must be 64bit as well).
Step 1: Open up the Terminal (Dash Home > Search > Terminal).
Step 2: Open /etc/apt/sources.list file.
sudo gedit /etc/apt/sources.list
Step 4: Add the following line in to that file.
deb https://download.virtualbox.org/virtualbox/debian trusty contrib
Step 3: Import the Public key of the Oracle VirtualBox repository to your system.
wget -q https://download.virtualbox.org/virtualbox/debian/oracle_vbox.asc -O- | sudo apt-key add -
Step 4: Update the package database.
sudo apt-get update
Step 5: Install the VirtualBox 4.3. Command as follows.
sudo apt-get install virtualbox-4.3
Note: dkms package ensures that the VirtualBox host kernel modules (vboxdrv, vboxnetflt and vboxnetadp) are properly updated if the Linux kernel version changes during the next apt-get upgrade.
sudo apt-get install dkms
That’s All!. VitualBox 4.3 successfully installed on your Ubuntu 14.04.
Step 6: Start VirtualBox (Dash Home —> Search > Oracle VM VirtualBox).
Step 7: On first start, it will prompt you to accept the license agreement; Just Accept License Agreement.
Next you will get the Home screen of the Oracle VirtualBox Manager, here you can manage the Virtual Machines.
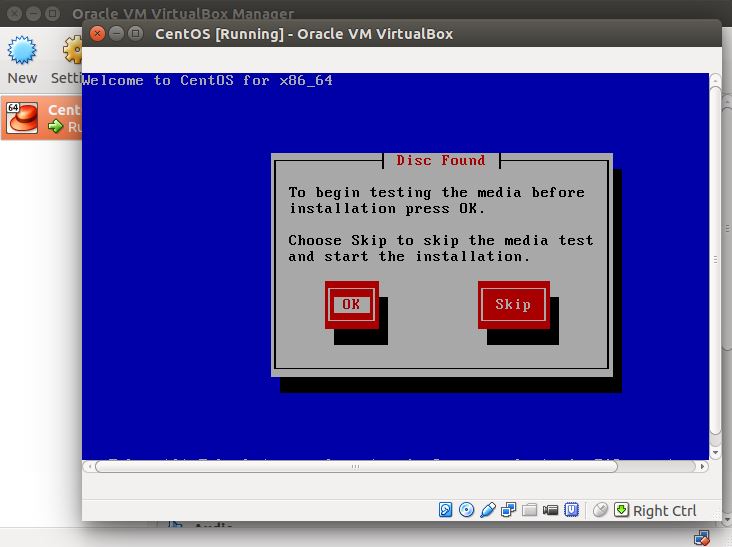
Why are you waiting for, go and install the VirtualBox 4.2 on Ubuntu 13.04 and Play with VM’s.