Cacti is an open-source web-based network monitoring tool designed as the front end application for the RRDtool (Round-Robin Database tool), it allows a user to poll the services at an interval of time and resulting in the graph format.
Cacti is used to get graph data of CPU, memory, process count, and network bandwidth utilization of a system. With Cacti, we can monitor the network traffic of a router or switch via SNMP.
Here, we will see how to install Cacti on CentOS 8 / RHEL 8.
Prerequisites
Cacti package is available in EPEL repository for CentOS 8 / RHEL 8.
yum install -y https://dl.fedoraproject.org/pub/epel/epel-release-latest-8.noarch.rpm
Install SNMP and RRDTool.
yum install -y net-snmp net-snmp-utils net-snmp-libs rrdtool
Install the MariaDB database server from the base repository.
READ: How To Install MariaDB from MariaDB Community
yum install -y mariadb-server mariadb
Install the required PHP extensions.
yum install -y php php-xml php-session php-sockets php-ldap php-gd php-json php-mysqlnd php-gmp php-mbstring php-posix php-snmp php-intl
Start the following services.
systemctl start httpd

systemctl start snmpd

systemctl start mariadb
Enable services to start at system start-up.
systemctl enable httpd

systemctl enable snmpd

systemctl enable mariadb
Database Tuning
Cacti recommend changing MySQL variables settings for better performances. Edit configuration file depends on the operating system.
vi /etc/my.cnf.d/mariadb-server.cnf
Add variables in the [mysqld] section.
collation-server=utf8mb4_unicode_ci
character-set-server=utf8mb4
max_heap_table_size=32M
tmp_table_size=32M
join_buffer_size=64M
# 25% Of Total System Memory
innodb_buffer_pool_size=1GB
# pool_size/128 for less than 1GB of memory
innodb_buffer_pool_instances=10
innodb_flush_log_at_timeout=3
innodb_read_io_threads=32
innodb_write_io_threads=16
innodb_io_capacity=5000
innodb_io_capacity_max=10000
Restart the service.
systemctl restart mariadb
Create Cacti Database
Create a database for Cacti.
If you are configuring the MariaDB database server for the first time, take a look at how to secure the MariaDB database server.
# mysql -u root -p

Enter password:
Welcome to the MariaDB monitor.  Commands end with ; or \g.
Your MariaDB connection id is 8
Server version: 10.3.11-MariaDB MariaDB Server

Copyright (c) 2000, 2018, Oracle, MariaDB Corporation Ab and others.

Type 'help;' or '\h' for help. Type '\c' to clear the current input statement.

MariaDB [(none)]>
Create a database for Cacti installation.
create database cacti;
Grant permission to the newly created database.
GRANT ALL ON cacti.* TO cactiuser@localhost IDENTIFIED BY 'cactipassword';

flush privileges;

exit
The newly created database user (cactiuser) should have access to the mysql.time_zone_name table. To do that, import the mysql_test_data_timezone.sql to mysql database.
mysql -u root -p mysql < /usr/share/mariadb/mysql_test_data_timezone.sql
Then, log in to MySQL.
mysql -u root -p
Grant the permission to cactiuser.
GRANT SELECT ON mysql.time_zone_name TO cactiuser@localhost;

flush privileges;

exit
Install & Configure Cacti
Use the yum command on CentOS / RHEL to install Cacti package.
yum install -y cacti
Import the default database to the cacti database.
mysql cacti < /usr/share/doc/cacti/cacti.sql -u cactiuser -p
Edit the config file to specify the database type, name, hostname, user, and password information.
vi /usr/share/cacti/include/config.php
Make the changes accordingly.
/*
* Make sure these values reflect your actual database/host/user/password
*/

$database_type = 'mysql';
$database_default = 'cacti';
$database_hostname = 'localhost';
$database_username = 'cactiuser';
$database_password = 'cactipassword';
$database_port = '3306';
Edit the Cacti’s cron entry in the crontab file to poll every five minutes.
vi /etc/cron.d/cacti
Uncomment the below line.
*/5 * * * * apache /usr/bin/php /usr/share/cacti/poller.php > /dev/null 2>&1
Edit the Apache configuration file to perform the remote installation.
vi /etc/httpd/conf.d/cacti.conf
Modify the first directory stanza.
Remove Require host localhost line and add Require all granted line in the directory stanza.
Alias /cacti    /usr/share/cacti


<Directory /usr/share/cacti/>
        <IfModule mod_authz_core.c>
                # httpd 2.4
                Require all granted
        </IfModule>
        <IfModule !mod_authz_core.c>
                # httpd 2.2
                Order deny,allow
                Deny from all
                Allow from localhost
        </IfModule>
</Directory>
Set the timezone by editing /etc/php.ini file.
vi /etc/php.ini
Update the PHP parameters.
date.timezone = US/Central

memory_limit = 512M

max_execution_time = 60
Restart the services.
systemctl restart httpd

systemctl restart php-fpm
Firewall
Configure the firewall to allow HTTP service.
firewall-cmd --permanent --add-service=http

firewall-cmd --reload
SELinux
It is recommended to disable SELinux permanently for Cacti to work correctly. To temporarily disable the SELinux, run the following command in the terminal.
setenforce 0
Setup Cacti Web Interface
Visit the following URL to start the installation of cacti.
The initial login details:
Username: admin
Password: admin
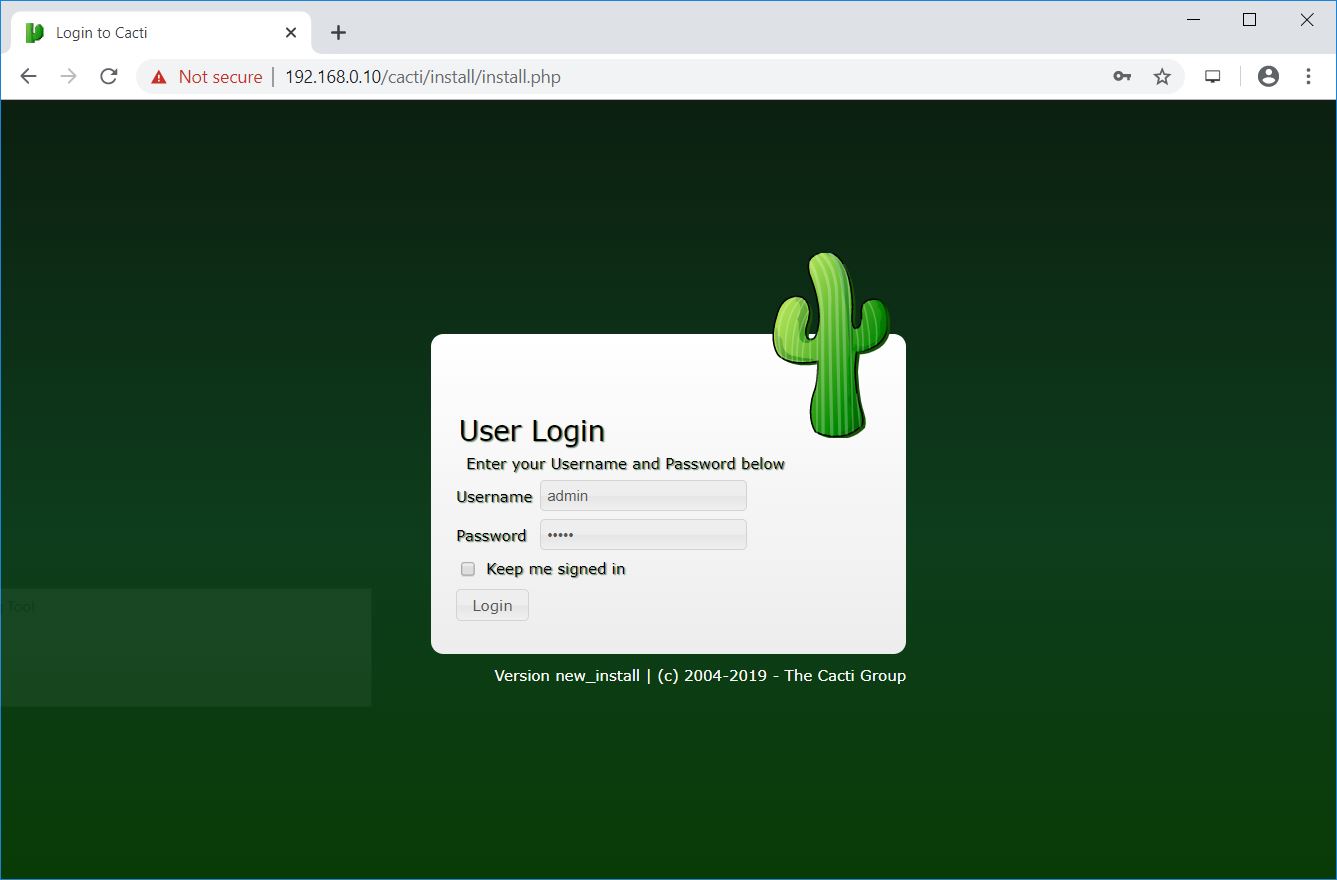
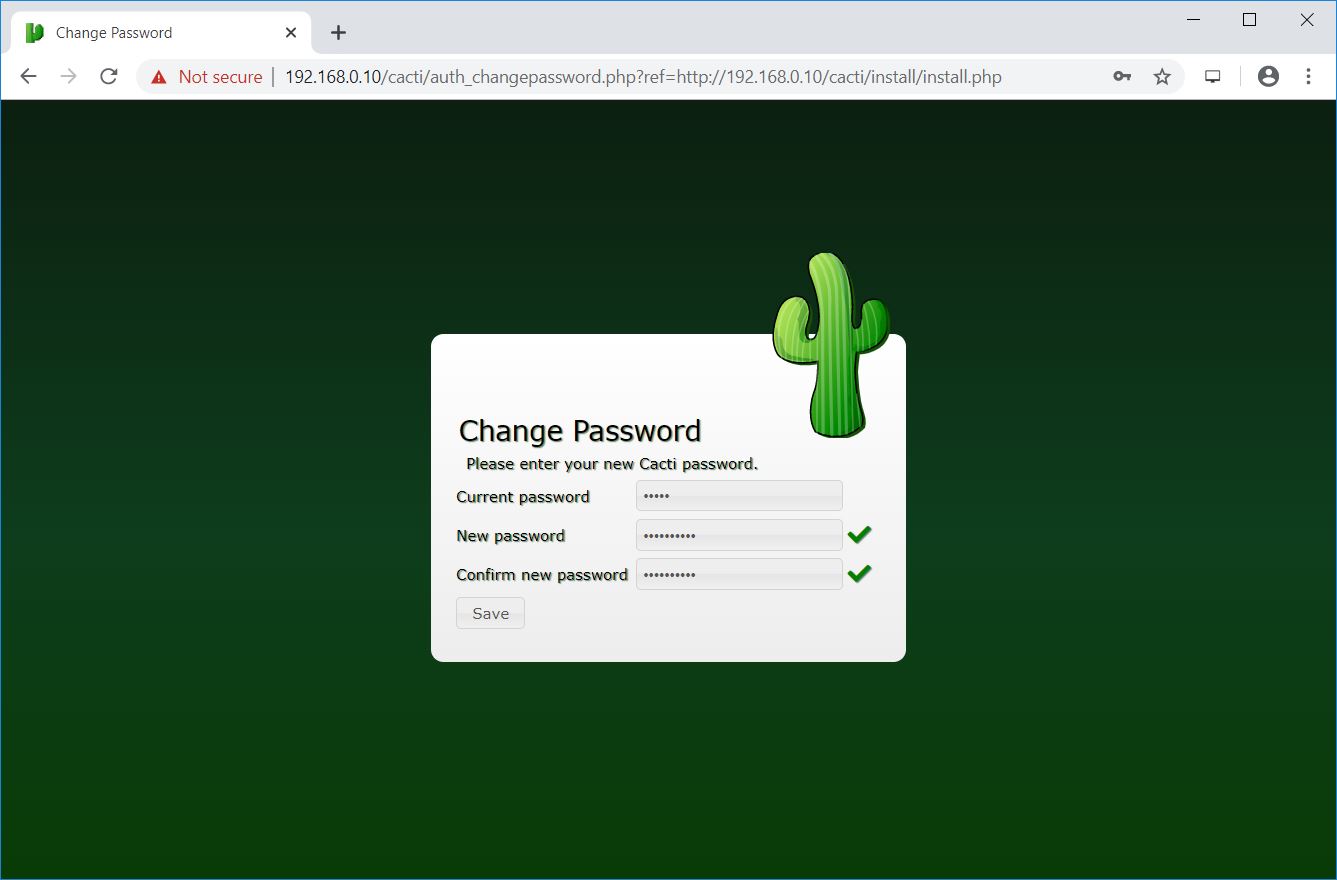
Change the admin user’s password.
Accept the License Agreement on this page and then click on Next to continue.

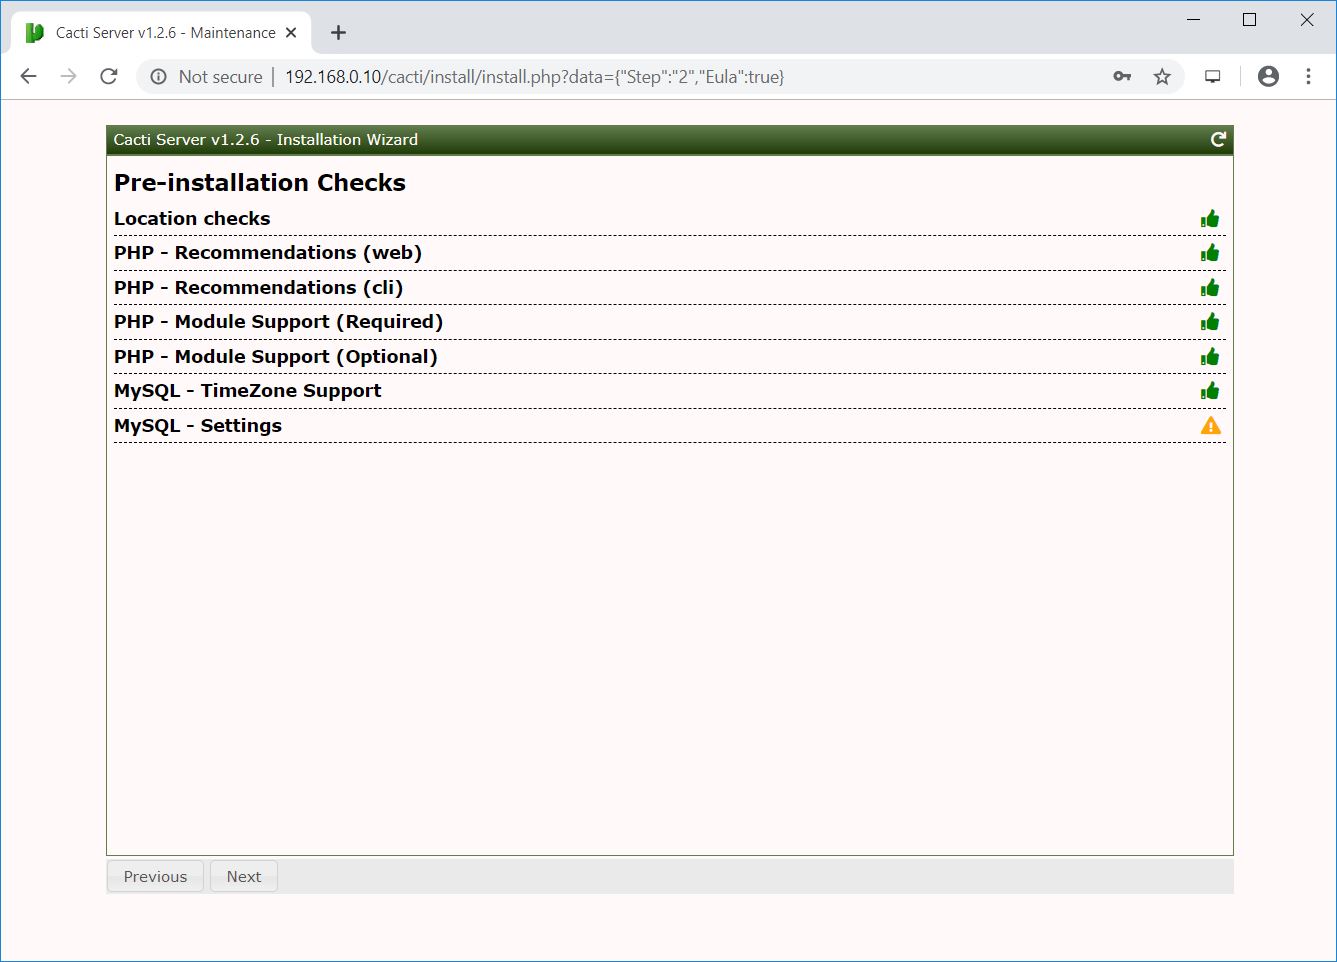
The Cacti installer now performs pre-installation checks to determine whether the system meets the requirements for the Cacti installation.
Ensure all checks are green. Consider fixing any warnings the installer reports on this page.
Move to the next step by clicking the Next button located at the left bottom of the page.
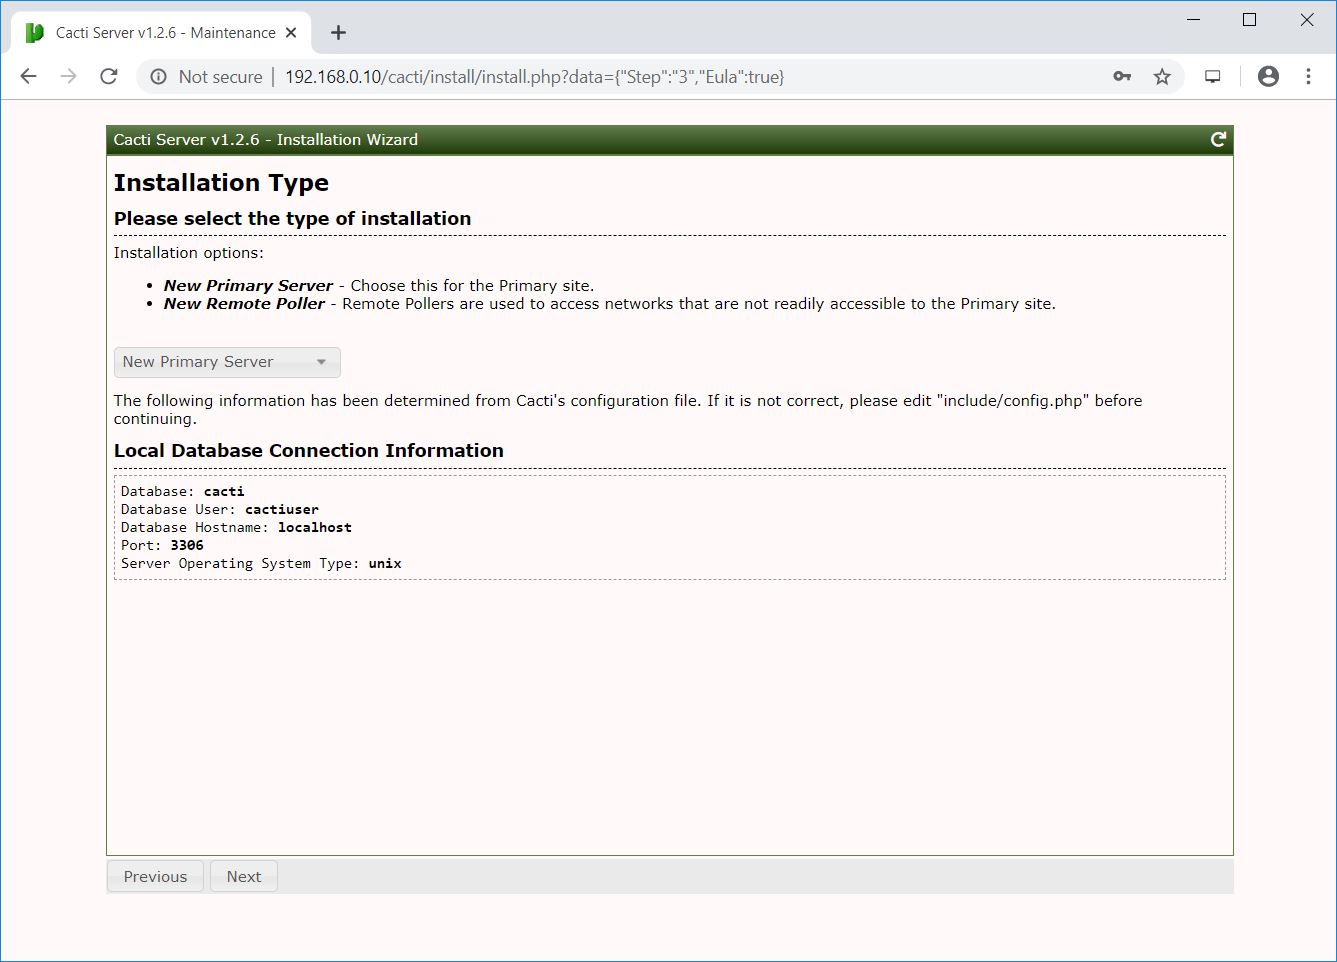
Select New Primary Server or the new installation and then click Next.
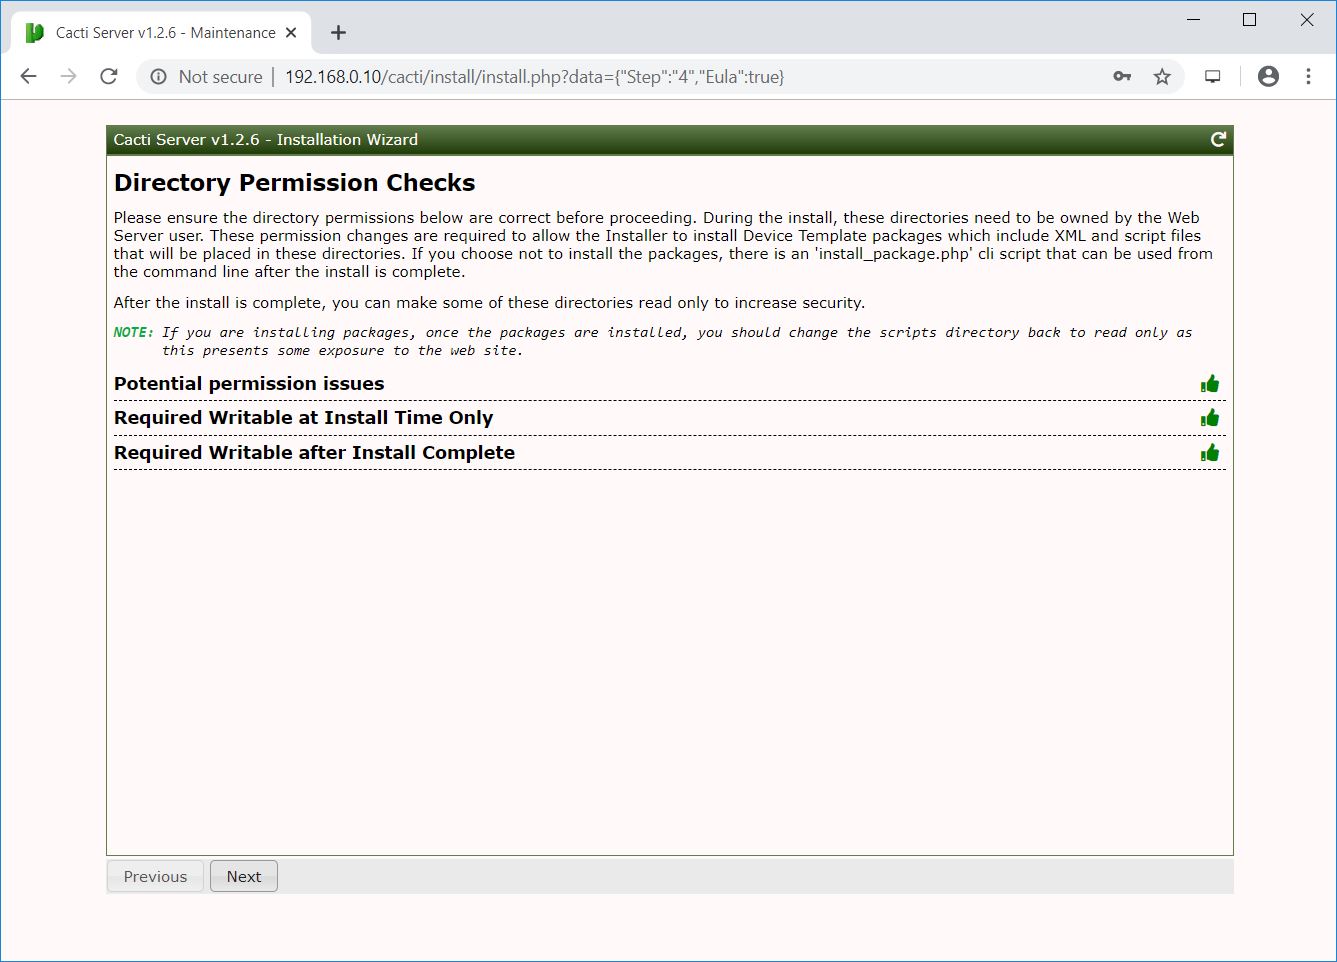
This step checks and reports for permission problems you may have in the Cacti installation directory.
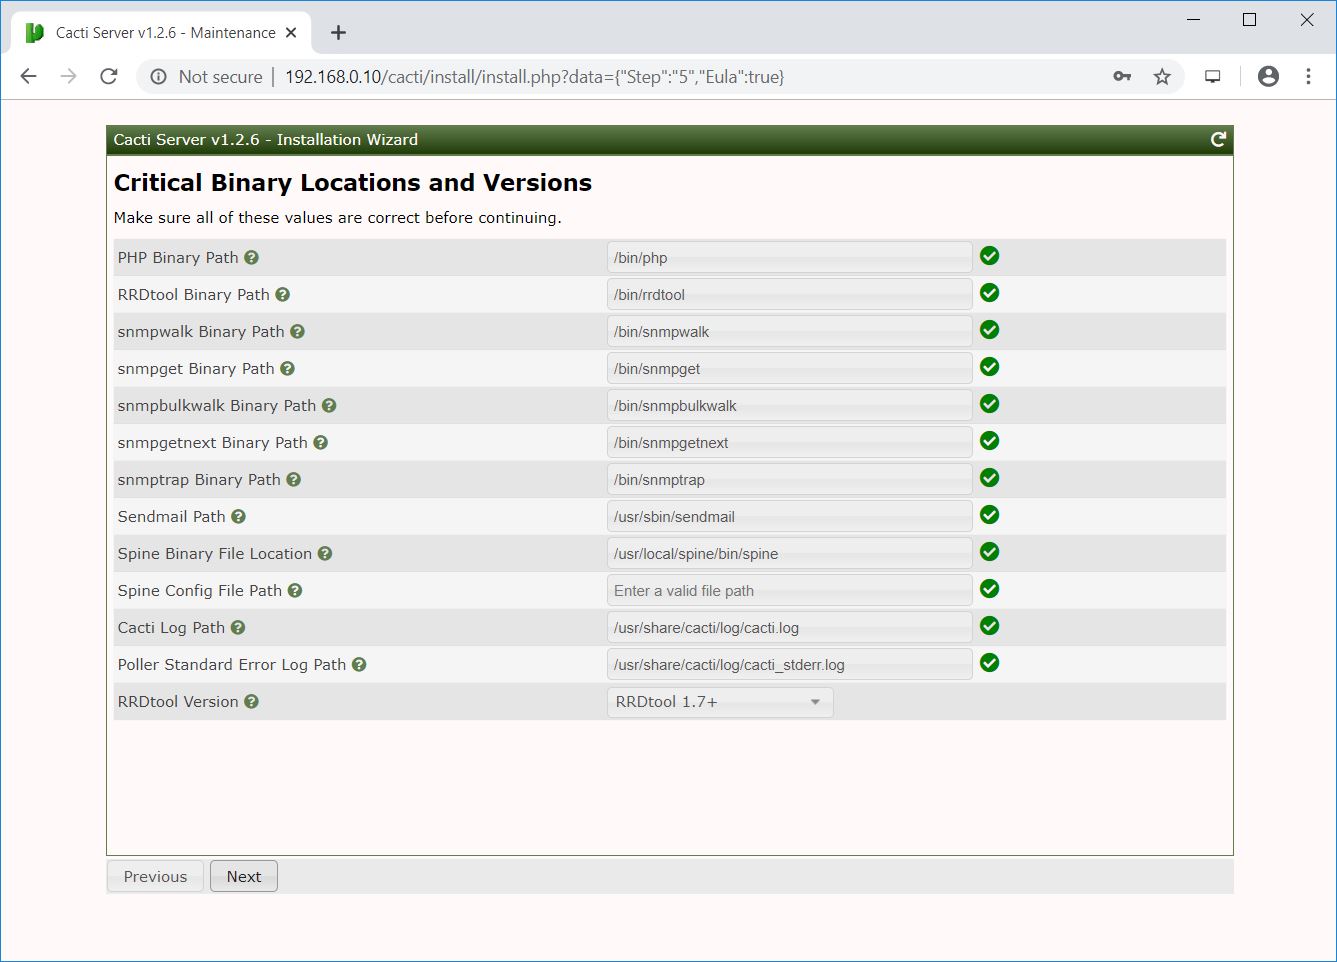
It will show you if there is any package is missing that is mandatory for the Cacti.
Click Next.
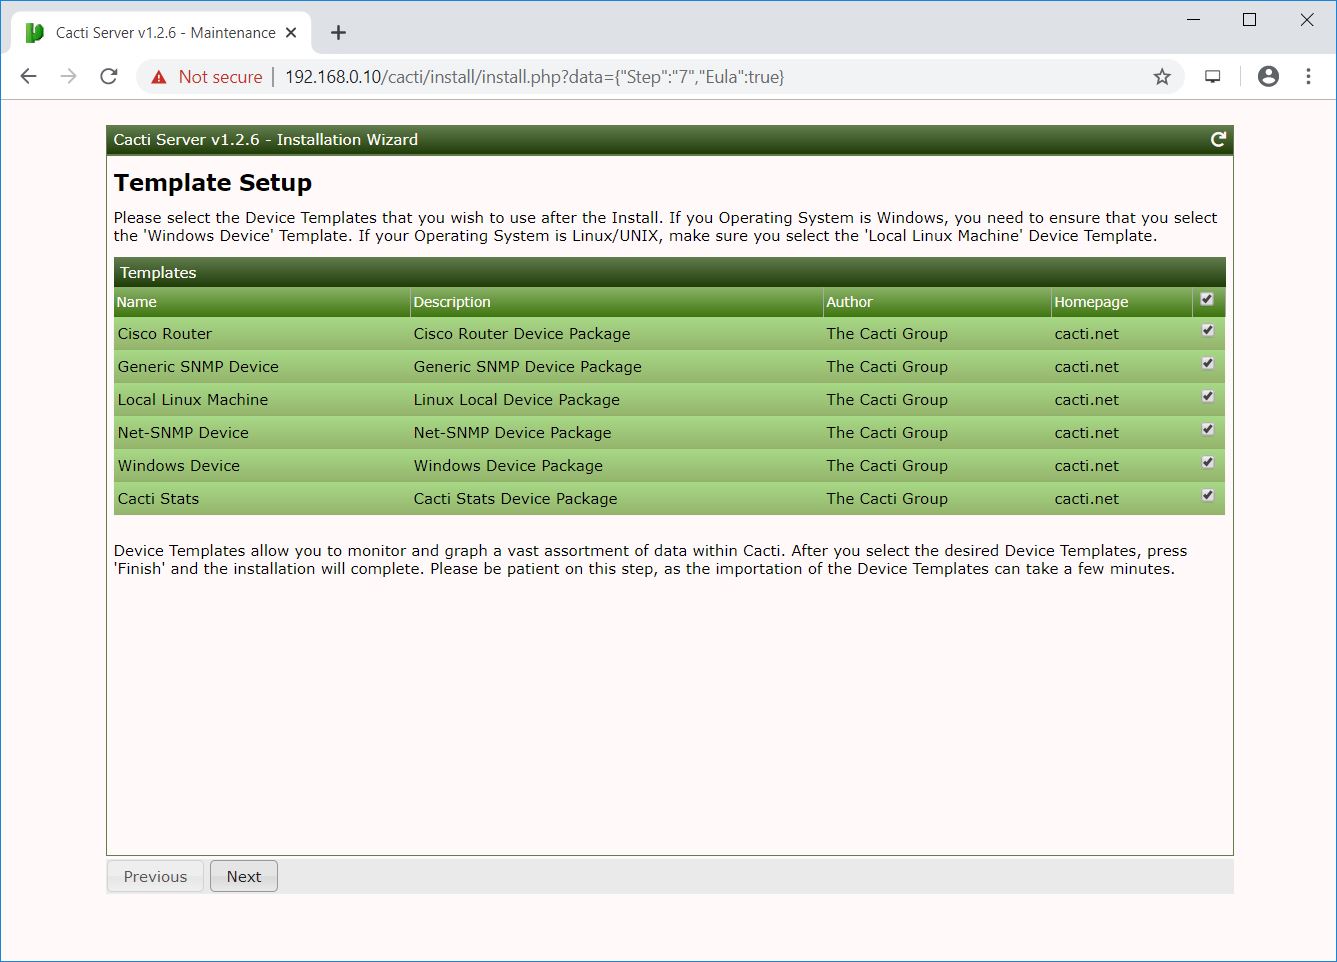
Select all templates and click Next.
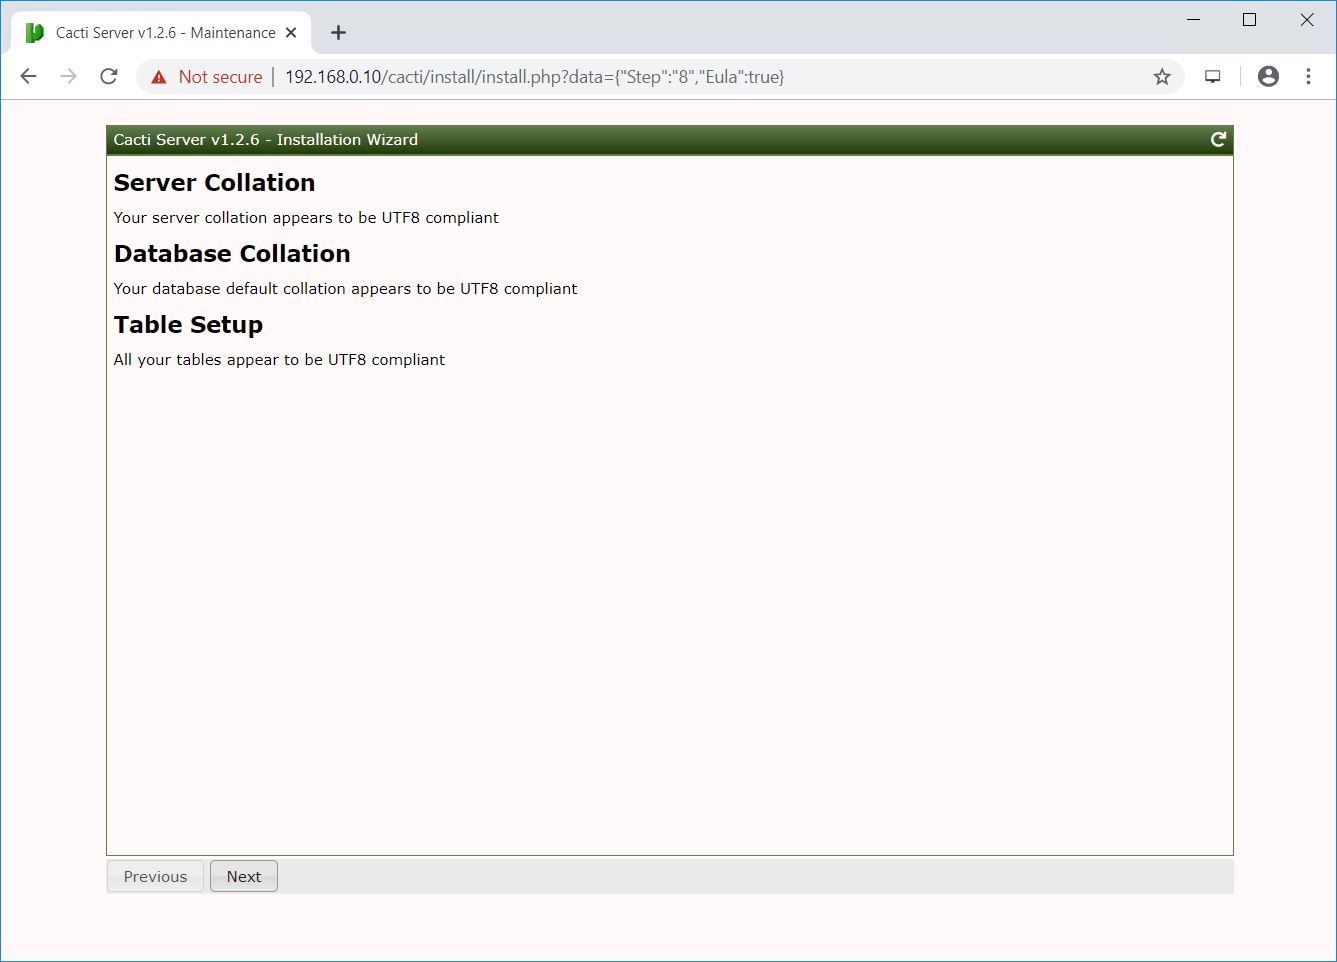
This step reports if the database is not UTF8 compliant.
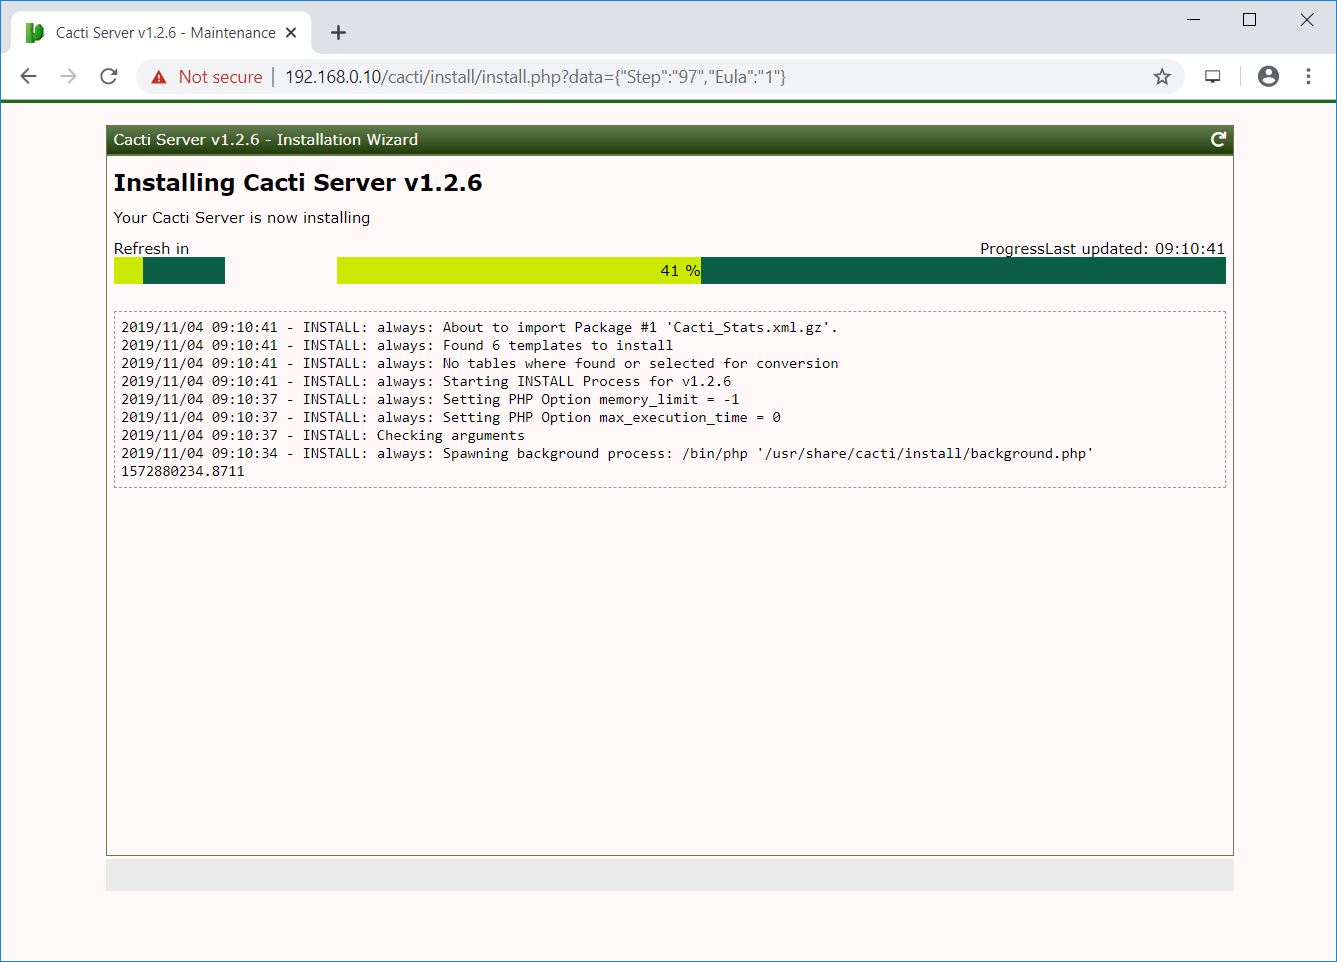
Press Confirm Installation and then click Install begin the Cacti installation.

The installation is in progress.
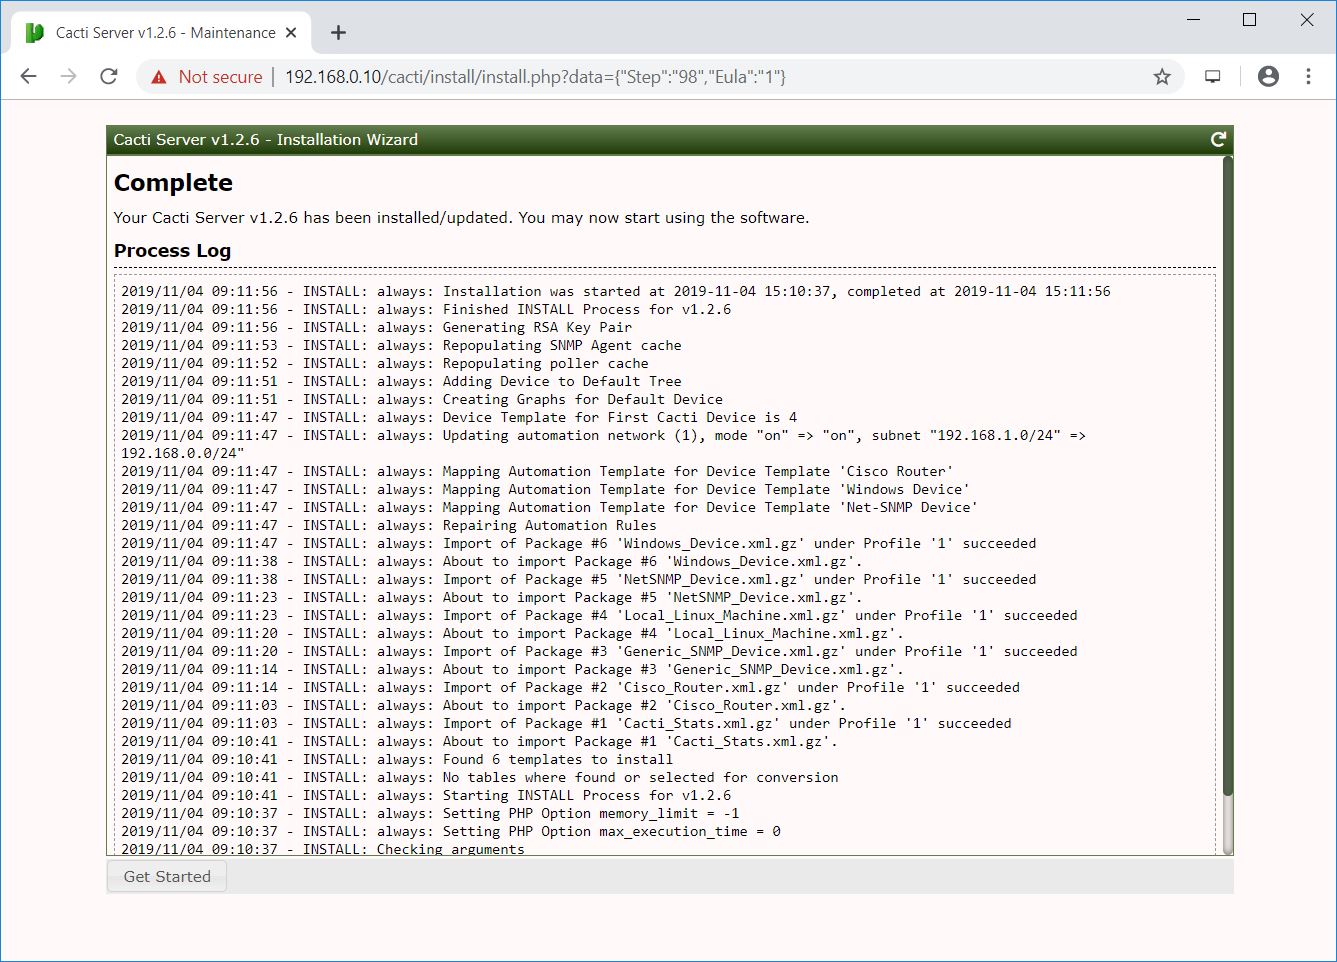
The Cacti installation is now complete. Click Get Started to access the Cacti dashboard.
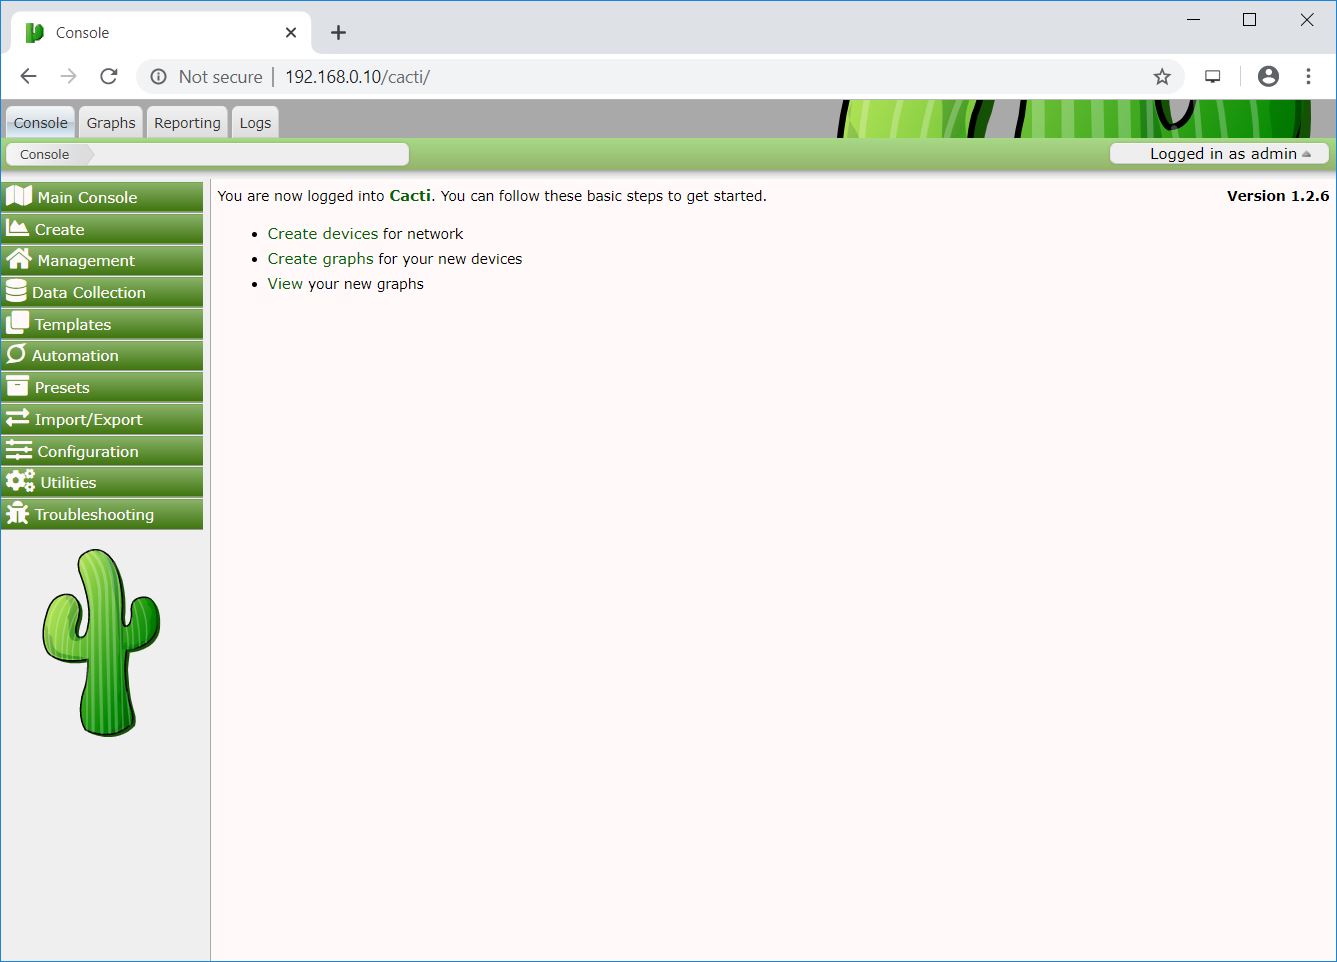
Access Cacti Dashboard
Enter the Username and password to login to Cacti.
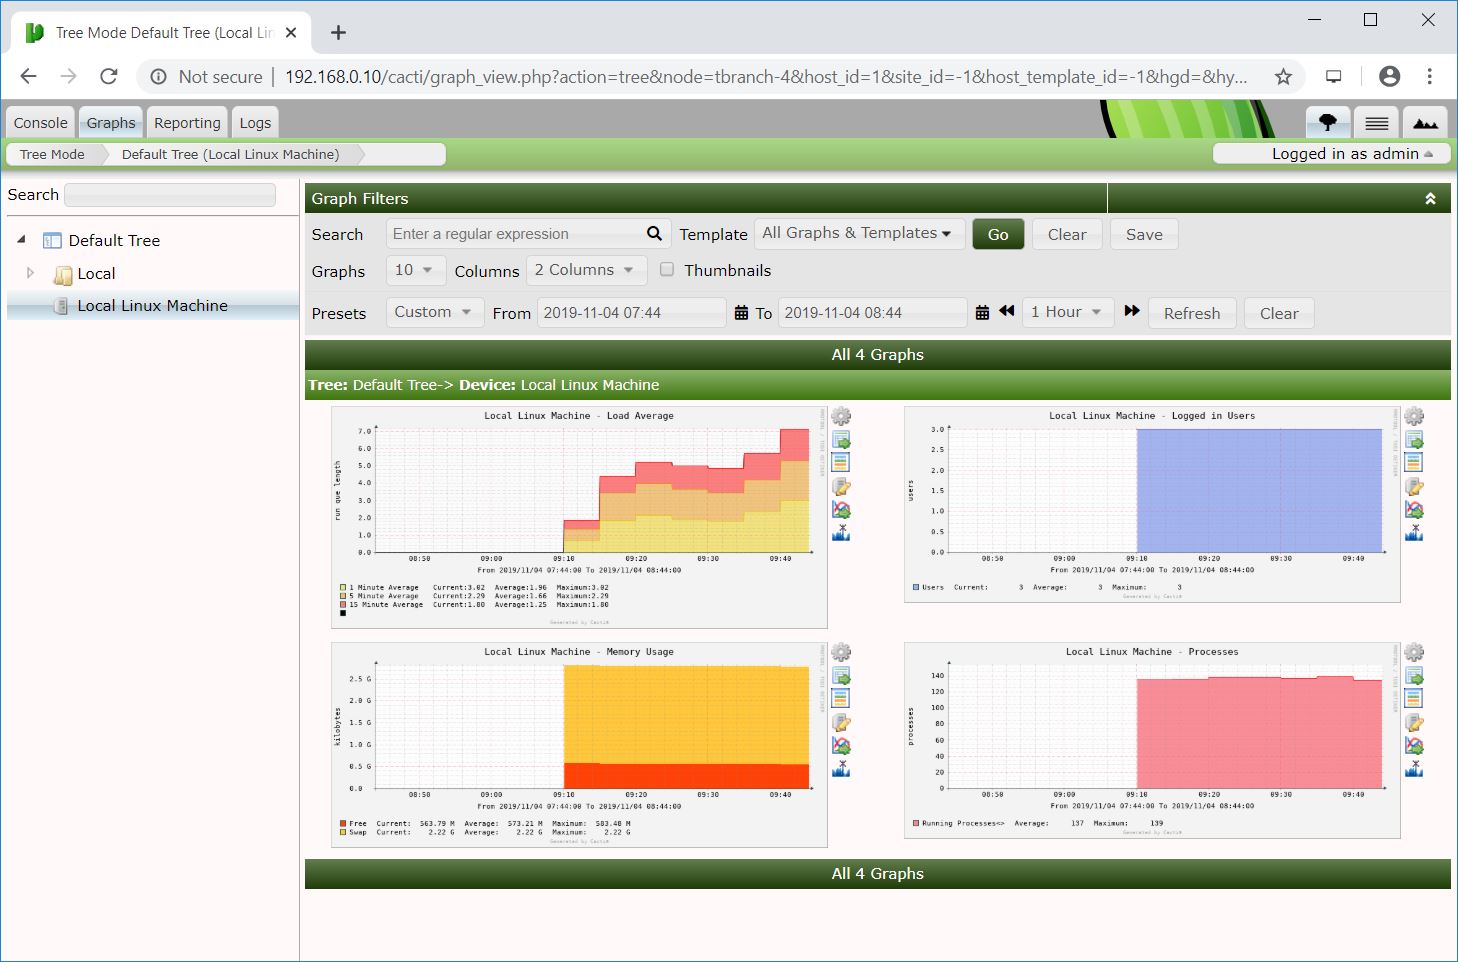
Cacti Dashboard:
By default, Cacti creates resource usage graphs for the local machine where you have the Cacti installed.
To view the graphs, go to Graph >> Default Tree >> Local >> Choose Your Device.
Wait at least 15 – 30 minutes to let Cacti populate the usage graph of your device for you.
Conclusion
That’s All. I hope you learned how to install Cacti on CentOS 8 / RHEL 8. Now, you can proceed to configure Cacti to monitor remote Linux servers. Please post your valuable comments below.